Magic 2D Window
This template was developed using Effect House 2.8.0.
The Magic 2D Window template leverages custom materials and post-processing effects to create a cutout filter effect. You can change the shape of the window and manipulate its position by touching the screen.

How to Use This Template
Open Effect House, go to Templates, click the Screen tab, and select the Magic 2D Window template.
Hierarchy
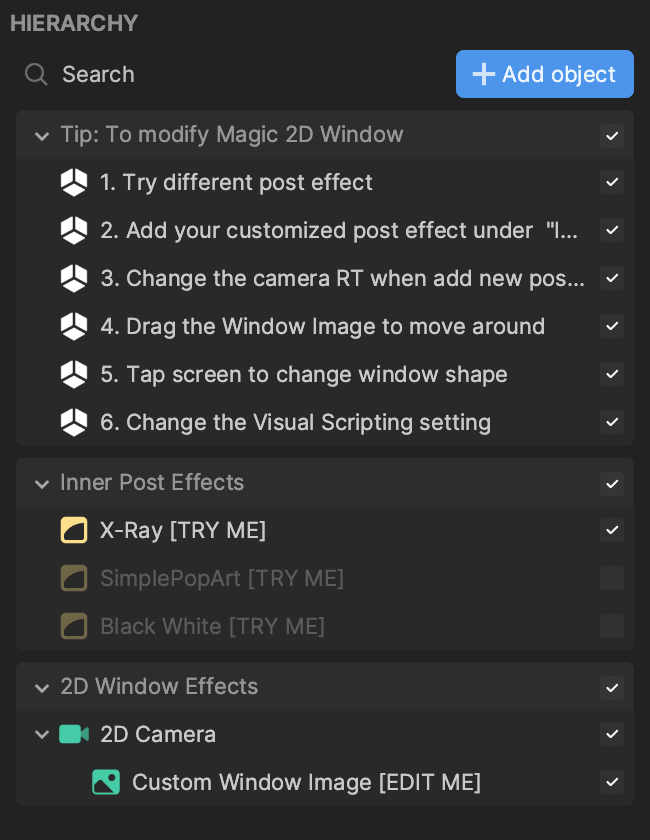
The Hierarchy panel contains two main render groups. Inner Post Effects controls the appearance of the filter within the 2D window. Only one post effect should be activated at a time in the Hierarchy panel. 2D Window Effects contains the 2D cutout that encloses the filter. There is also a render group that provides tips on how to modify the effect.
Assets
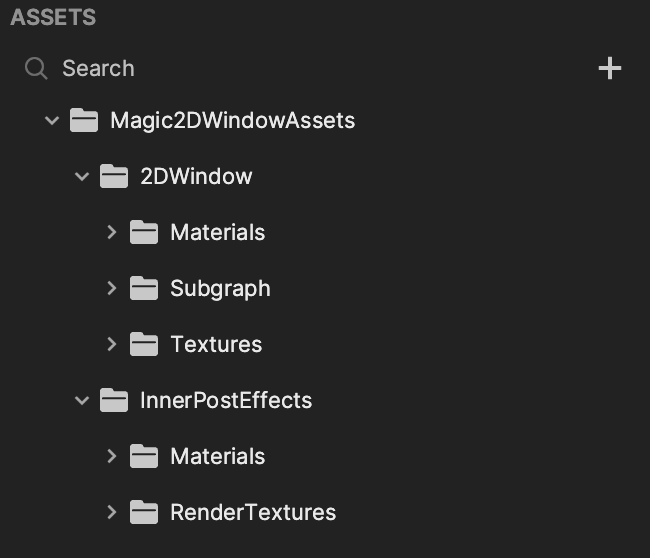
In the Assets panel, the 2DWindow folder contains the assets for the 2D filter cutout. Expand the Materials folder to access Window_Mat [EDIT ME], which is the custom material assigned to the Custom Window Image [EDIT ME] object by default. The Subgraph folder contains the DraggableImage subgraph, and the Textures folder houses different shape textures for the 2D window.
Under InnerPostEffects, the Materials folder contains the BlackWhite_Mat, SimplePopArt_Mat, and X-Ray_Mat materials. BlackWhite_Mat and SimplePopArt_Mat can be viewed in Material Editor. The RenderTextures folder contains the InnerPostEffect_RT responsible for rendering the effect inside the 2D window.
Window Material
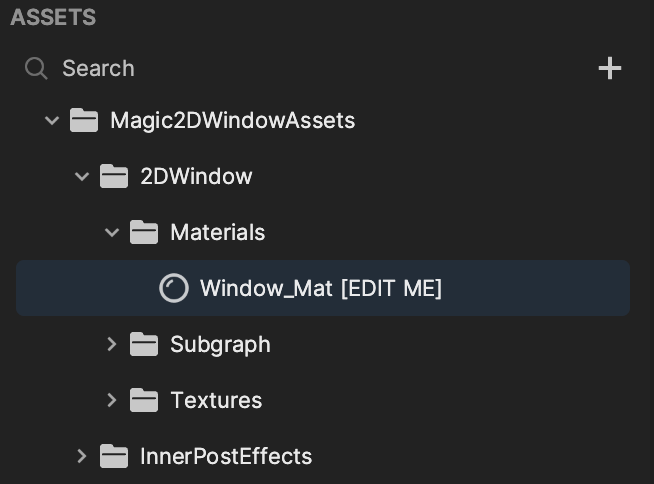
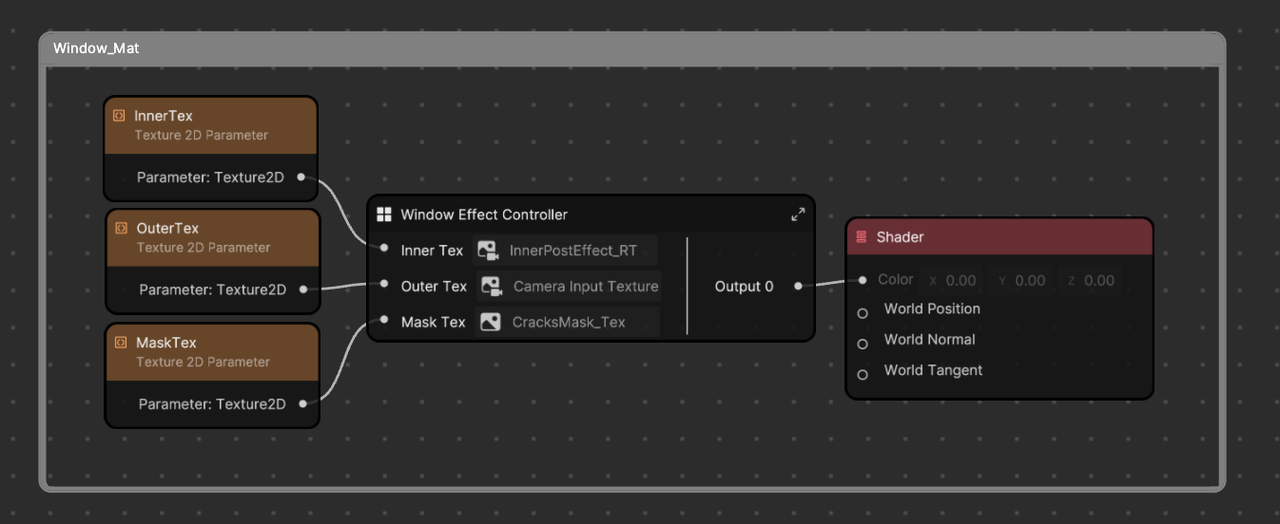
Click Window_Mat [EDIT ME] in the Assets panel to view the built-in window material in Material Editor.
The Window Effect Controller subgraph takes three different texture inputs. Inner Tex accounts for the effect inside the 2D window, Outer Tex controls the preview outside the 2D window, and Mask Tex refers to the shape of the 2D window.
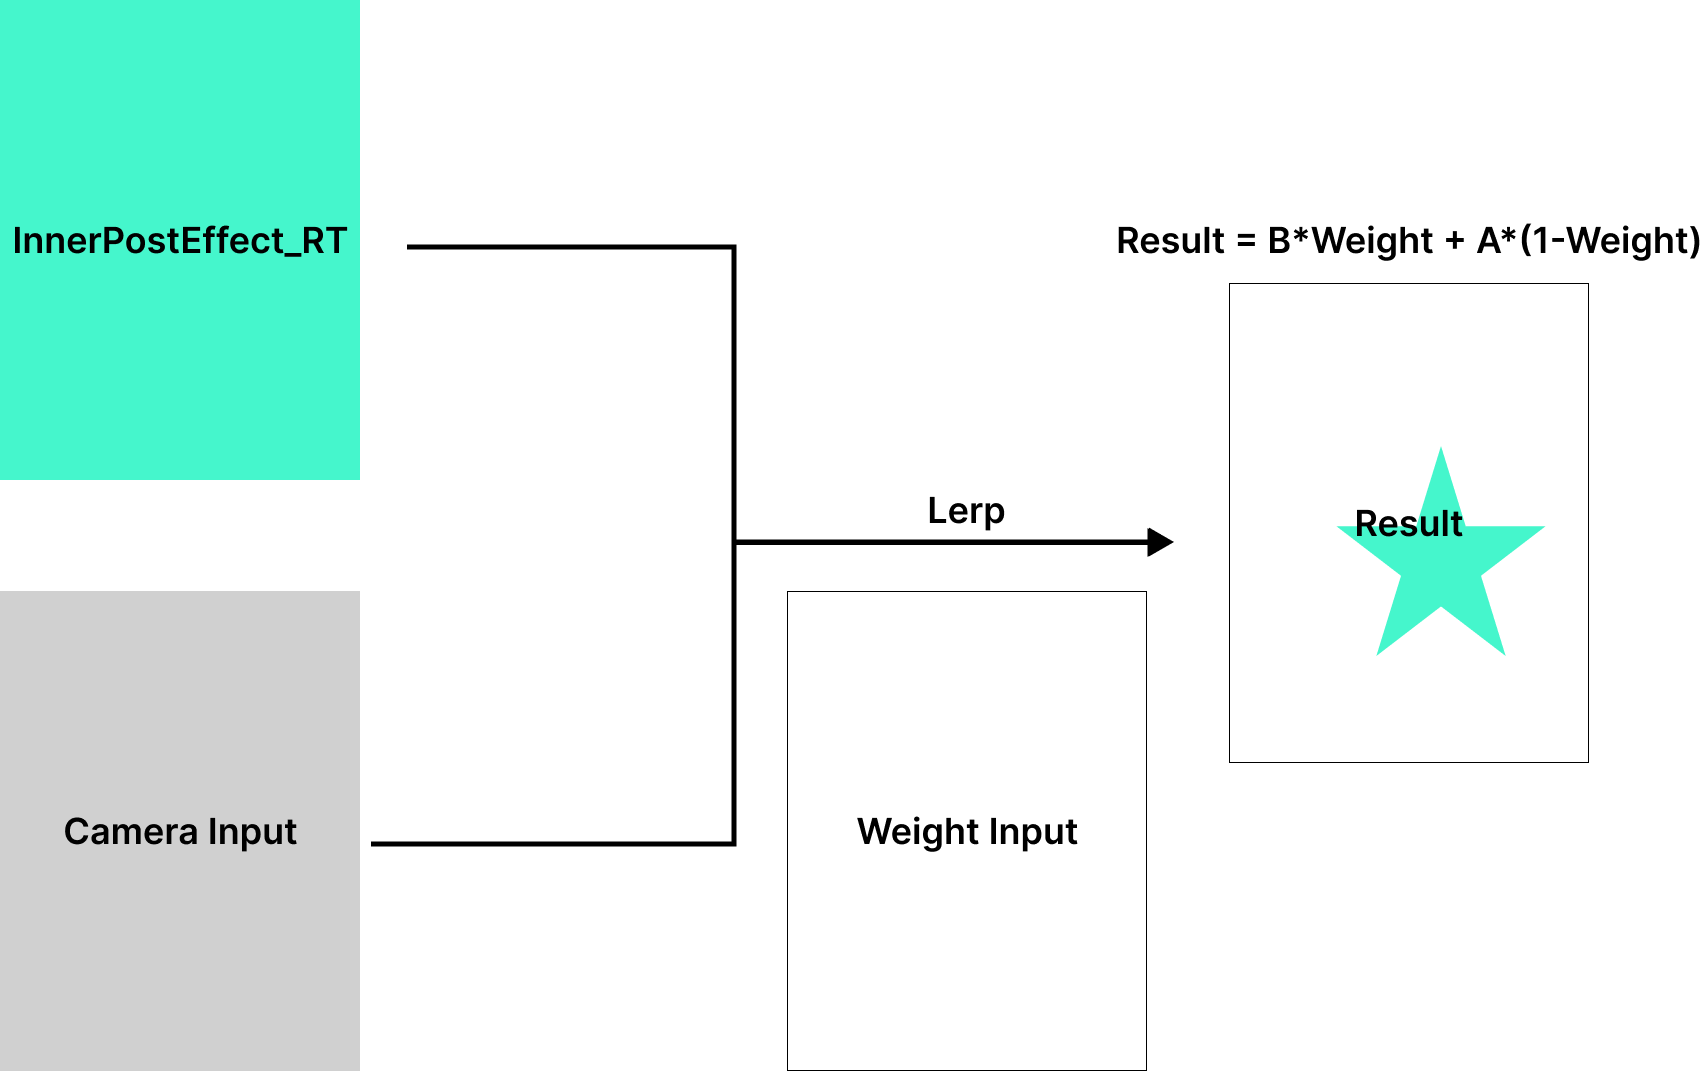
The following diagram illustrates the subgraph's base logic.
Customize the Magic 2D Window
Add an Inner Post Effect
You can add different post-processing effects to the 2D window. Click + Add object in the Hierarchy panel, go to Post Effect, and then select Custom.
Instead of using a material-based Custom post effect, you can also add a Filter object to Inner Post Effects.
Drag the new Custom object into the Inner Post Effects render group, then delete its Post Effects render group.
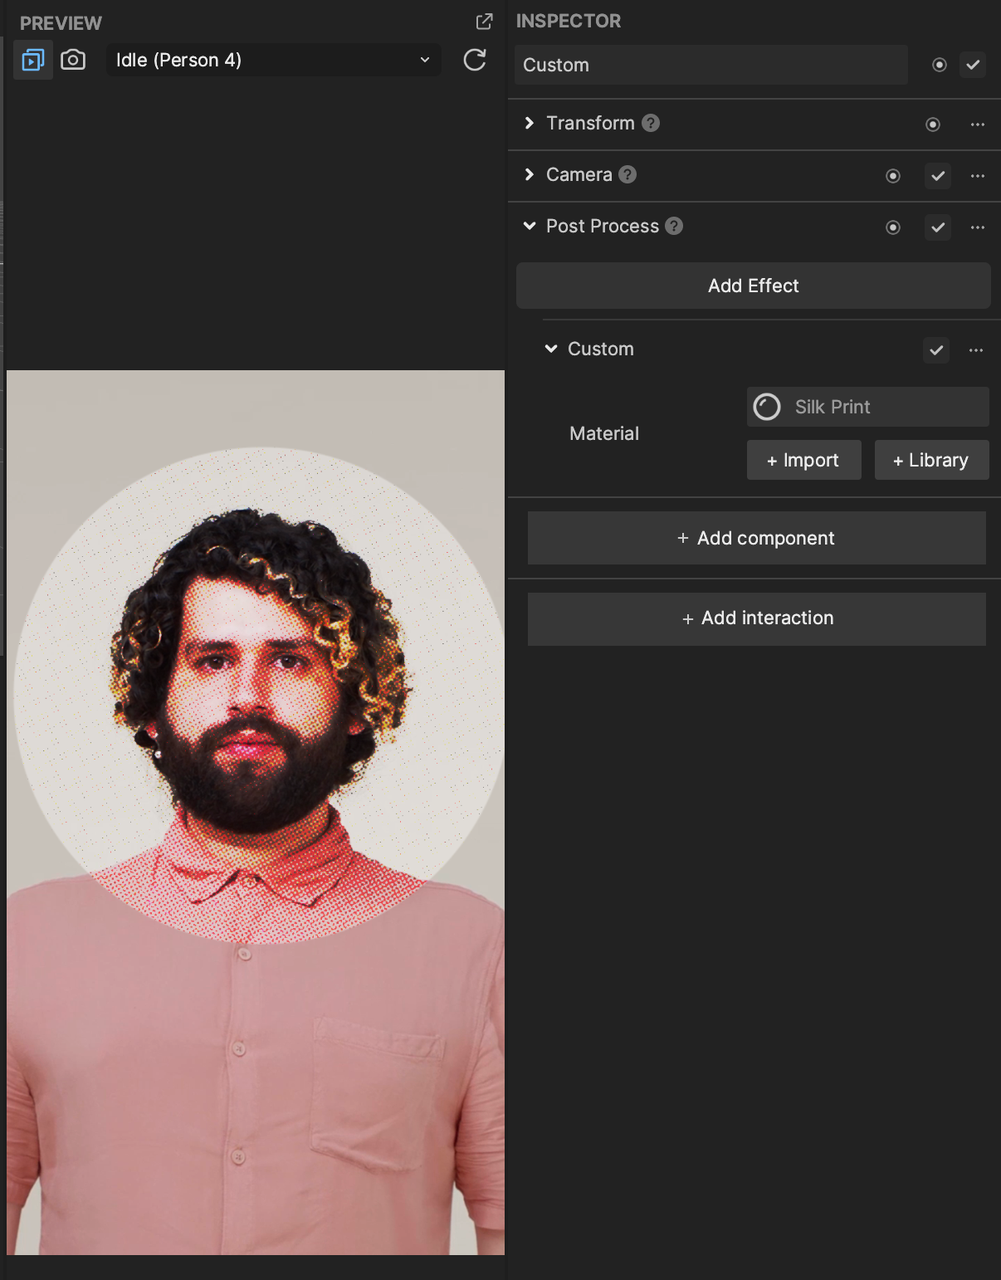
Click the Custom object, then go to the Inspector panel. To make your custom post-processing effect appear within the 2D window, you must assign the appropriate render texture. Expand the Camera component, click its Render Texture field, then select InnerPostEffect_RT and click OK.
Now you can assign a material. In the Post Process component, click the Material field under Custom. Choose your own custom material, or use one of the Screen Effects from the Asset Library. This example uses the Silk Print material. Make sure the Custom object is selected in the Hierarchy panel to view the effect.
Add a Custom Window Shape
You can also add custom shapes to the 2D window. First import a texture by clicking the Add button [+] in the Assets panel, going to Import, then From Computer, and selecting your desired texture. For best results, use a texture with a transparent background.
Then go to the Visual Scripting panel to view the Magic 2D Window Controller subgraph. Click the Add button [+] next to Textures to Cycle Through, and select your imported image.
Now the effect should include your custom window shape.