Face Inset
In this tutorial, we’ll show you how to use Face Inset and head trackers to create effects with multiple heads. We’ll explain the basic setup and also give some tips on how to build the effect optimally.

Prepare
Download the following project and open it in Effect House. You will see that it contains the mesh and textures required to complete this tutorial.
Set Up the Face Tracker
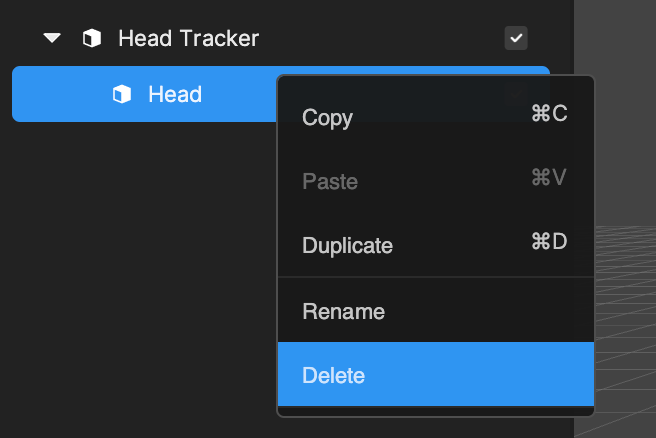
We start by adding a Head Tracker entity. We can do this by clicking the Add button [+] > AR Tracking > Head Tracker in the Hierarchy panel. A Head Tracker with a Head object will appears in the Hierarchy panel.
Delete the Head entity, as it is an occluder and we don’t need it.
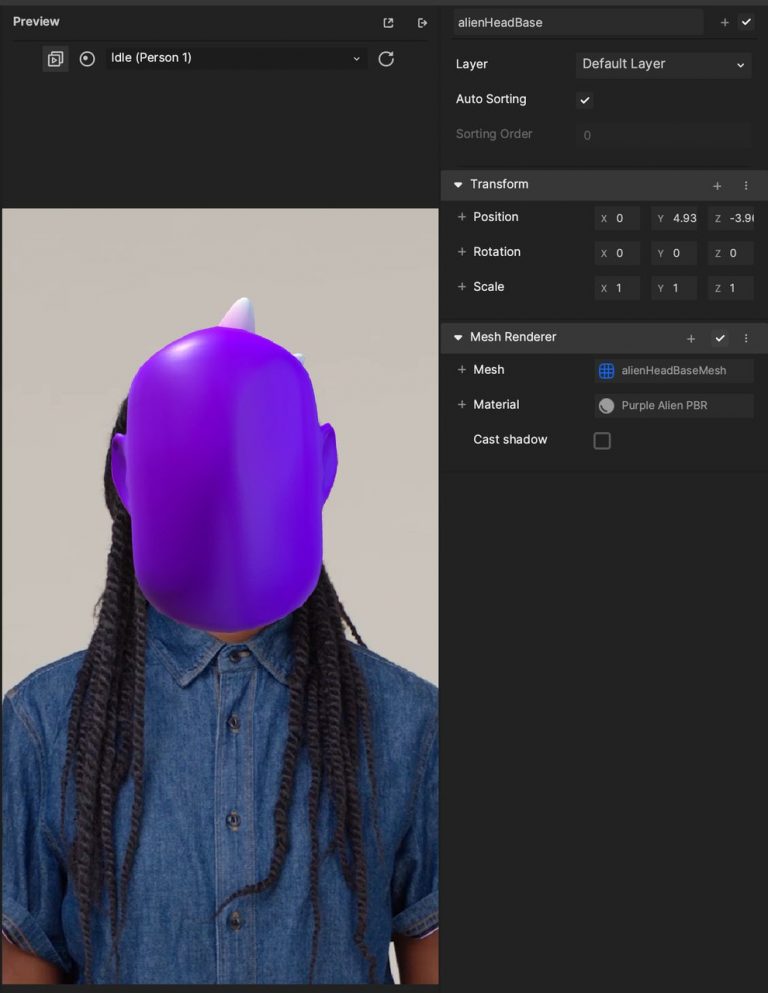
Rename Head Tracker to Purple Alien Head. Then, click and drag the alienHeadBaseMesh from the Assets panel into the Hierarchy panel. The result should look like the following:
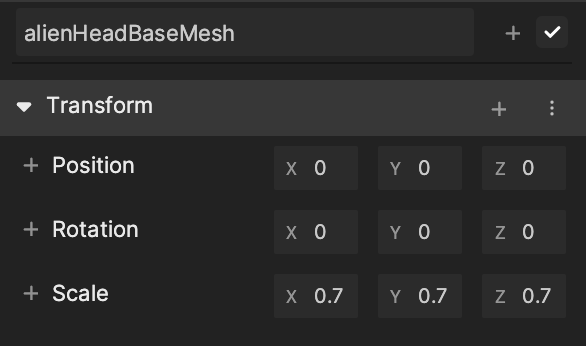
Since there will be two of these alien heads, we will need the heads to be a bit smaller, so set the x, y, and z scale of the alienHeadBaseMesh to 0.7 and can rename it to Alien Head.
Set Up the Materials
First, create a new material in the Assets panel.
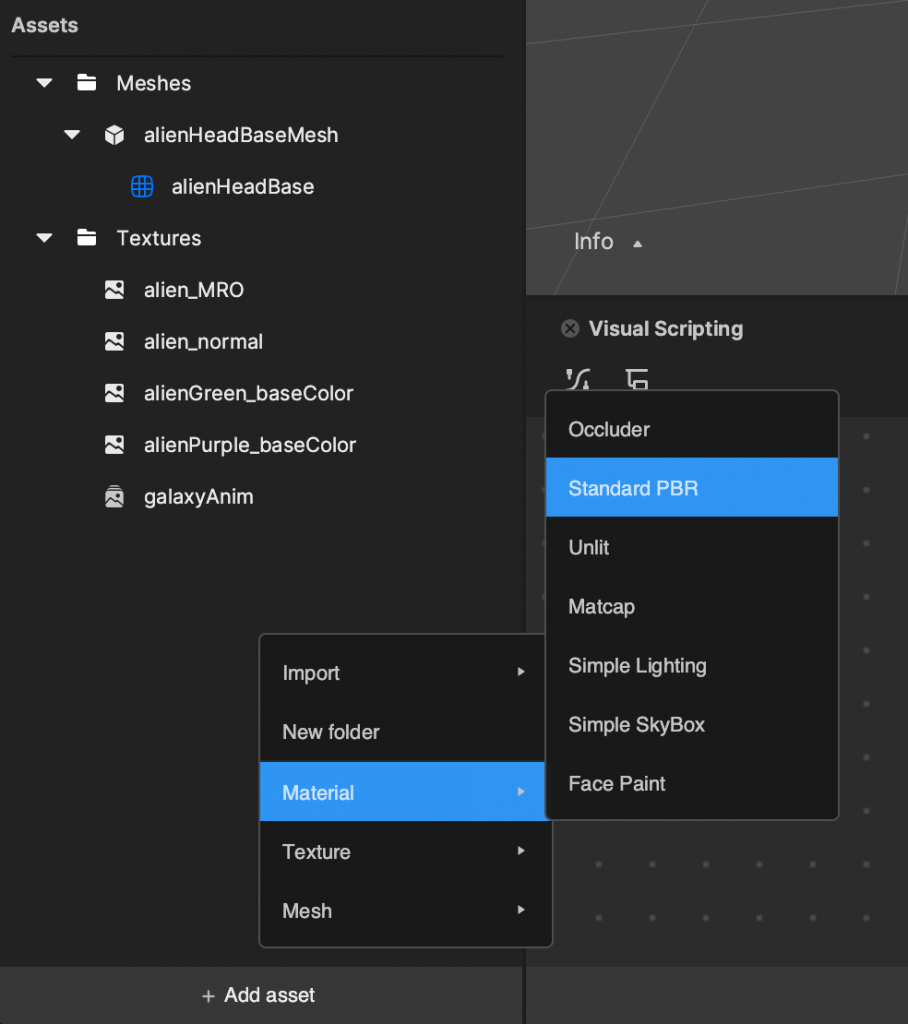
In the material, we need to connect the PBR textures. First, click on the newly made Standard PBR material in the Assets folder. Rename it Purple Alien PBR.

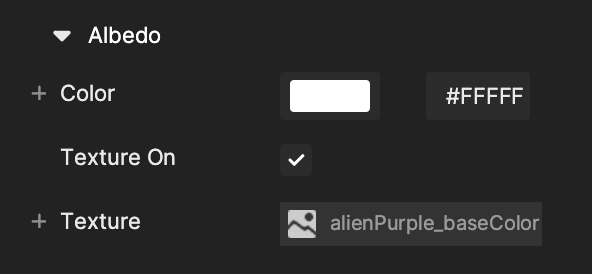
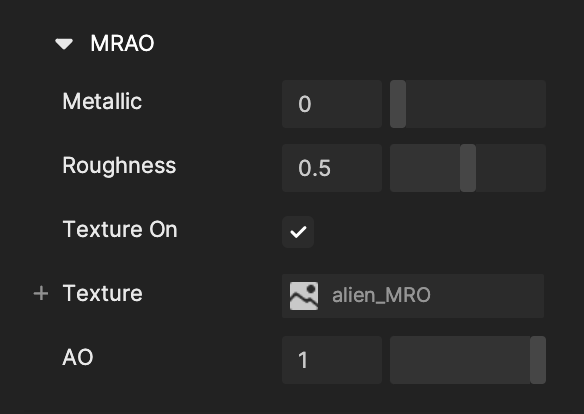
Then, for albedo, normal, and MRAO respectively, set the material to use the following textures:

Unfold the Alien Head entity and find the child mesh called alienHeadBase, change its material to the Purple Alien PBR material. The result so far should look like this:
You will use a Green Alien PBR material as well. Duplicate the Purple Alien PBR material by right-clicking it and selecting Duplicate in the Assets panel.
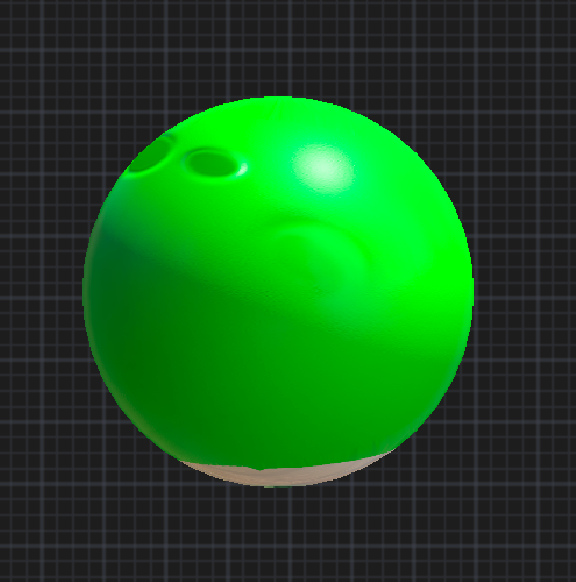
Rename the material Green Alien PBR like before. Then, change the Albedo texture to alienGreen_baseColor. The material preview in the lower-right panel should look like this:
Add the Mouth
Create an empty entity underneath Purple Alien Head called Face Inset Container. This is where we will put our Face Inset objects to make it easier to change the transform of the entire face.
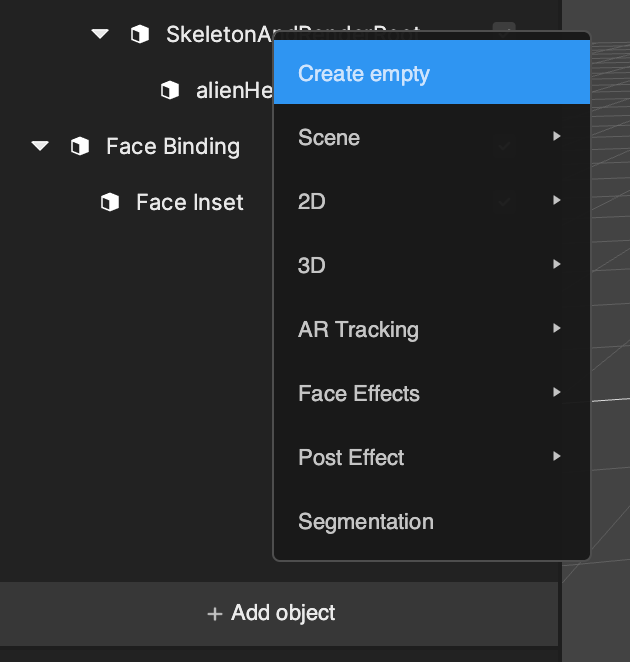

To add Face Inset entities, click the Add button [+] > Face Effects > Face Inset.
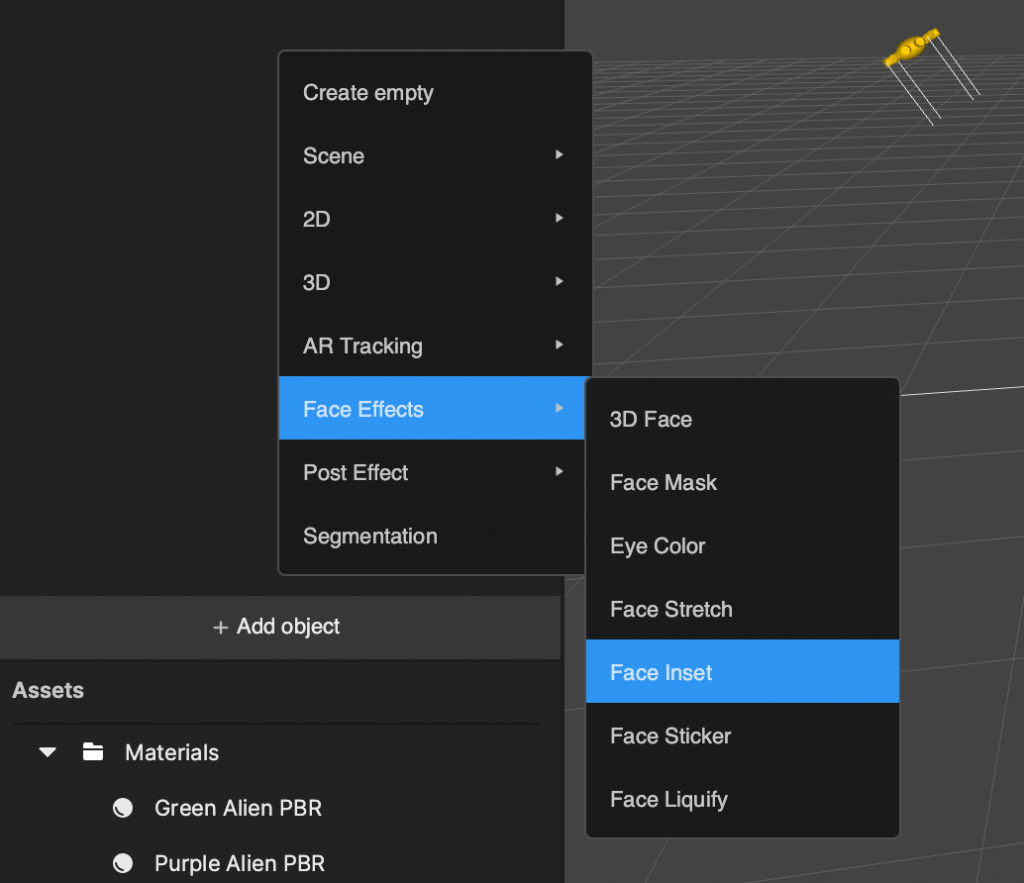
You will end up with a Face Inset under a pre-set Face Binding object.

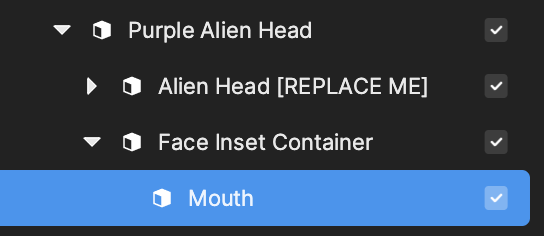
You don’t need the extra Face Binding, so you can drag the Face Inset object under the existing Face Inset Container. Then a change the name from Face Inset to Mouth.
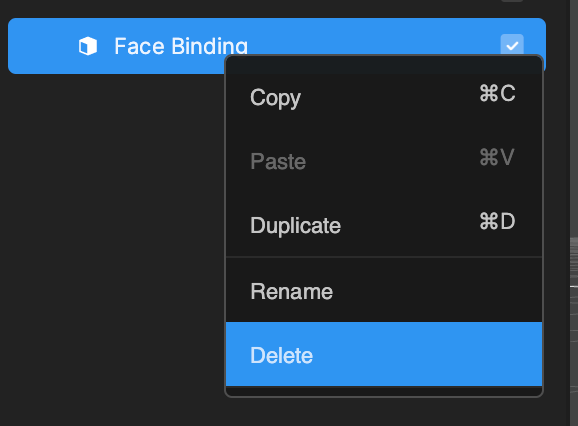
Then delete Face Binding from your scene by right-clicking on the entity and clicking Delete.
If Face Inset doesn’t show up in the Preview panel, that is because it is being rendered behind the purple alien head mesh. To fix this, simply make sure the Face Inset Container is below the Alien Head in the Hierarchy panel, as demonstrated in the above screenshot.
Finally change the Mouth Face Inset component’s properties. First change the Color field to transparent (alpha = 0).
Then select the Outline checkbox, and similarly change the Outline color to #42005D.
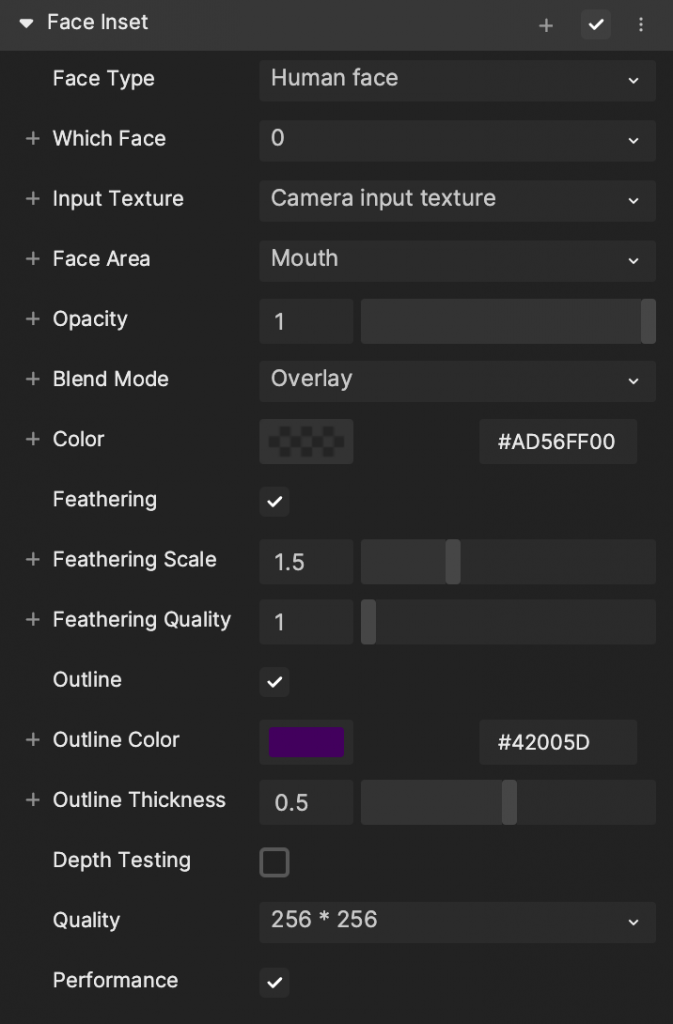
Keep the quality at 256 x 256 to optimize the performance, especially when more than two Face Inset objects are used in the effect.
Add the Eyes
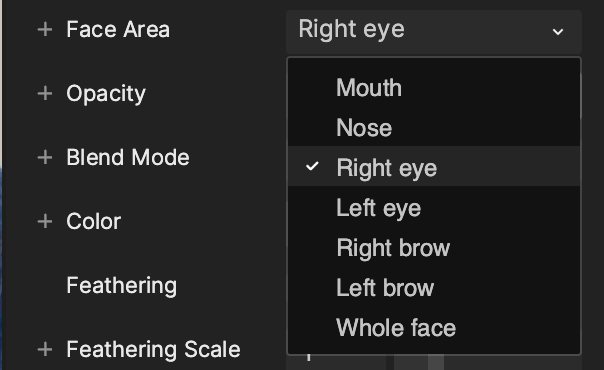
To add the eyes, we can simply duplicate the existing Mouth and change the Inspector panel properties. Right-click the Mouth object in the Hierarchy panel and then click Duplicate. For the duplicated object, select it and go to the Face Inset component in the Inspector panel, and change the Face Area property from Mouth to Right Eye.
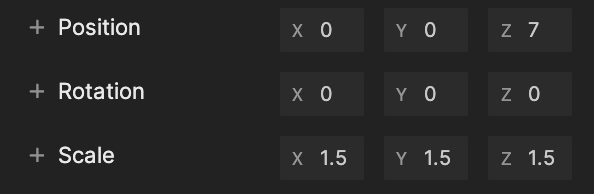
Then rename the entity to Right Eye in the Hierarchy panel, and set the Transform to the following:
- Position: X:0 Y:0 Z:7
- Rotation: X:0 Y:0 Z:0
- Scale: X:1.5 Y:1.5 Z:1.5
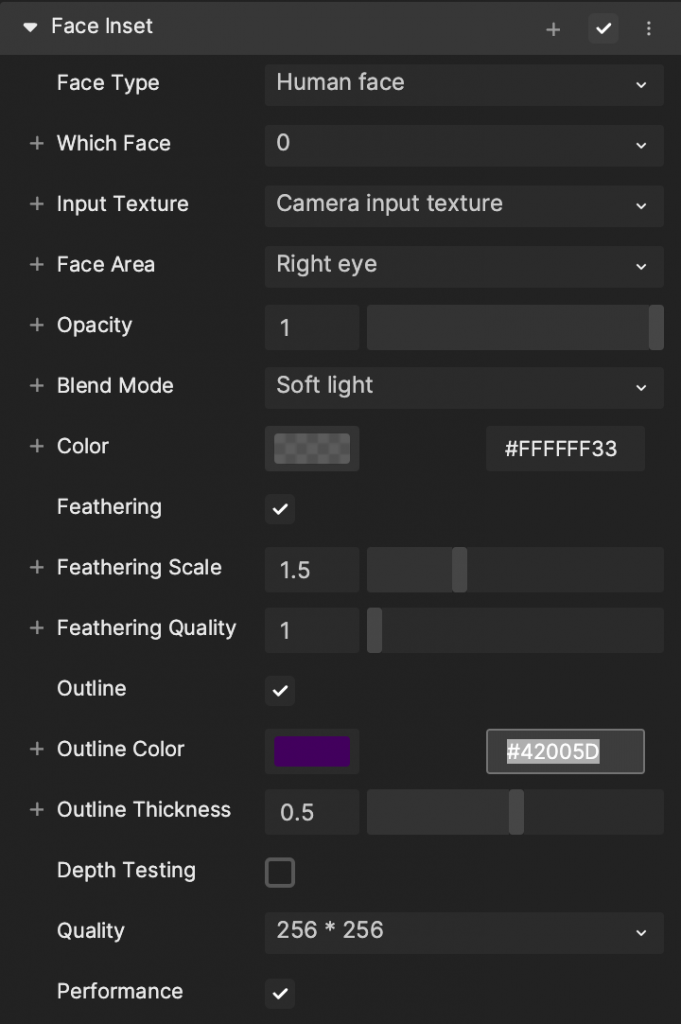
We will also change the Color to transparent and the Outline Color to #42005D by copying in these hex values, so that the fields look like the following:
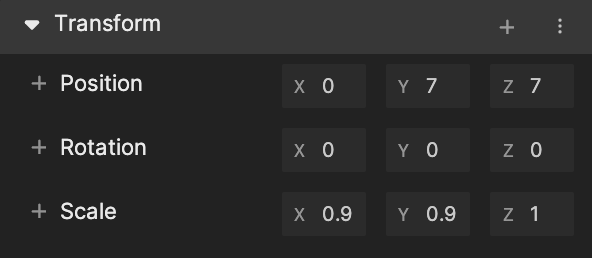
Finally, to add the Left Eye, right-click the Right Eye entity in the Hierarchy panel and click Duplicate. Rename the entity to Left Eye, and change the Transform fields to the following:
- Position: X:0 Y:7 Z:7
- Rotation: X:0 Y:0 Z:0
- Scale: X:0.9 Y:0.9 Z:1
Change the Face Area property in the Inspector panel from Right Eye to Left Eye.

Add the Eyebrows
In the Hierarchy panel, right-click and Duplicate the Left Eye, and rename the entity to Right Eyebrow. Then, set the Transform to the following:
- Position: X:0 Y:3 Z:7
- Rotation: X:0 Y:0 Z:0
- Scale: X:1 Y:0.8 Z:1

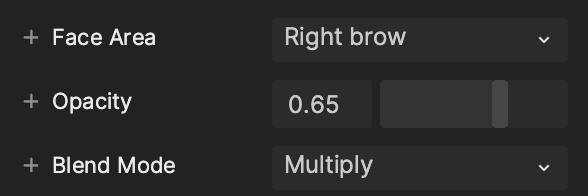
In the Inspector panel, set the Face Area to Right brow, the Opacity to 0.65, and the Blend Mode to Multiply.
Set the Color to #9B00FF8C and disable the Outline.
Finally, make sure the Quality setting is 256 x 256 and the Performance setting is disabled.

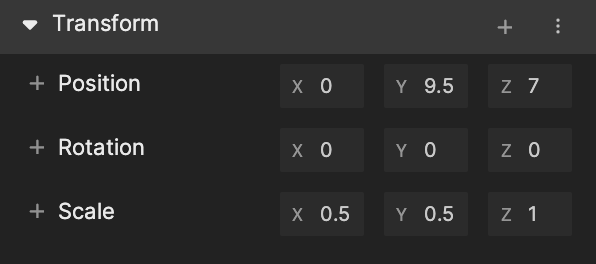
In the Hierarchy panel, duplicate the Right Eyebrow and rename it Left Eyebrow. Set the Face Area to Left brow in the Inspector panel. Then, set the Transform to the following:
- Position: X:0 Y:9.5 Z:7
- Rotation: X:0 Y:0 Z:0
- Scale: X:0.5 Y:0.5 Z:1
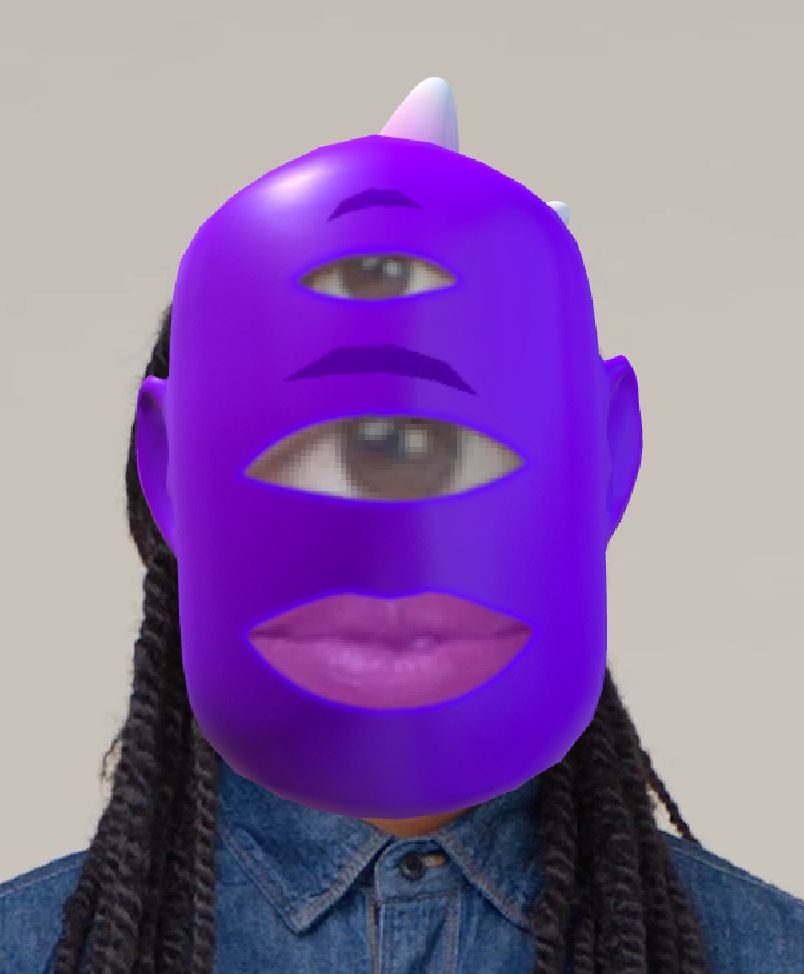
The Hierarchy and Preview panels should respectively look like this:

Green Alien
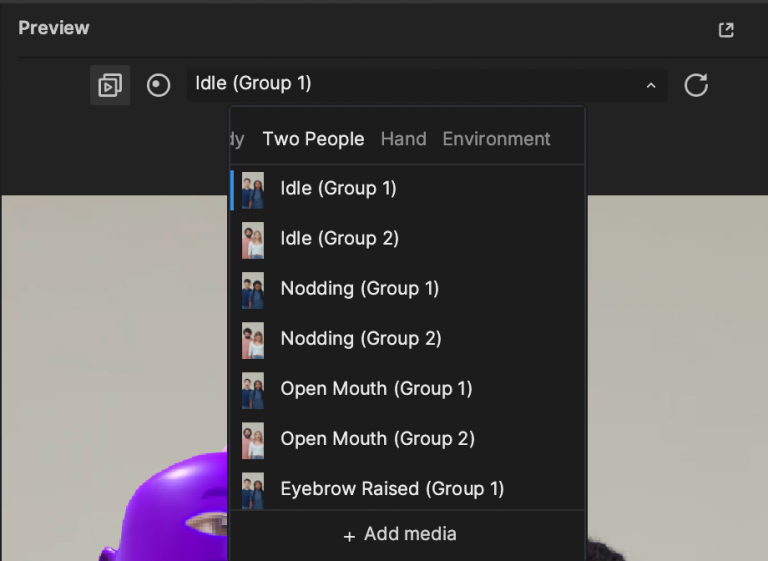
First, you will want to set the preview window to a video that has two people in it.
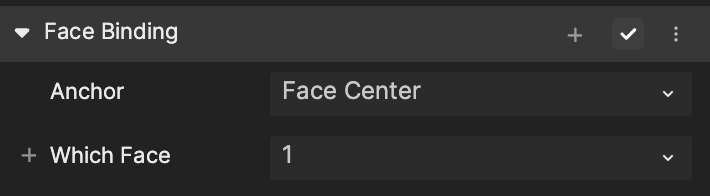
To create the Green Alien Head, we can simply duplicate the Purple Alien Head and change a few properties. Right-click the Purple Alien Head, click Duplicate, and rename the new entity to Green Alien Head. On the Green Alien Head entity, there is a Face Binding component. Change the Which Face field to 1, and you will see that the new head follows the second person now.
Go to alienHeadBase underneath Green Alien Head in the Hierarchy panel and select it.
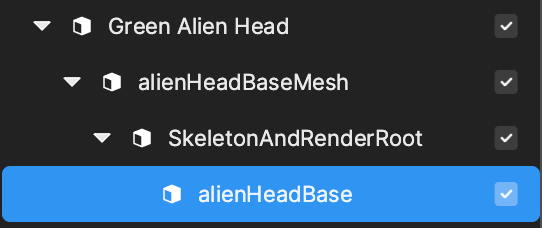
Then, change the Material on the Mesh Renderer to Green Alien PBR (which you created earlier). The second head should turn from purple to green in the Preview panel.
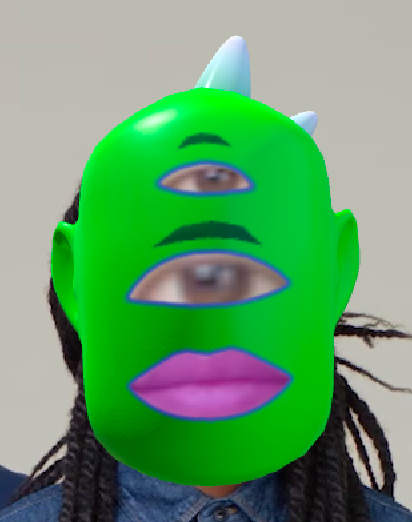
You can see that the Face Inset entities still have the incorrect face and incorrect colors. First, go through the Mouth, Right Eye, Left Eye, Right Eyebrow, and Left Eyebrow in the Green Alien Head and change the Which Face field to 1.
Then, we will want to change the colors to match the green PBR material.
For the Mouth, set the Color to #C5FF3F00 and the Outline Color to #004A00.
For both Eye objects, set the Color to #FFFFFF33 and Outline Color to #004A00.
For both Eyebrow objects, set the Color to #10852C8C and disable the Outline.
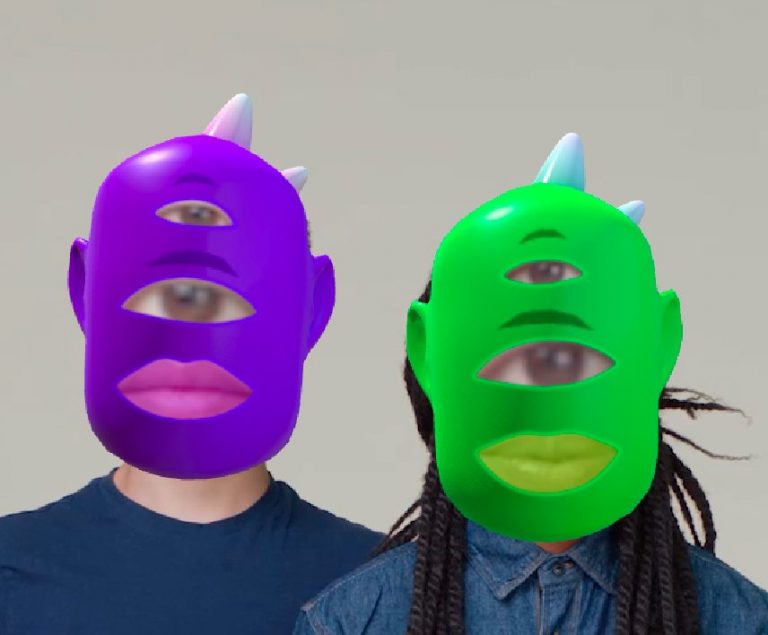
The end result should look like this:
Galaxy Background
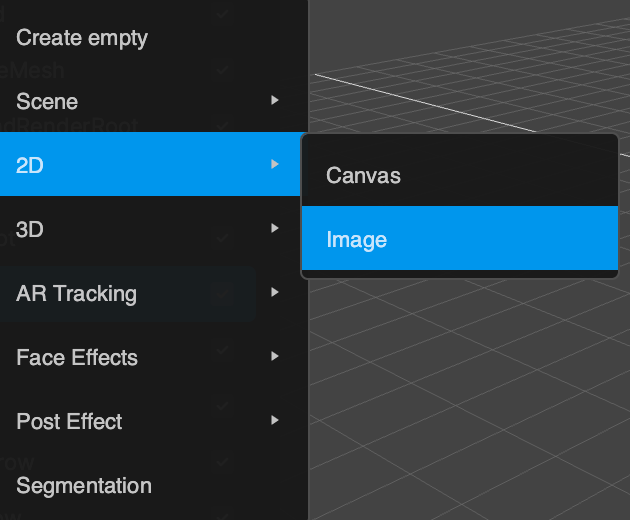
Finally, you want to add a fun galactic animation sequence behind our alien heads. To do that, click the Add button [+] > 2D > Image in the Hierarchy panel.
This will create a Canvas parent with an Image child entity. It will also create an object called 2D Camera. You want the background to render behind the alien heads, so you need to change the render order of our cameras so that the 2D Camera renders the background, and then the default Camera renders the alien heads over this.
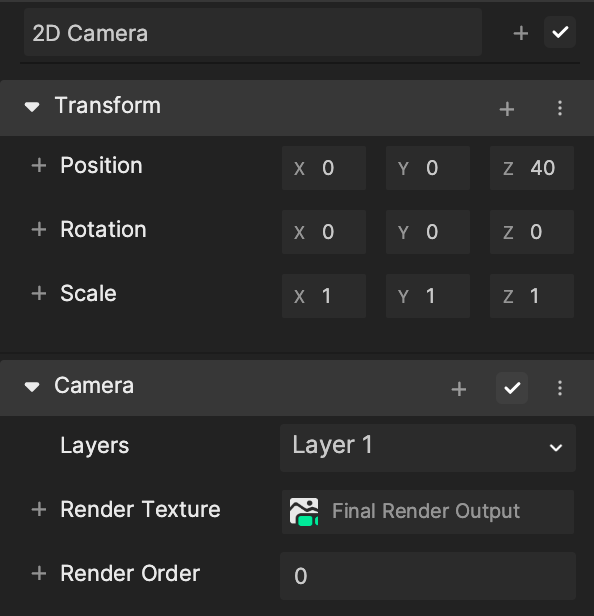
Set the Render Order of the 2D Camera to 0, and make sure that it is rendering from Layer 1. Also, confirm that your Canvas object is on Layer 1.
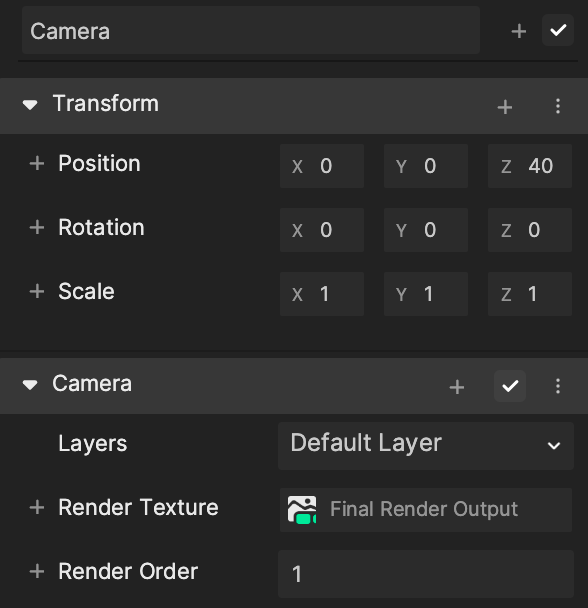
Set the Render Order of the main Camera to 1, and make sure it is still rendering from the Default Layer.
Scale the new Image object to the size of the screen like so:
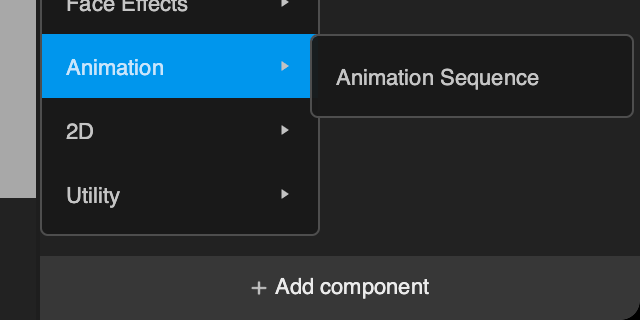
Then add an Animation Sequence component by clicking + Add Component in the Inspector panel.
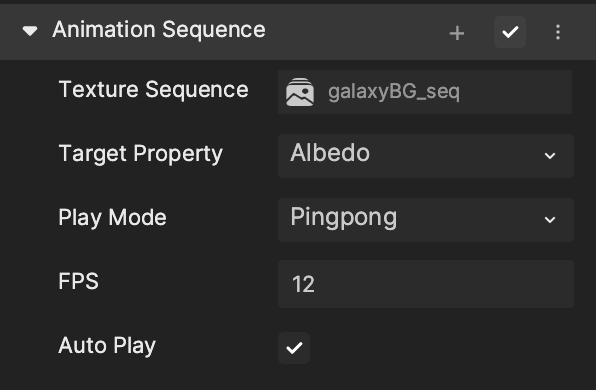
Finally, change the Texture Sequence field of the Animation Sequence to the galaxyBG_seq object. Set the Play Mode to Ping Pong to make the sequence loop properly.
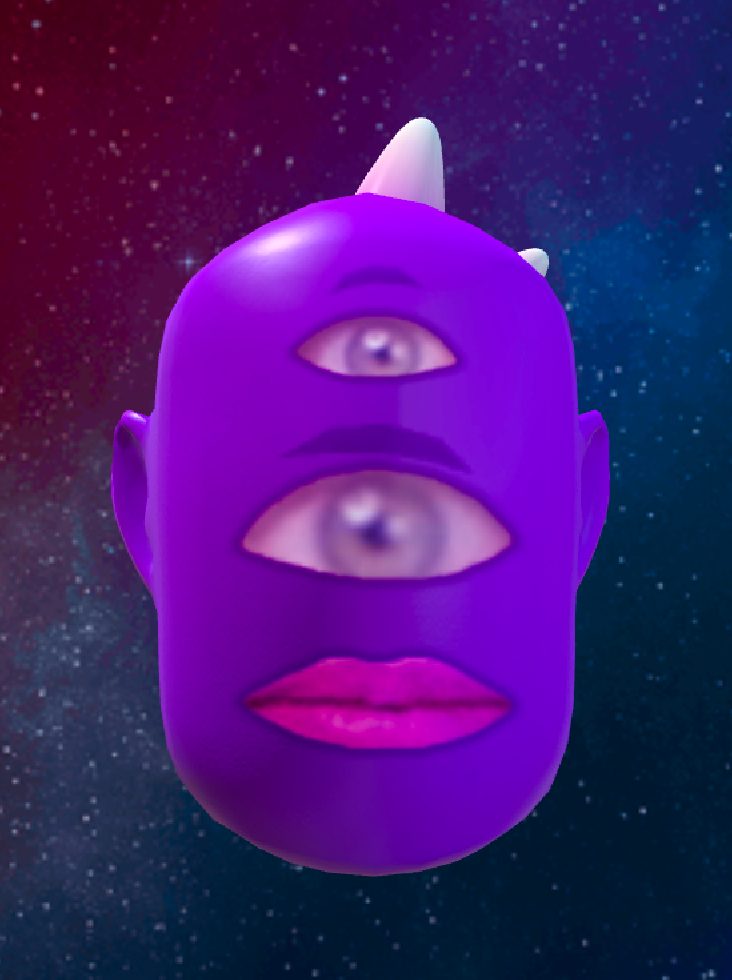
And now you should be done and have some finished space aliens to play with!