Photo Dump
The Photo Dump template allows effect users to upload photos from their phone's library to create a personalized slideshow effect.

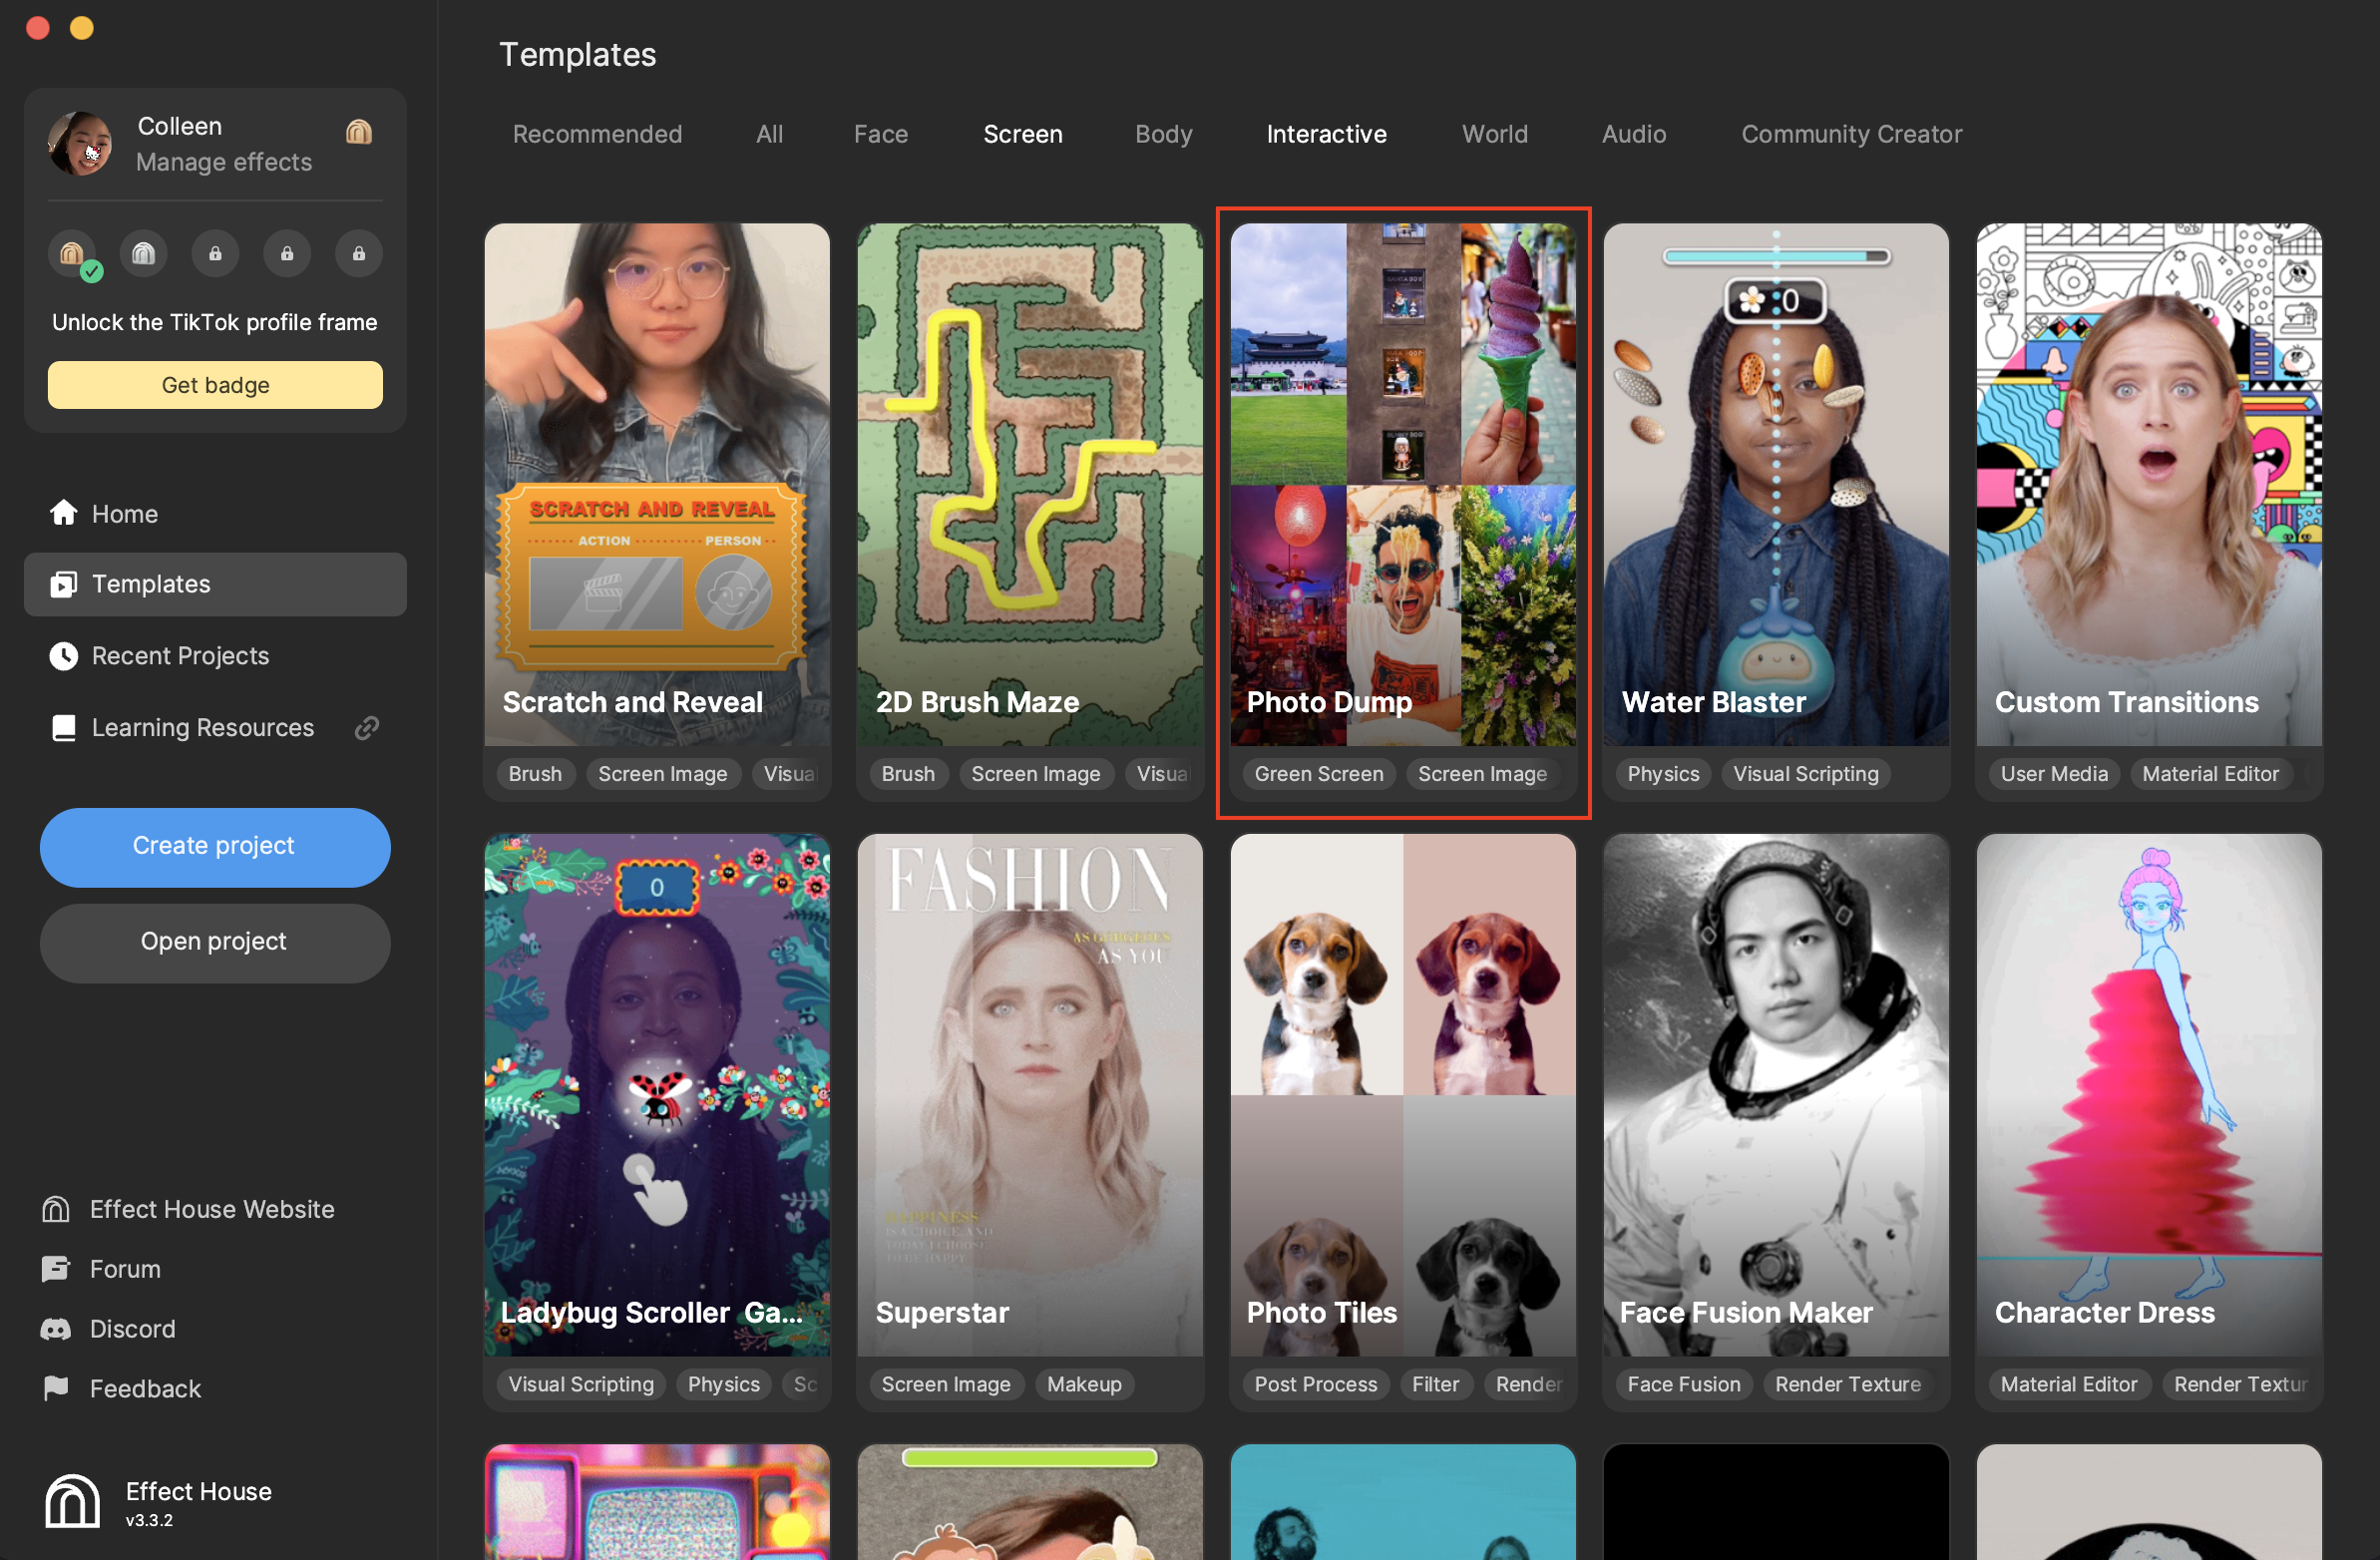
Open the Template
In Effect House, go to Templates, click the Screen tab, and select the Photo Dump template.
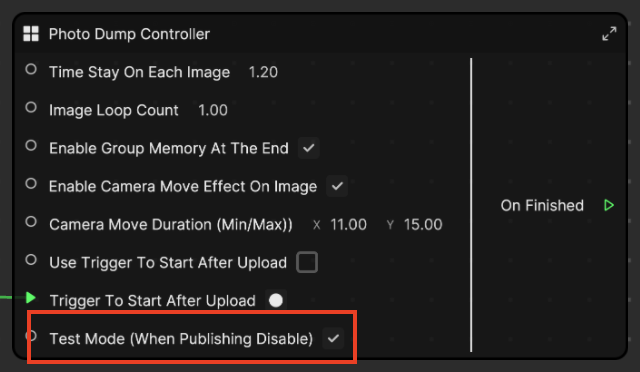
Since the effect requires photos to be uploaded on TikTok from a phone, you can select the Test Mode option in the Photo Dump Controller subgraph in the Visual Scripting panel. Be sure to deselect this option when you want to preview the effect in TikTok and when you are ready to publish the effect!
The best way to test out your effect is to preview it directly in TikTok. Generate a QR code from Effect House, scan the QR code from your phone, and upload your own images!
Hierarchy
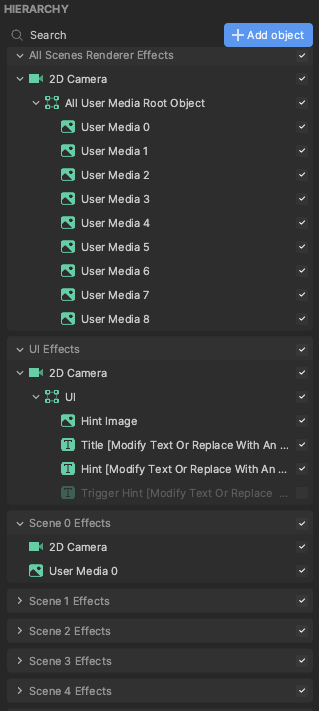
In the Hierarchy panel, you can find render groups for the screen UI and the nine user medias.
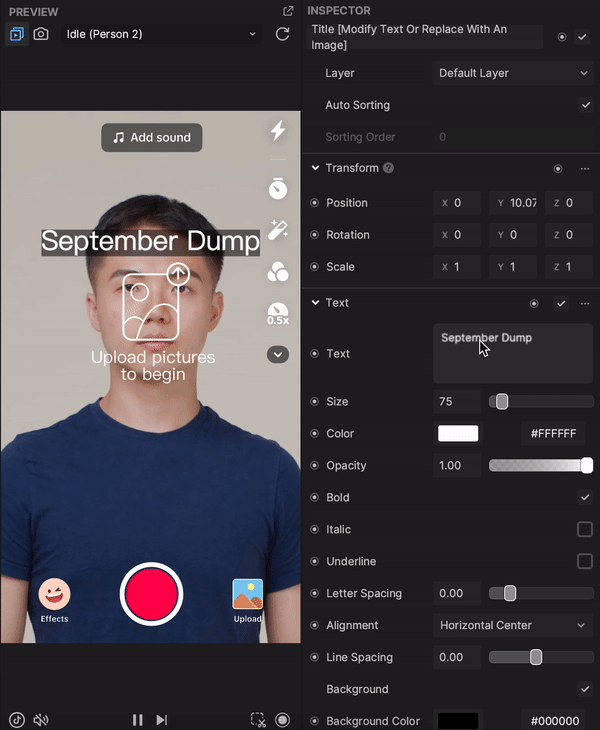
Screen UI
The text and image that appear in the Preview panel is controlled by the UI Effects render group.
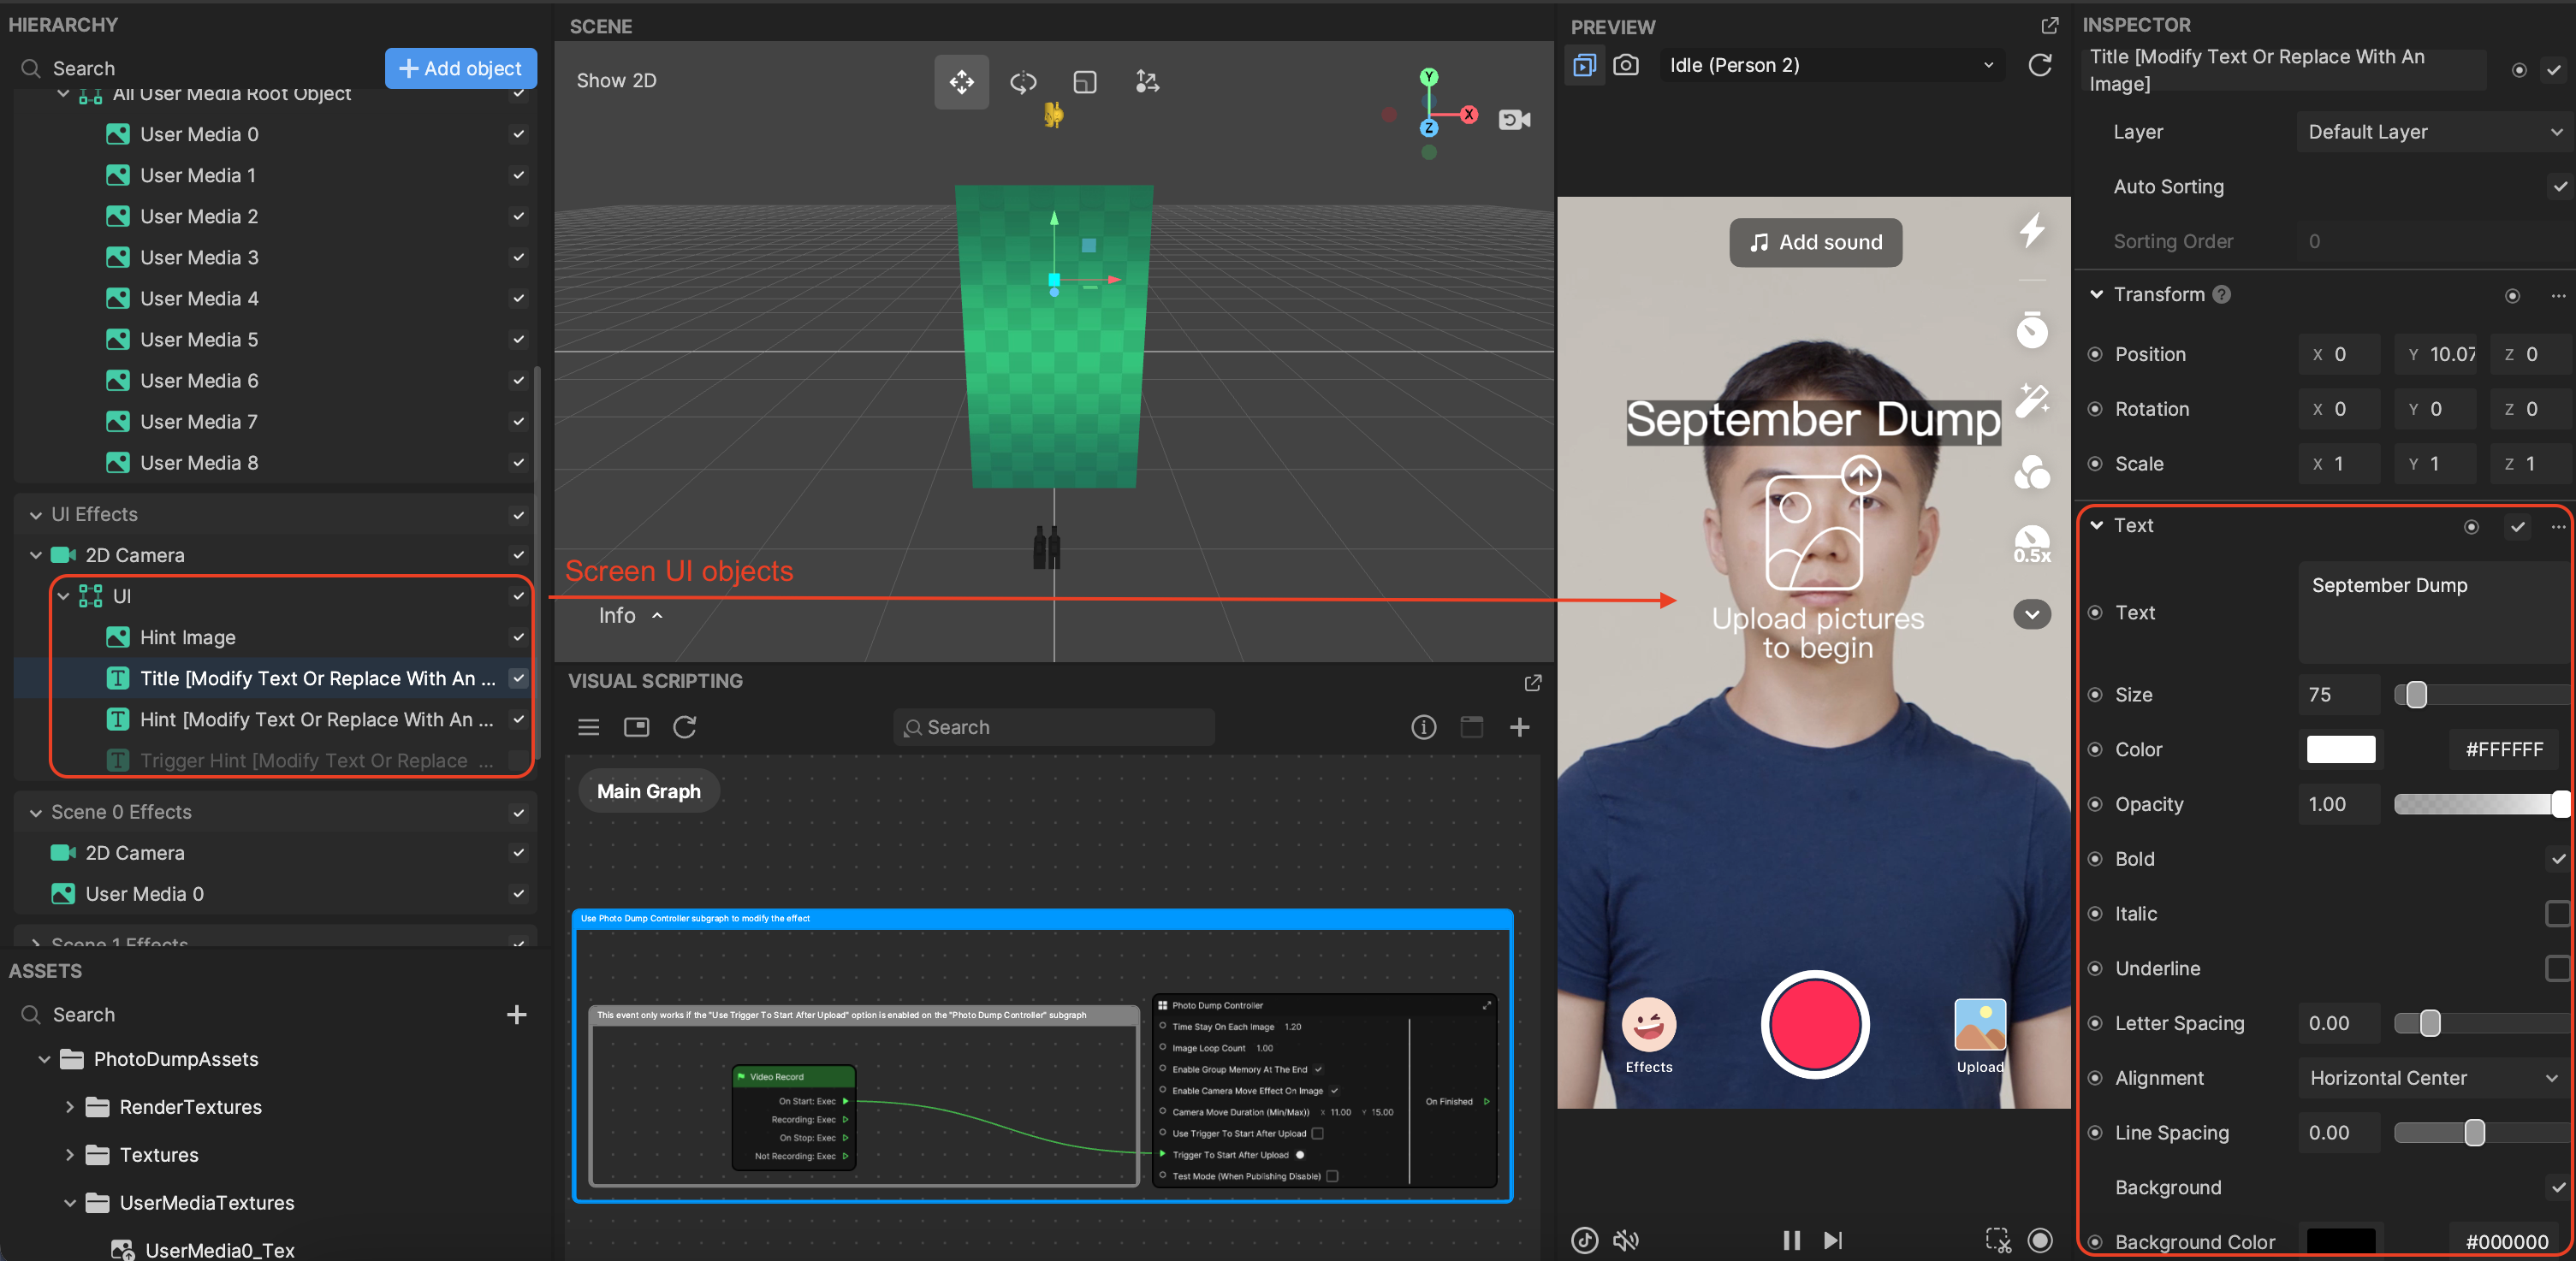
You can edit the text and image by selecting the respective object in the render group and customizing the different properties in the Inspector panel. For example, if you want to change September Dump to October Dump, click the Title object and modify the Text input.
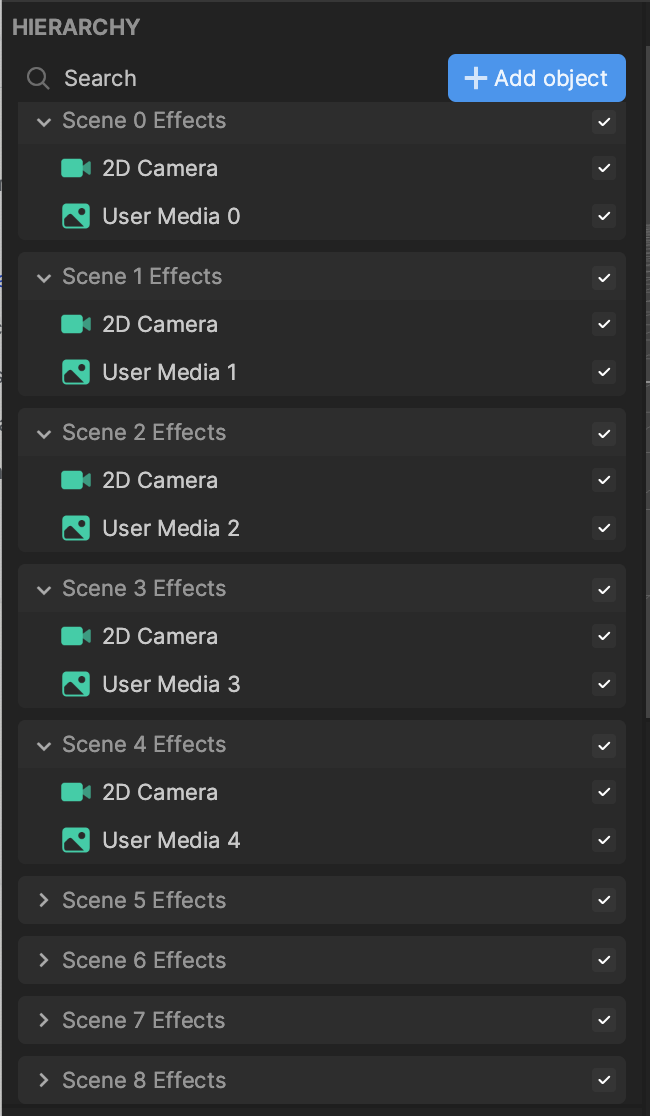
User Media
There are 9 render node, each comprised of a User Media object and camera.
Visual Scripting
The layout and slideshow effect is determined by visual scripting.
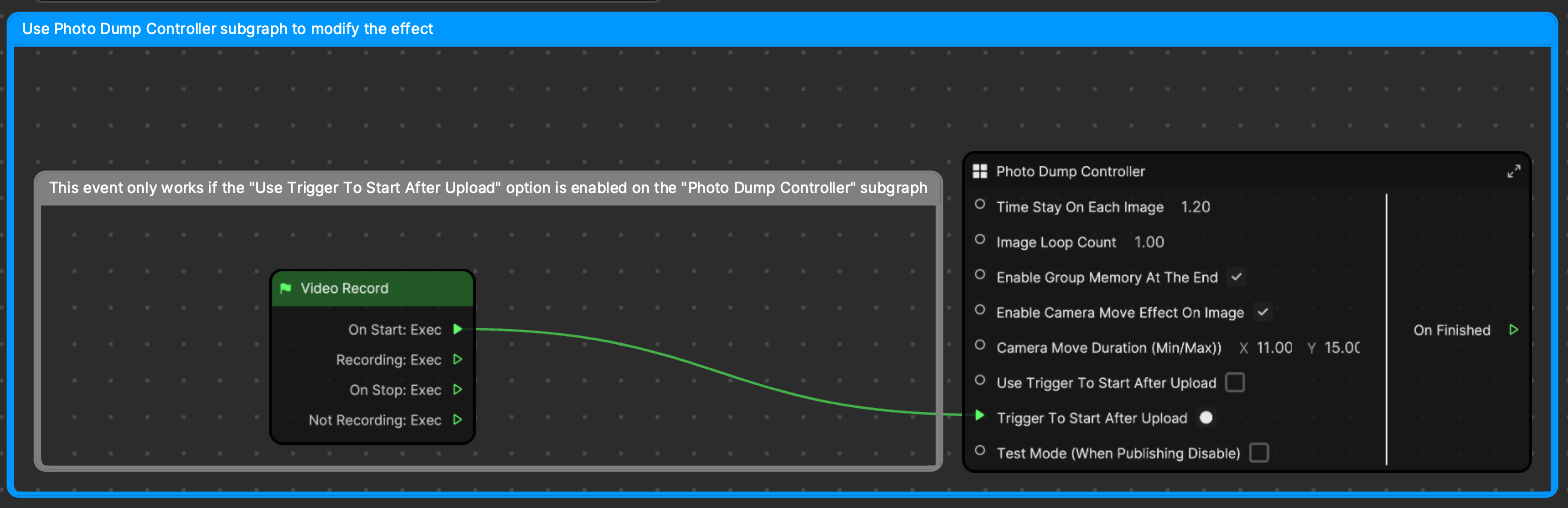
Photo Dump Controller
Let's first take a look at the different properties of the Photo Dump Controller subgraph. You can modify these values to personalize the behavior of the photo dump.
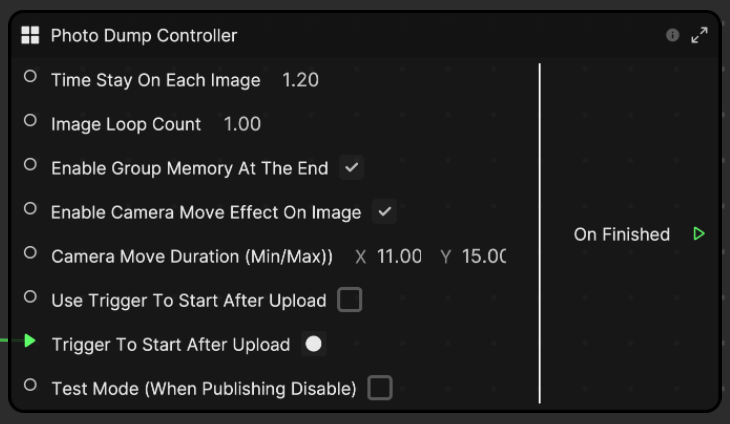
For example, Time Stay On Each Image controls how long an image is displayed before the next image appears. Decreasing this value will make the slideshow faster.

Increasing this value will make the slideshow slower.

The Image Loop Count property controls how many times the image is shown before the final group layout is revealed at the end of the effect. For example, changing this value to 3.00 will cause each image to be displayed three times followed by the final layout. In other words (and in this example), the screen will change 18 times before the final group layout is shown.

Don't want to see the final group layout at the end? Simply deselect the Enable Group Memory At The End checkbox. This will cause the effect to loop through your images and stop at the last one.
The Enable Camera Move Effect On Image property causes the camera to move, which can be seen in the previews above. Deselecting this checkbox will display static images. You can also control how much the camera moves with the Camera Move Duration (Min/Max) properties.

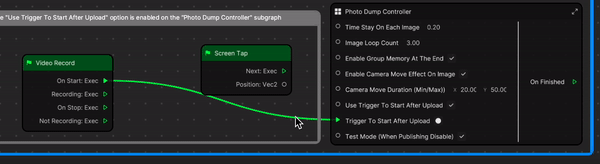
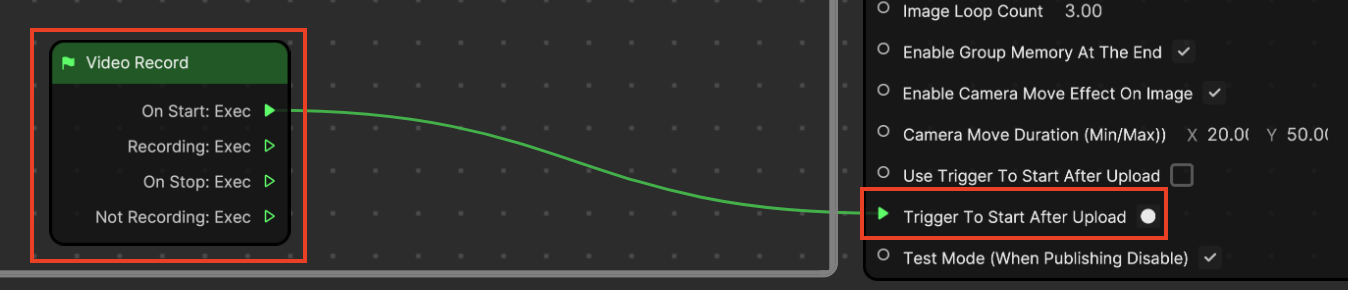
Lastly, you can control how the effect is triggered with the Trigger to Start After Upload property. By default, the effect is triggered when the recording begins.
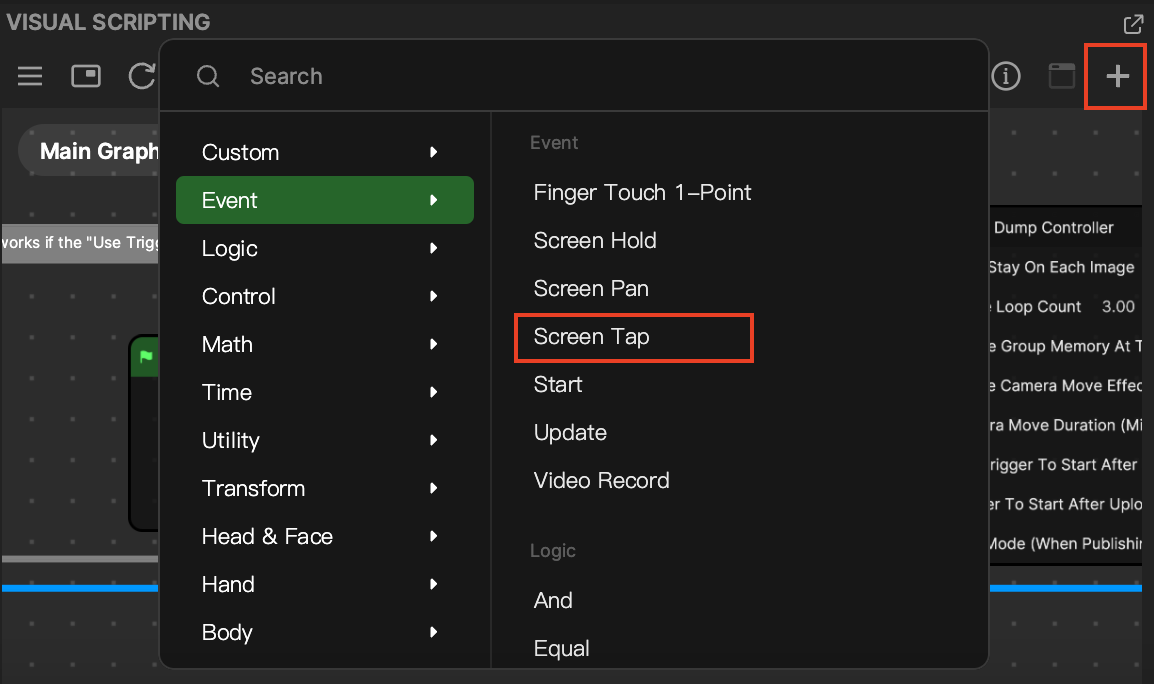
You can change the trigger event by clicking the Add node button [+] and selecting an event. For this example, Screen Tap is selected.
Select the green connector between Video Record and Trigger to Start After Upload and press the Delete key. Then connect Screen Tap and Trigger to Start After Upload. Now the effect will be triggered once a tap is detected!