Future Life
Use the Future Life template to create a soap bubble effect that answers your most burning questions about the future. You can customize this template by designing and importing your own textures and animated textures. This template was created by @azjeffects.
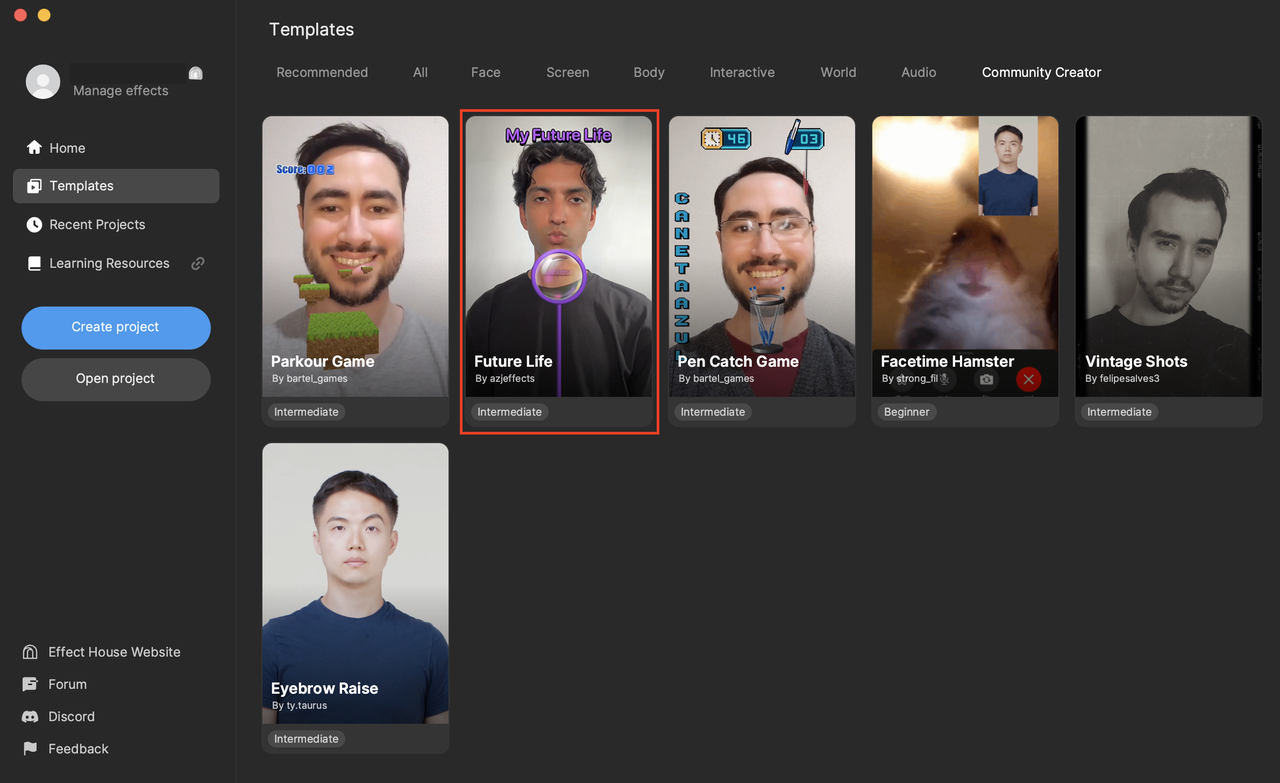
By default, the Future Life effect is activated when you tap the screen, pout, or pucker. Three bubbles titled Lover, Income, and Kids float to the top of the screen. The titles are subsequently replaced by randomly selected answers (i.e. No One, $-10K, and 0).
How to Use This Template
Open Effect House, go to Templates, click the Community Creator tab, and select the Future Life template.
Hierarchy
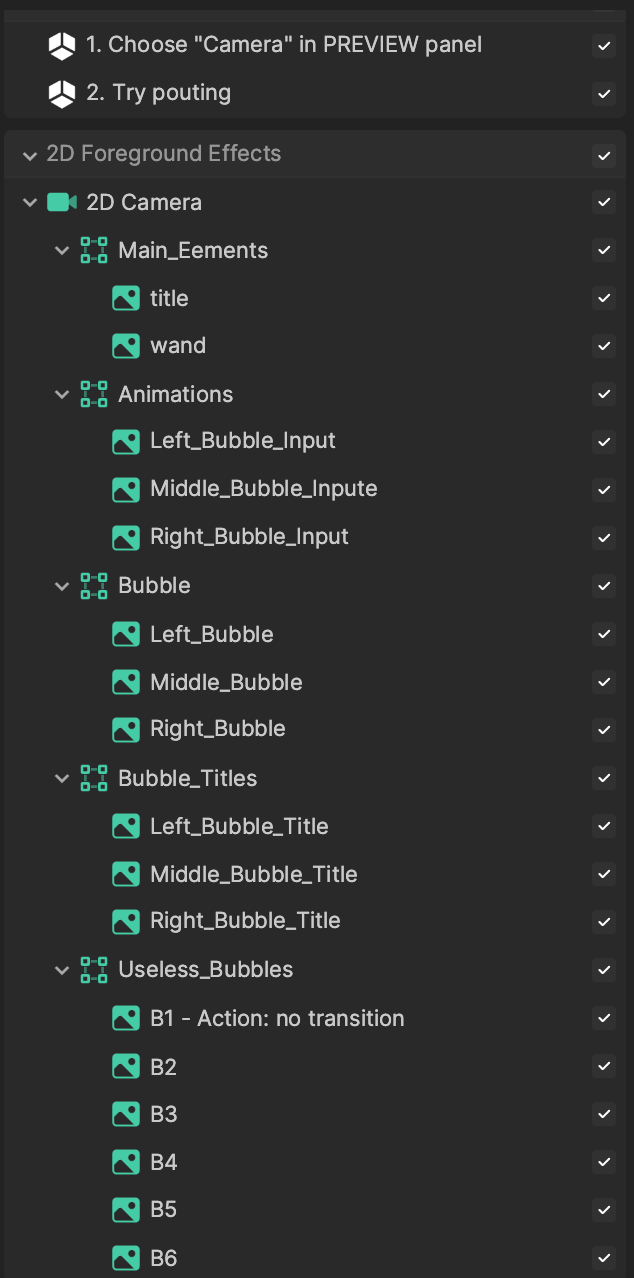
The main render group responsible for this effect is 2D Foreground Effects, which contains screen images grouped into different categories.
Main_Elements contains the title and wand objects, while Animations, Bubble, and Bubble_Titles contain the animated textures, textures, and titles for the three main bubbles, respectively. Useless_Bubbles contains the decorative bubbles that float upward then offscreen.
The TIPS render group indicates how to trigger the effect instead of tapping the screen. If you click the Camera button in the Preview panel to use your webcam feed and then make a pouting or puckering face, the effect will initiate.
Assets
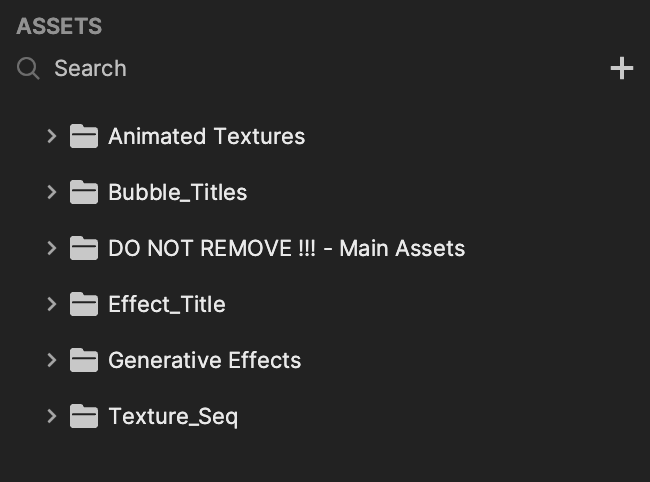
The Assets panel contains the following assets within the included folders:
- Animated Textures: Contains the animated textures for the left, middle, and right bubbles. The corresponding texture sequences are in the Texture_Seq folder.
- Bubble_Titles: Houses the textures for each bubble's initial title: Lover, Income, and Kids.
- DO NOT REMOVE !!! - Main Assets: Contains textures for the bubble and bubble wand.
- Effect_Title: Holds the texture for the effect's title: My Future Life.
- Generative Effects: Houses the Pucker and Unhappy generative effects.
- Texture_Seq: Contains texture sequences for the potential answers to Lover, Income, and Kids. animated textures of each bubble, the title of each bubble (Lover, Income, and Kids), the main bubble and wand assets, and the effect title (My Future Life).
Do not remove or make any modifications to the DO NOT REMOVE!!! - Main Assets folder.
Customize the Template
To customize the template, you need to create assets to replace the effect's title, each bubble's title, and the animated textures.
When creating assets, make sure they are white to ensure optimal color customization. See Asset Colors.
Change the Main Title and Bubble Titles
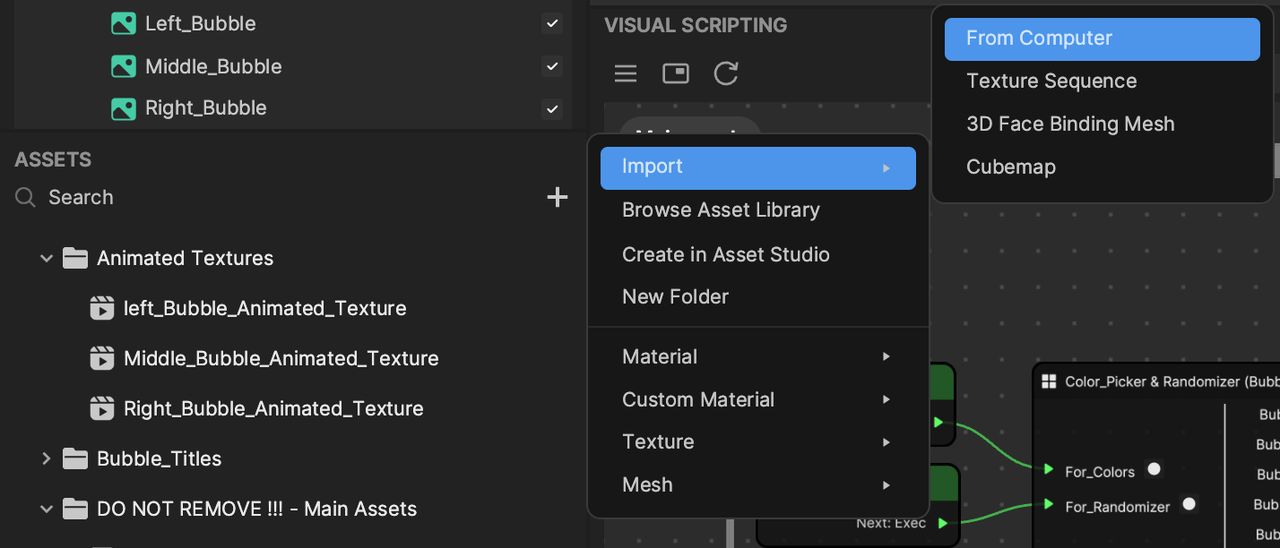
For example, to change the default title to something else, you must first create a texture with your desired title. Then import your new title texture by clicking the Add button [+] in the Assets panel, going to Import, clicking From Computer, and then selecting the file.
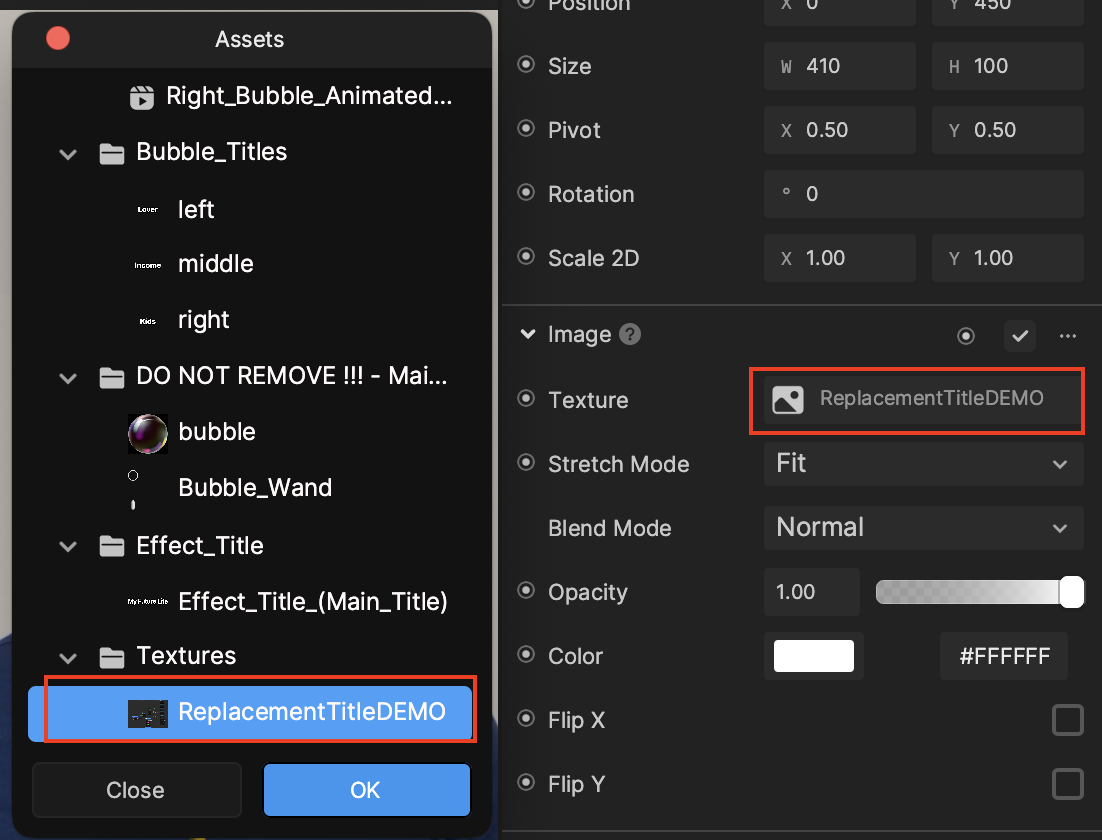
Then click the title object in the Hierarchy panel, go to the Inspector panel, and click the Image component's Texture field. Select your imported file and then click OK.
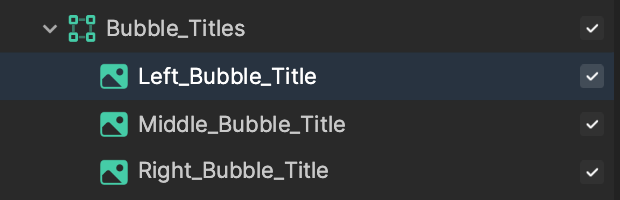
To replace the bubble titles, follow the same process. Create textures with your desired titles, then import them into the Assets panel. Go to the Bubble_Titles group in the Hierarchy panel, and change the texture of each bubble title object to your imported texture.
Change the Animated Textures
In this template, the animated textures contain answers that are randomly selected and populate the bubbles. To change the list of potential answers, you must prepare a sequence of textures containing your desired answers. Learn more about texture sequence preparation.
Import your prepared texture sequence by clicking the Add button [+] in the Assets panel, going to Import, clicking Texture Sequence, and then selecting the file. Your texture sequence will import as both an animated texture and a texture sequence.
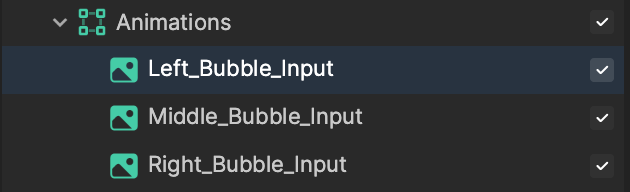
Once your animated textures are ready in the Assets panel, go to the Animations group in the Hierarchy panel, and change the texture of each bubble title object to your imported animated textures.
You must also change visual scripting to reflect your new animated textures. Double-click the Color_Picker & Randomizer (Bubble_Input) subgraph to access its base logic.
Go to the Animated Texture Player node and change the Animated Texture to your new animated texture. There are three Animated Texture Player nodes corresponding to the three different bubbles, so be sure to change them accordingly.
Asset Colors
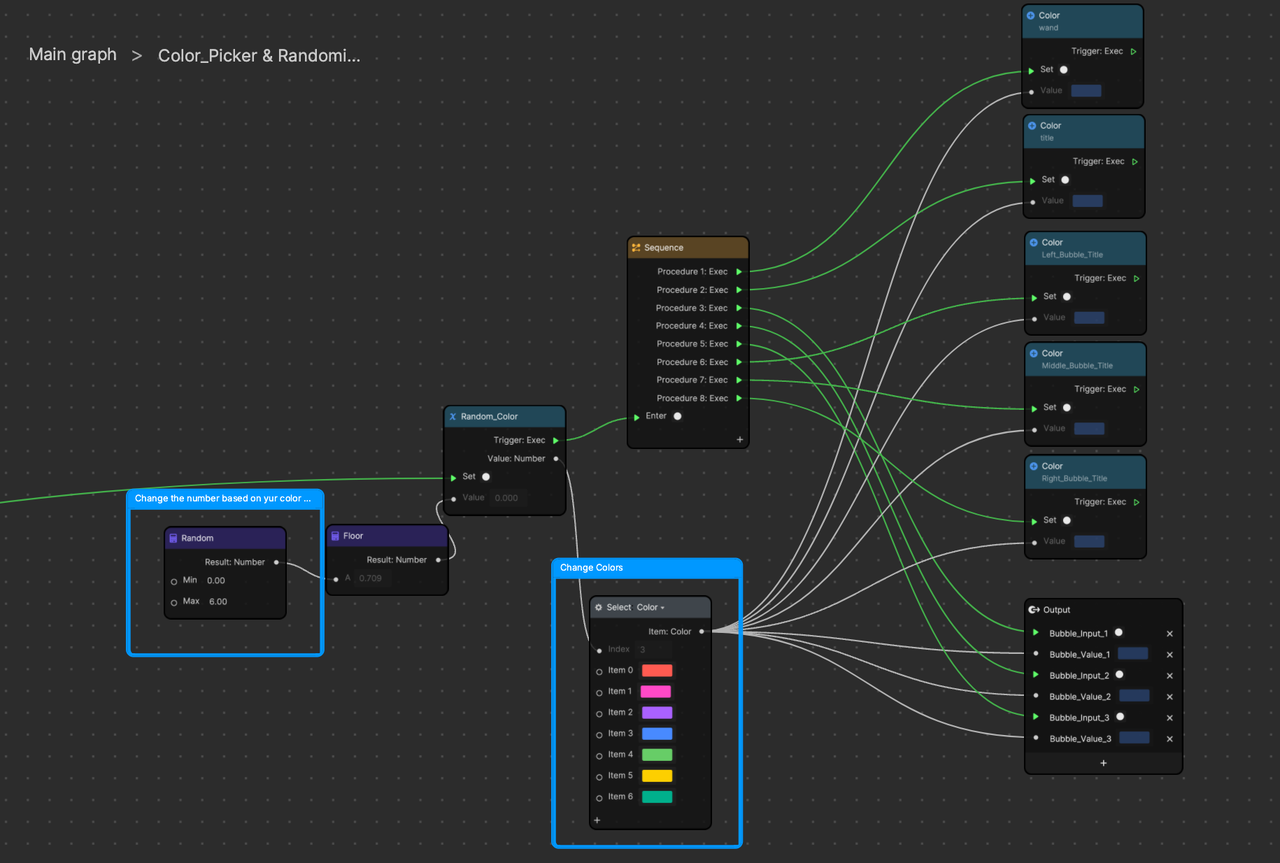
Visual scripting is preconfigured such that a new color is randomly assigned every time the effect starts. Within the Color_Picker & Randomizer (Bubble_Input) subgraph, the Change Color comment box contains several preset colors that are randomly chosen from.
When creating assets, make sure they are white in color. This allows for consistent color customization using the preset colors.
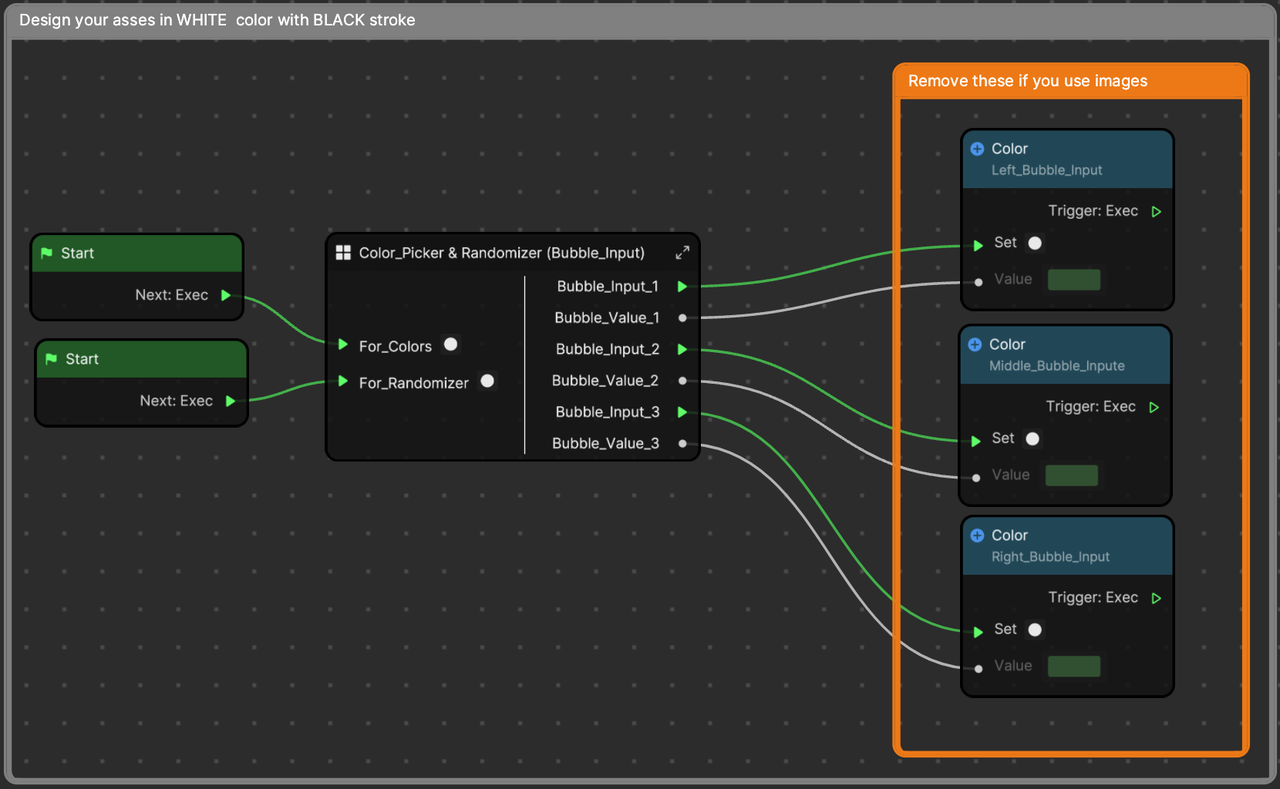
If you don't want the effect to change the color of your assets, delete the connection between the Start node and the For_Colors input of the Color_Picker & Randomizer (Bubble_Input) subgraph.
If your animated texture uses images instead of text, you may delete the nodes within the Remove these if you use images comment box.
Inspiration
Listed are some potential ideas for customization. Feel free to get creative!
- My Three Wishes
- My Future Job
- My Love Life
- My Favorite Pop Culture Icons