Face Swap
Use Face Swap to swap the faces of a group of people!

How to Use This Template
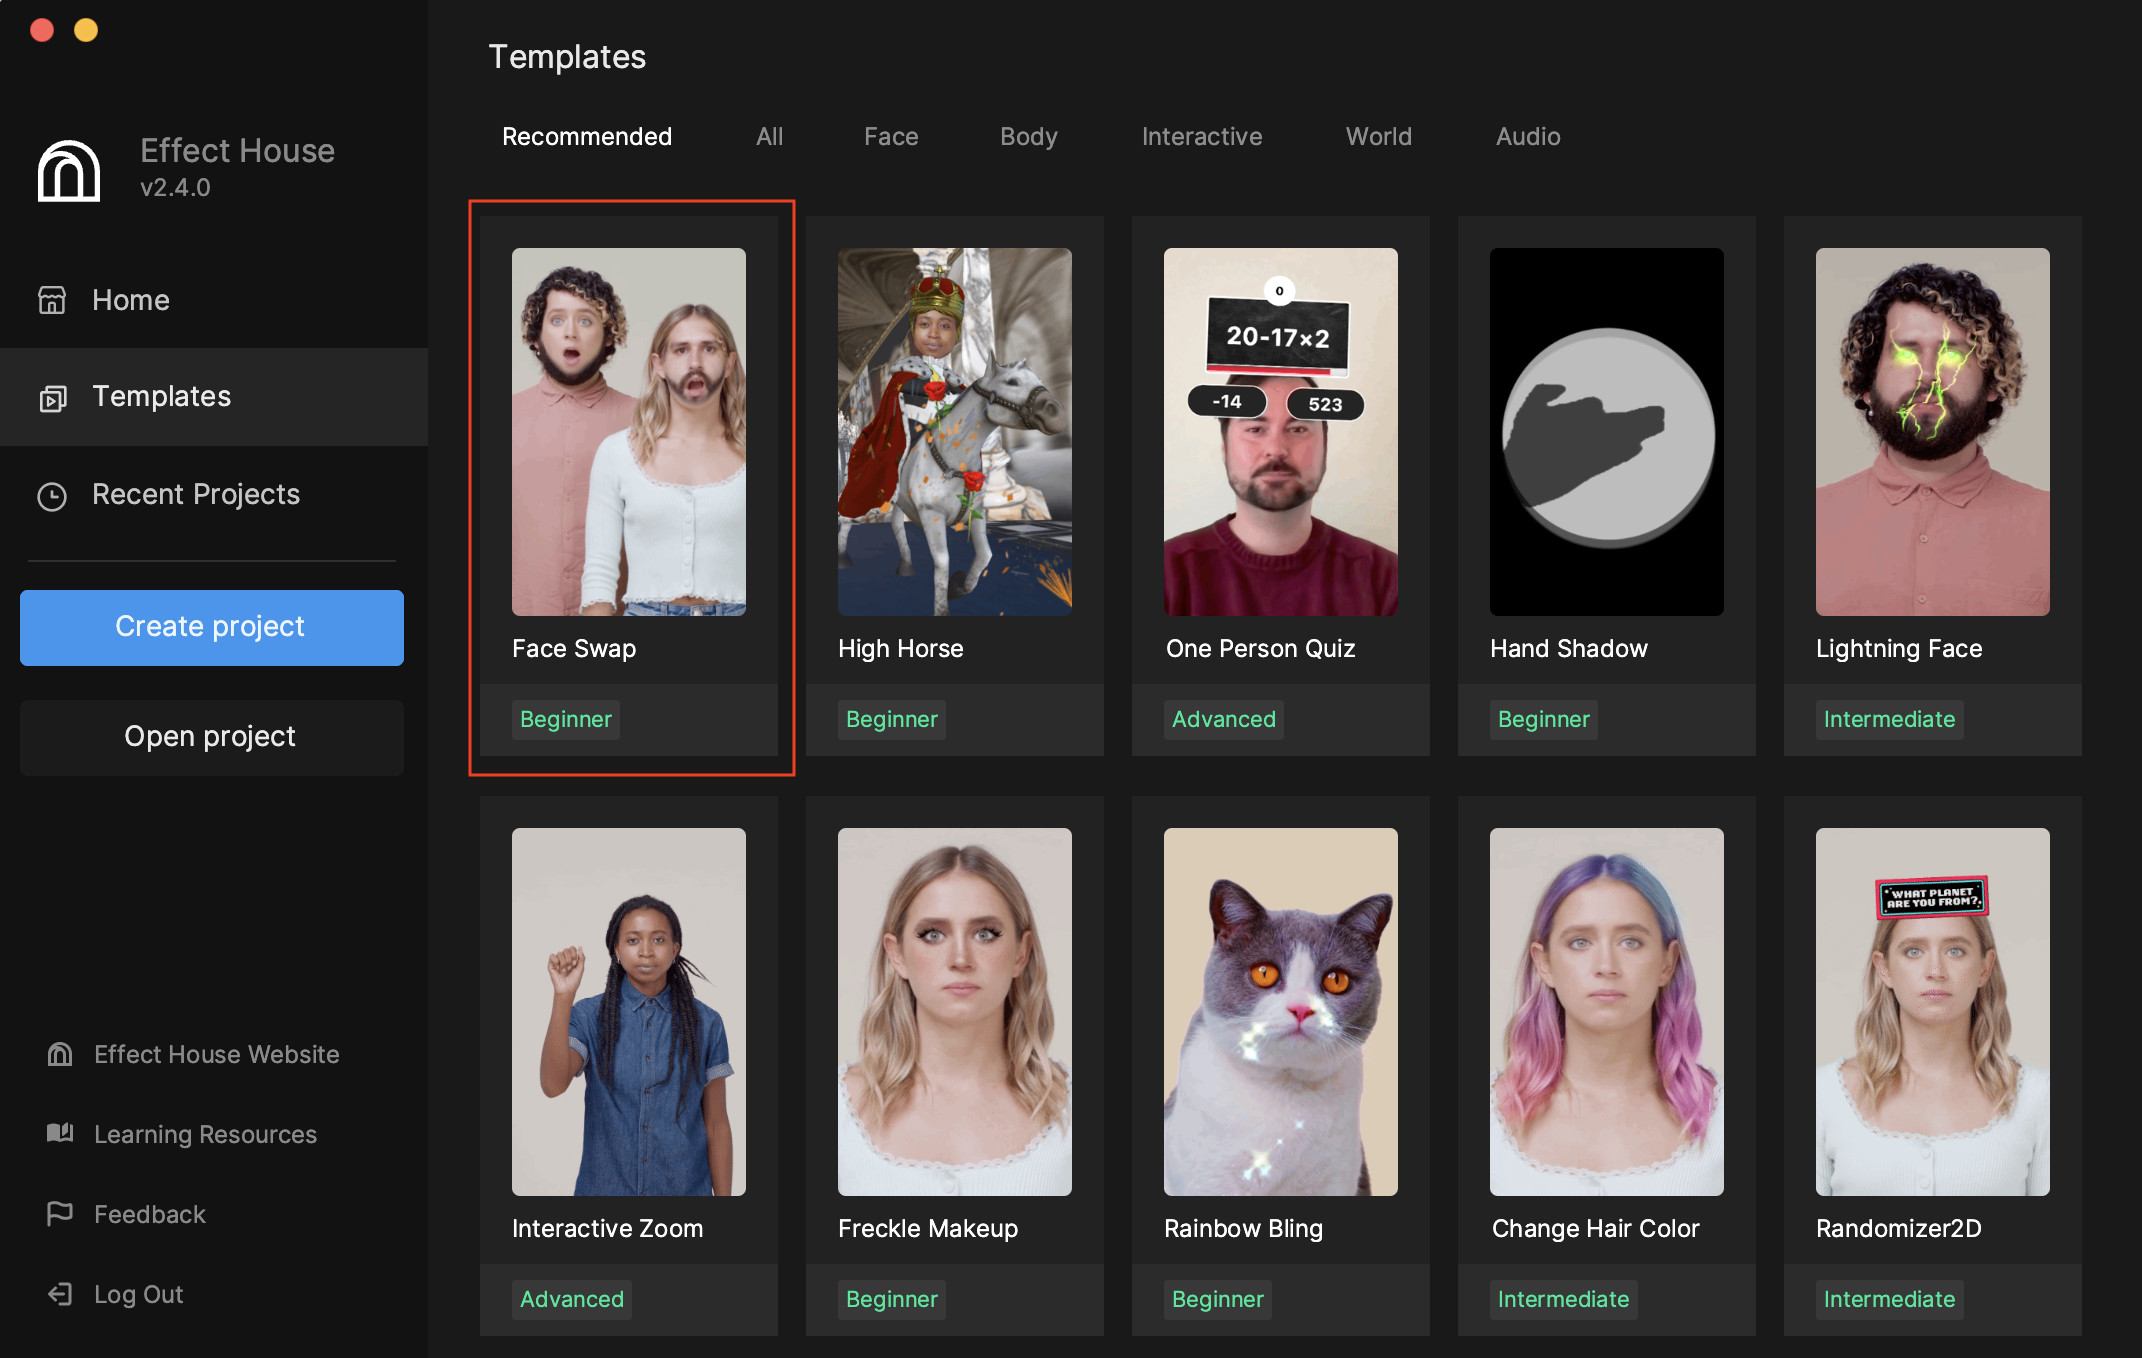
Open Effect House, go to Templates, and select the Face Swap template.
First, a preview media with two faces must be selected. The face swap effect requires two faces to be present, so choose a Two Person media from the Preview menu.
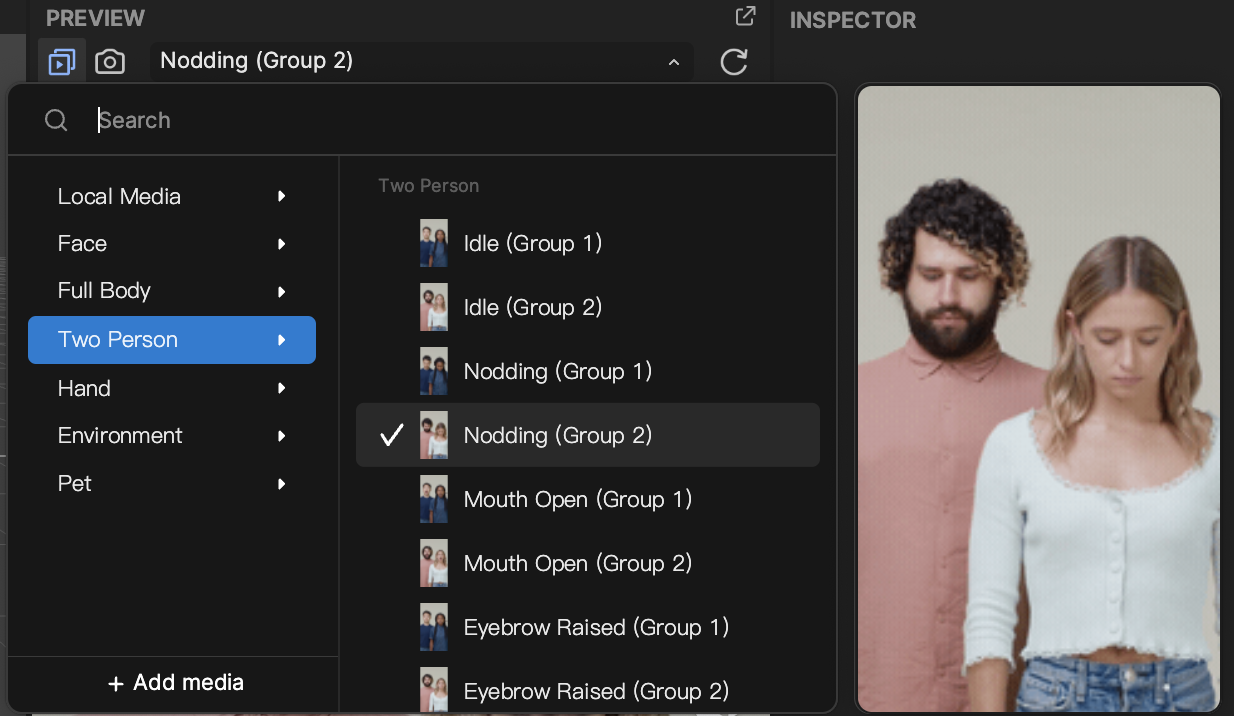
You can see the face swap in the Preview panel. So how does this work?
3D Face Objects
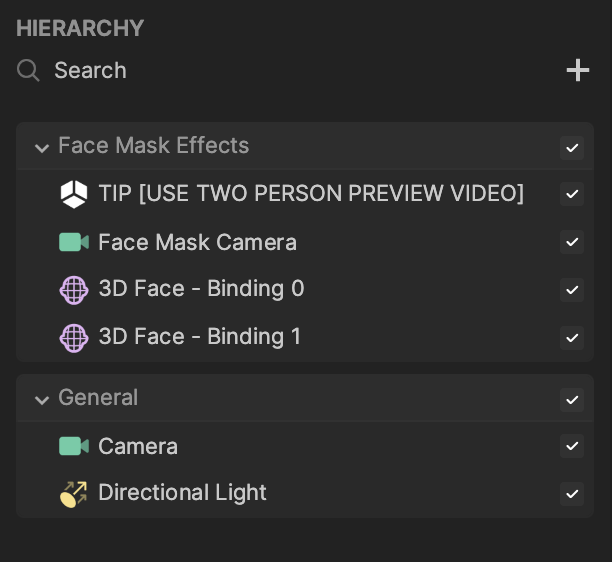
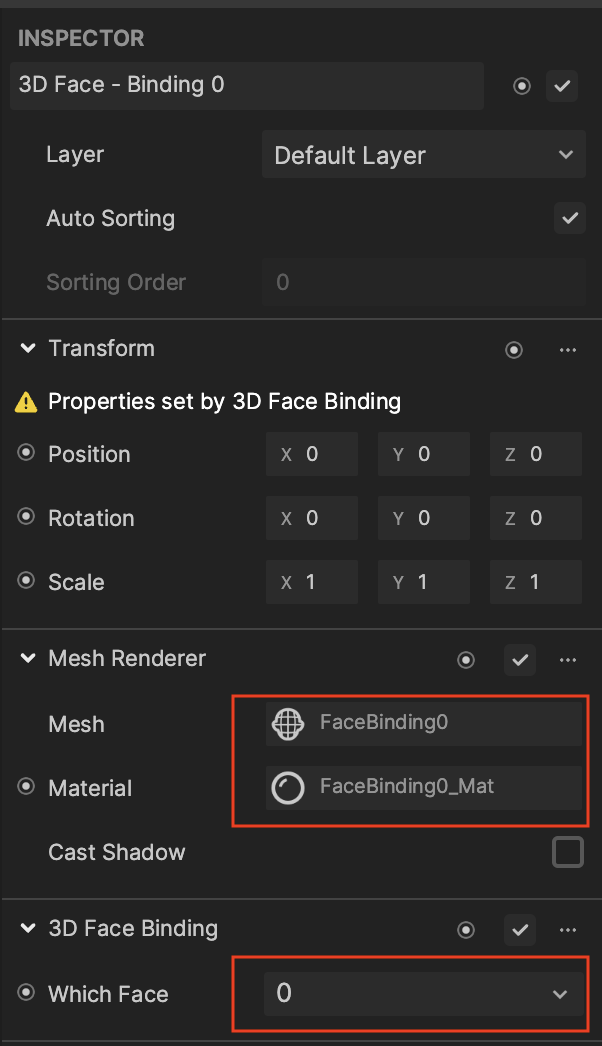
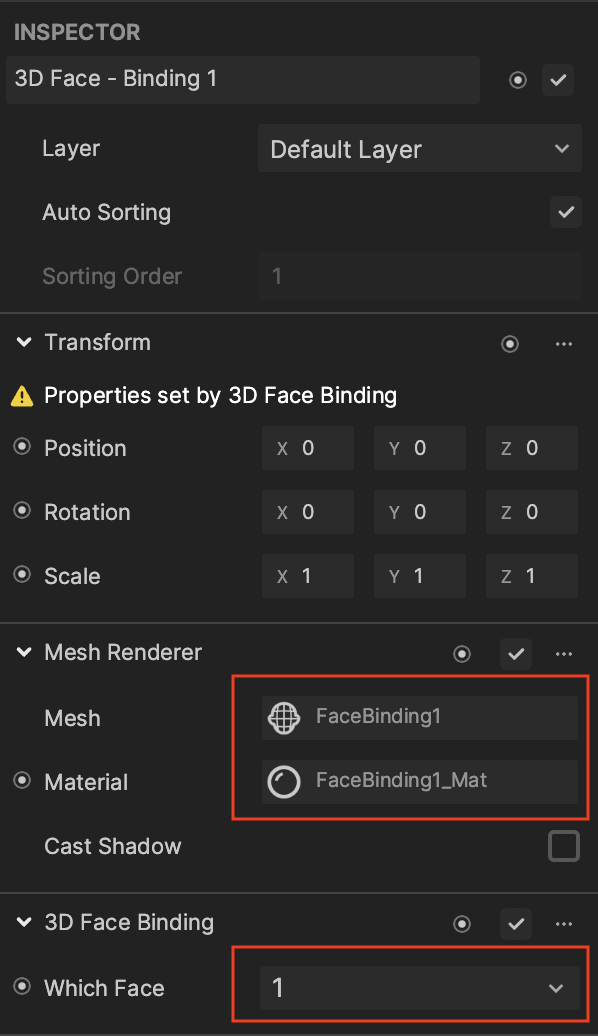
This template provides two 3D Face objects in the Hierarchy panel that are responsible for different meshes and materials. 3D Face – Binding 0 detects the first detected face, or Which Face 0. 3D Face – Binding 1 detects the next detected face, or Which Face 1.
Click 3D Face – Binding 0 and locate the Mesh Renderer component in the Inspector panel. You can see that the Mesh is assigned to FaceBinding0 and the Material is assigned to FaceBinding0_Mat. Similarly, 3D Face – Binding 0 is responsible for FaceBinding1 and FaceBinding1_Mat.
Face Binding Assets
In the Assets panel, expand the FaceSwapAssets folder to locate the material assets.
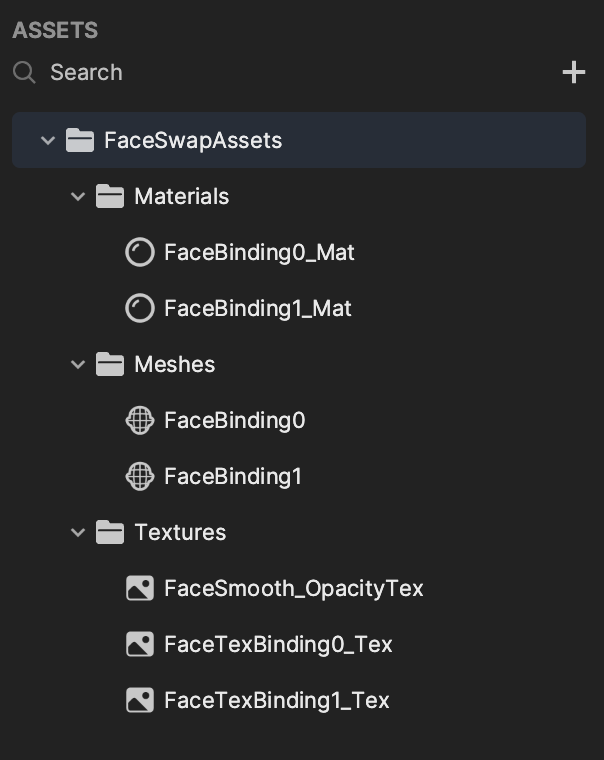
The face texture is responsible for cropping the face and placing it on the material. Select FaceBinding0_Mat in the Materials folder and notice that FaceTextBinding0_Tex is the assigned texture in the Inspector panel. Similarly, FaceTextBinding1_Tex is the assigned texture of FaceBinding1_Mat.
The Texture On property is enabled by default. Disabling it will prevent the face swap from occurring.
The face swap appears smooth due to the FaceSmooth_OpacityTex texture. This is assigned to the Opacity component in the Inspector panel, which is enabled by default. Disabling the Opacity component causes the face swap to appear unnatural and rigid.