Face Avatar Drive
The Face Avatar Drive functionality allows you to track the position and movements of features on the face in 3D. You can choose to track all features of the face or track only particular features.
The following steps use Autodesk® Maya®.
Prepare a Face Avatar Model
Create the base character mesh with a neutral expression, closed mouth (or in the default position you want for the mouth), and open eyes.
In this tutorial, the default position for this character is a slightly opened mouth.
Duplicate the mesh as many times as needed to sculpt all the required blend shapes.
Do not alter the mesh topology.
Translation attribute values on the meshes are acceptable, as shown in the image below, but do not freeze transforms after translating the meshes. The zero position of all meshes should be at (0, 0, 0).
In-between blend shapes, such as for sculpting the eye blinks, are acceptable. There is no limit to how many in-between blend shapes can be added.
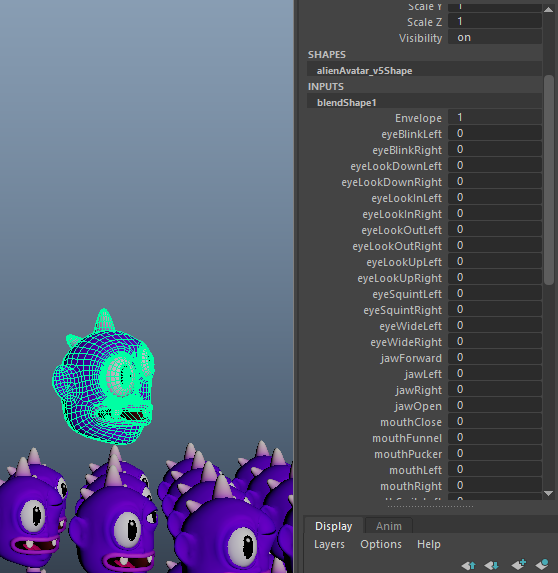
When all expression input blend shapes have been sculpted, add them all as a blend shape node on the neutral base mesh.
First, select all the expression blend shapes, then select the base mesh. The order of selection will affect what order the inputs appear in the blend shape node, and the last mesh selected will be the base object to which the blend shape node is applied to.
With your selection made, go to Modeling mode > Deform > Create > Blend Shape.
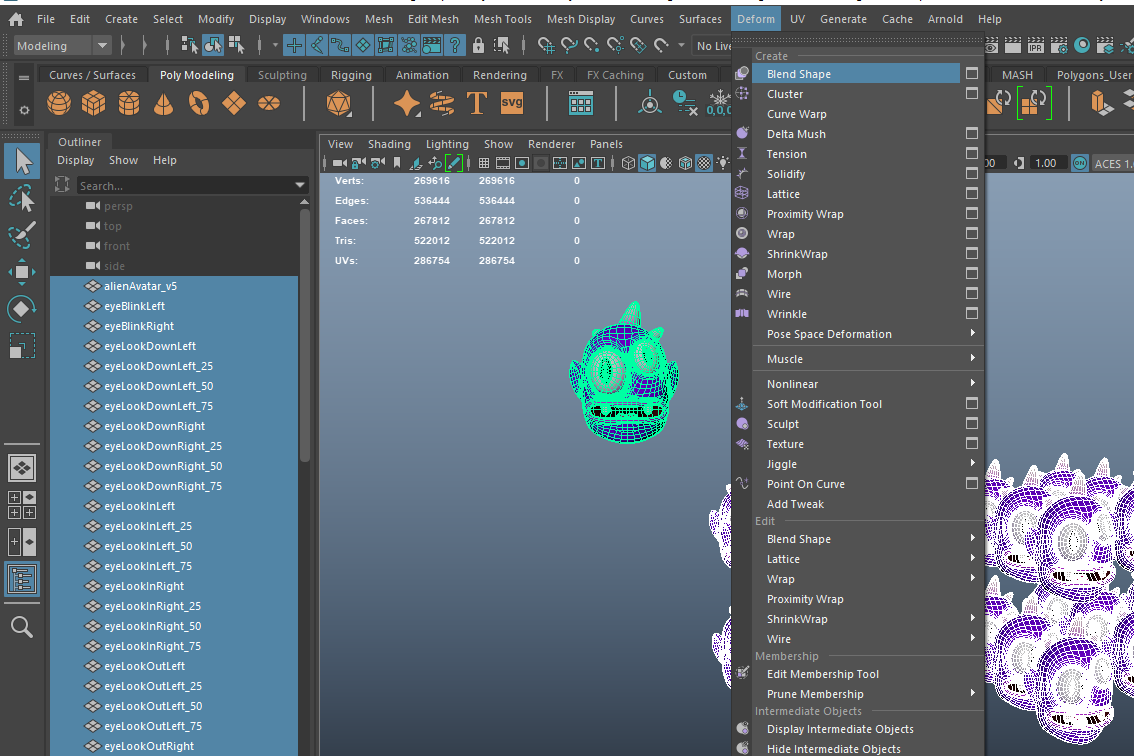
This should result in a single blend shape node on the base mesh with multiple target inputs.
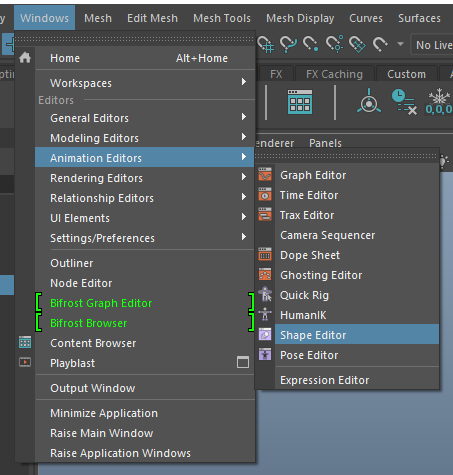
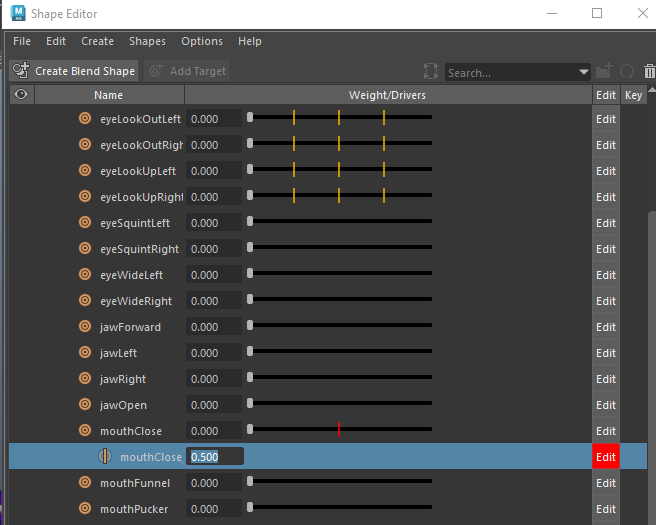
The easiest way to add any in-between blend shapes is by going to Windows > Animation Editors > Shape Editor.
Select the in-between mesh. Then right-click the target input you want to apply it to and click Add Selection as in-Between Target.
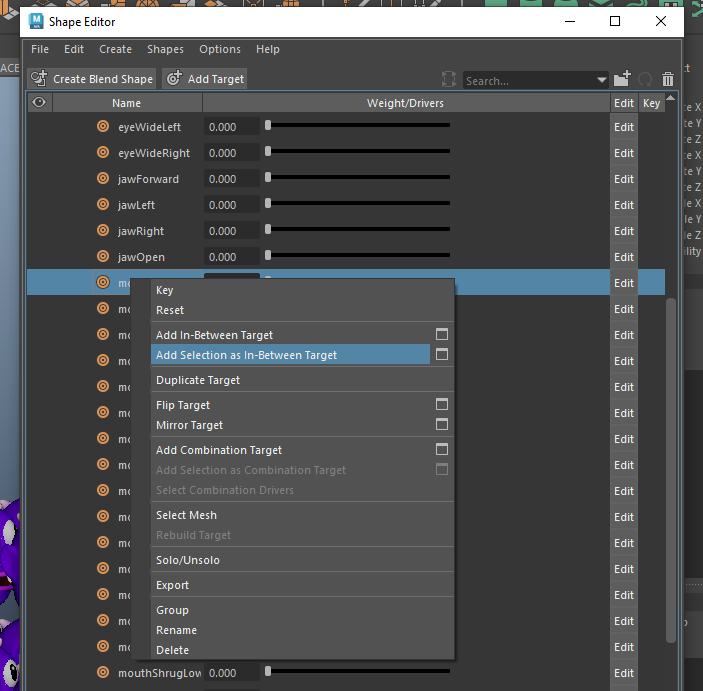
Under the new in-between node that appears, adjust the value to determine at what weight the in-between shape would apply. In this tutorial, setting the weight value to 0.5 mean that when the input of mouthClose is at 0.5, the in-between shape will apply.
See how multiple inputs interact with each other.
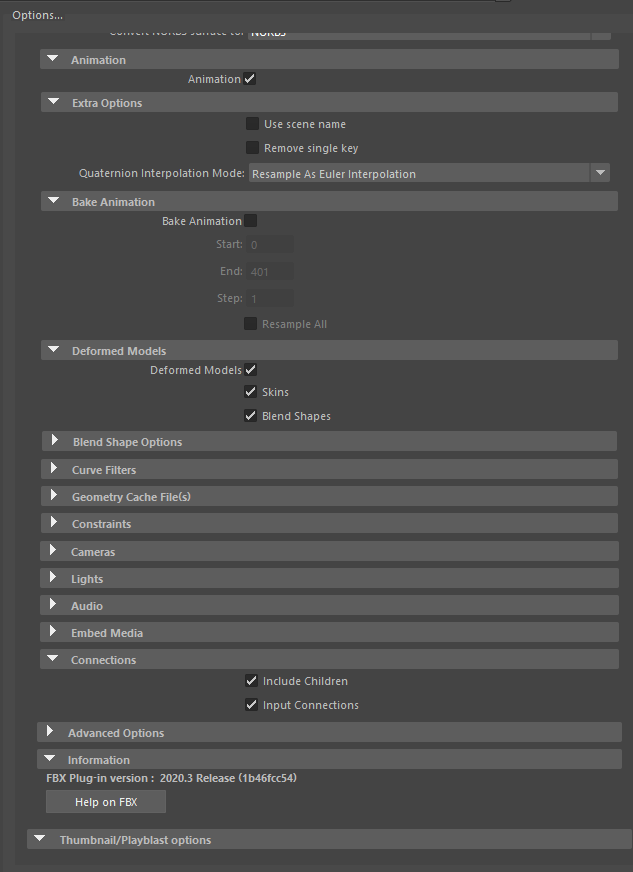
After the blend shape node is complete, select the base mesh and click File > Export Selection. Follow the general FBX export guidelines, making sure that Animation, Deformed Models > Blend Shapes, and Connections > Include Children/Input Connections are selected.
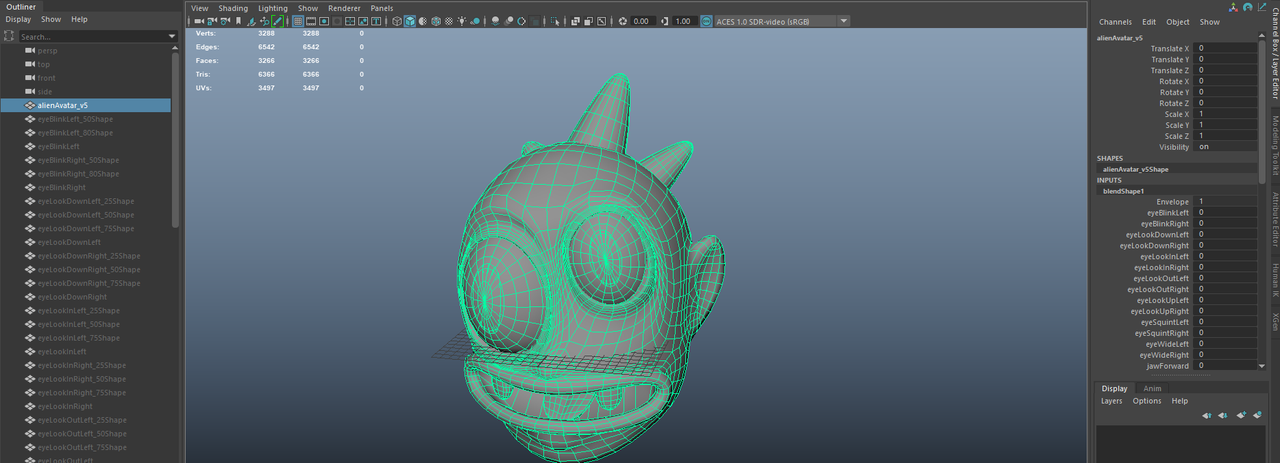
A correctly exported FBX should look like the image below when re-imported into Autodesk® Maya®.
Import Assets
Download the following face avatar assets:
↓ face_avatar_drive_assets.zip
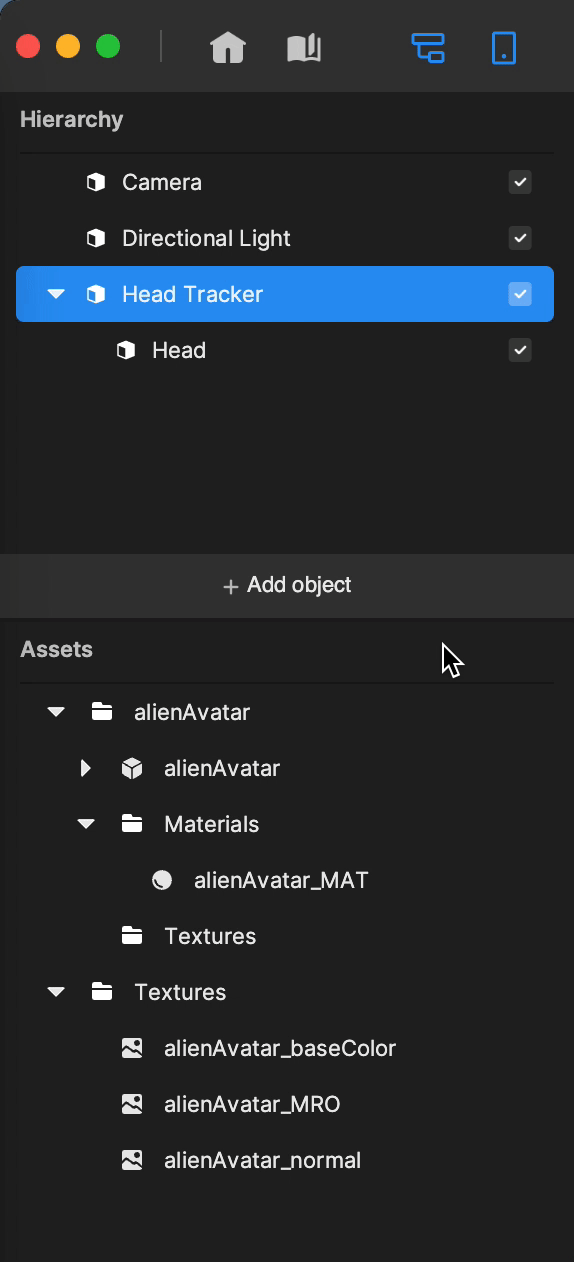
Import the assets for the alien avatar model by clicking Add Asset > Import > From Computer in the Assets panel.
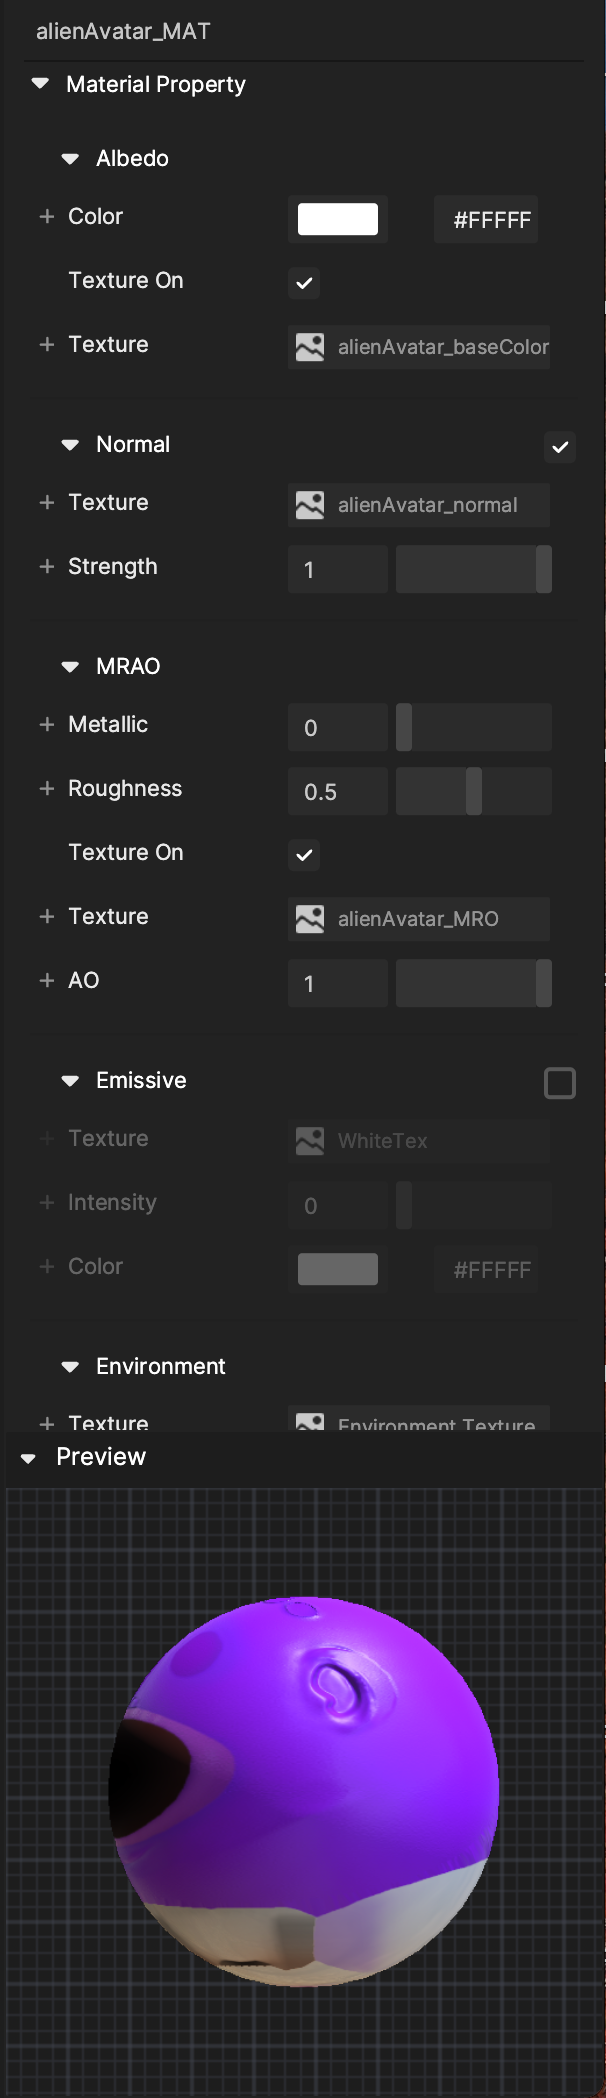
Set Up Materials
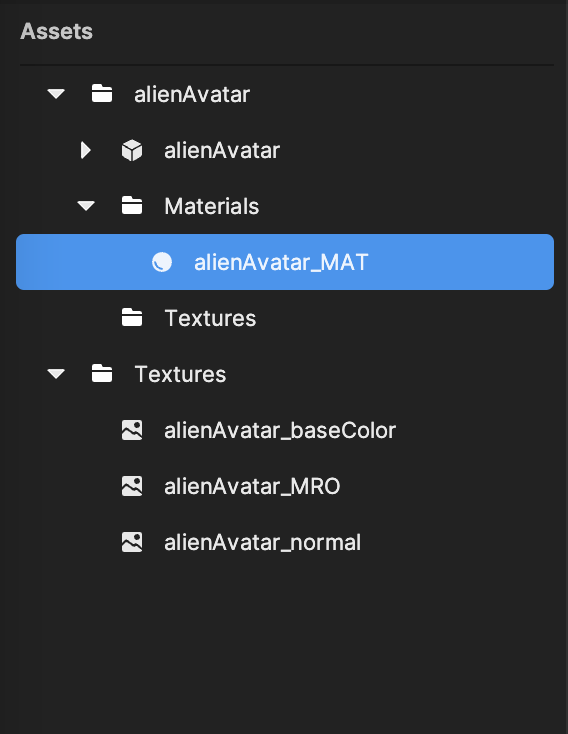
Apply the base color, normal, and MRAO textures provided in the assets to the alienAvatar_MAT material in the Inspector panel.
Add a Head Tracker
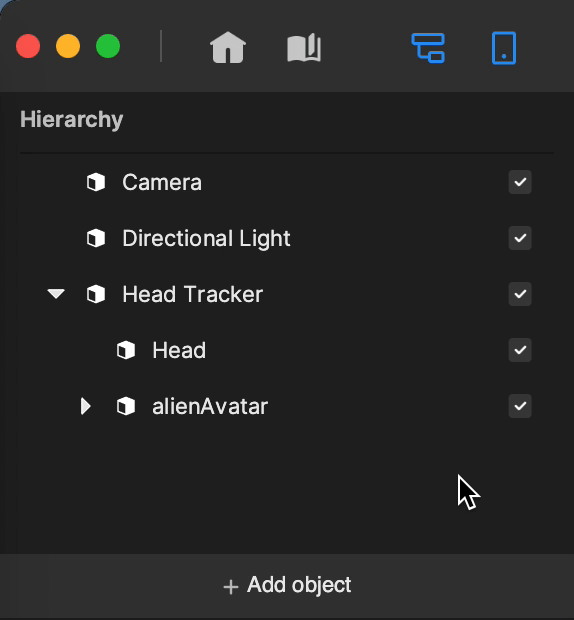
First add a Head Tracker by clicking the Add button [+] > AR Tracking > Head Tracker in the Hierarchy panel.
Now drag the alienAvatar model from the Assets panel to the Hierarchy panel, and nest it under the Head Tracker object. This will ensure that the avatar not only follows the movements of your facial features, but the movements of your entire head as well.
Turn the Head Occluder off by deselecting the checkbox next to the Head object in the Hierarchy panel. This ensures that your head cannot be seen through holes in the alien avatar, such as its mouth. If you don’t intend to use it at all, you can choose to delete it entirely.
Visual Scripting
With a face avatar model, you can track the entire face by tracking all blend shapes or only particular blend shapes of the face.
Option 1: Drive the Entire Face
- Right-click the Visual Scripting panel to click Add node and select the Face Avatar Drive node.
- Click the alienAvatar object nested under SkeletonAndRenderRoot in the Hierarchy panel.
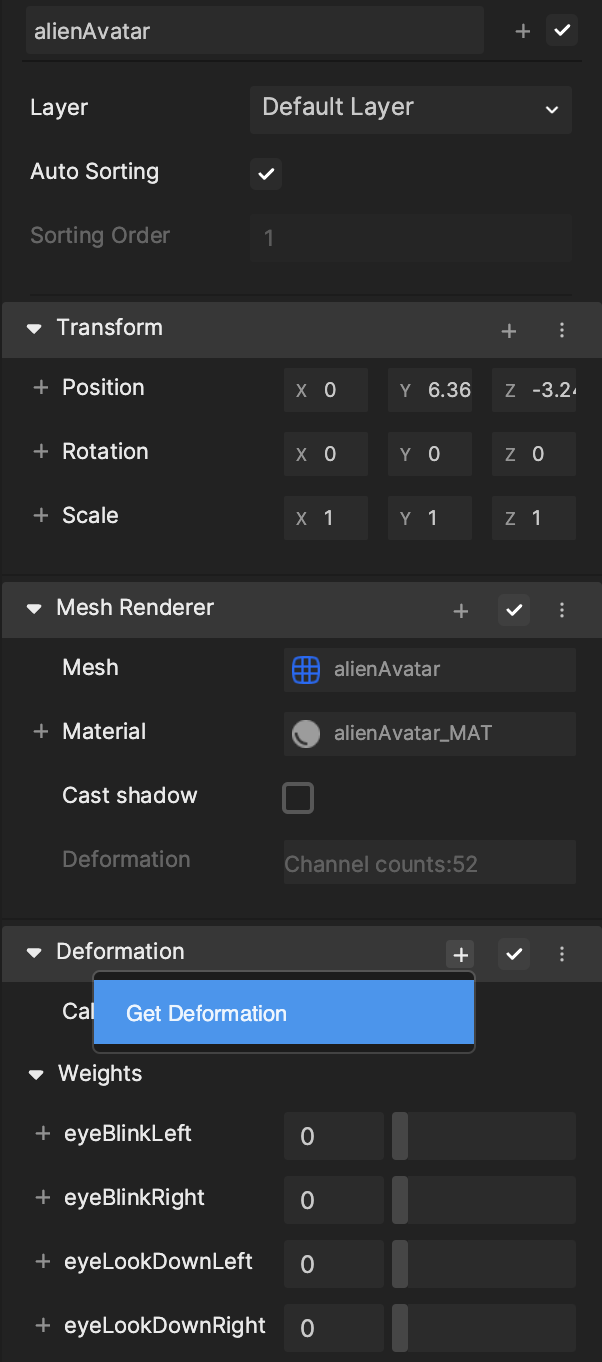
- In the Inspector panel, find the Deformation component.
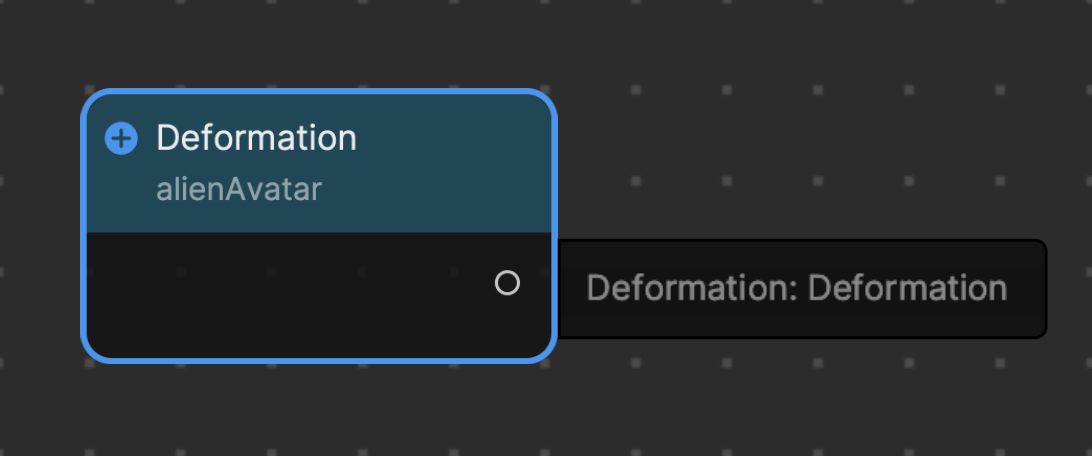
Click the Add button [+] in the Deformation component label and click Get Deformation to get the Deformation node.
- Pass the Update execution into the Face Avatar Drive node and pass the Deformation node as the input.
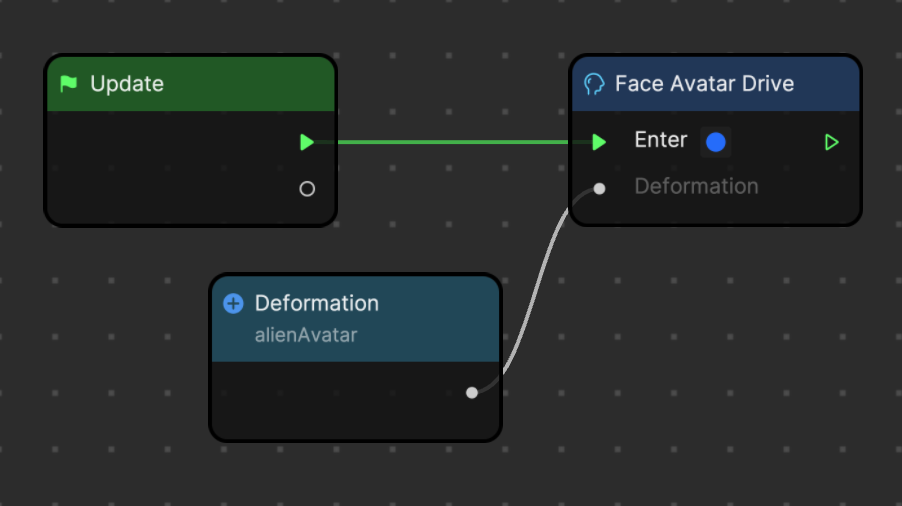
The alien avatar should now be tracking your face movements!
Option 2: Drive Particular Blend Shapes of the Face
- Right-click the Visual Scripting panel to click Add node and select the Face Avatar Result node.
- Click the alienAvatar object nested under SkeletonAndRenderRoot in the Hierarchy panel.
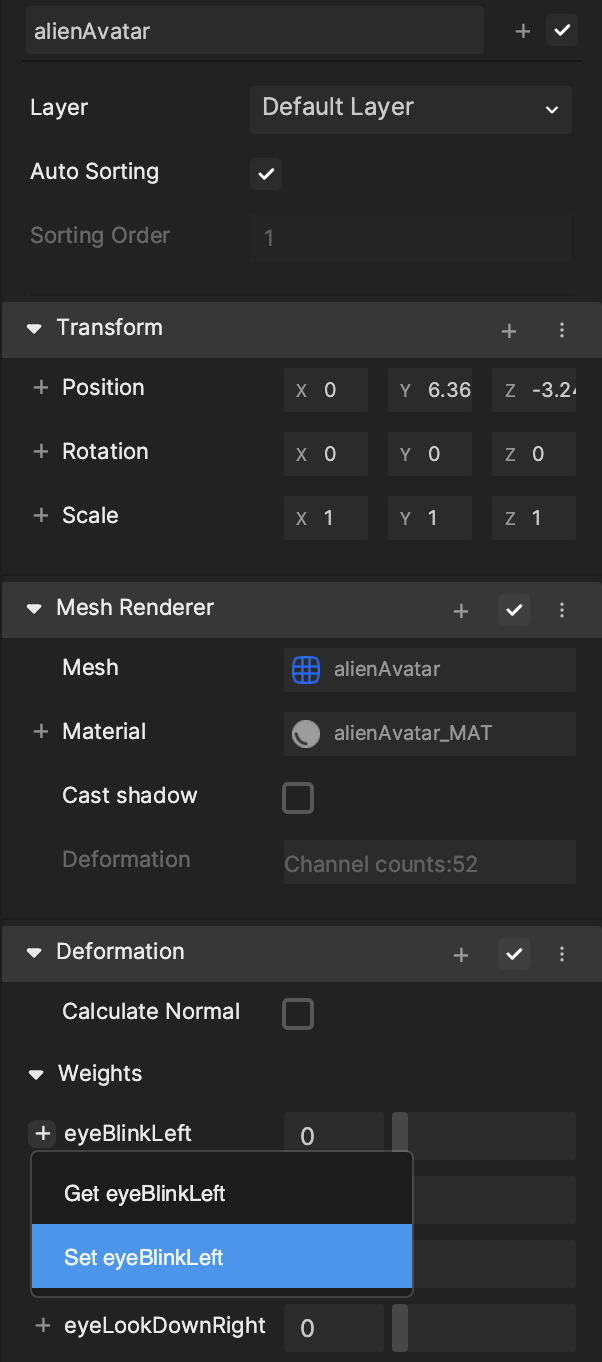
- In the Inspector panel, find the list of blend shapes under the Deformation component. For this tutorial, use the eyeBlinkLeft blend shape. Click the Add button [+] button to the left of the label for eyeBlinkLeft and select Set eyeBlinkLeft in the dropdown to get the SeteyeBlinkLeft node.
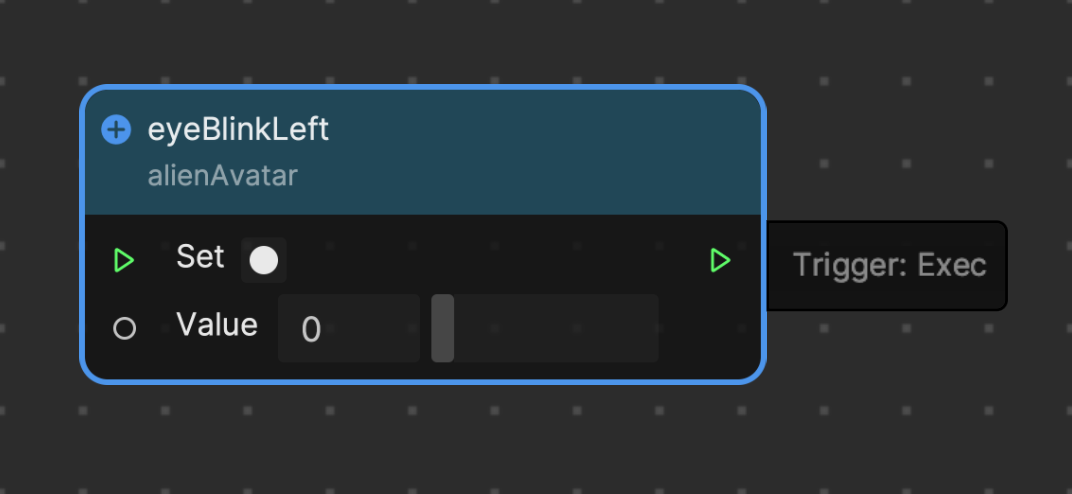
- Pass the Update execution into the Face Avatar Result node, the Face Avatar Result execution into the Set eyeBlinkLeft node, and the Face Avatar Result blend shape to the Set eyeBlinkLeft node as the input.
The mouthClose blend shape channel is not meant to work alone. This channel will only work together with jawOpen. It detects when the jaw opens while keeping the lips closed, so the mouthClose value will never increase over the jawOpen value. The model for mouthClose, on its own, may look like the lower jaw clips through the head. This is because it needs to cancel out the influence of jawOpen on the lips to close them.
The alien avatar should now be tracking only the selected blend shapes!
Here is an example of eyeBlinkLeft, eyeBlinkRight, and jawOpen each being tracked by Face Avatar Result.