Clothing Try On
The Body Avatar Drive functionality allows you to track the position and rotation of joints on the body in 3D. You can track one full-body as well as multiple partial bodies.
In this tutorial, you’ll learn how to use the Body Avatar Drive component to create a try on effect. You’ll also learn how to apply a material to the model.
Prepare
Before we get started, download the assets to find the unfinished_ClothTryOn project and open it in Effect House.
You will see all the needed assets have been imported into the Assets panel.
You can import assets by dragging them to the Assets panel or clicking the Add button [+] > Import asset in the Assets panel.
Add 3D Models to Hierarchy Panel
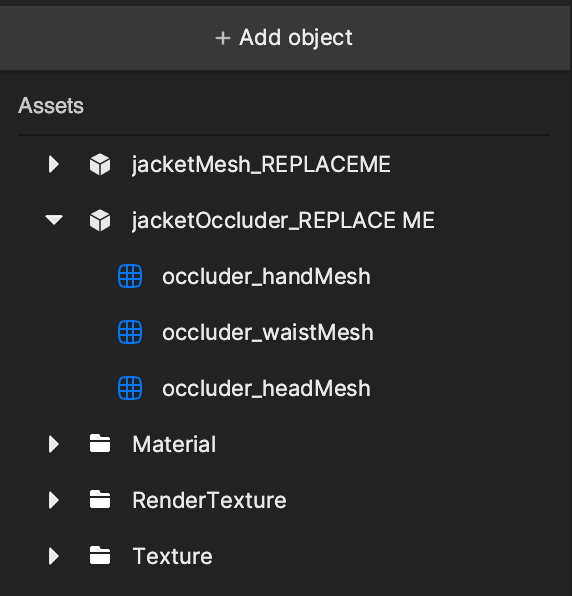
Drag jacketOccluder_REPLACEME, jacketMesh_REPLACEME, and occluder assets to the Hierarchy panel. You can automatically preview the model and adjust the transform to fit on the screen.
We have three sub meshes for occluders: hand, waist, and head.
Add Body Avatar Drive Component
Go to the Hierarchy panel, click the Add button [+] > AR Tracking > Body Avatar Drive. This will create the functional entity along with the Body Avatar Drive component. Next, nest jacketOccluder_REPLACEME underneath Body Avatar Drive.
Repeat this process for jacketMesh_REPLACEME.
Right-click Body Avatar Drive and Body Avatar Drive (1) and rename them to “Occluder” and “Clothing” depending on which asset is nested underneath it.
Each Body Avatar Drive will only trigger one rigging skeleton, so a separate Body Avatar Drive for the occluder and jacket meshes are created.
The Follow Body Position in the Inspector panel directs whether the entity will follow your body transform. And in this scenario, we select this parameter since we would love the clothing to follow the body transform.
If you don’t want the entity to match your body movements. You can deselect this property and customize the entity’s transform.
Applying Body and Occluder Material
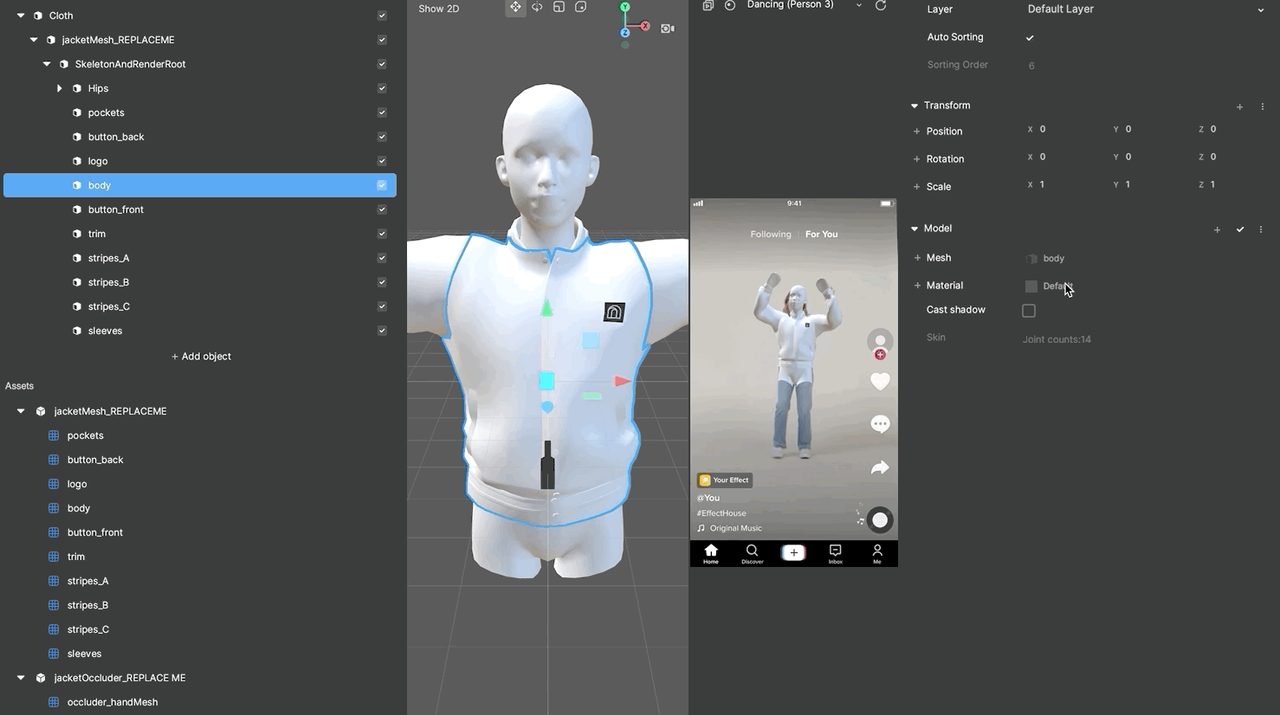
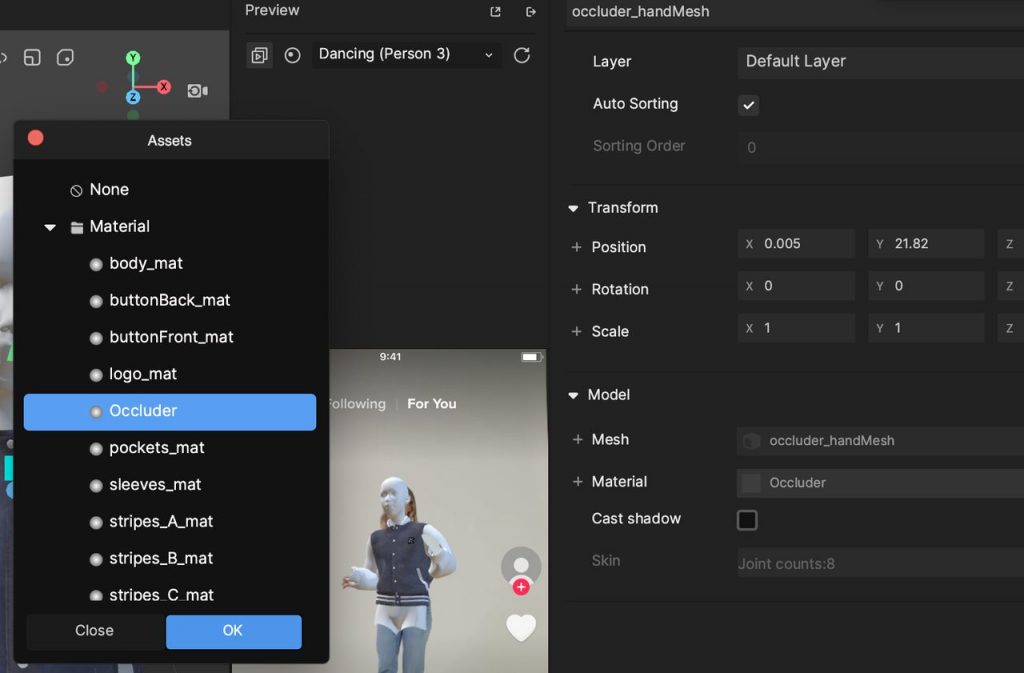
First set up a cloth material for Clothing. Go to the Inspector panel, click Material, and choose the corresponding material. Multiple materials are available for the different meshes like pocket, button, logo, body, button_front, and so on.
Feel free to import your customized textures and apply on the different clothing parts to design your own clothing.
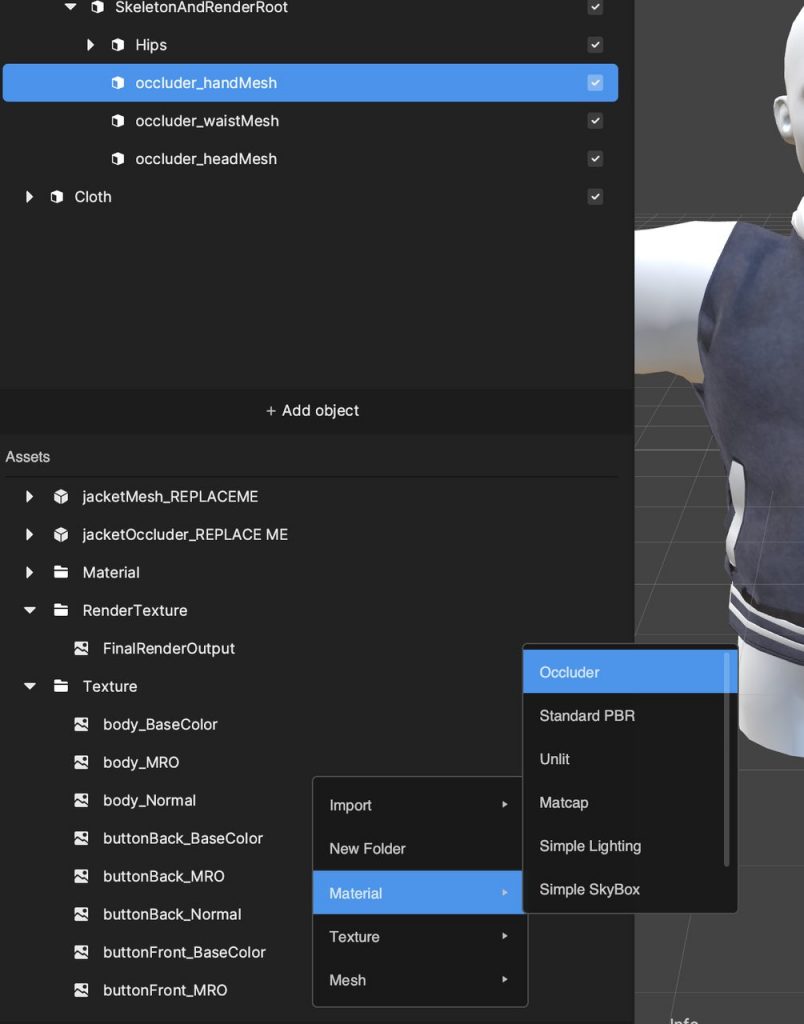
Then we can apply the built-in occluder material for the occluder entities.
Customizing FBX Model
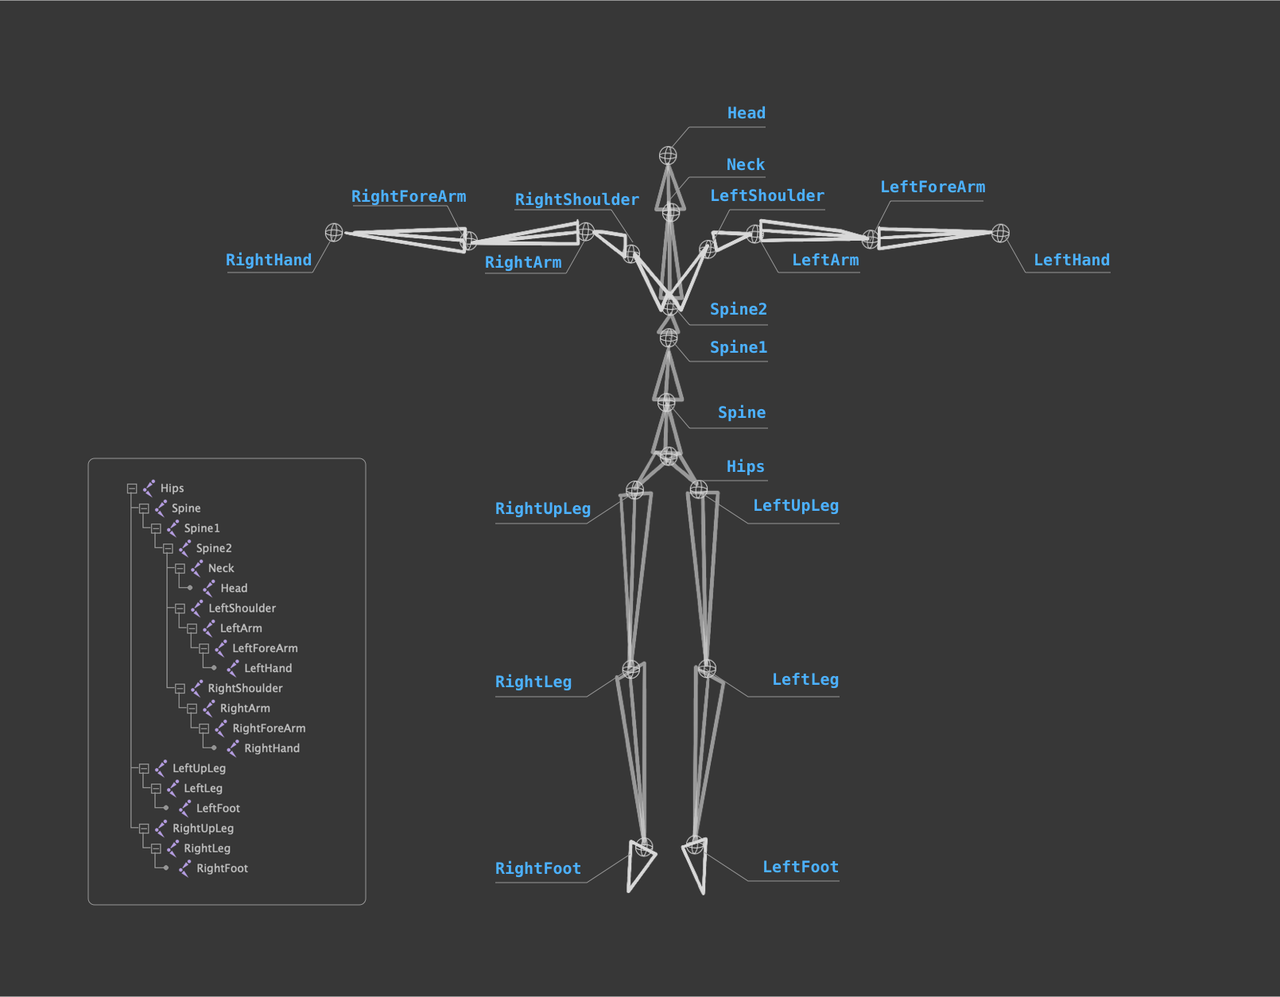
See Body Avatar Drive to learn more about customizing FBX model for the 3D character. In this guide, you will be able to download the BodyRigTemplate.fbx to use as a reference for keypoints and positions on the 3D body and also learn about best practice for naming conventions.