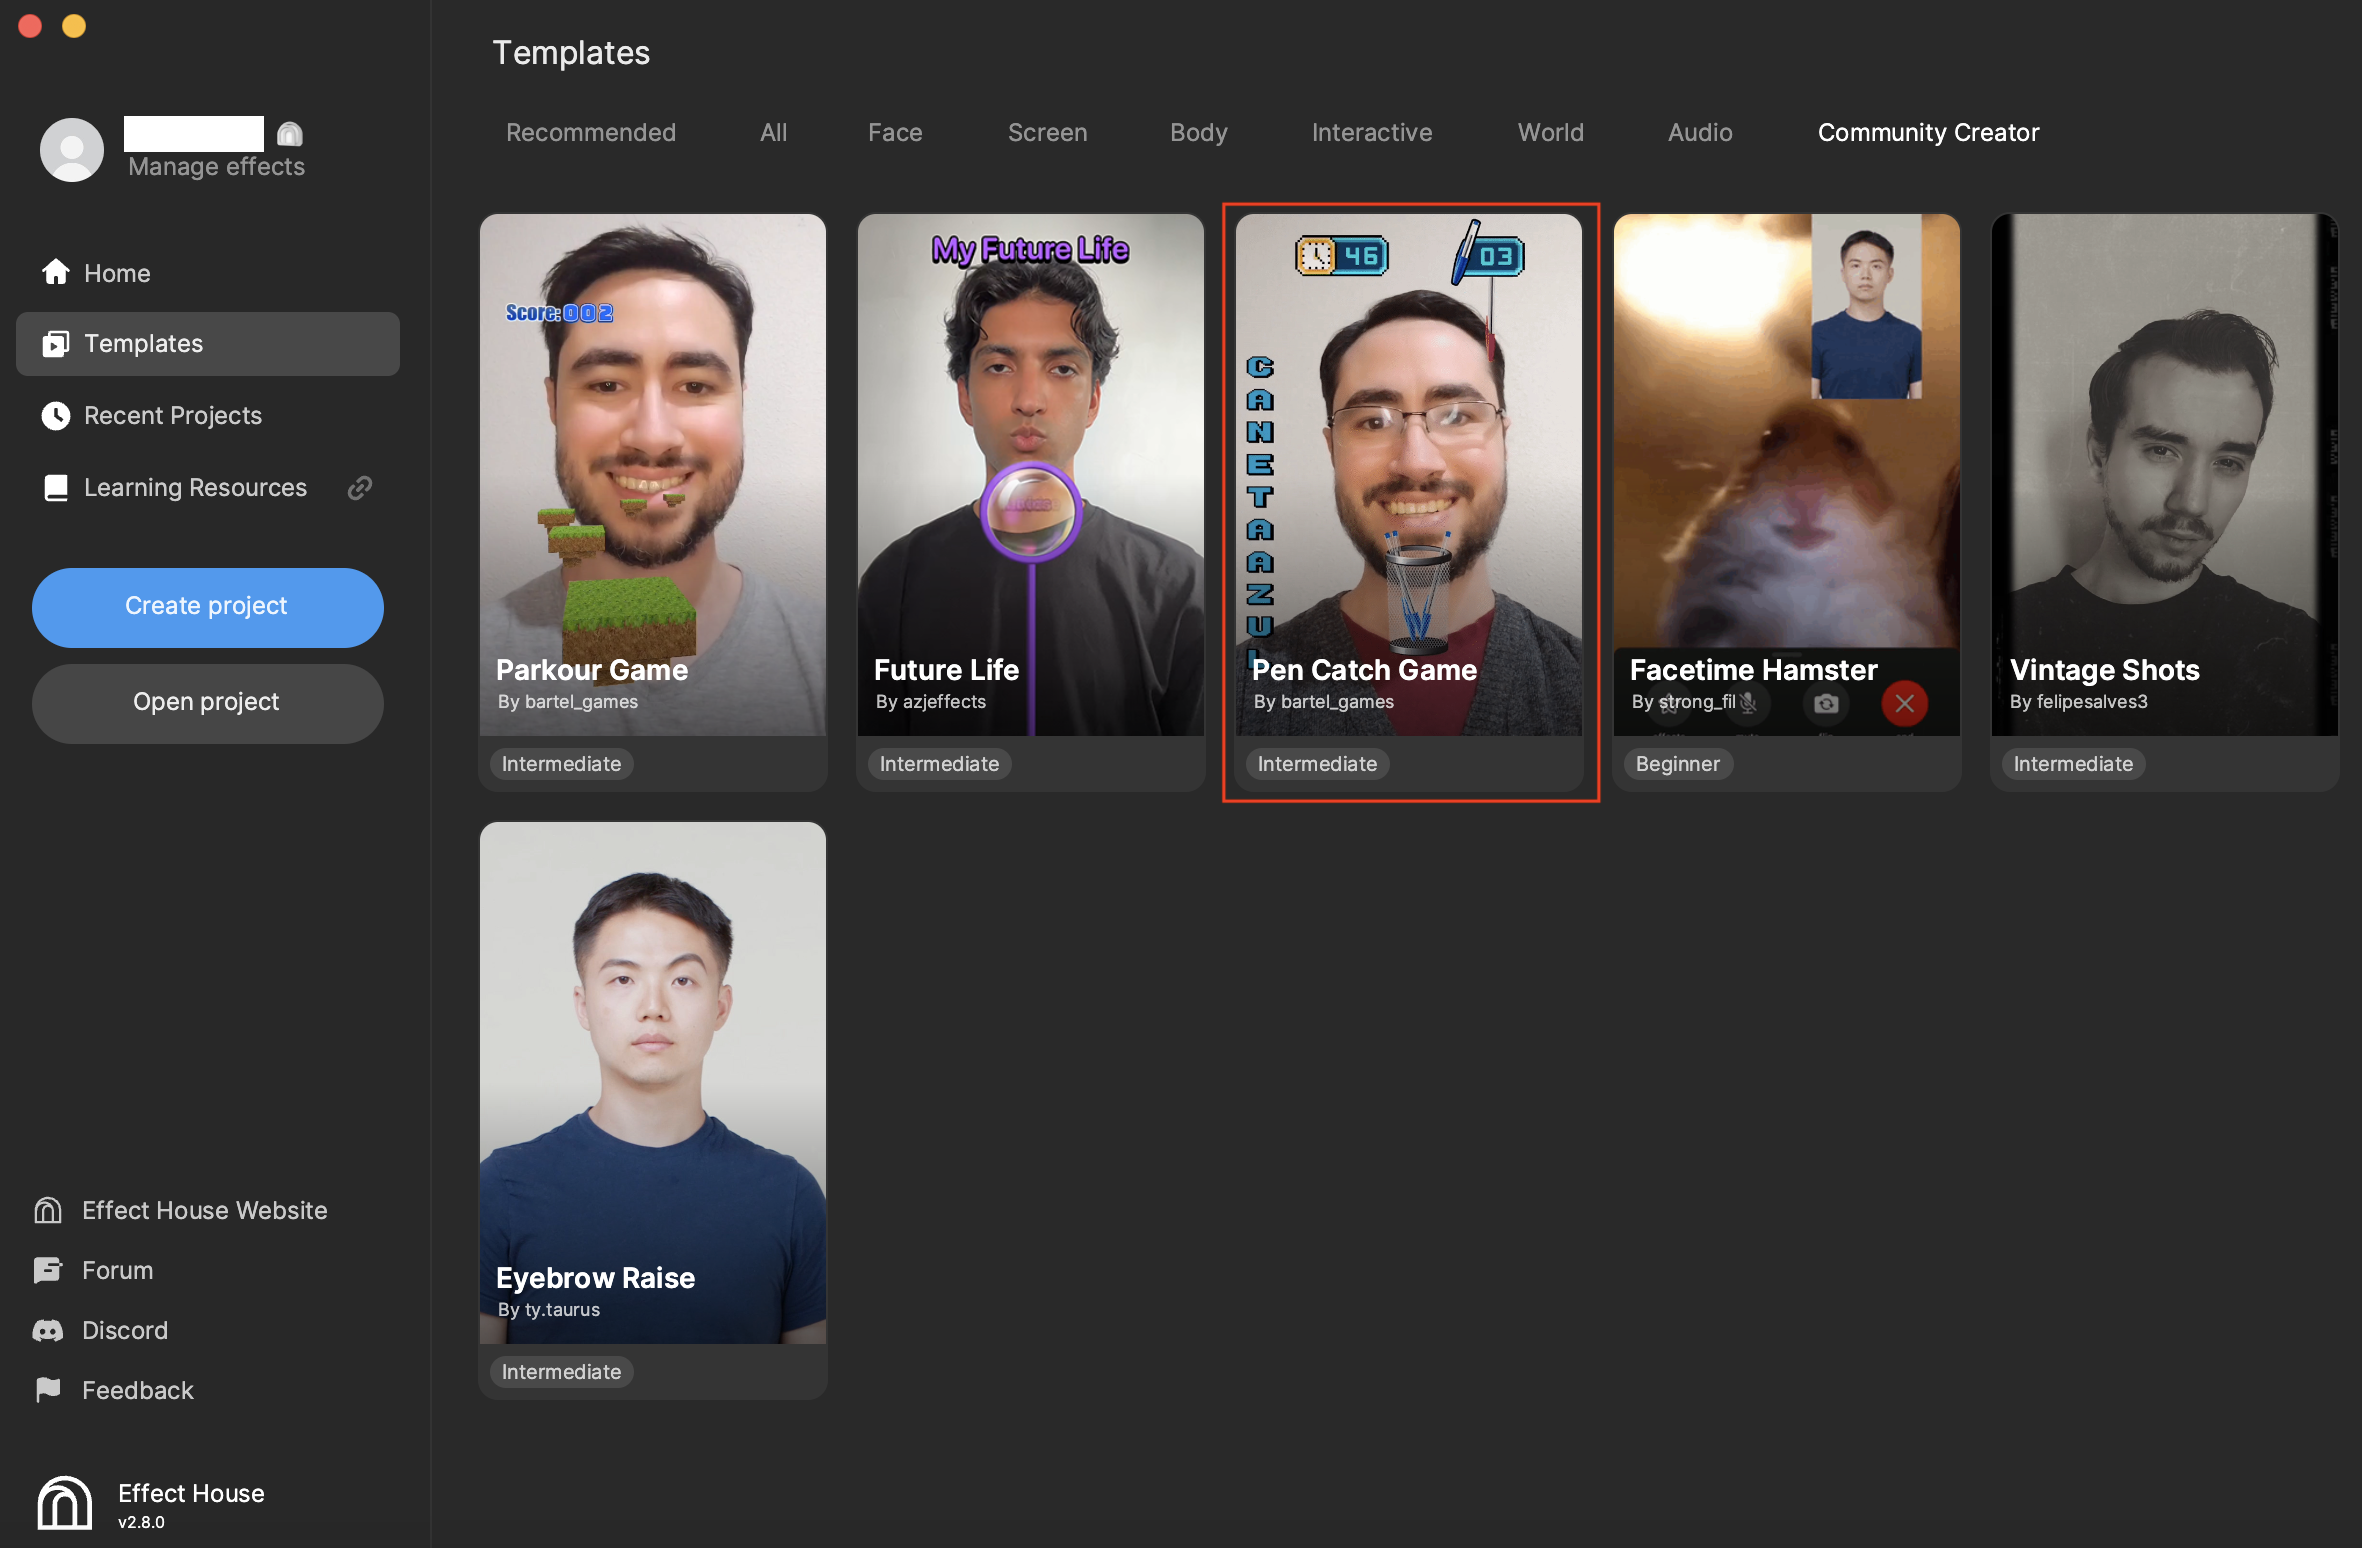
Pen Catch Game
The Pen Catch Game effect uses face detection to collect pens in a container. The game ends when an incorrect pen is caught in the container. This template was created by @bartel_games.

How to Use This Template
Open Effect House, go to Templates, click the Community Creator tab, and select the Pen Catch Game template.
Visual Scripting
In the Visual Scripting panel, use the Make Array: Texture 2D node to add in the array of objects that will be falling.
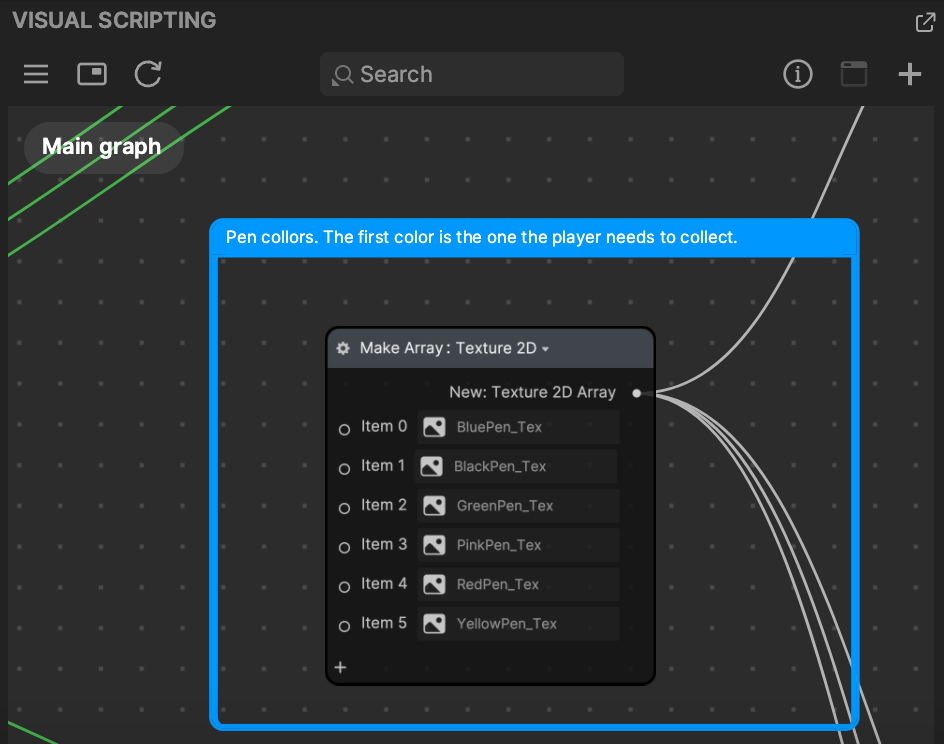
The first object in the array is the one that should be collected. The rest are ones that should be avoided. Since the goal is to collect the blue pen, the BluePen_Tex texture is placed in the Item 0 slot.
Adjust Pen Scale and Position
You can adjust the scale and position of the objects that appear inside of the basket. In the Hierarchy panel, under Pen Holder, adjust the position of Collected Pen [EDIT POSITION].
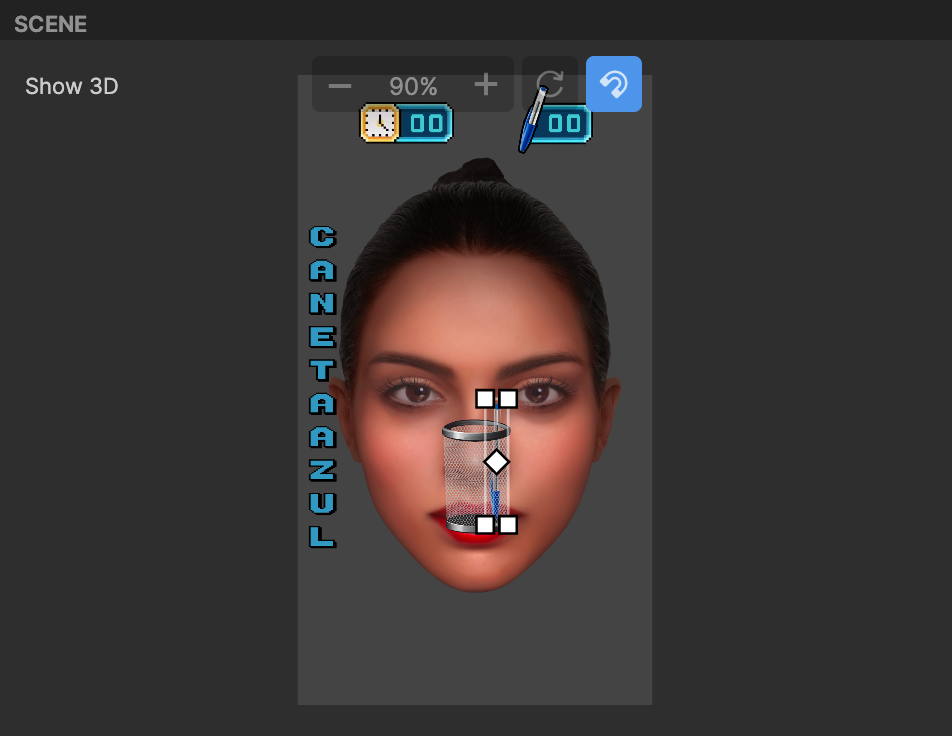
Set the Opacity to 1, so the pen is visible in the Scene panel. Adjust the Scale 2D, Size, and Position of the pens. This can either be done in the Inspector panel, or simply by playing around with the pens in the Scene panel. Repeat this same process for all the collected pens. Then, adjust the Opacity back to 0.
The object that will end the game when you pick it up should also be adjusted. Follow the same process above to adjust Wrong Pen [EDIT POSITION] in the container.
Change Pen Container Texture
The pen container has two layers: the front layer and the back layer. You can replace the container with your own textures. Add your desired texture to the Assets panel. Then, replace the Texture of the Pen Holder Front Layer [CHANGE TEXTURE] with the new one in the Inspector panel.
Adjust the position of the new texture to your liking in the Scene panel. Repeat the same process for the back layer.
If you change the pen holder, then you will need to adjust the positions of the objects in the new container. Follow the same process in the section above to properly place your objects in the new container.
You may also need to adjust some other variables, since the collision area in the new container may be slightly different. In the Visual Scripting panel, be sure to adjust the default value of the PenHolderWidth. You may also need to change the PenHolderColliderOffsetY value. The higher this value is, the lower the detection of the collision. Play around with these values in the Preview panel until you find a proper value for your new container.