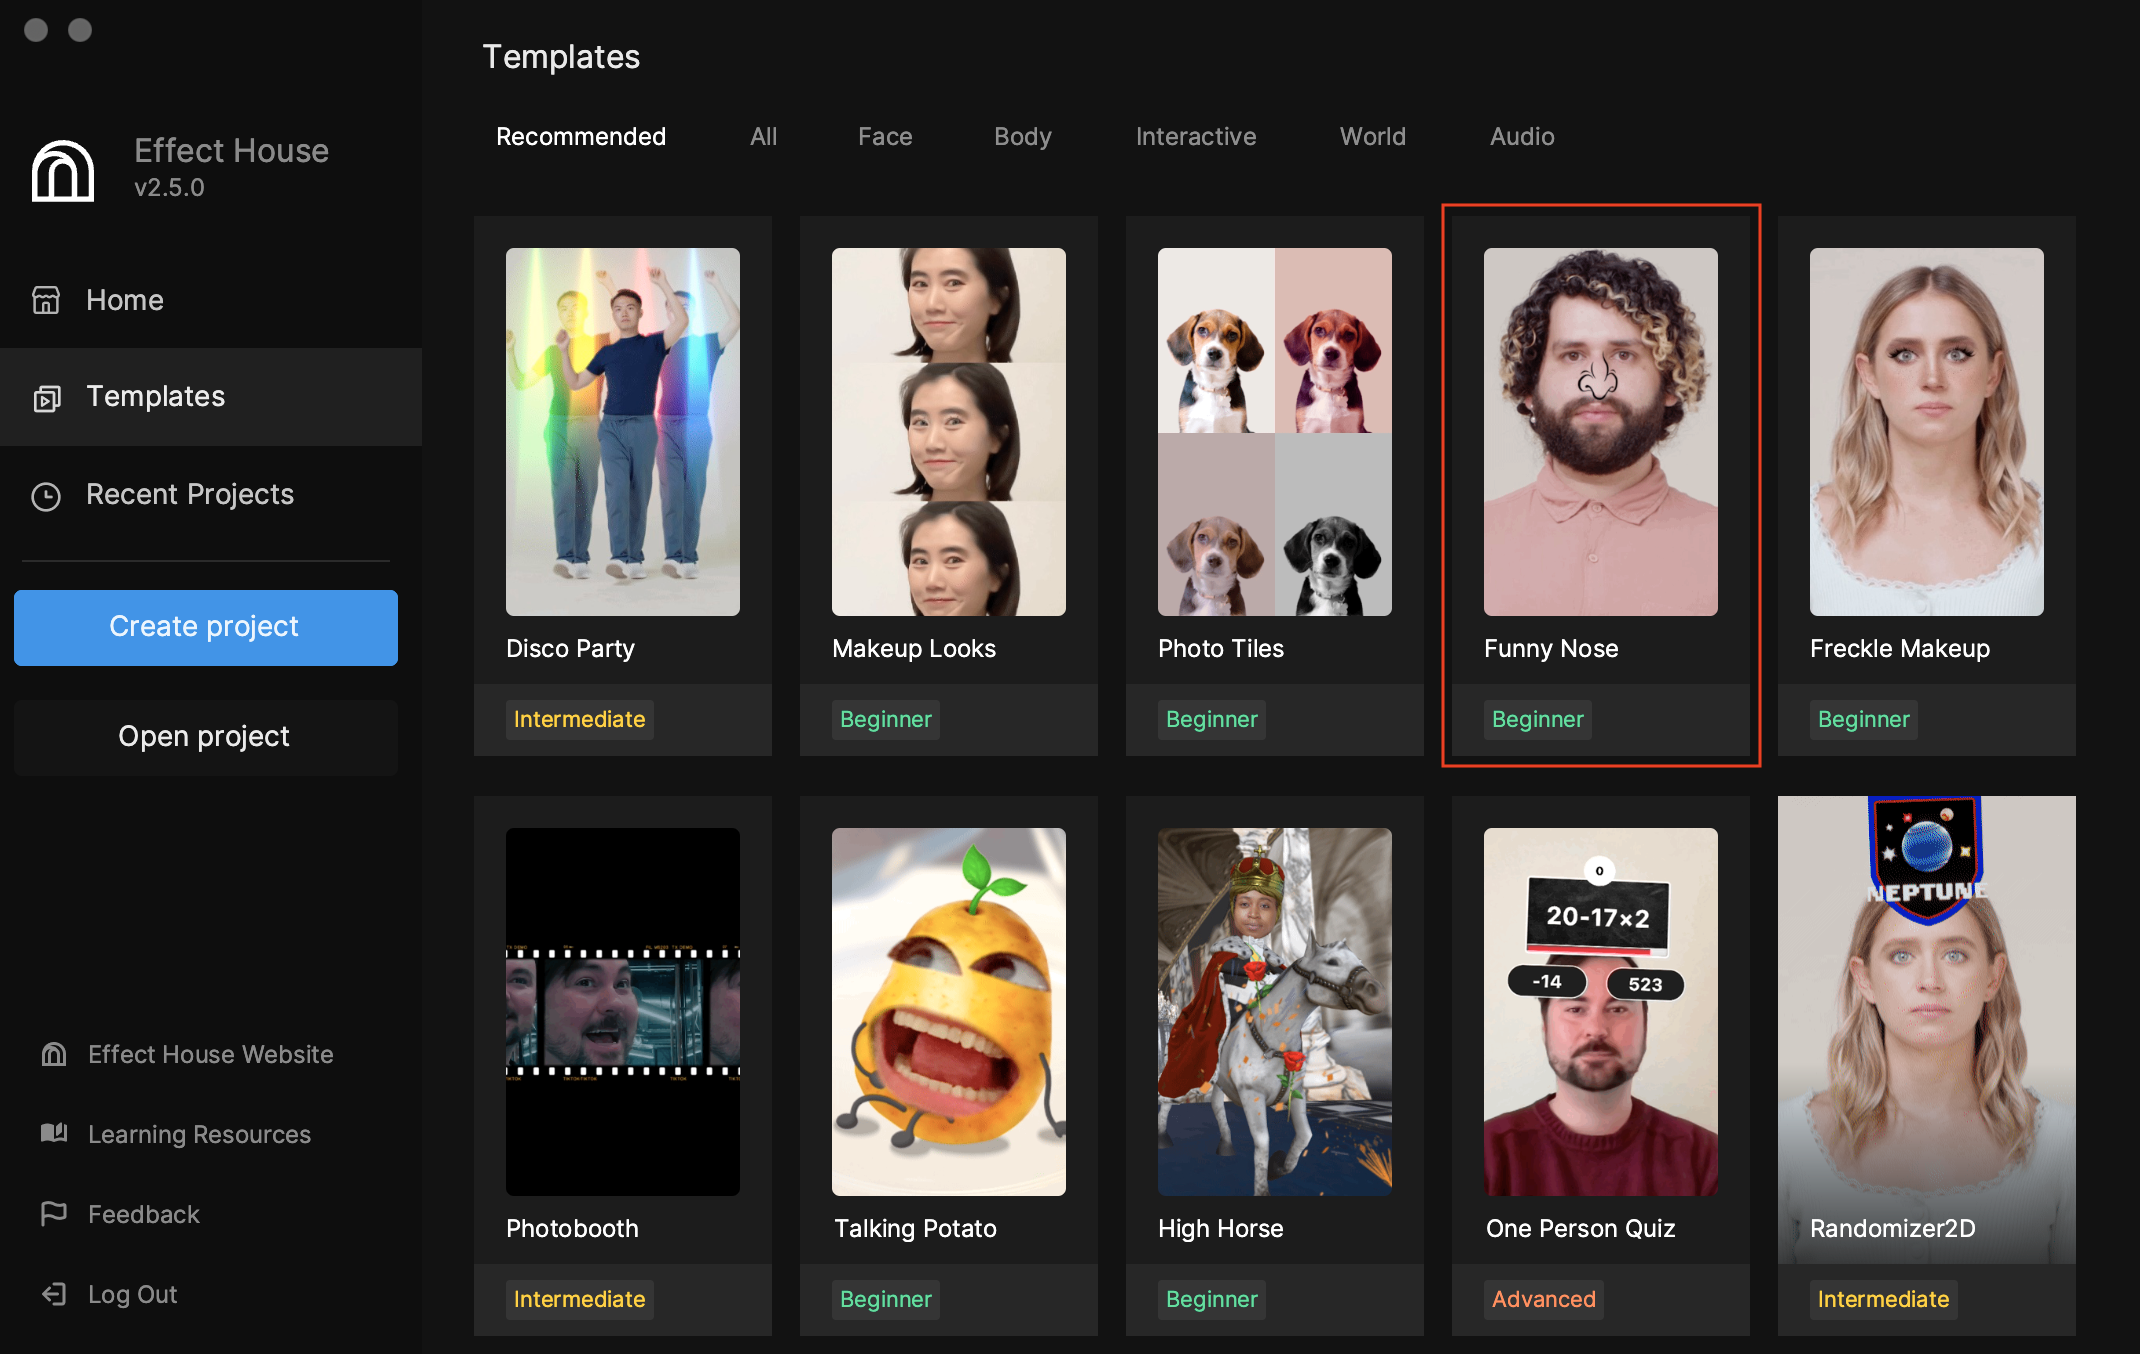
Funny Nose
Use the Funny Nose template to manipulate your nose with Face Stretch, Face Liquify, and Face Sticker objects.

How to Use This Template
Open Effect House, go to Templates, and select the Funny Nose template.
Render Groups in the Hierarchy
The template comes with 3 render groups in the Hierarchy panel that offer different ways to customize the nose. The Stretch & Liquify Nose Example render group is enabled by default, which is signified by its selected checkbox.
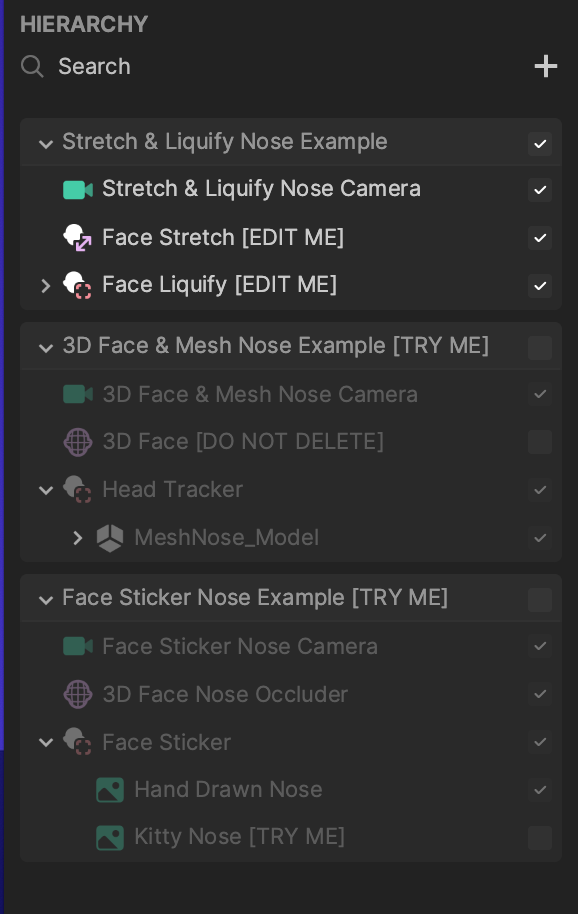
Modify the Objects
You can modify the different objects within the render groups.
Stretch and Liquify
If you are using the Stretch & Liquify Nose Example render group, change the settings of theFace Stretch or Face Liquify objects by selecting it and tweaking the face key points in the Scene panel. You can also change their values in the Inspector panel.
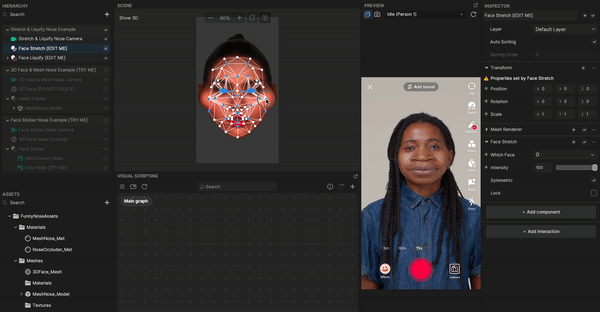
Face Stretch
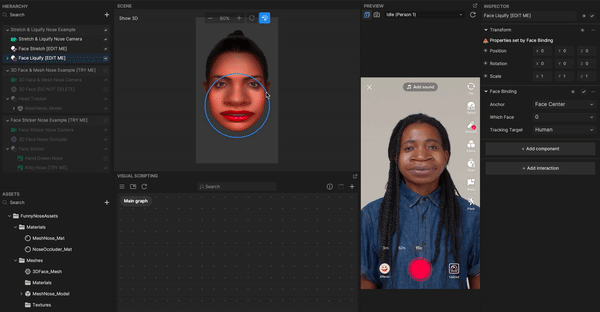
Face Liquify
3D Face and Mesh
First make sure that the 3D Face & Mesh Nose Example render group is enabled in the Hierarchy panel. If you expand MeshNose_Model, you can see that the model has a Dynamic Chain component.
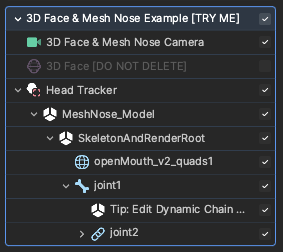
You can modify the dynamic chain properties to control the behavior of the nose’s movement. Select joint2 in the Hierarchy panel and modify its properties in the Inspector panel. You can also create your own 3D face with a nose effect.
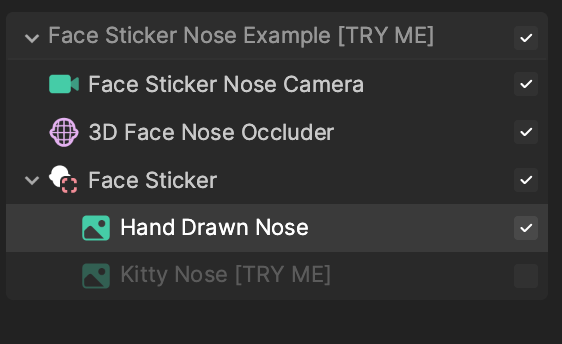
Face Sticker
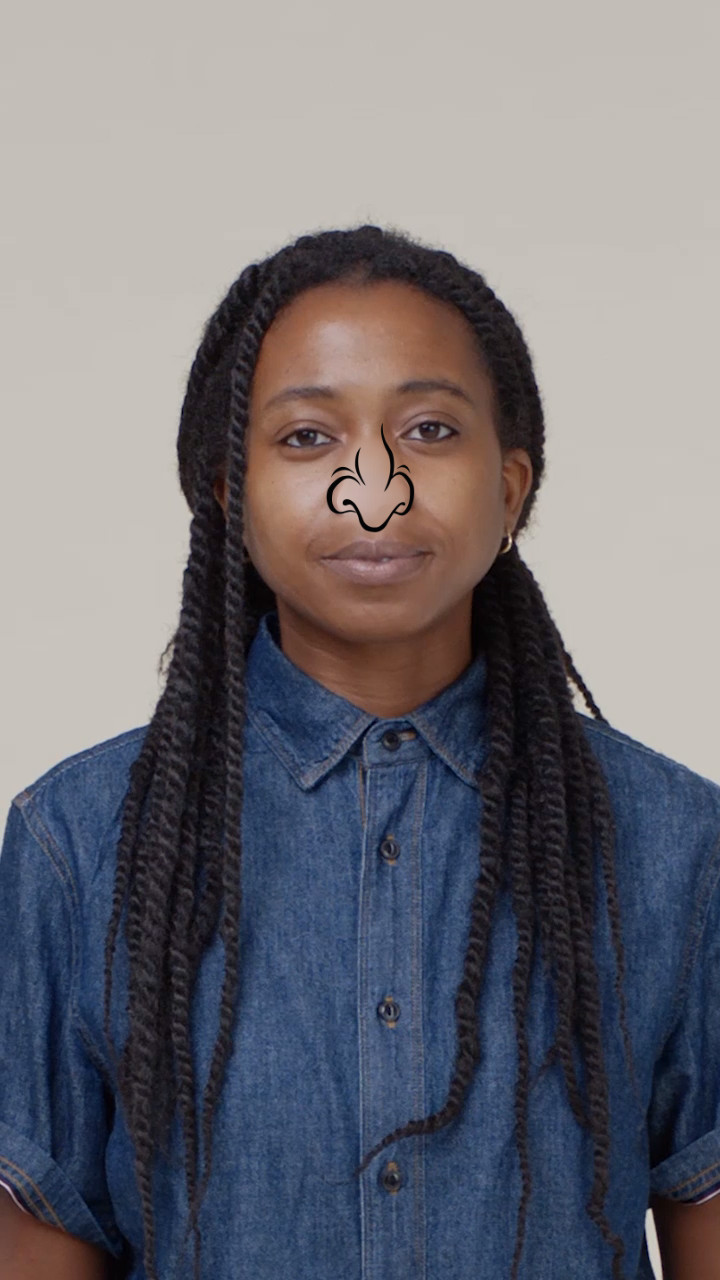
Similarly, make sure that the Face Sticker Nose Example render group is enabled in the Hierarchy panel. Under the Face Sticker object, you can see Image objects that represent the stickers. By default, Hand Drawn Nose is selected.
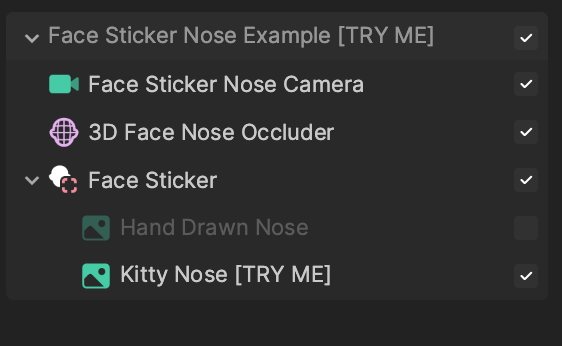
Now deselect the Hand Drawn Nose object and select the Kitty Nose [TRY ME] object to apply a cat nose.

You can use your own 2D image as the nose by uploading a texture in the Assets panel and assigning it to an Image object.