Kitten Finder
The Kitten Finder template uses Target Tracker to find an image in real life to trigger an AR effect.

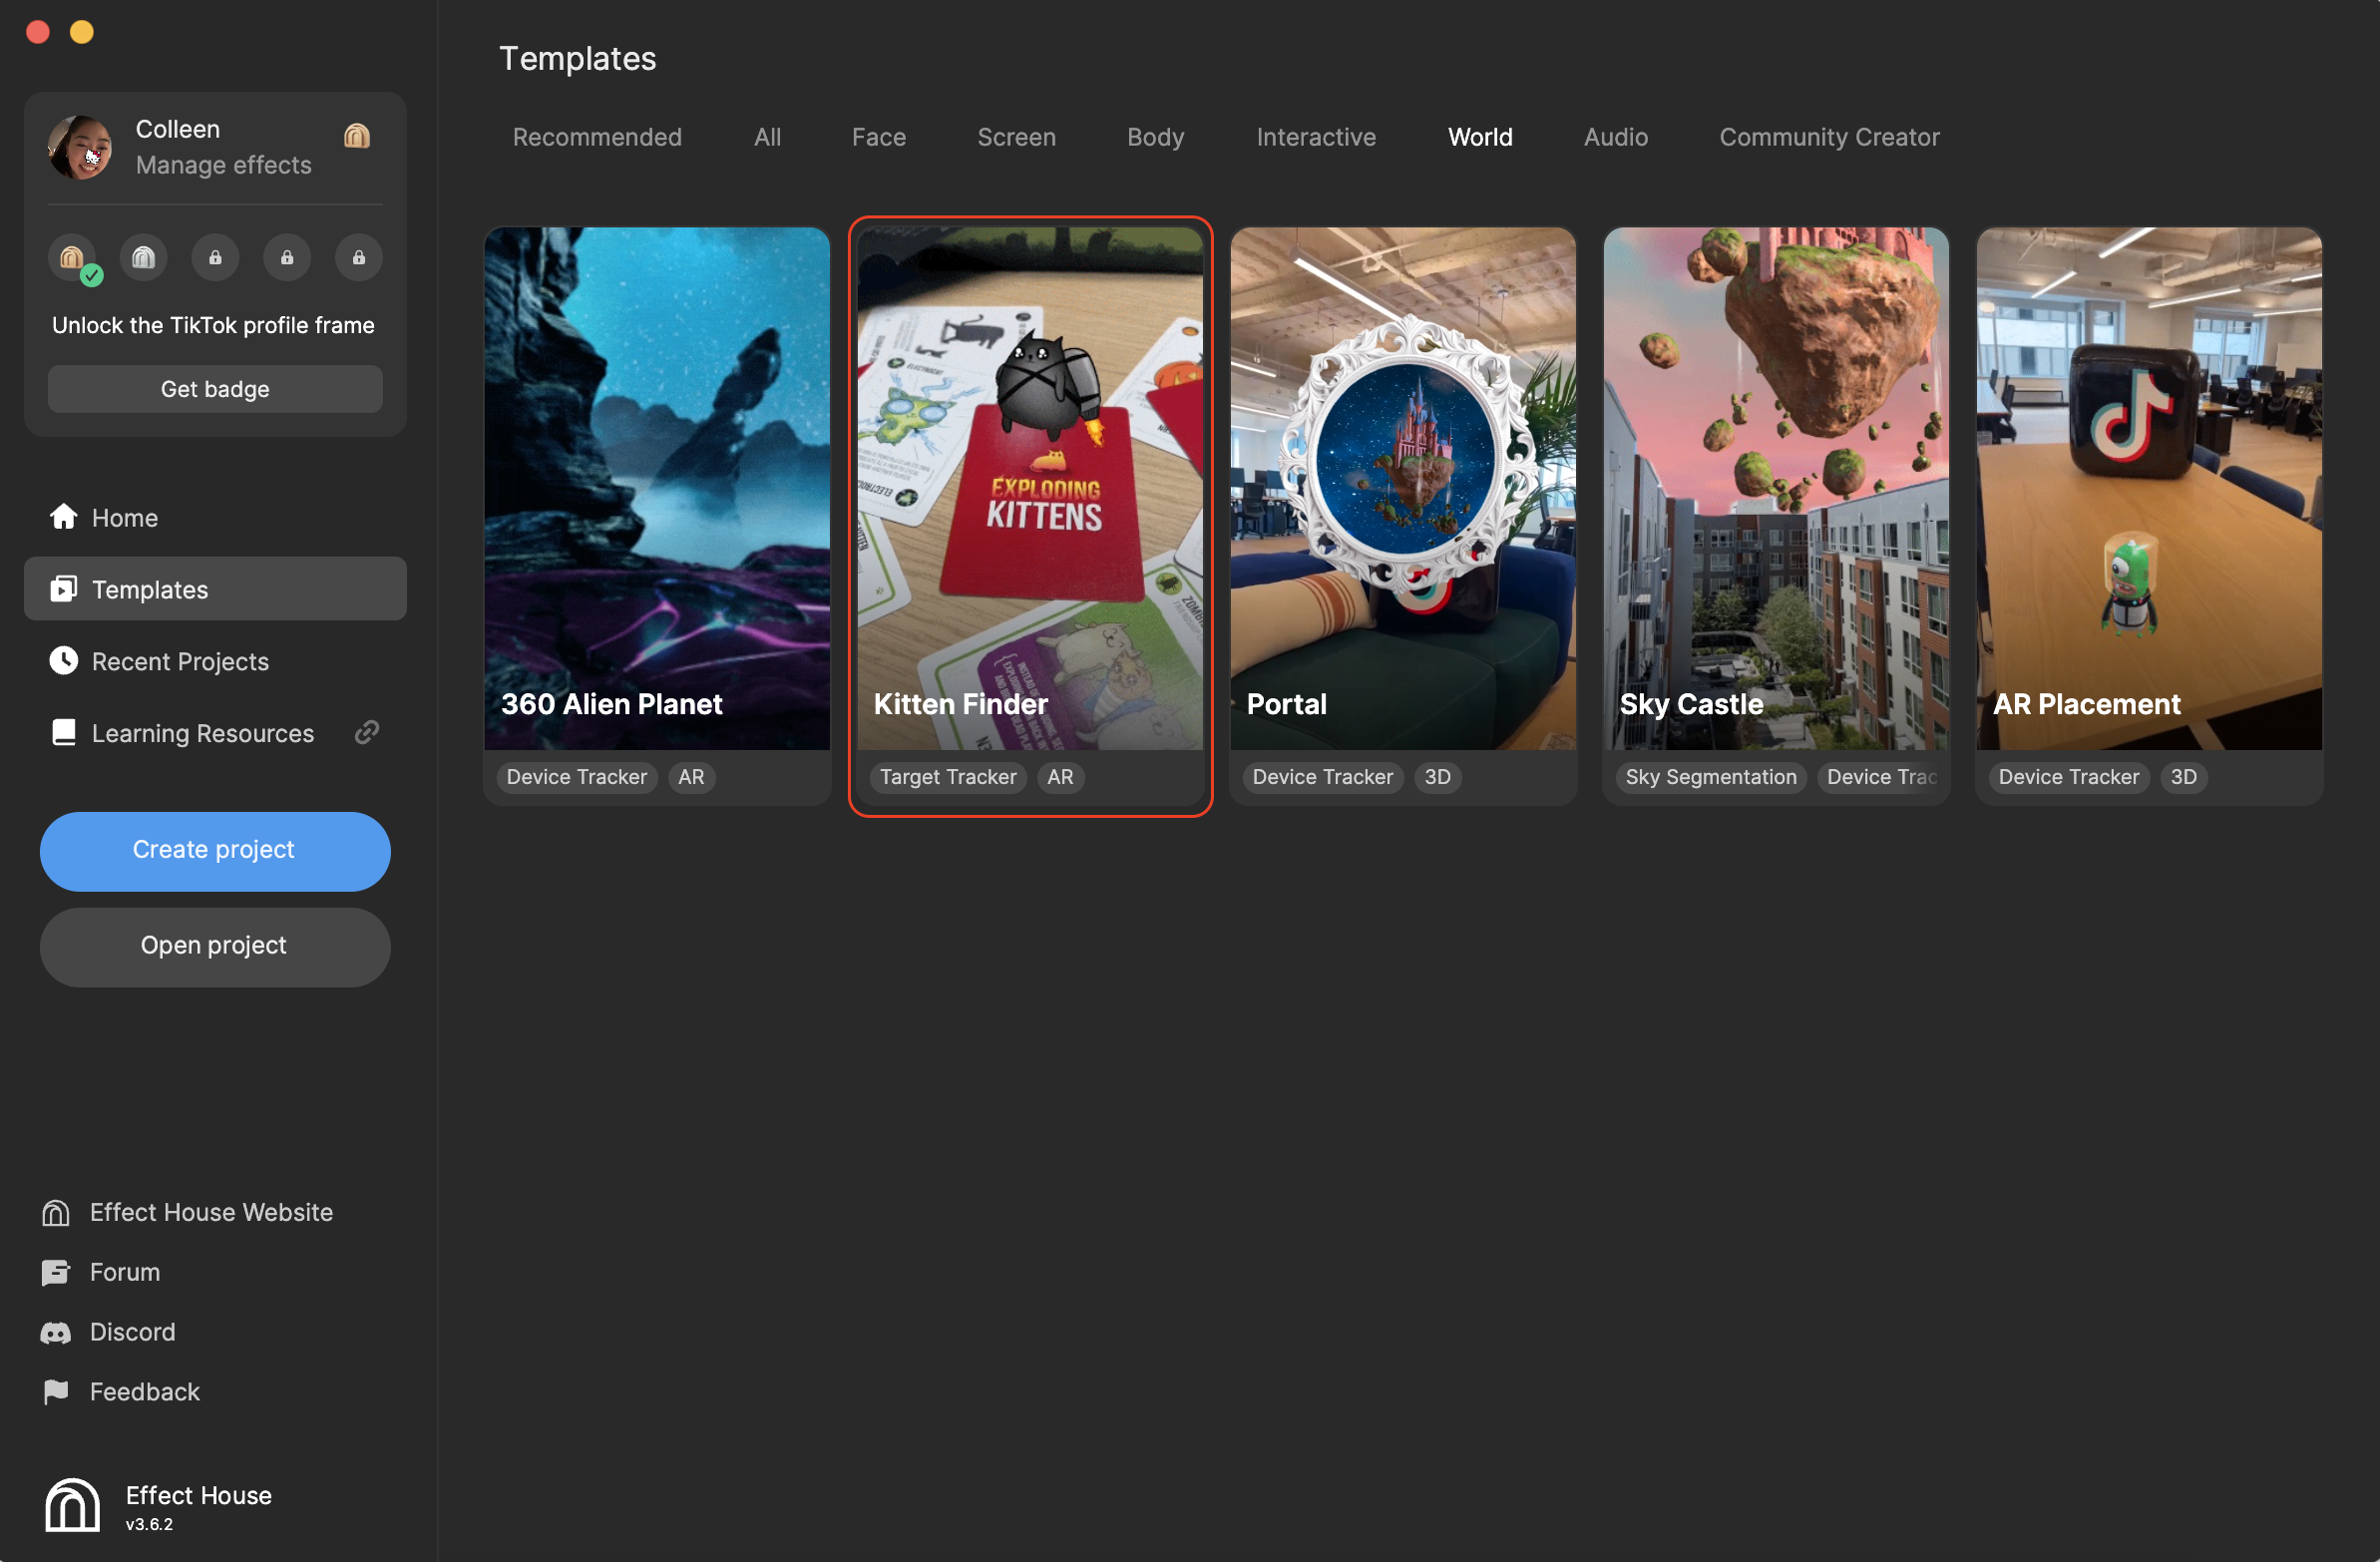
Open the Template
- Open Effect House
- Go to Templates
- Click the World tab
- Select the Kitten Finder template
Hierarchy
There are two main render groups in the Hierarchy panel: Targeting Tracking and UI.
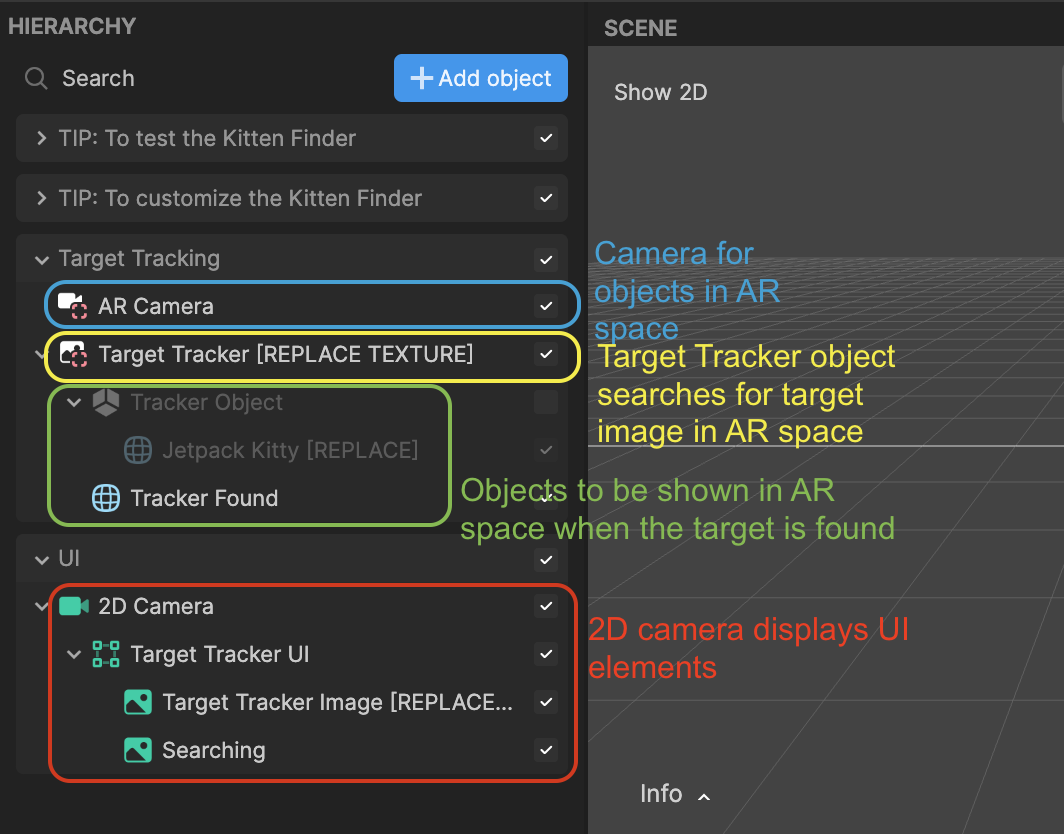
The Target Tracking render group contains AR Camera and Target Tracker, which is responsible for searching for the target image and then showing the specified object when the target is detected. AR Camera will track the movement of the phone.
The UI render group is responsible for the 2D camera that displays the UI elements.

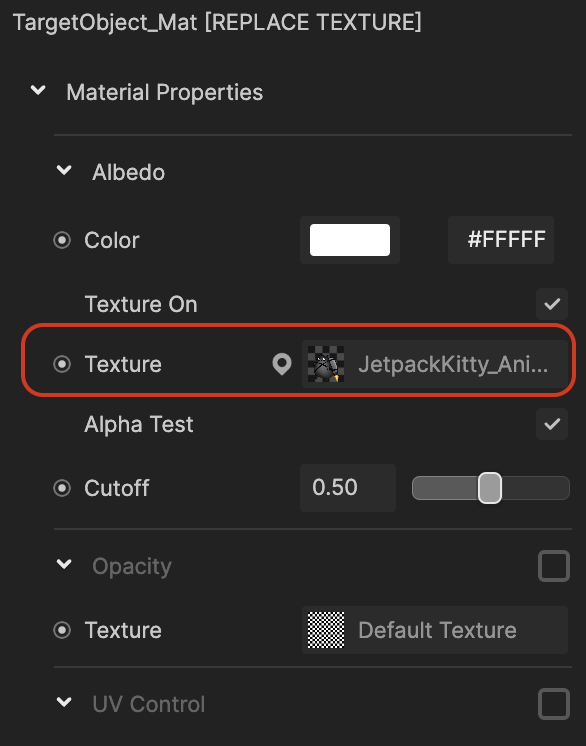
Assets
The Assets panel contains the assets that are assigned to the target's texture and material.

Use Target Tracker
Target Tracker identifies a target, and instantly situates a designated object wherever the target is detected in real-time. In other words, Target Tracker toggles its visibility when it detects or does not detect the target texture.
Designate a Target Texture
The assigned Target Texture is the image the Target Tracker searches for through the AR camera.
To designate a texture for Target Tracker:
- Go to the Hierarchy panel
- In the Target Tracking render group, click Target Tracking [REPLACE TEXTURE]
- Go to the Inspector panel
- Click the Target Texture field
Use 2D Camera
In the UI render group, the 2D Camera object is responsible for making sure the UI is front and center.
Designate a Target Tracker Image
Target Tracker Image is the image parented to the screen and tells the user to look for this designated image. If you replace Target Texture of Target Tracker, you should also replace the Texture of Target Tracker Image with the same asset.
To designate a texture for Target Tracker Image:
- Go to the Hierarchy panel
- In the UI render group, click Target Tracker Image [REPLACE TEXTURE]
- Go to the Inspector panel
- Click the Texture field
Designate the Material
In the Assets panel, you can change the texture in the target object material. Updating this texture will automatically update the Jetpack Kitty [REPLACE] object in the Hierarchy panel.
To designate the material of the target object:
- Go to the Assets panel
- In the Materials folder, click TargetObject_Mat [REPLACE TEXTURE]
- Go to the Inspector panel
- Click the Texture field
Visual Scripting
In the Visual Scripting panel, the Target Tracker and UI Controller subgraph are responsible for taking the Target Tracker scene object as its parameter and outputting the following four events:
- On Found: shows an effect when the target image is first detected
- While Found: shows an effect for as long as the target image is detected
- On Lost: shows an effect when the target image is no longer detected
- While Lost: shows an effect for as long as the target image is not detected
