Critter Stickers
Use the Critter Stickers template to apply cute 2D stickers and makeup to a person's face. This template's stickers are easily replaceable, allowing you to customize the effect with imported assets.

How to Use This Template
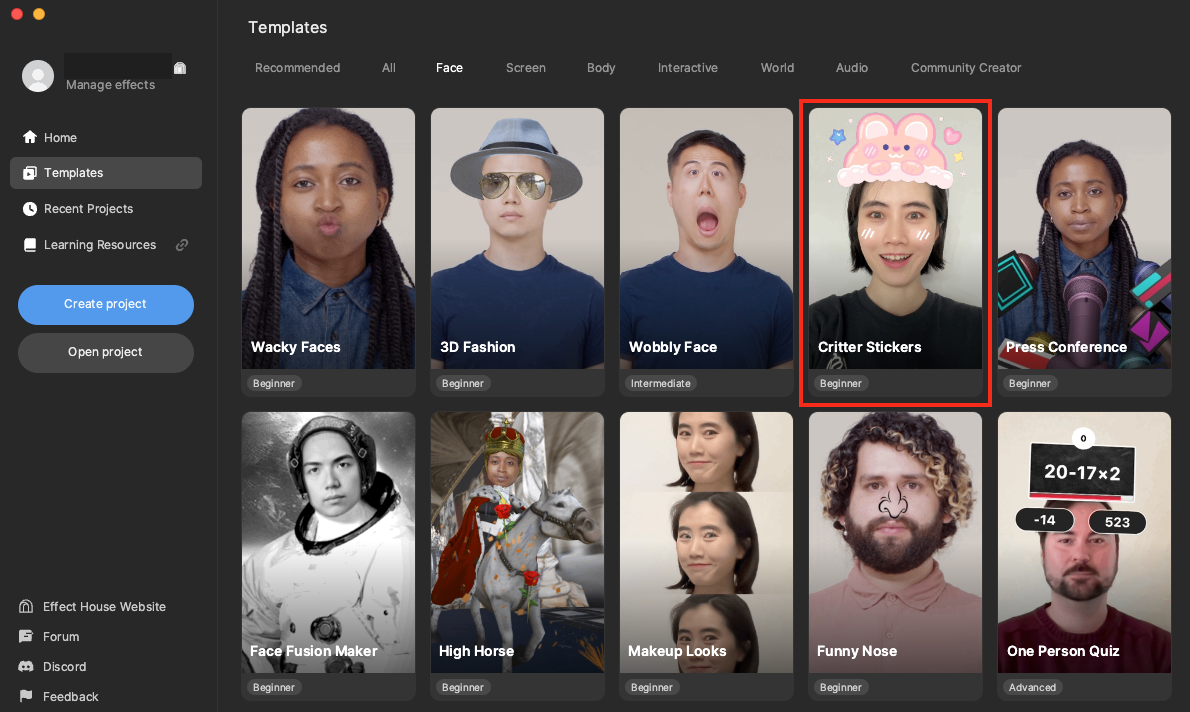
Open Effect House, go to Templates, click the Face tab, and select the Critter Stickers template.
Hierarchy
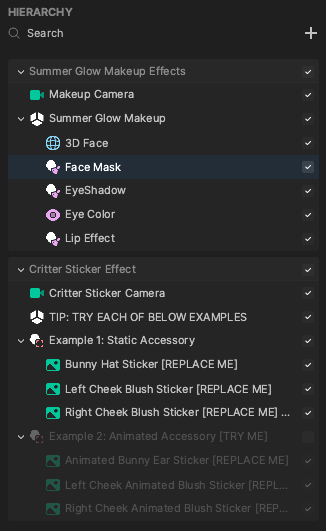
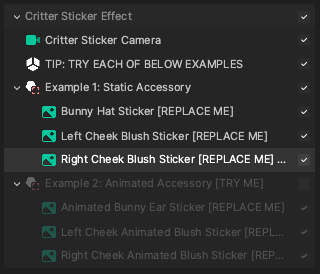
There are two render groups in the Hierarchy panel. The Summer Glow Makeup Effects render group contains premade makeup assets. Expand the Summer Glow Makeup scene object to view the provided makeup objects. The Critter Sticker Effect render group contains two sticker effect examples. Expand each example to view the different built-in stickers.
Assets
The Assets panel contains the built-in assets for this template. The makeup textures, static bunny hat textures, and animated bunny ear textures are all accessible from their respective folders.

Customize the Makeup
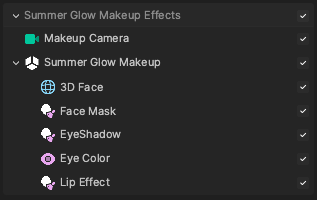
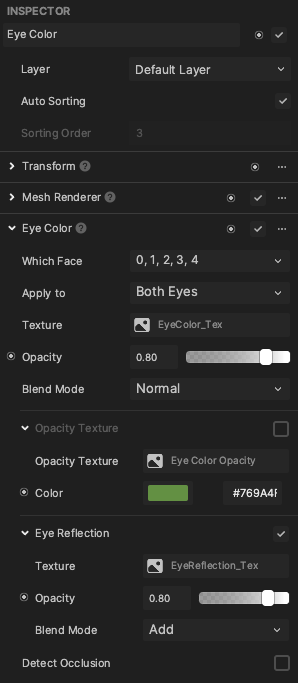
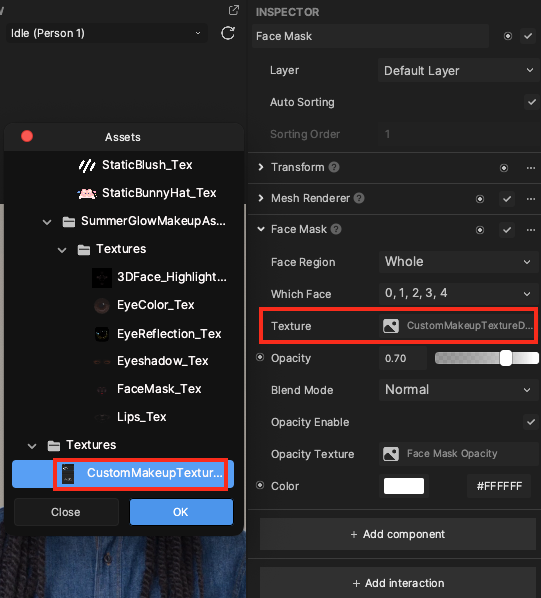
The Summer Glow Makeup object contains preconfigured 3D Face, Face Mask, EyeShadow, and Eye Color objects. Each of these makeup objects has an assigned texture or material that you can locate in the SummerGlowMakeupAssets folder in the Assets panel.
You can adjust the properties of any makeup object to your liking. Select the object in the Hierarchy panel, like Eye Color, then go to the Inspector panel and modify properties like Color and Opacity.
Advanced creators may also design and import their own makeup textures into the Assets panel and use them in place of the default makeup textures.

Use the Face Stickers
The Critter Sticker Effect render group contains two examples: static accessories using regular textures, and animated accessories using animated textures. Make sure only one example is checked at a time.


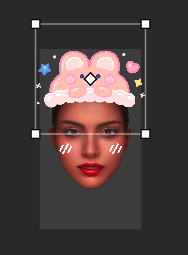
You can adjust the position and orientation of the stickers in the Scene panel to change where it will appear on the person's face.
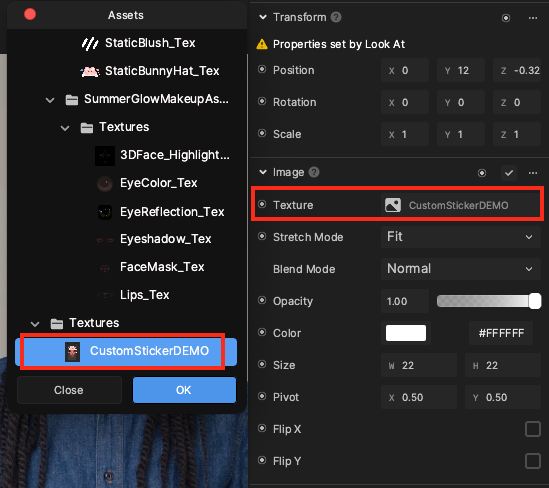
You can also design and import your own 2D stickers or animated textures into the Assets panel, and use them in place of the default sticker textures. To replace a default sticker with an imported texture, click on the sticker object in the Hierarchy panel, then go to the Inspector panel. Click the Image component's Texture property and select your imported texture.