Heart Mosaic
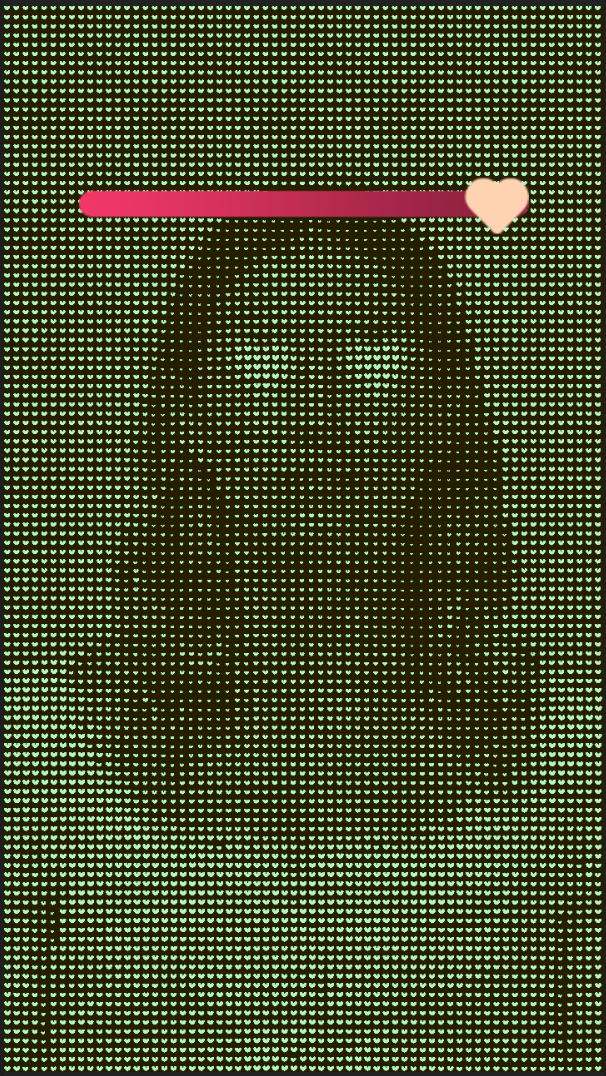
The Heart Mosaic template uses material graphs and custom materials to create an interactive mosaic effect.

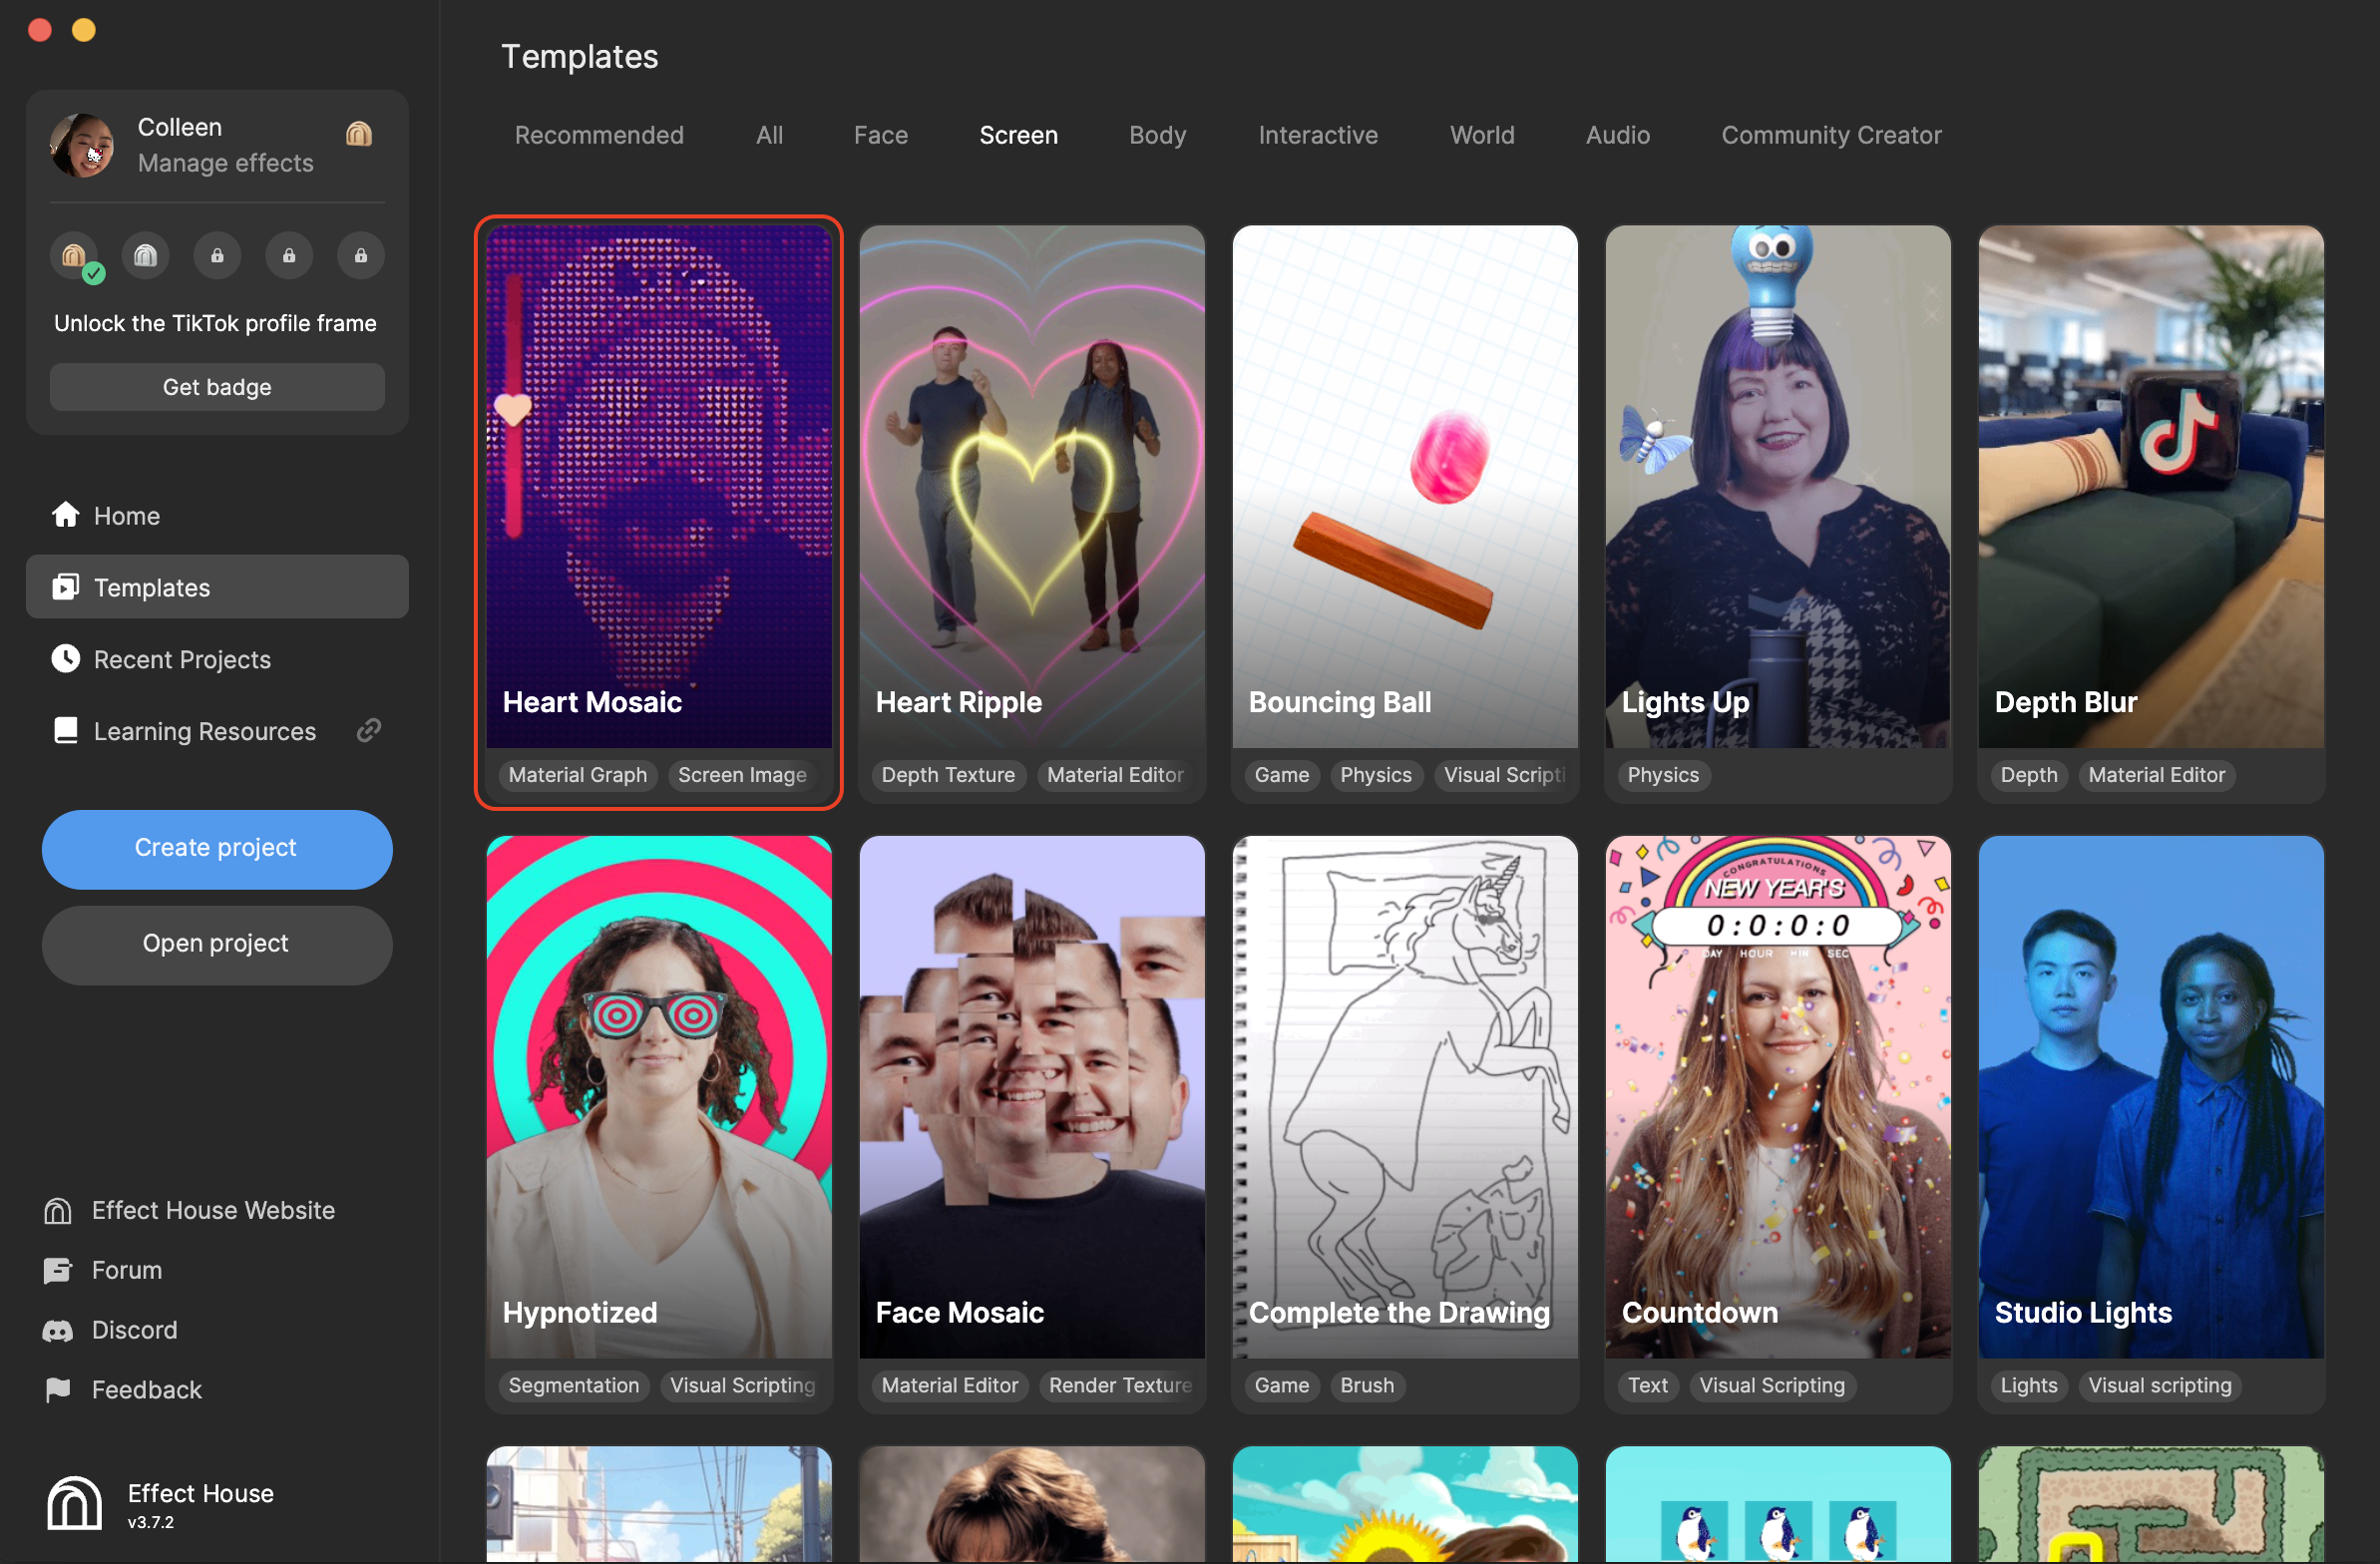
Open the Template
To use the template in your Effect House project:
- Go to Templates
- Click the Screen tab
- Select the Heart Mosaic template
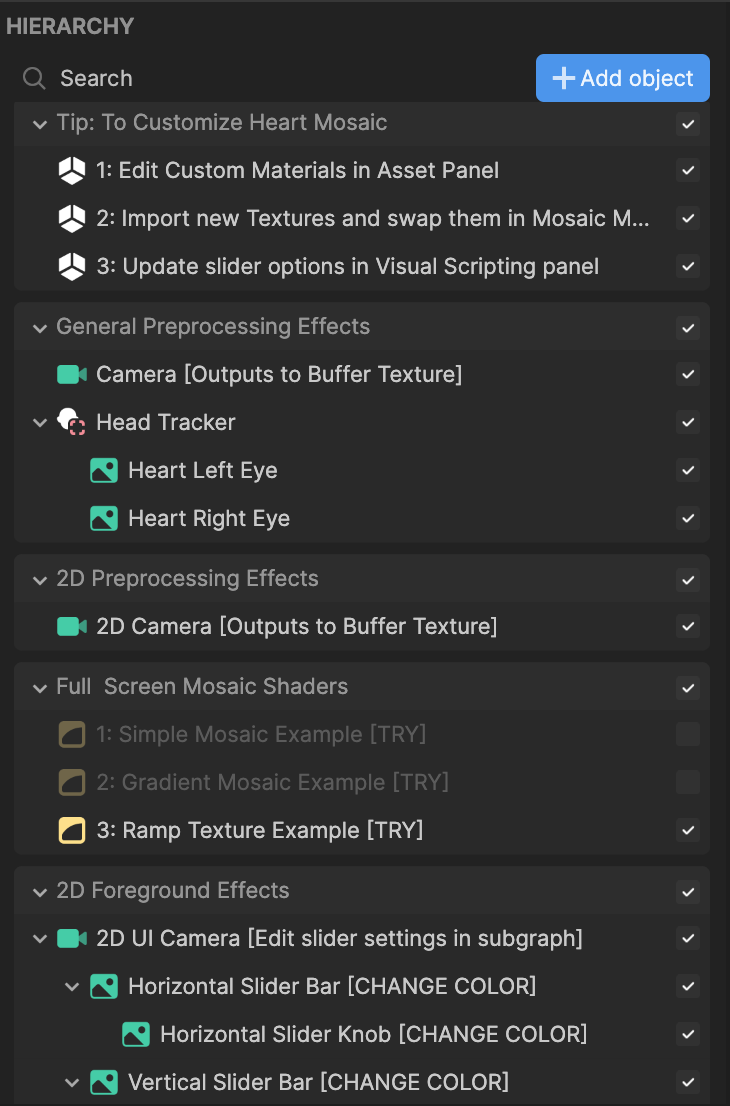
Hierarchy
The Hierarchy panel consists of the following four render groups:
- Tip holds the hints you can refer to to customize the effect
- General Preprocessing Effects is responsible for the camera and the heart images tracking the eyes
- 2D Preprocessing Effects contains the 2D camera
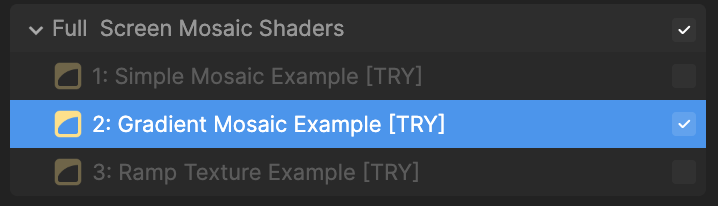
- Full Screen Mosaic Shaders contains the three examples of mosaic shaders you can select from: Simple Mosaic, Gradient Mosaic, and Ramp Texture
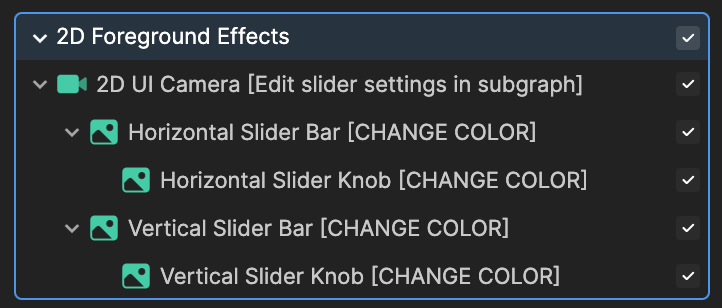
- 2D Foreground Effects renders the sliders used to adjust the hearts' resolution
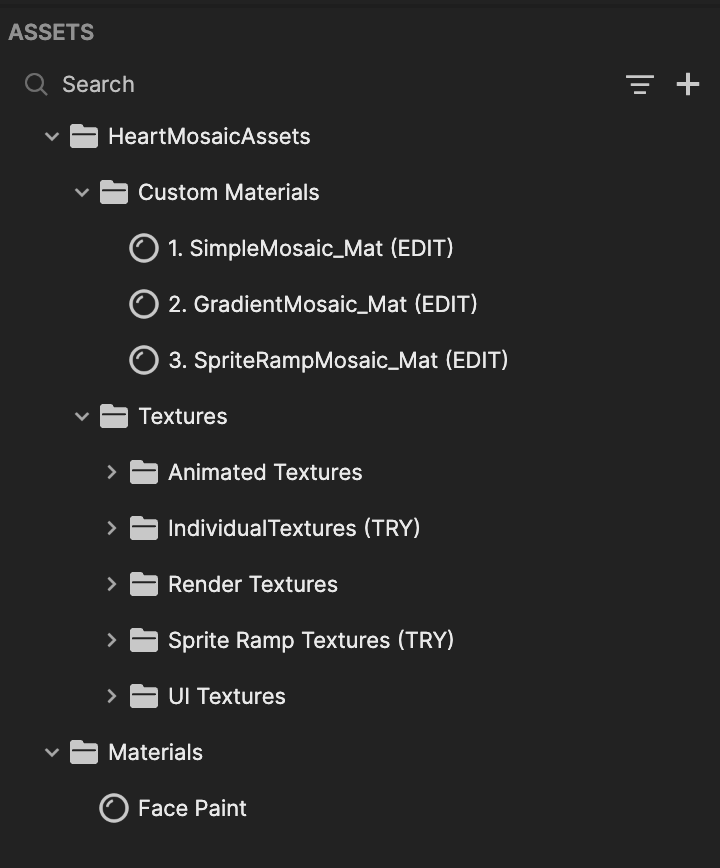
Assets
The Assets panel houses the custom materials and textures used in this template. You can select a material to further customize it in the Inspector panel.
Customize the Material
This template offers three examples of mosaic shaders, with the option to further customize the material used in each one.
Sprite Ramp Mosaic
The Sprite Ramp Mosaic material allows you to change the resolution of the effect with a slider.
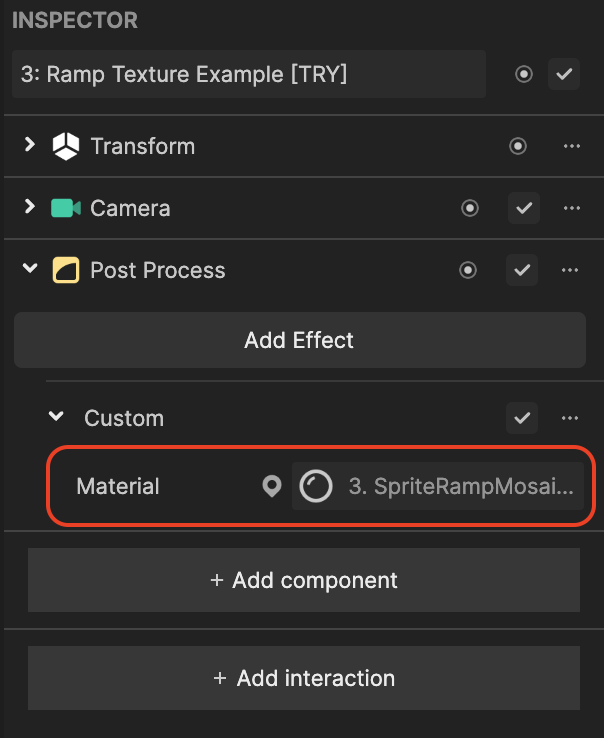
Let's try customizing the material of Ramp Texture Example (selected by default). First, click the Ramp Texture Example shader in the Hierarchy panel to open its Post Process properties in the Inspector panel. You can see that the assigned material is SpriteRampMosaic_Mat.
Now click SpriteRampMosaic_Mat and see its material properties in the Inspector panel.
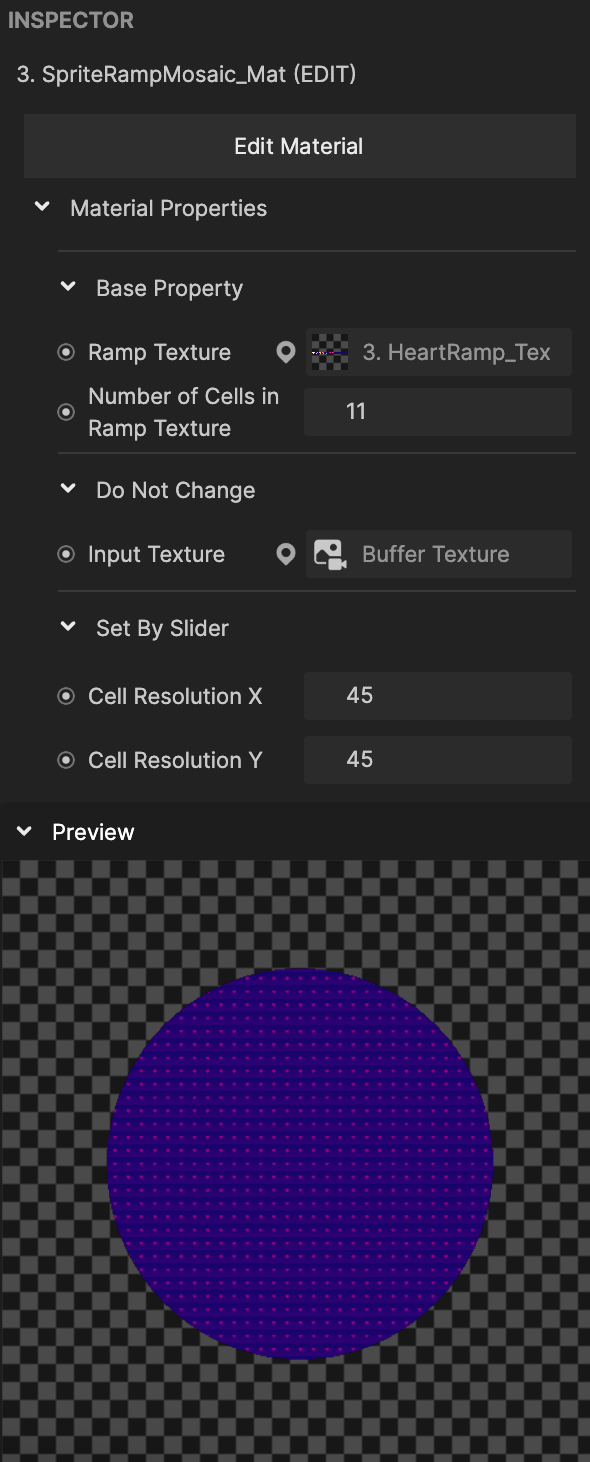
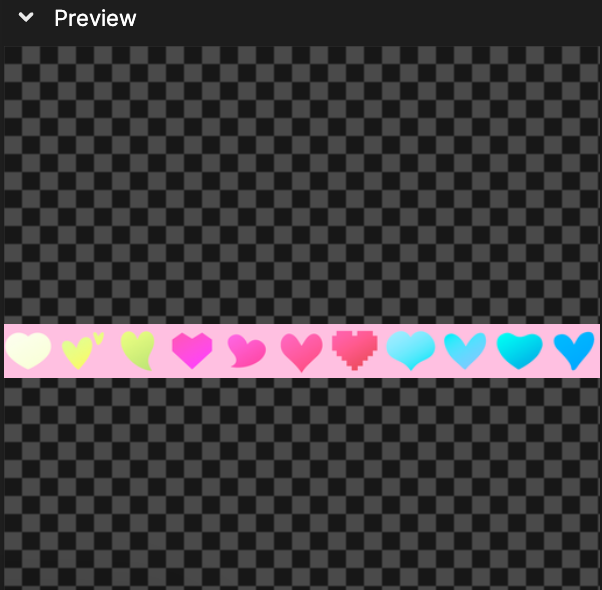
The assigned Ramp Texture is HeartRamp. You can swap it out for another asset in the Sprite Ramp Textures folder. For example, try using CandyRamp_Tex to see how this texture appears in the effect.

You can leave the Number of Cells in Ramp Texture value at 11 because CandyRamp_Tex contains 11 candy hearts. However, if you create and import your own ramp texture, change this value to the number of units in it.
Gradient Mosaic
The Gradient Mosaic material highlights the brightness of the pixels captured by the camera.
Start by deselecting Ramp Texture Example in the Full Screen Mosaic Shaders render group in the Hierarchy panel, and then selecting Gradient Mosaic Example.
Then go to the Inspector panel to see the assigned post process material: GradientMosaic_Mat.
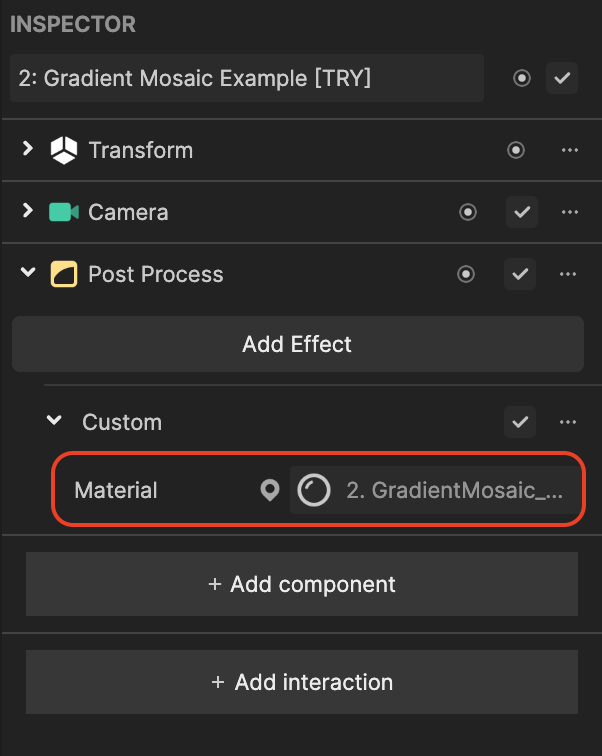
Now click GradientMosaic_Mat in the Assets panel to open its properties in the Inspector panel.

You can swap out the assigned Symbol Texture with one from the IndividualTextures folder in the Assets panel.
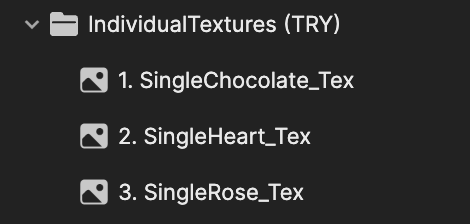
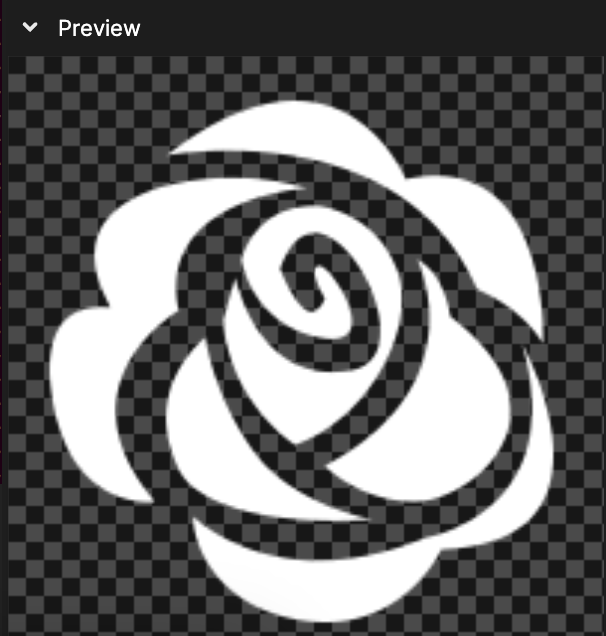
For example, you can select the SingleHeart_Tex asset to replace the hearts with roses. Or you can create or download your own square image to use in the effect.
Adjust the Minimum Brightness property to dynamically change the size of the symbol in correlation to the brightness.
Simple Mosaic
The Simple Mosaic material is the simplest one offered in this template as it does not offer a gradient and uses one color for the symbol texture. The shading is also simply set by adjusting the brightness and scaling the size of the image.
In the Hierarchy panel, select only the Simple Mosaic shader.
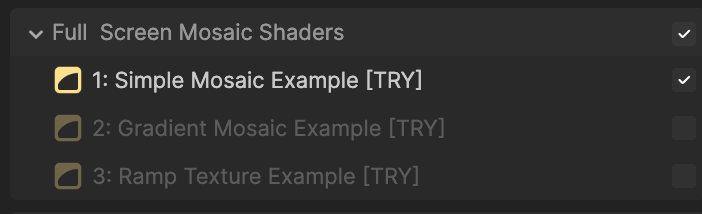
Notice that the assigned material is SimpleMosaic_Mat in the Inspector panel.
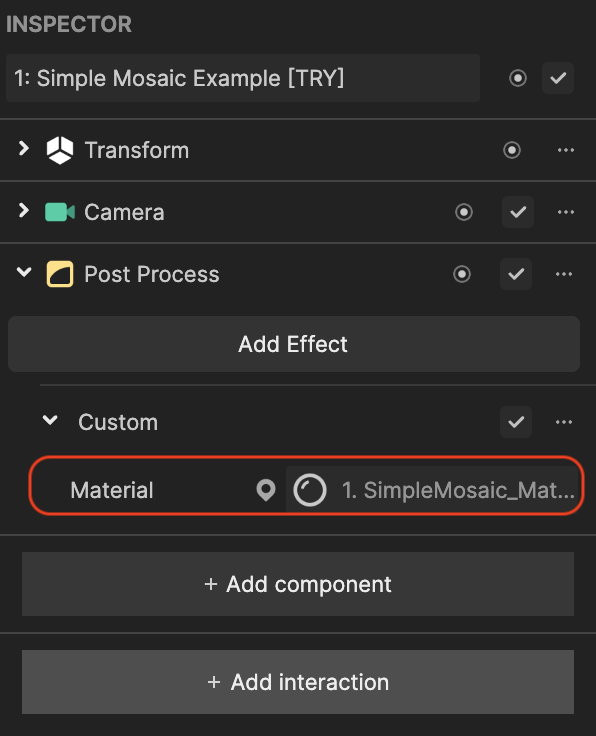
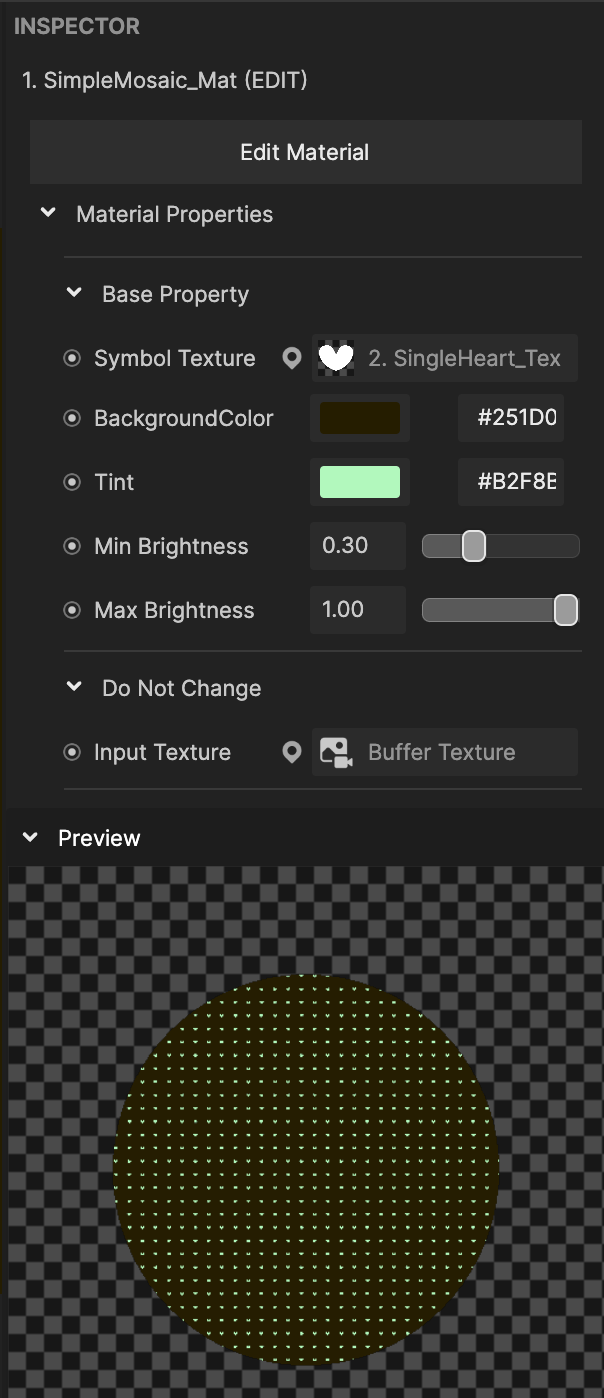
Now click SimpleMosaic_Mat in the Assets panel to open its properties in the Inspector panel. Similar to the Gradient Mosaic material, you can swap out the assigned Symbol Texture with one from the IndividualTextures folder in the Assets panel. The shading is also simply set by adjusting the brightness and scaling the size of the image.
Visual Scripting: Sliders
The Set by Slider property for each material is dynamically set by the sliders, meaning if you use a slider to adjust the cell resolution values, the Cell Resolution X and Cell Resolution Y fields in the Inspector panel will automatically update. Before we take a look at the subgraphs, expand the 2D Foreground Effects render group in the Hierarchy panel.
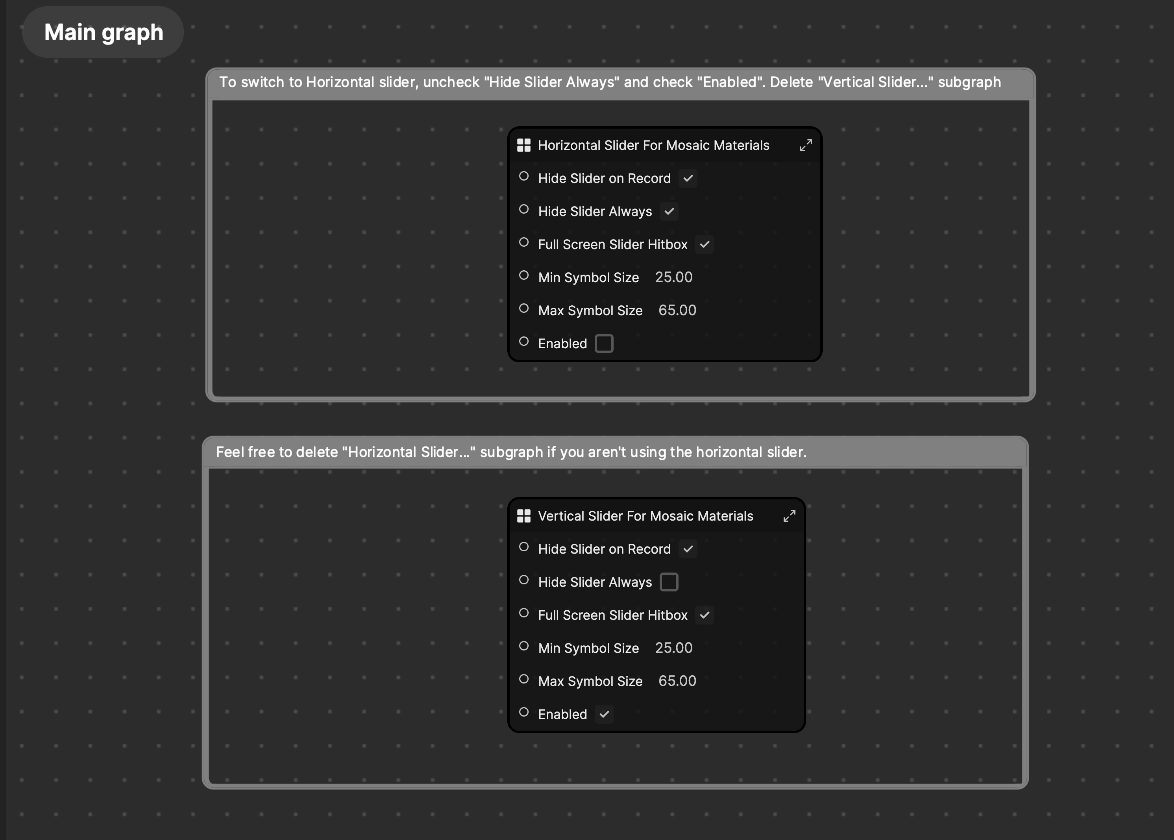
This render group offers a horizontal and vertical slider bar. By default, the vertical slider bar is enabled. To use the vertical slider bar, go to the Visual Scripting panel and do the following:
- In the Horizontal Slider for Mosaic Materials subgraph, deselect Hide Slider Always and select Enabled**
- In the Vertical Slider for Mosaic Materials subgraph, select Hide Slider Always and deselect Enabled
Once you've selected either the horizontal or vertical slider, it is recommended that you delete the subgraph that is not enabled (or the slider you are not using). This will reduce the number of nodes in your project.
If you want to define static values for Cell Resolution X and Cell Resolution Y of a material, you can delete the subgraphs.
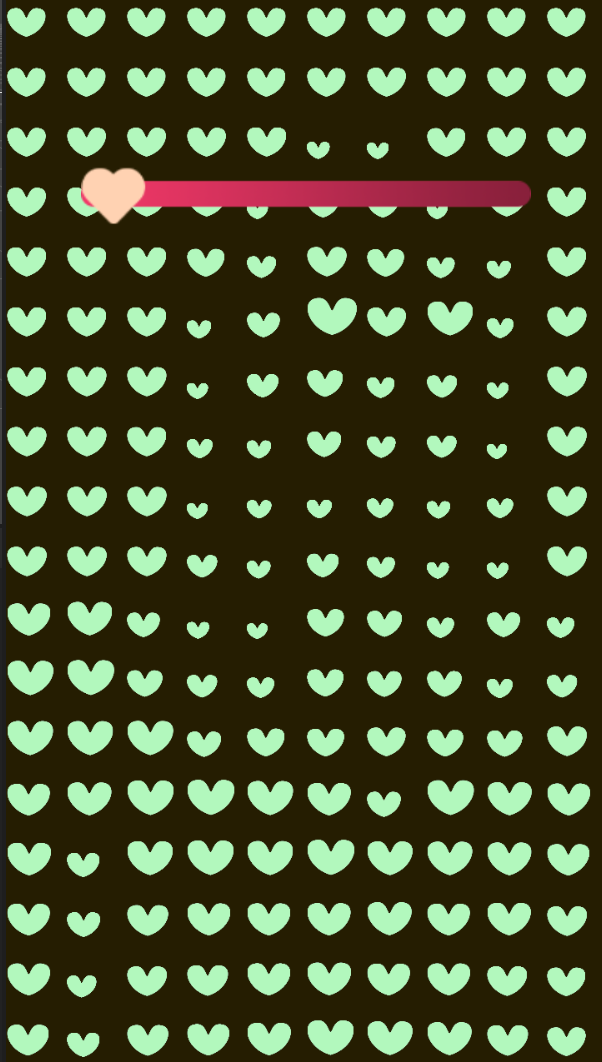
You can now see a horizontal slider bar in place of the vertical slider bar.

Try adjusting the other parameters within the subgraph:
- Hide Slider on Record will cause the slider to disappear upon recording
- Hide Slider Always will always hide the slider on the screen
- Full Screen Slider Hitbox allows you to swipe left and right anywhere on the screen to adjust the minimum and maximum symbol size, even without the slider
- Min Symbol Size determines the smallest number of symbols offered in a row. The symbols are easier to see as they are larger. For example, this is what it looks like when this parameter is set to 10.00.
- Max Symbol Size determines the largest number of symbols offered in a row. The symbols are harder to see as they are smaller. For example, this is what it looks like when this parameter is set to 65.00.