Face Mask
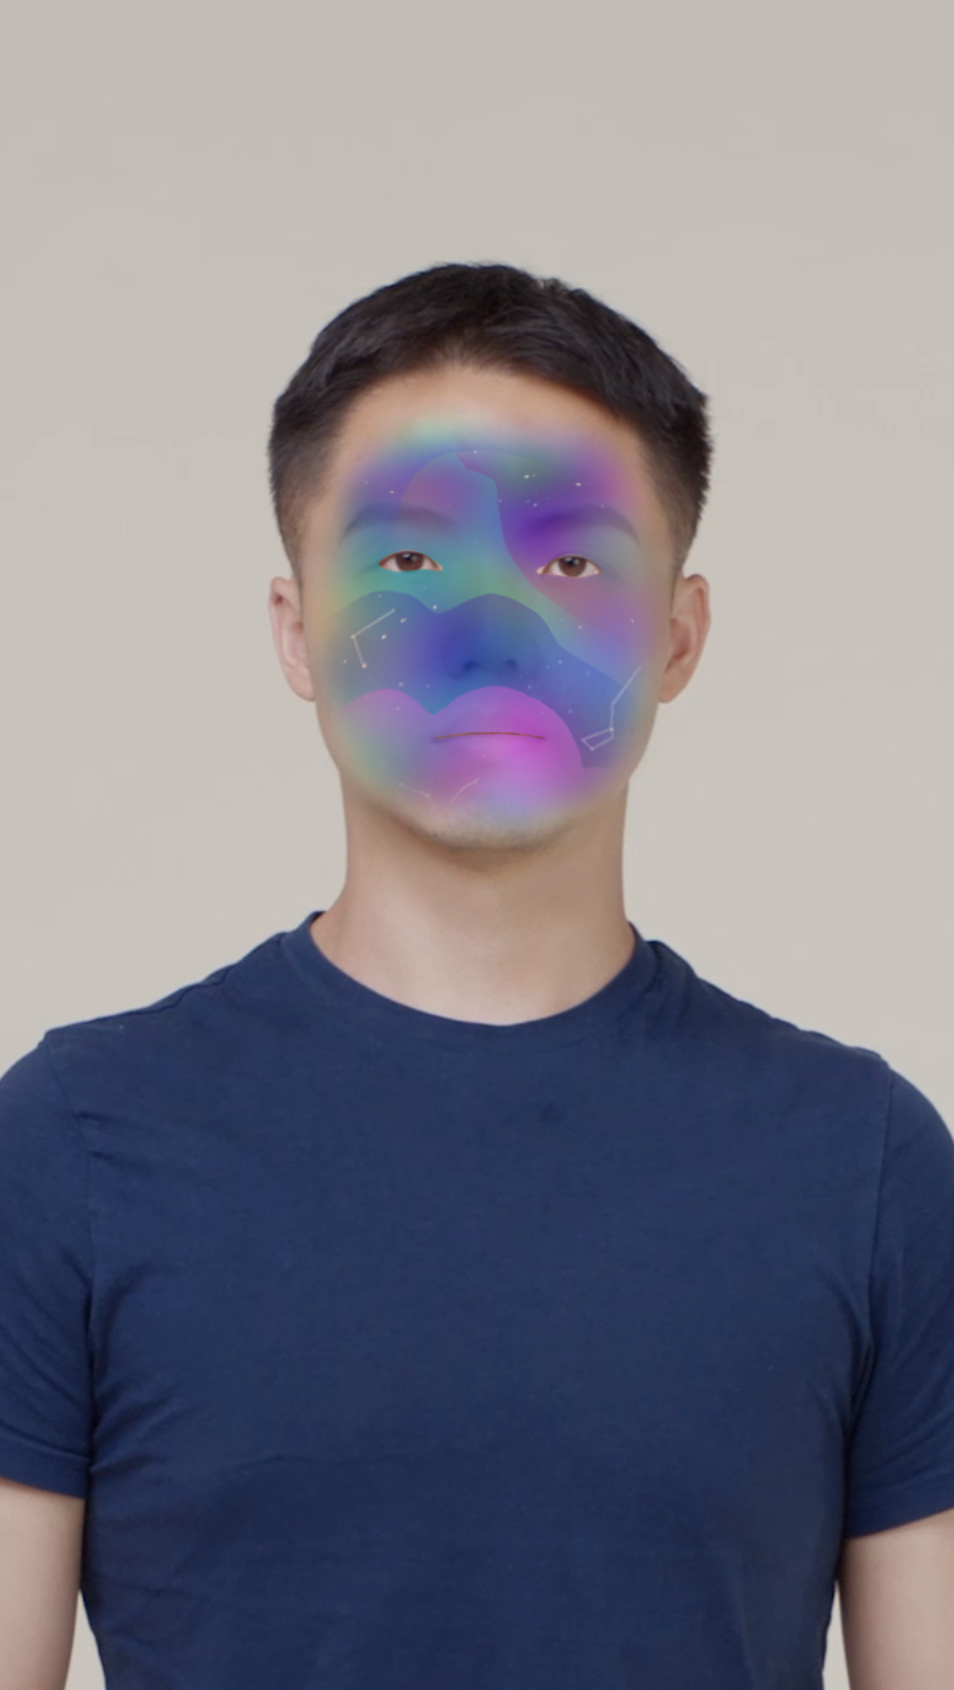
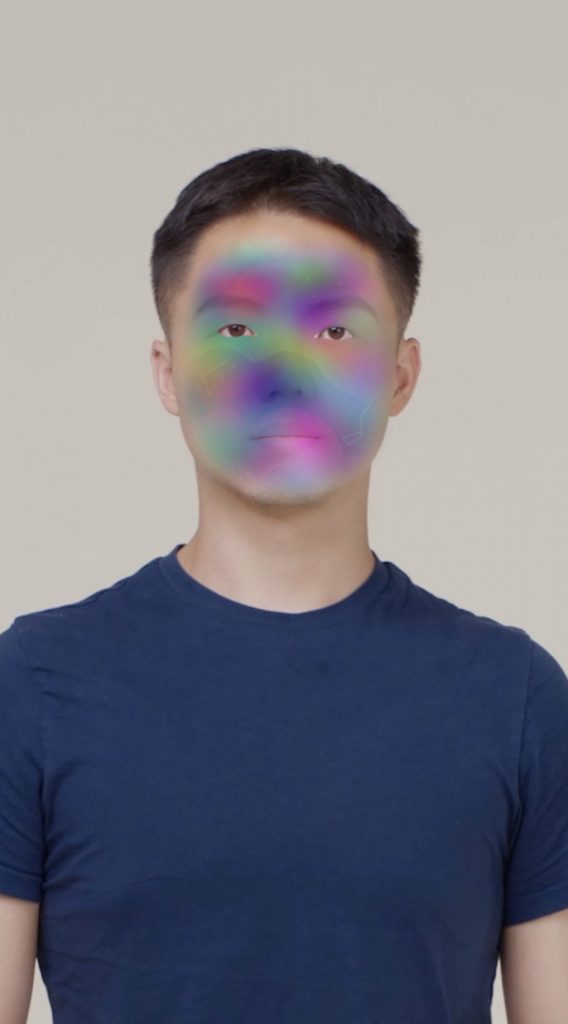
Face Mask applies a 2D texture to a user’s face to create face paint or makeup effects.
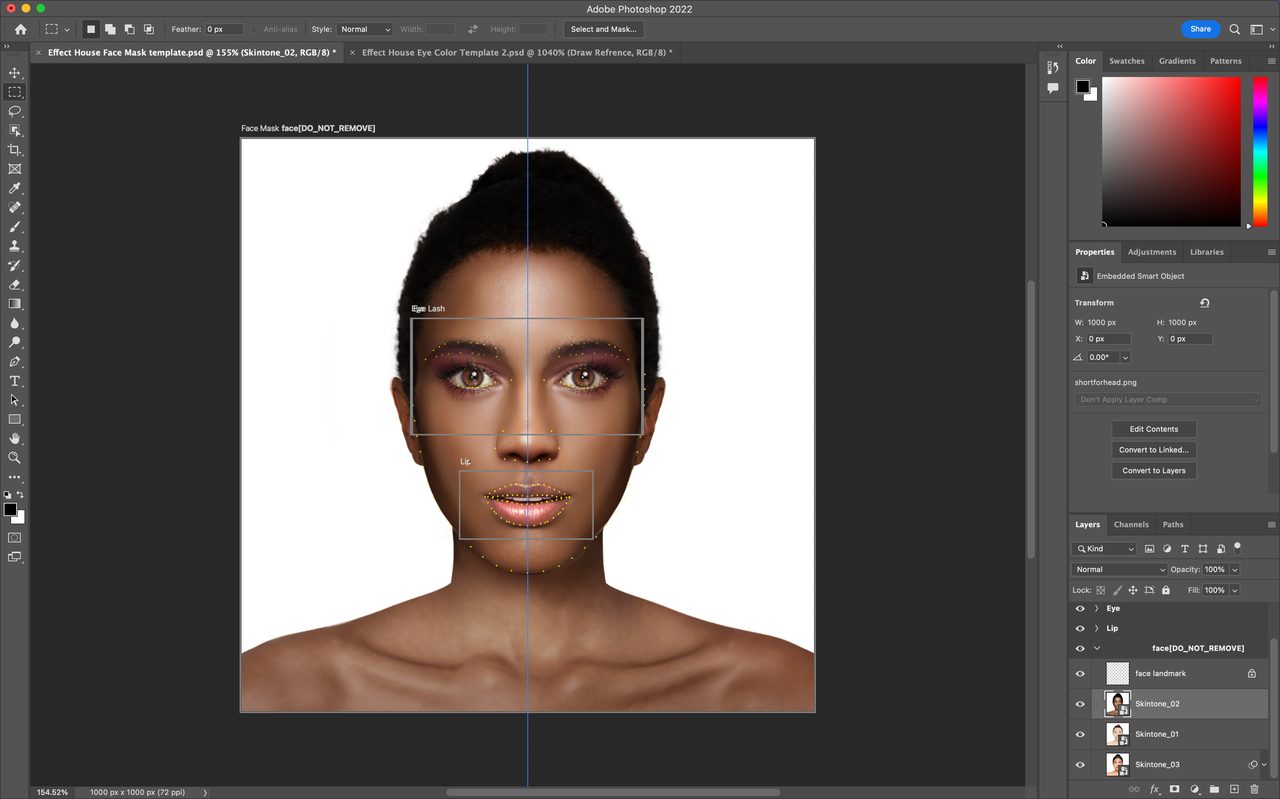
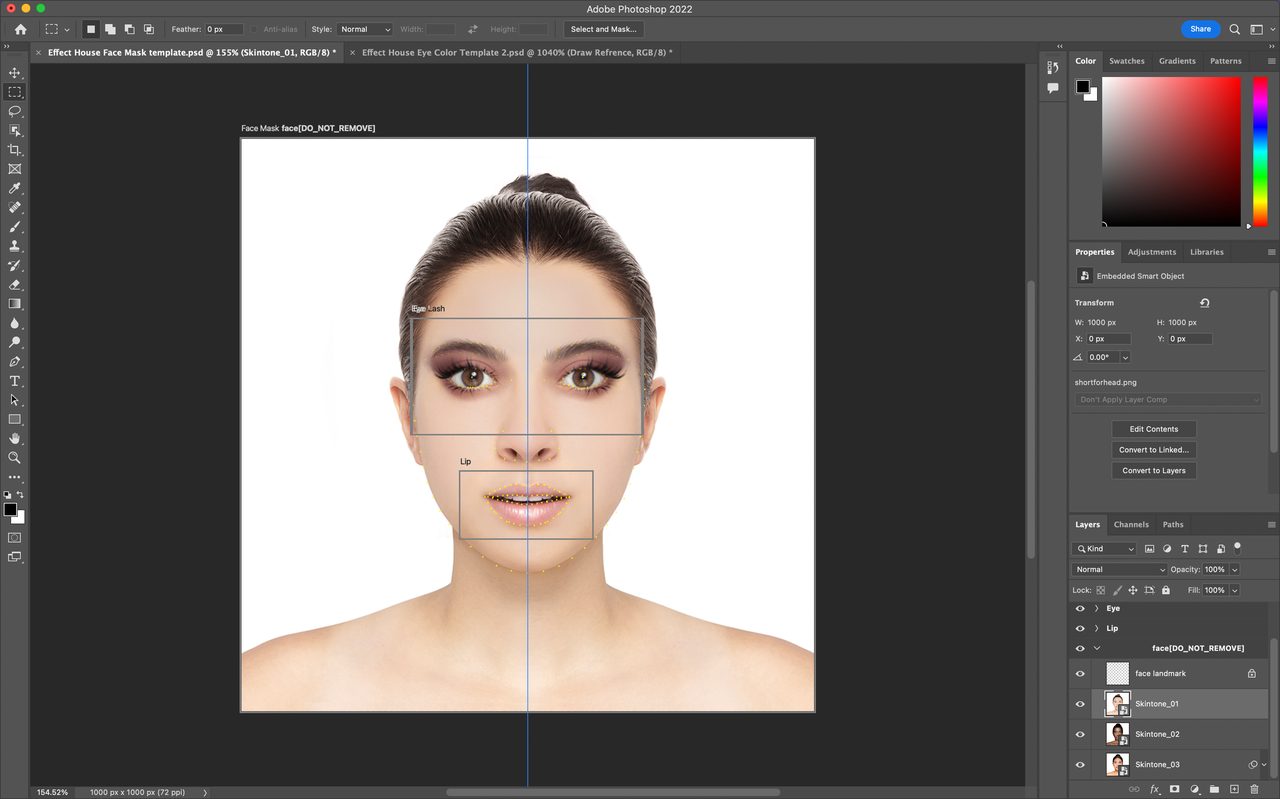
You can download the following file for a face mask reference, which includes templates for the Whole face, Eyes, Eyelashes, Lips, and Teeth. Use your preferred 2D design software to create your own face mask textures.
If you are using Effect House v2.1.0 or a later version, use the following template:
↓ face_mask_2.1+.zip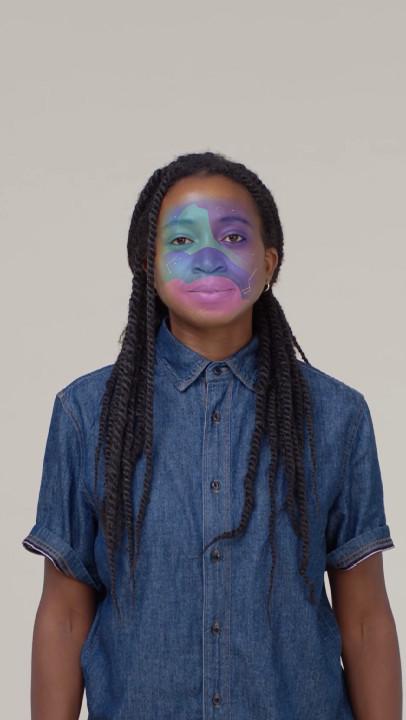

Add a Face Mask Object
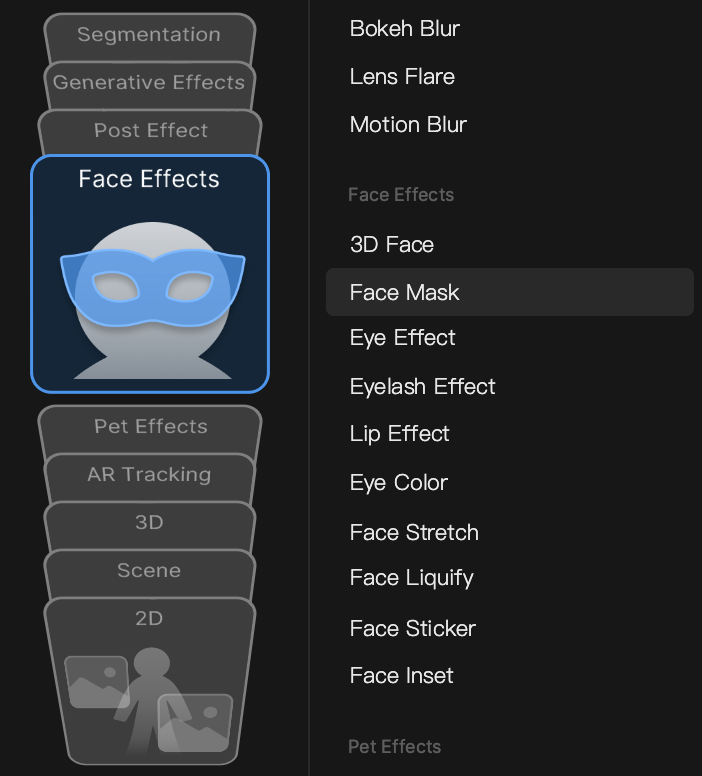
To add a Face Mask object:
- Go to the Hierarchy panel
- Click the Add object button [+]
- Go to Face Effects
- Select Face Mask
You cannot modify the Transform of the Face Mask, but you can adjust its position relative to the face using the Offset of the Face Mask component.
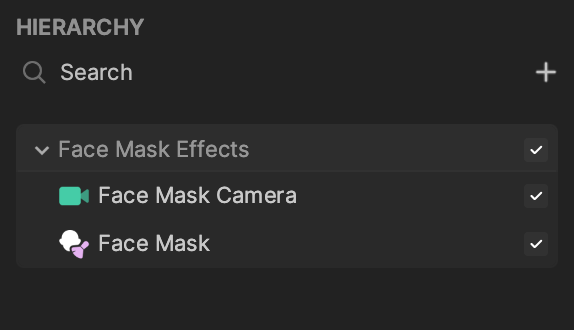
Object Hierarchy
Starting in Effect House v2.0.0, the Face Mask object is automatically added to the Face Shape Effects render group in the Hierarchy panel. Learn more about render groups.
Components
The Face Mask object is made up of the following components, found in the Inspector panel:
Make Your Own Face Mask Texture
If you haven’t already, download the following file for templates to create make your own face mask texture. It includes templates for the Whole face, Eyes, Eyelashes, Lips, and Teeth. Be sure to test your design on all three models to ensure it compliments a variety of skin tones.
↓ face_mask_2.1+.zip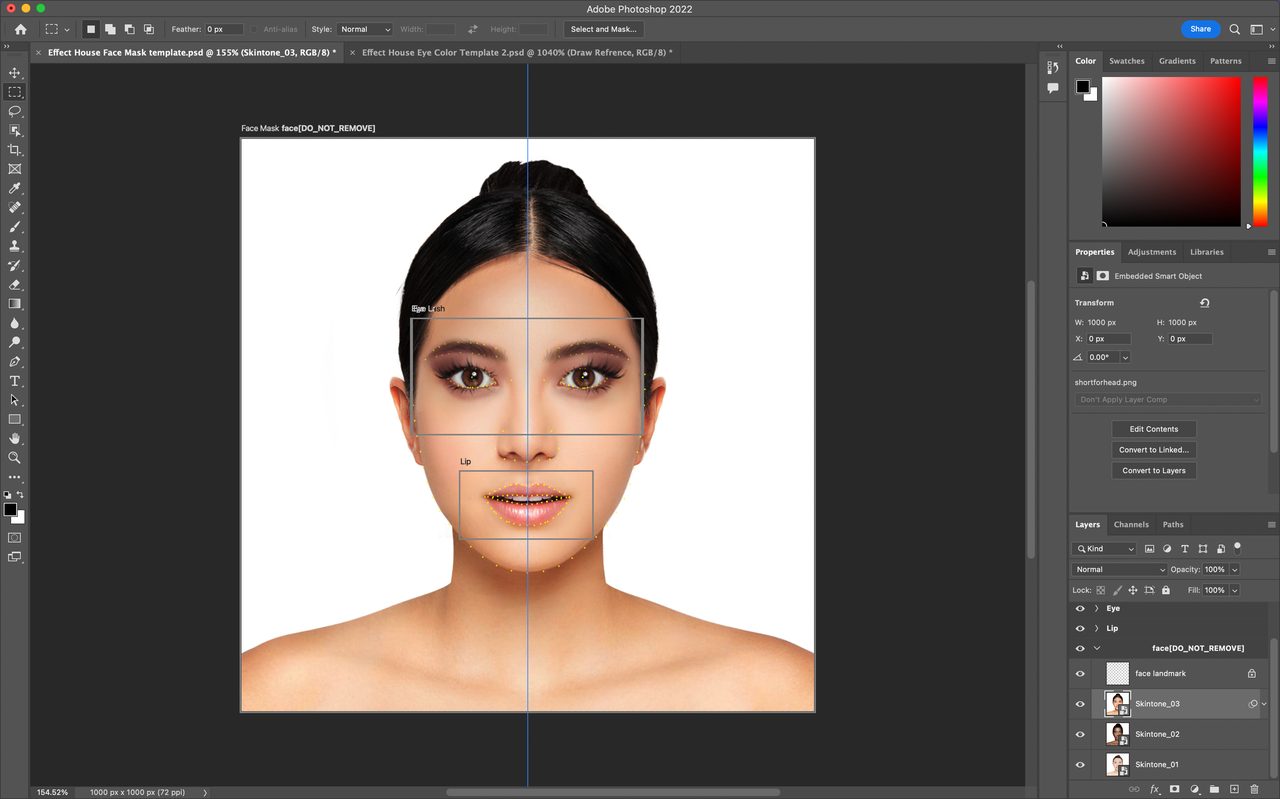
When creating a Face Mask effect, make sure you read our guidelines for building inclusive effects.
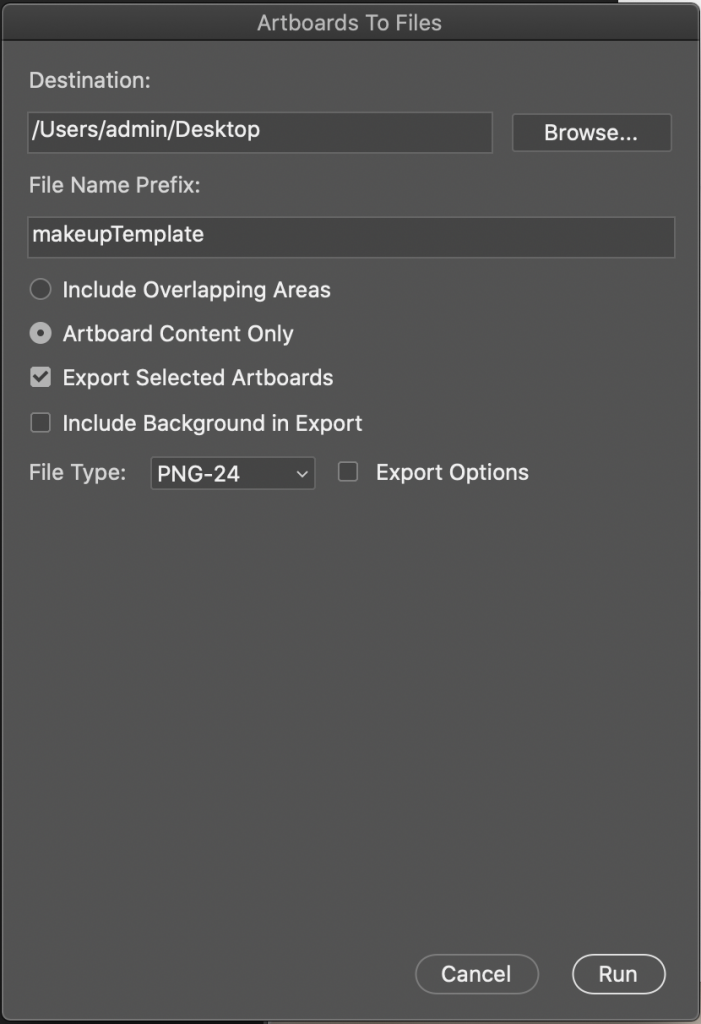
In Adobe Photoshop, select the artboard you want to export and go to File > Export > Artboards to Files. Change the export settings to Artboard Content Only, select the Export Selected Artboards checkbox, deselect the Include Background in Export checkbox, and change the File Type to PNG-24. Then click Run to confirm and export.
Import a Face Mask Texture
To import a Face Mask texture:
- Go to the Assets panel
- Click the Add button [+]
- Select Import
- Choose From Computer. You can also simply drag the texture into the Assets panel.
Learn more about screen image preparation.
Texture Requirements
- Format: PNG and JPG files are supported
- Resolution limit: 1024 x 1024 pixels
- Single file size: Less than 1 MB
- Total effect package: Less than 5 MB
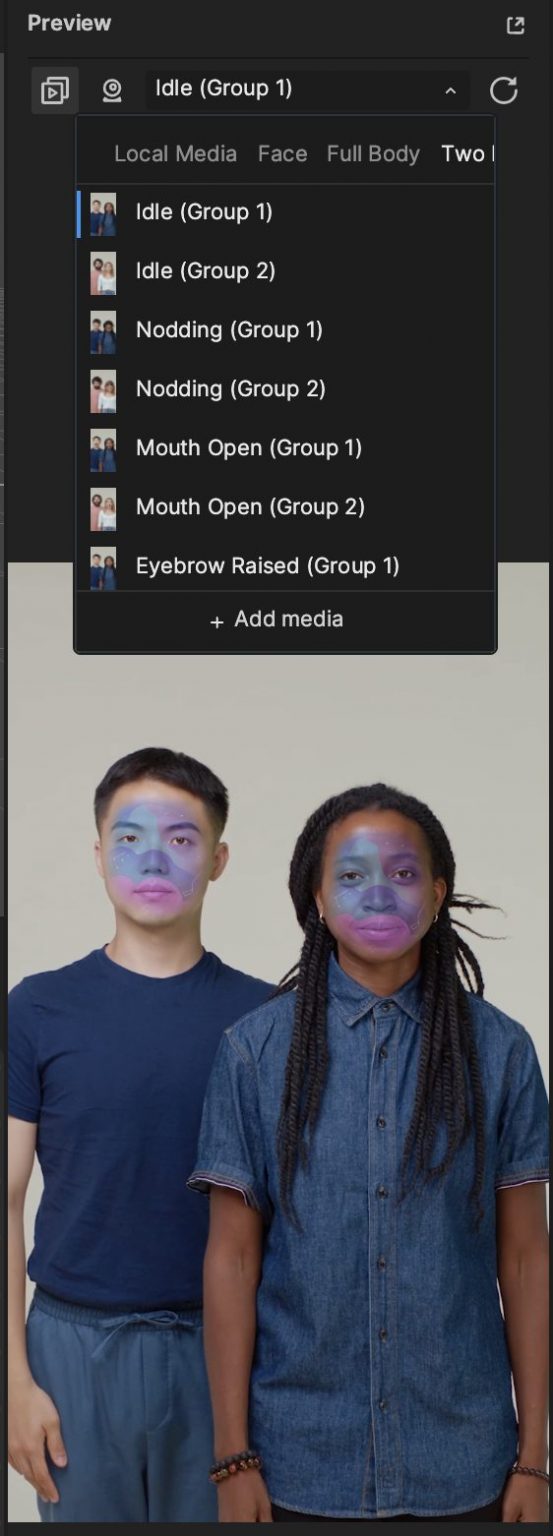
Test Skin Tones in the Preview Panel
Testing Face Mask on different skin tones is recommended to ensure the effect is inclusive. You can find different media demos from the dropdown in the Preview panel.
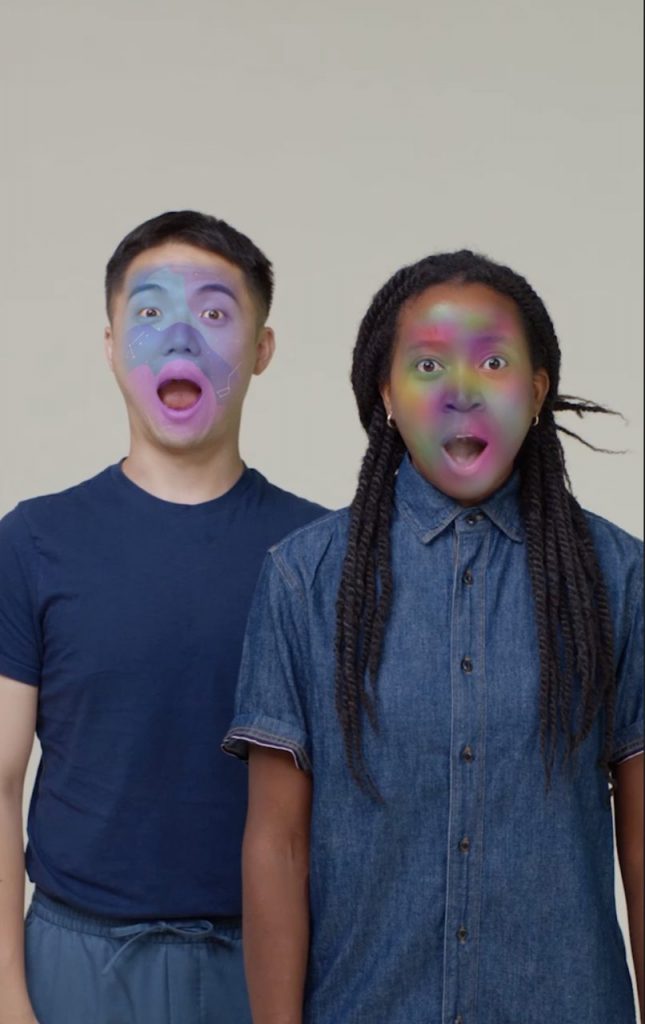
Use Multiple Face Masks
You can apply face masks to multiple faces. Use Which Face to designate which face a face mask applies to. You can apply different face mask textures to different people’s faces.
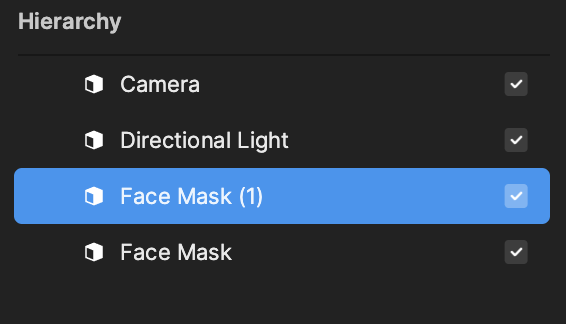
If you’re using multiple face masks on one person’s face, the face masks will show up by following the image’s render order.
When Face Mask(1) is on top of Face Mask, Face Mask will show in front of Face Mask(1) on the person’s face.

Version Compatibility
Projects created prior to Effect House v1.5.1 will not be able to use the Which Face property. You must add a new Face Mask component to use this function.