Media Picker
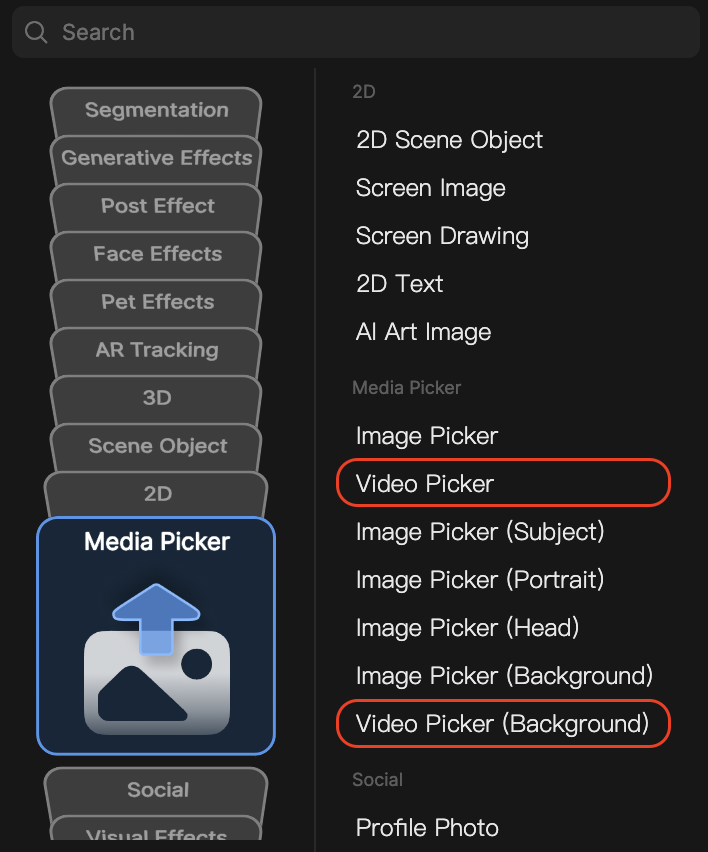
The User Media Texture menu includes the following categories: Image Picker, Image Picker (Subject), Image Picker (Portrait), Image Picker (Head), Image Picker (Background), and Video Picker (Background). In this guide, we'll walk you through how to upload your own image or video and choose the right category for your media.
Since the Video Picker and Image Picker have the same functionality, you can only choose one to apply to your effect.
Image Picker
The Image Picker allows you to apply an image asset to your effect. Image Picker will have options available for Subject, Portrait, Head, and Background.
Add a Image Picker object
To add a Image Picker object:
- Go to the Hierarchy panel
- Click the Add object button [+]
- Go to Media Picker
- Choose an Image Picker option:
- Image Picker: Select any image, with no transparency applied
- Image Picker (Subject): Keeps the main subject (you or your object) visible, making everything else transparent
- Image Picker (Portrait): Keeps you (or your portrait) visible, typically from the shoulders up, while the background becomes transparent
- Image Picker (Head): Focuses on your face, keeping it visible and making everything else transparent
- Image Picker (Background): Keeps the background visible, making you (or the subject) transparent
Customize Image Picker
When you add Image Picker from the Object menu, an Image Picker is automatically added to the Hierarchy panel.
To change the default green checkered pattern texture:
- Go to the Assets panel
- Click the Image Picker Texture asset
- Go to the Inspector panel
- Click Default UM Texture
- Choose from an available texture or add your own
- Choose a Segmentation type. If Portrait, Subject, or Head are selected, you'll have the option to change the default green checkered pattern from your mobile device.
Video Picker
The Video Picker allows you to apply an image asset to your effect. You can choose from Video Picker or Video Picker Background.
Add a Video Picker object
To add a Video Picker object:
- Go to the Hierarchy panel
- Click the Add object button [+]
- Go to Media Picker
- Choose a Video option:
- Video Picker: Select any video, with no transparency applied
- Video Picker (Background): Keeps the background visible, making you (or the subject) transparent

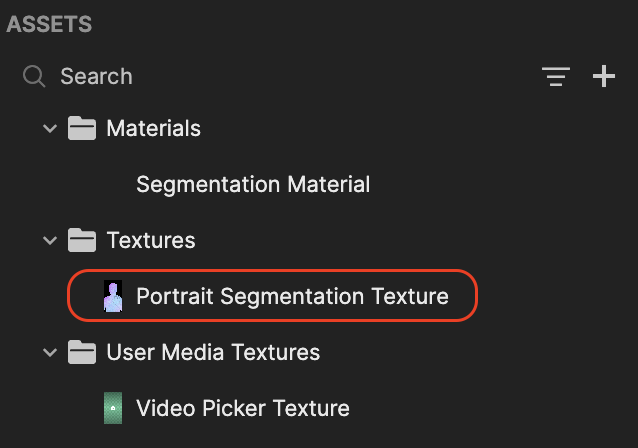
When the Video Picker (Background) object is applied, Portrait Segmentation will automatically be added to the Assets panel. Learn more about Portrait Segmentation.

Customize Video Picker
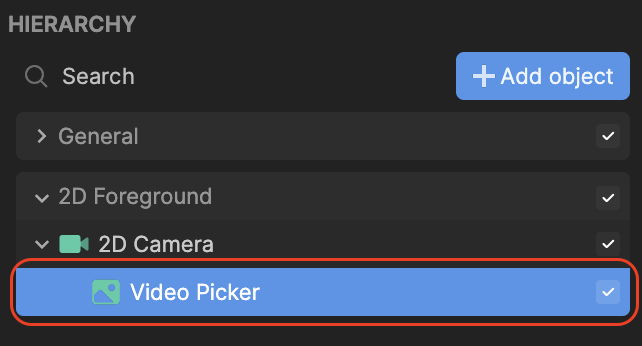
When you add Video Picker from the Object menu, a Video Picker is automatically added to the Hierarchy panel.

To add your own video as the default texture:
- Go to the Assets panel
- Click the Add asset button [+]
- Go to Import and click From Computer
- Choose your video. Your video is now added to the assets panel!
Now that you've added your asset to the asset panel, let's change it within the Video Picker Texture:
- Go to the Assets panel
- Click the Video Picker Texture asset
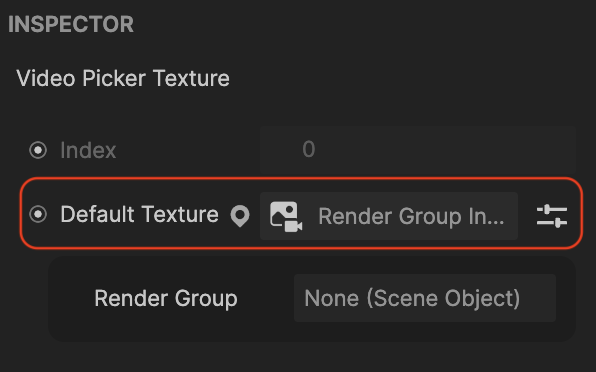
- Go to the Inspector panel
- Click Render Group Input Texture
- Choose your video from the list or an available texture

Components
The Image Picker, Image Picker (Subject), Image Picker (Portrait), Image Picker (Head), Image Picker (Background), and Video Picker (Background) objects are all made up of the following components, found in the Inspector panel: