Visual Effects Editor Overview
Getting Started
Effect House Visual Effects Editor, otherwise known as VFX Editor, equips creators with a sophisticated platform for crafting intricate visual effects and GPU particle simulations. With its node-based visual programming interface, you get access to a versatile toolset that enables seamless design and implementation of complex visual elements. VFX Editor not only enhances efficiency but also allows you to produce stunning and dynamic visuals with precision.


You can expect the following in VFX Editor:
- Basic capabilities: image spawn, world and local space setup, texture 3D usage, flipbook animation, SDF (Signed Distance Fields), floating particles, add turbulence, trigger event, collision, sample mesh, and sample skinned mesh
- Advanced features: GPU event usage and visual scripting
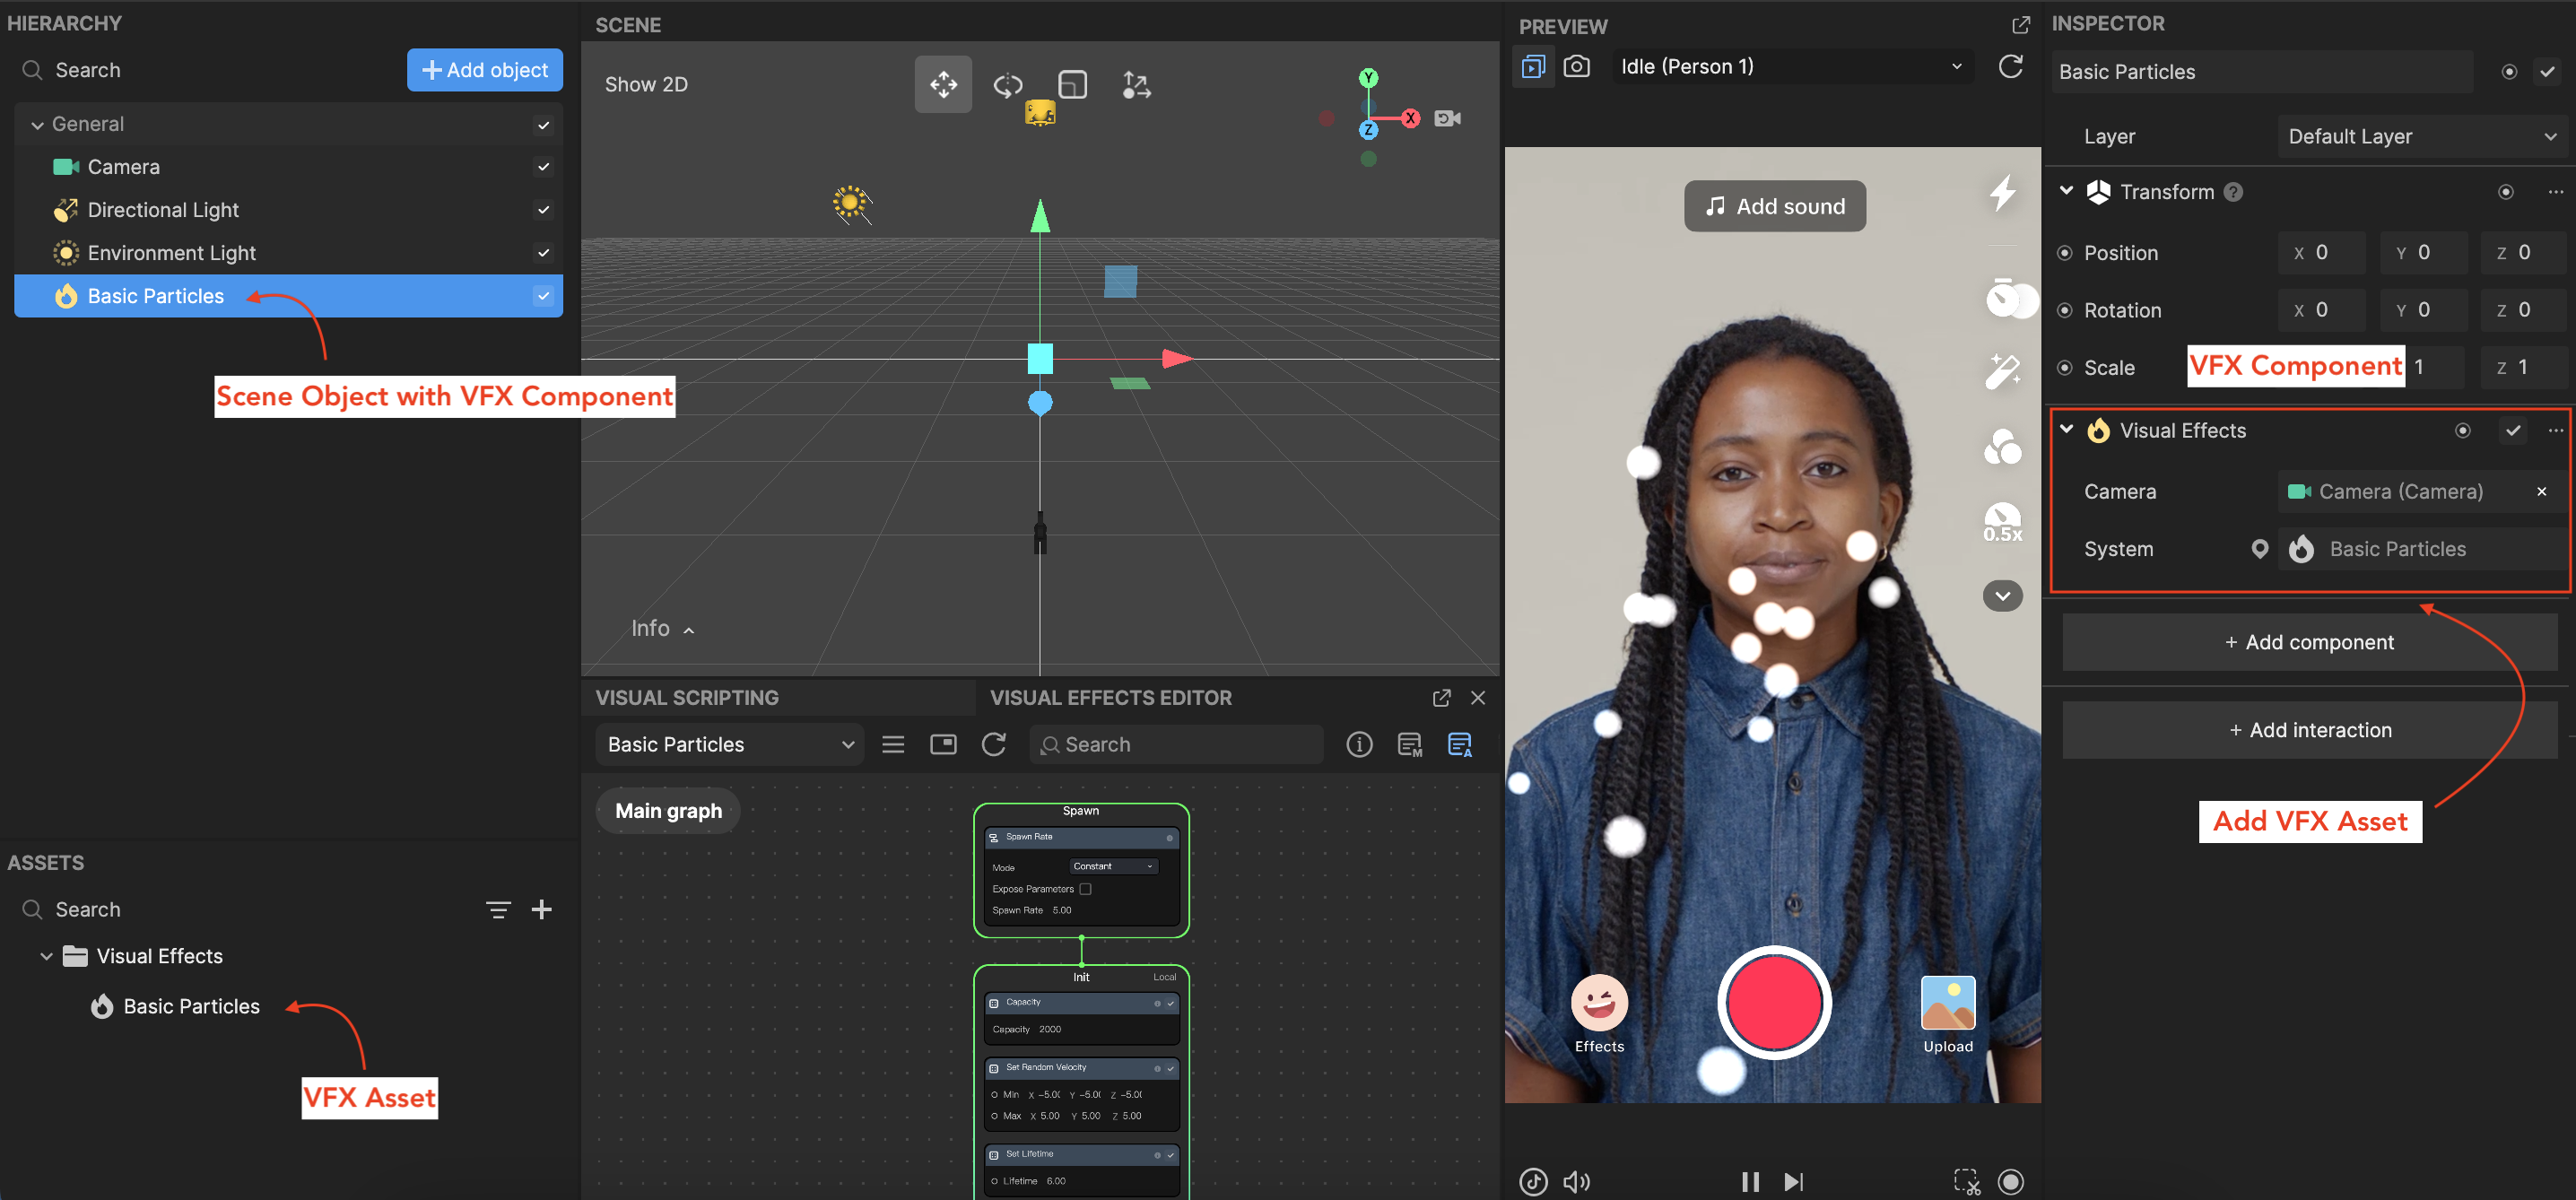
Visual Effects Component and Asset
To use VFX Editor, you need two elements: the Visual Effects component and a VFX asset
- The Visual Effects component is the component that takes the VFX asset and renders it in your scene
- A VFX asset is a VFX system used to create a custom effect
Add a Visual Effects Component
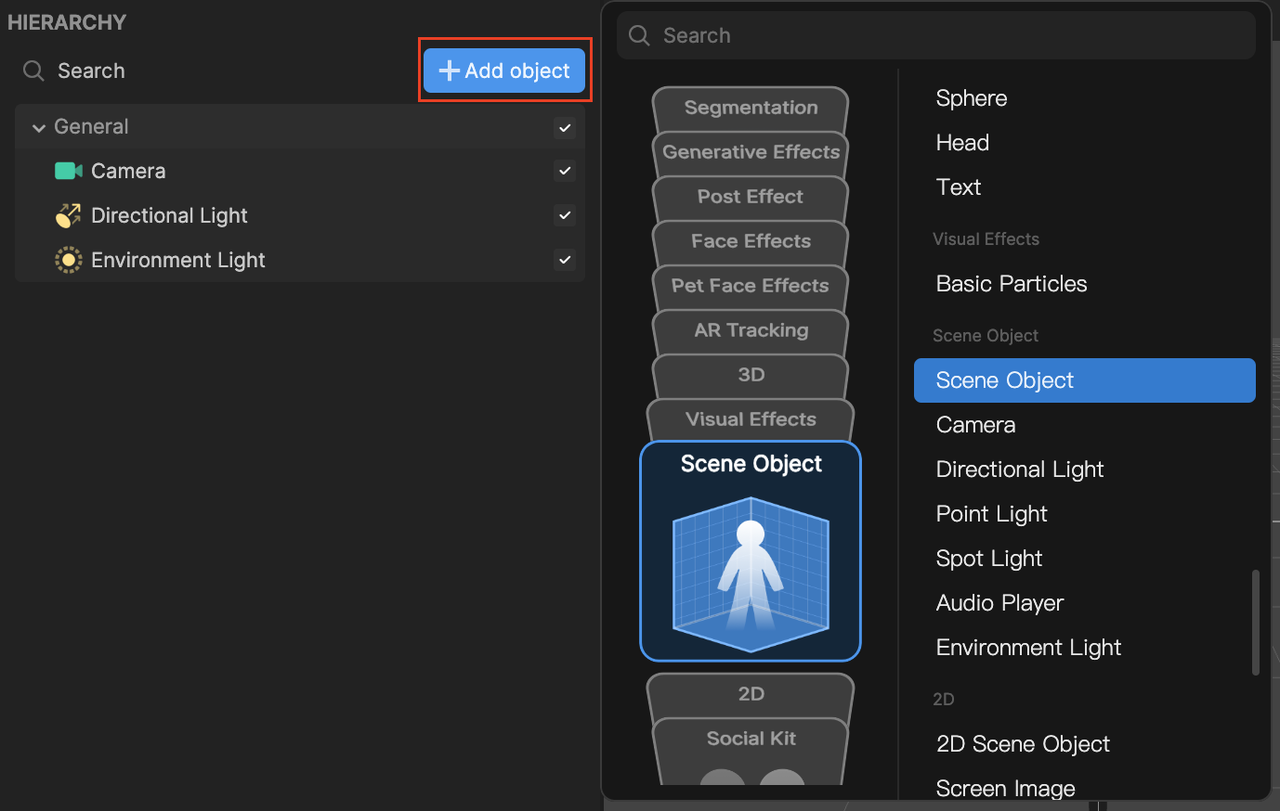
To add the Visual Effects component, you need to first add Scene Object:
- In the Hierarchy panel, click + Add object. The Objects menu appears.
- Go to Scene Object and click Scene Object
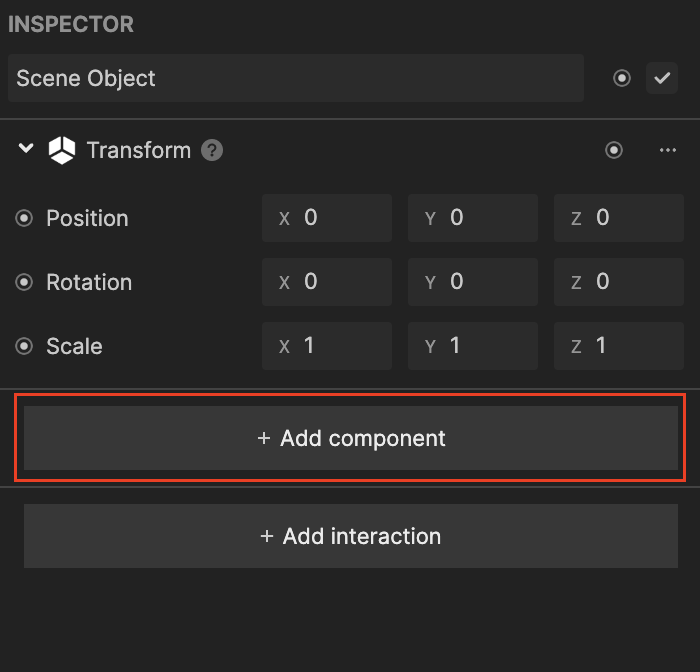
- In the Hierarchy panel, select Scene Object
- In the Inspector panel, click + Add component
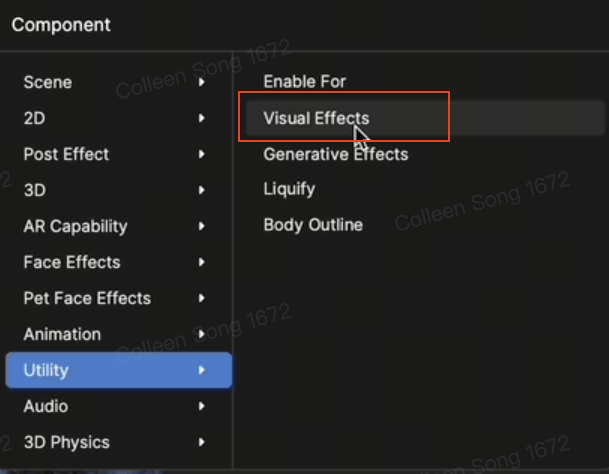
- Go to Utility and click Visual Effects
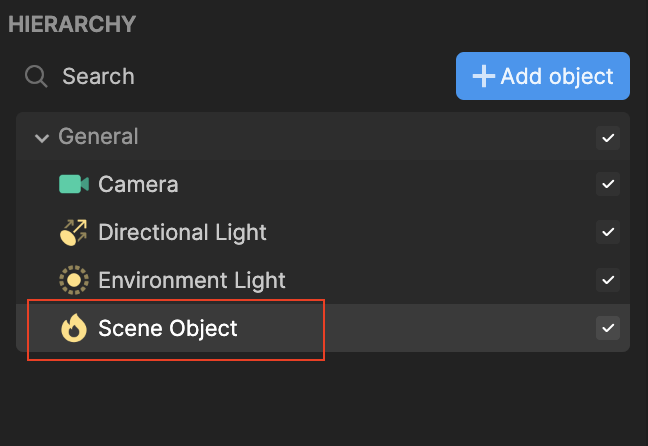
Once you've added the Visual Effects component, Scene Object appears with a different icon in the Hierarchy panel.
Add a Visual Effects Asset
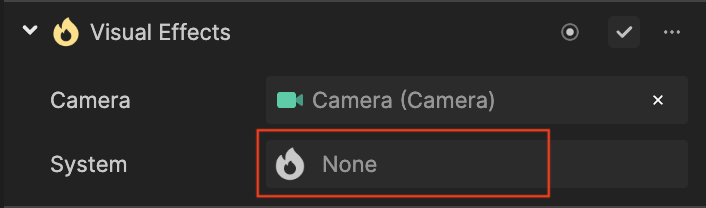
By default, a Visual Effects component appears in the Inspector panel without an assigned system.
To add a VFX asset:
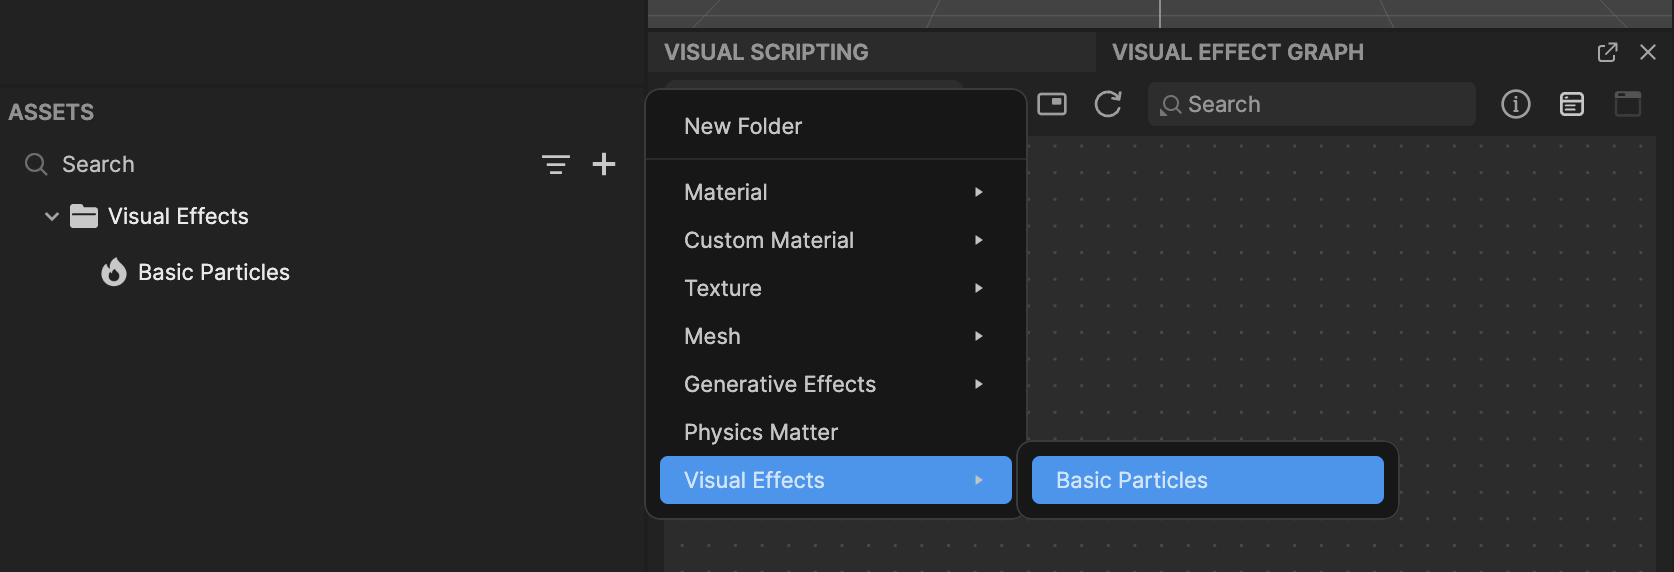
- In the Assets panel, click the Add asset button [+]. The Assets menu appears.
- Scroll down to find Visual Effects
- Select the Basic Particles asset.
Assign a Visual Effects Asset to a Component
To assign the VFX asset to the Visual Effects component:
- In the Inspector panel, go the Visual Effects component
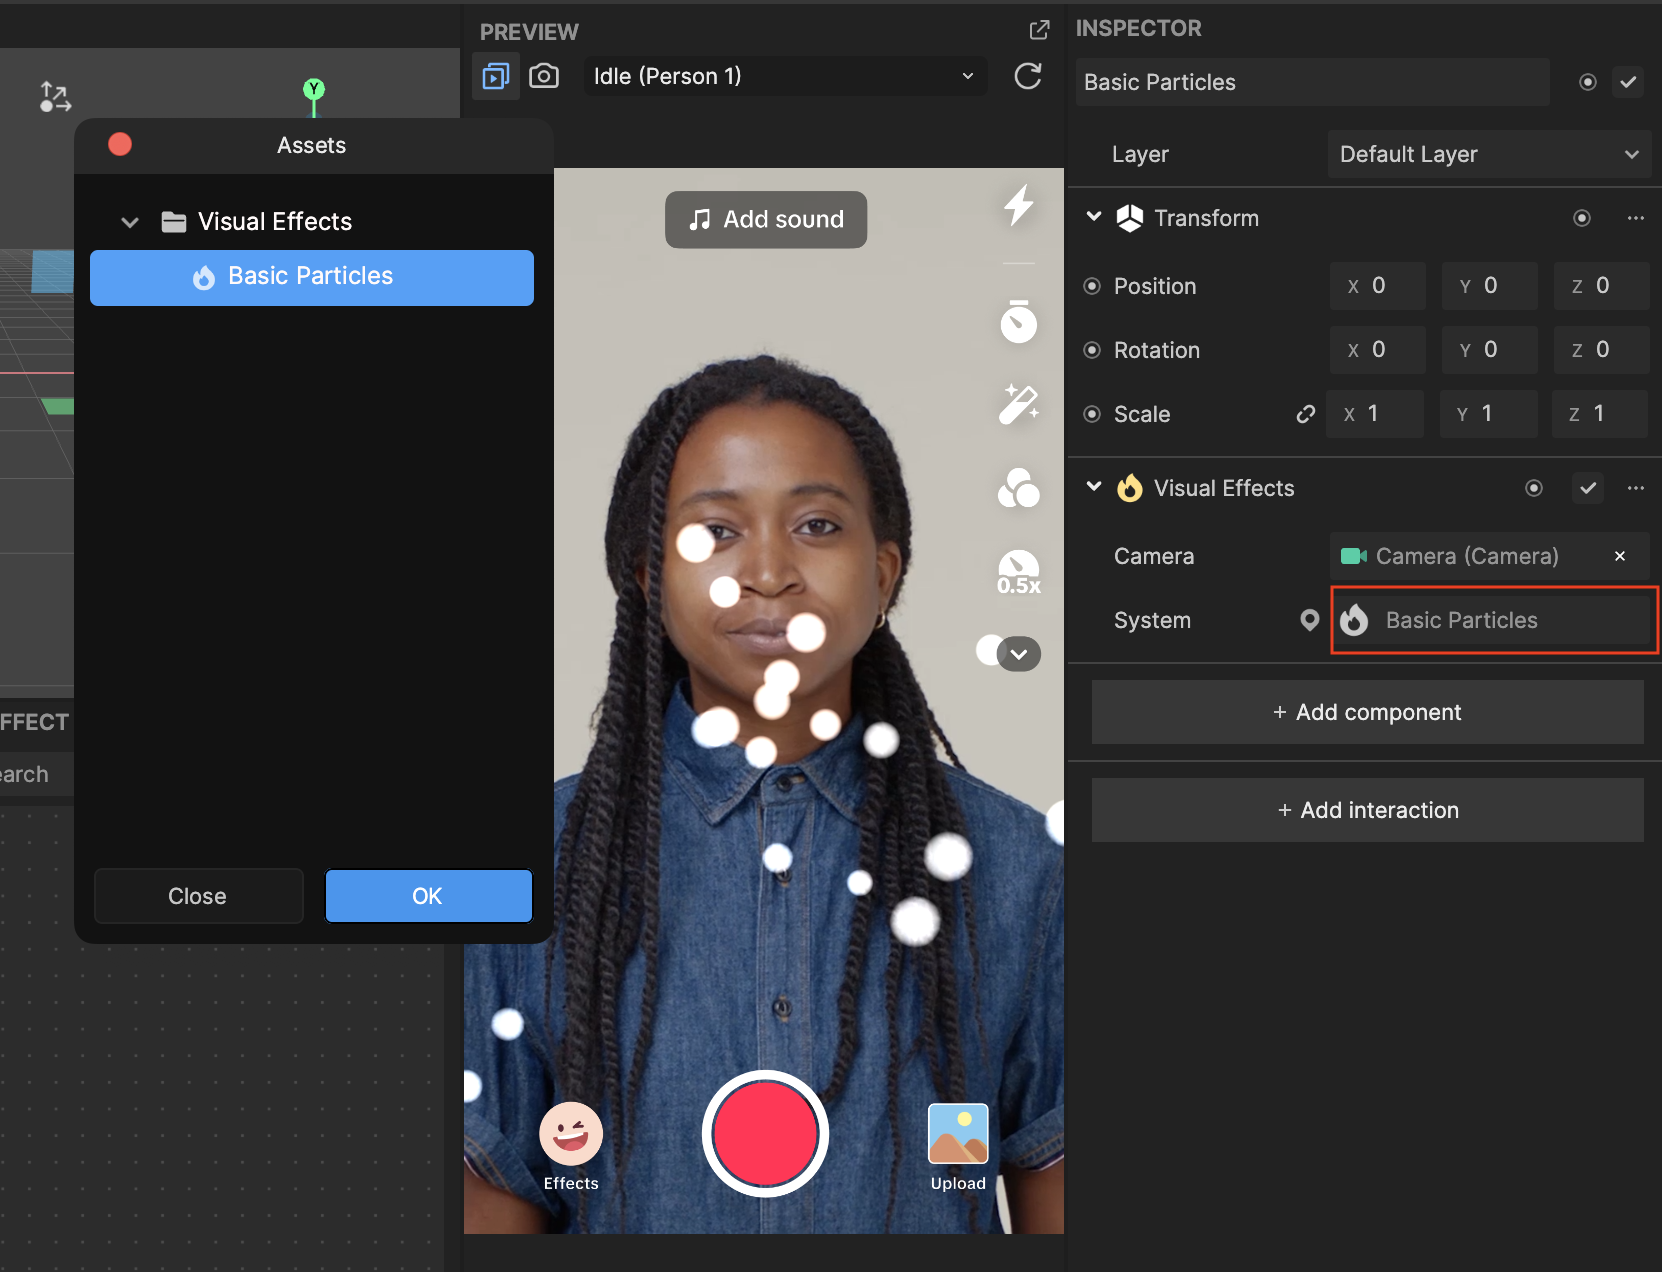
- Click the System field. The Assets picker appears.
- Select the Basic Particles asset
- Click OK
Add a Visual Effects Object
From the previous steps, you can see how the VFX Editor uses a VFX asset and the Visual Effects component. To simplify this process, you can alternatively and easily add a single Visual Effects object, which is comprised of both the VFX component and asset. To add a Visual Effects object from the Object menu:
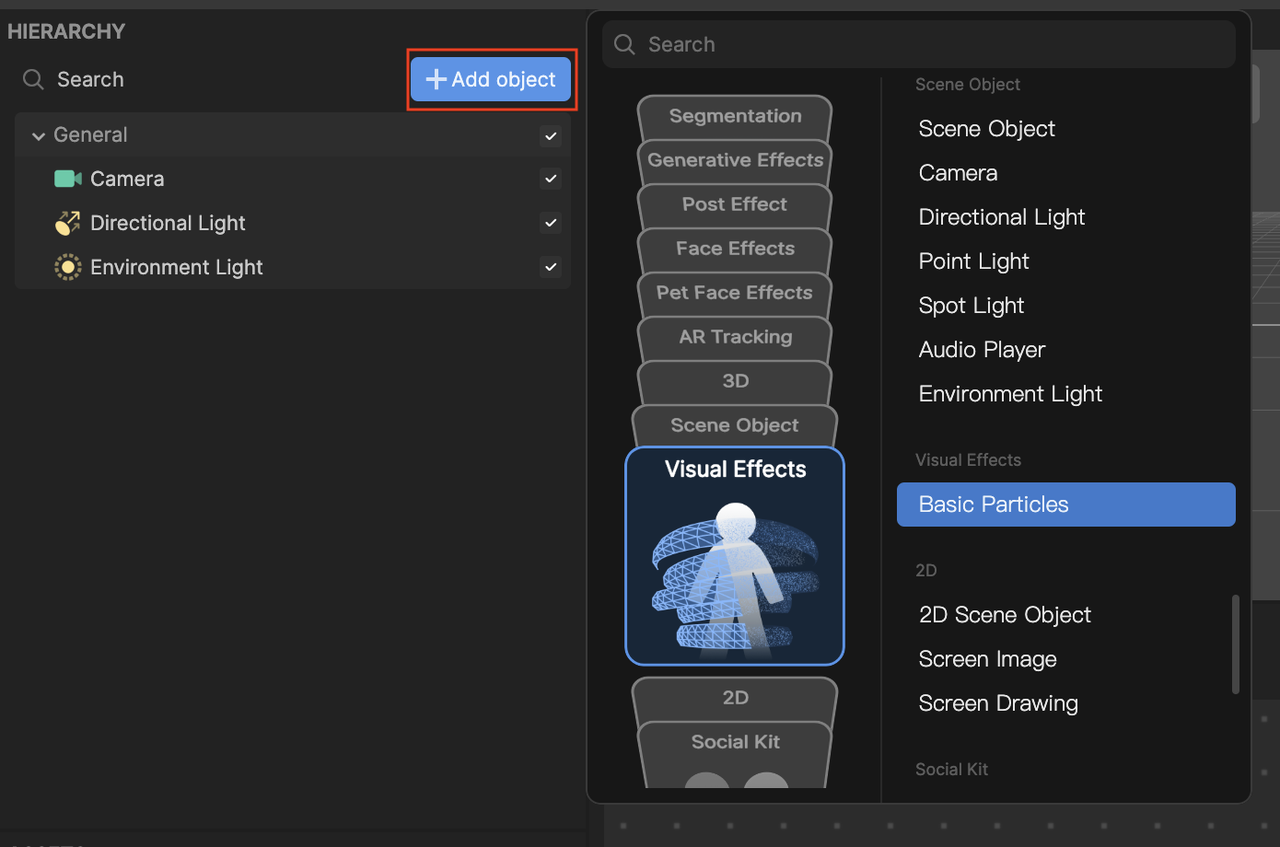
- In the Hierarchy panel, click + Add object. The Objects menu appears.
- Go to Visual Effects and click the Basic Particles object.
The effect appears in the Preview panel. In this case, you can see white particles floating in the preview.

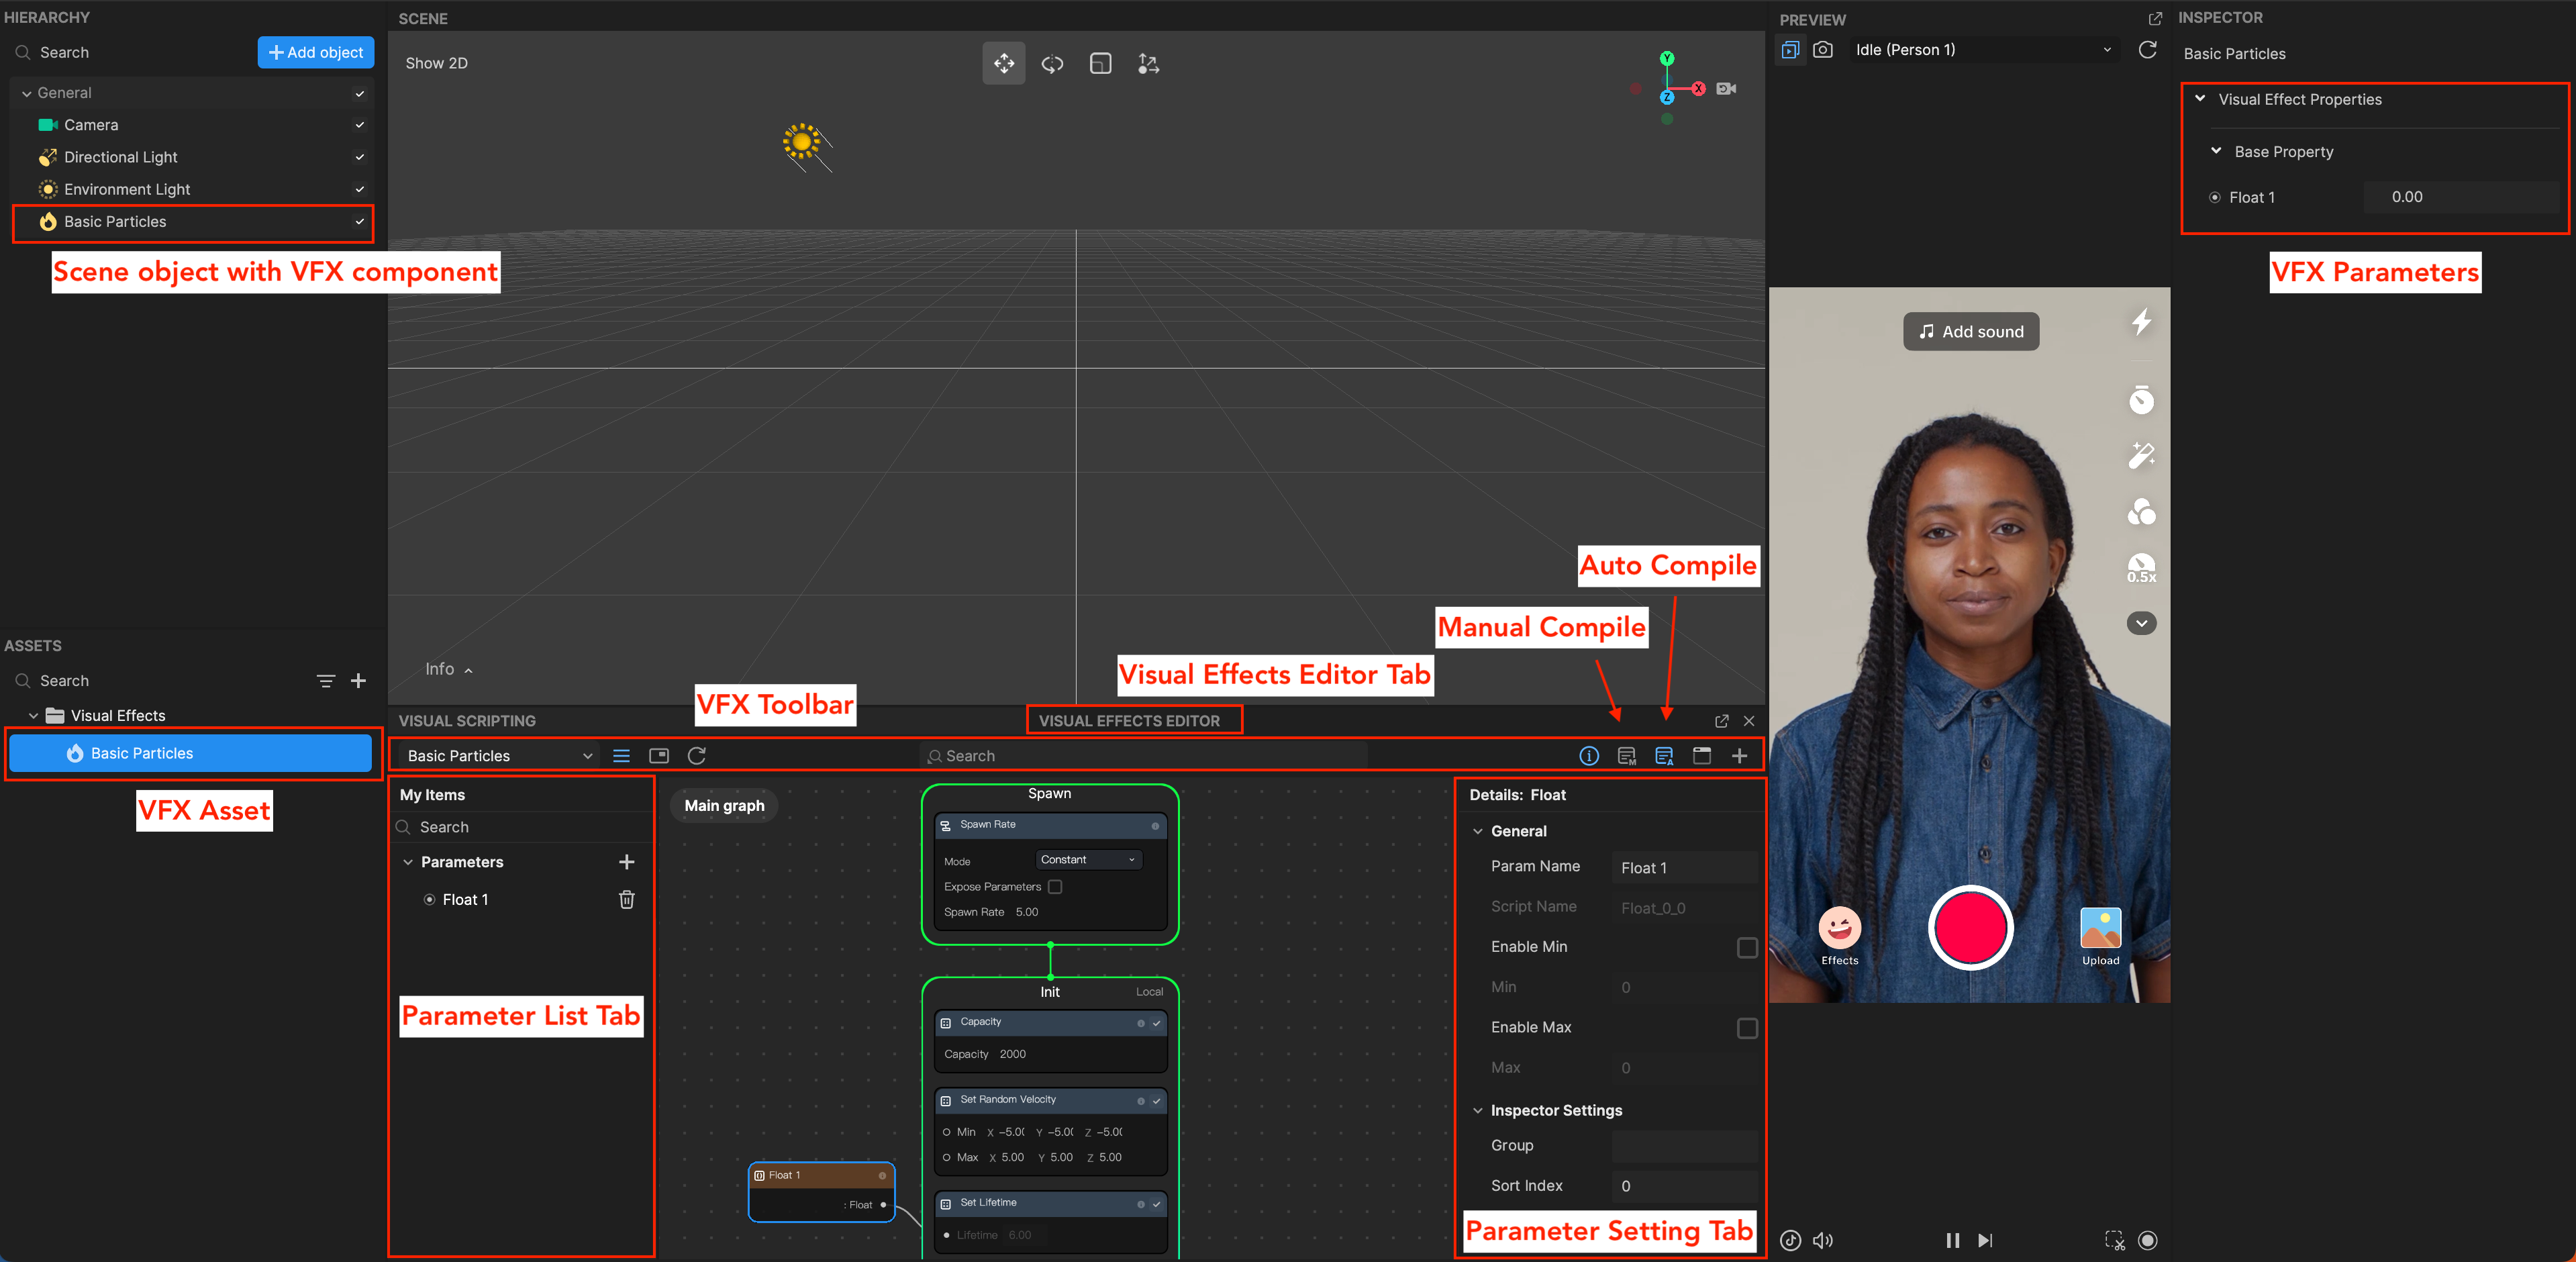
Visual Effects Editor Interface Overview
VFX Editor can be accessed by clicking the Visual Effect Graph tab. You can also access VFX Editor by selecting the VFX asset in the Assets panel and then clicking Edit Visual Effects in the Inspector panel.
Let's take a look at the node structure and the toolbar buttons within VFX Editor.
Visual Effects Node Structure
A VFX graph uses vertical logic where the workflow goes from top to bottom.
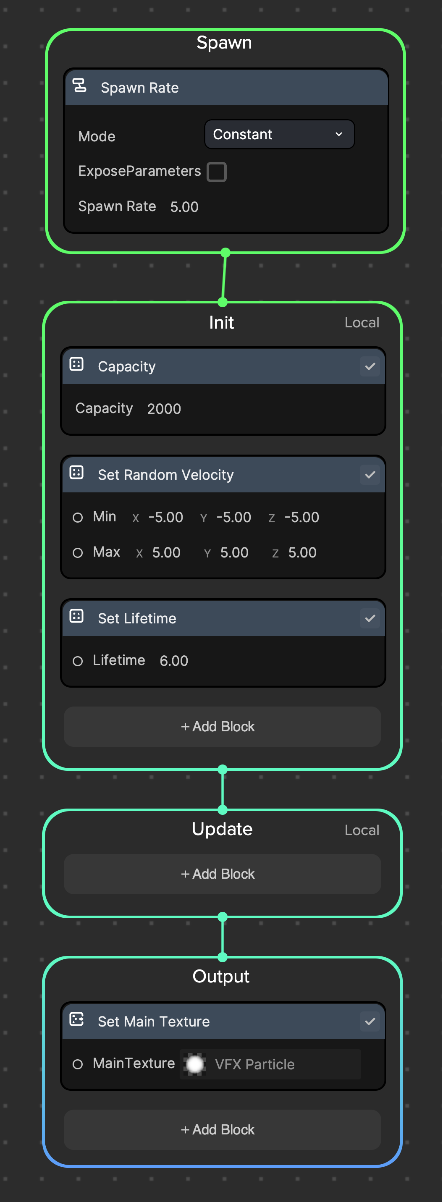
- Spawn controls both the frequency and amount of particles that are being created
- Init controls the initial setup/values during the initial stage
- Update controls the behaviors over time. Each particle updates once per frame.
- Output controls how the particles are being rendered
Visual Effects Editor Nodes
The following are the different nodes you interact with in VFX Editor.
Context Nodes
Context nodes serve as the primary elements in the vertical logic of the graph workflow. They determine the sequence and connections between operations and simulations. Each context node represents a specific computing stage, such as determining particle spawning and updating existing particles.
There are four context nodes to choose from: Spawn, Init, Update, and Output.
Block Nodes
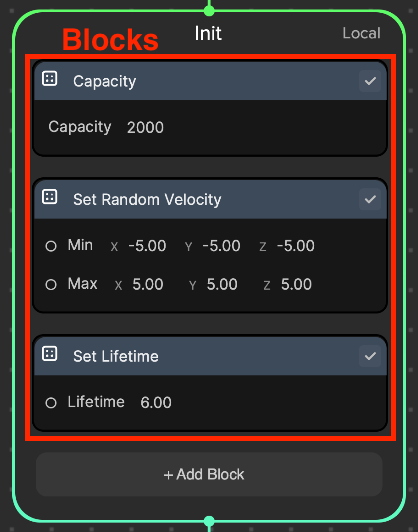
Block nodes specify the behavior of a context node. For example, you can use a block node, like Set Random Velocity, to store a simple value, or use Turbulence for advanced operations.
Operator Nodes
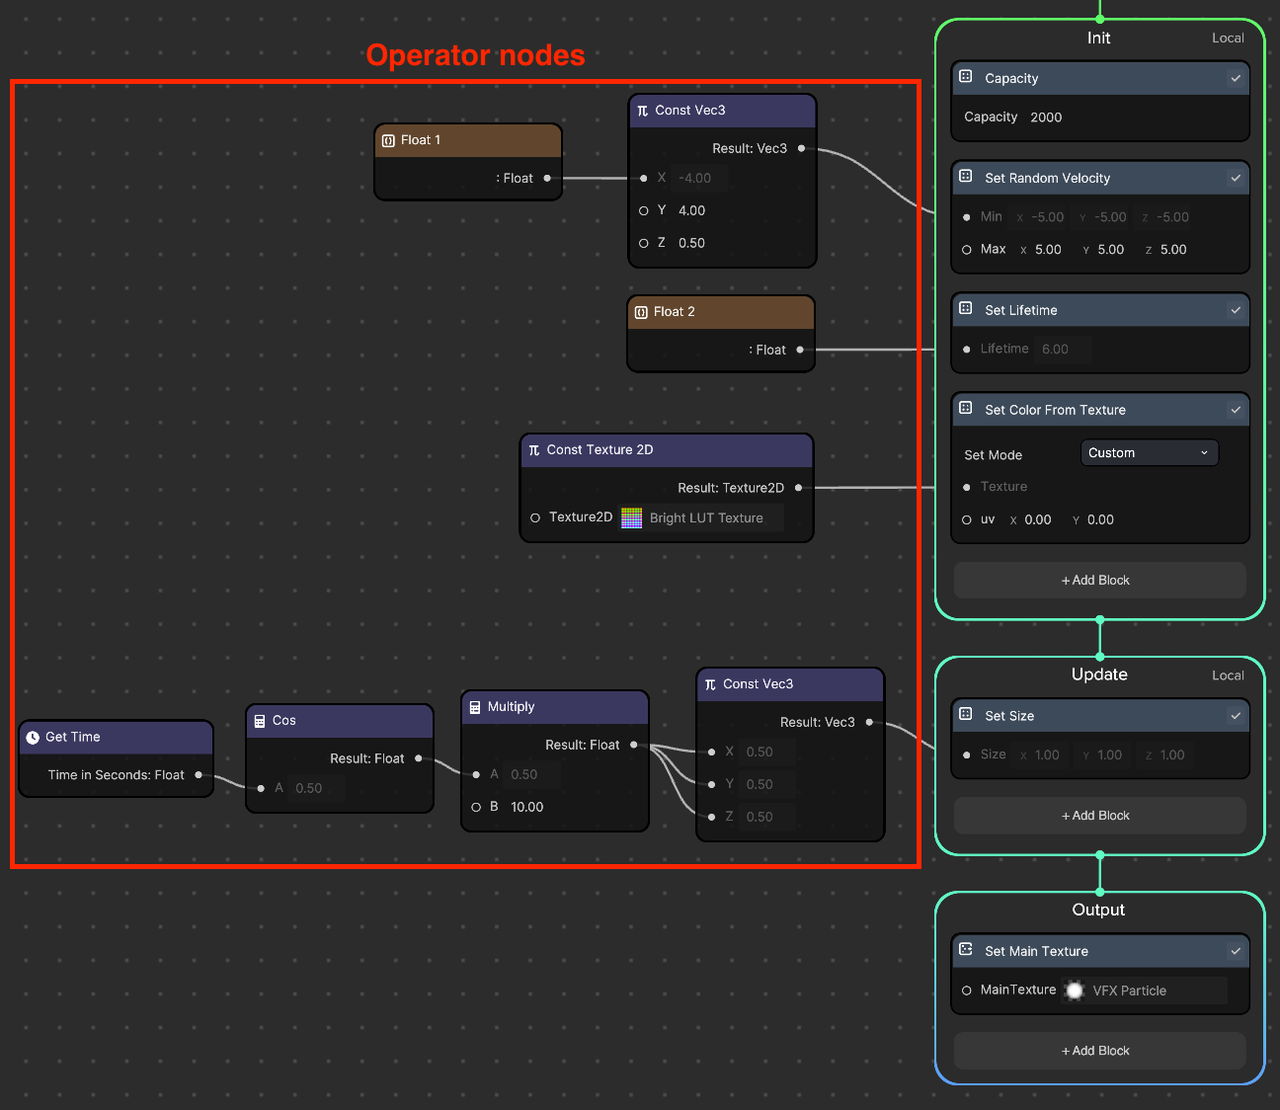
Operator nodes act as the building blocks in the property workflow. They allow you to create custom behaviors in VFX Editor. For example, these nodes perform mathematical operations to derive values, and the values are then applied to sample curves and gradients. The values obtained are subsequently utilized in block nodes or as input values for context nodes.
Parameters

Parameter nodes are a distinct category of operators. They serve as the data interfaces accessible to the VFX asset. Parameters are exposed in a manner similar to how properties are exposed in shaders.
Spawn Mode Types and Exposing Parameters
The Mode property offers three modes that control the number of particles being created:
- Constant adds a spawn count over time at a constant rate. For example, if the rate is 10, it triggers 10 spawn events per second for its spawner context.
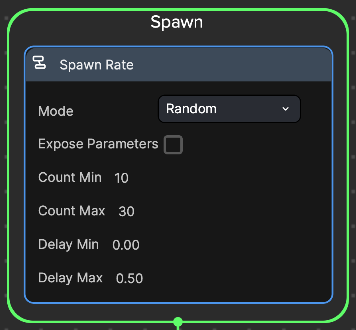
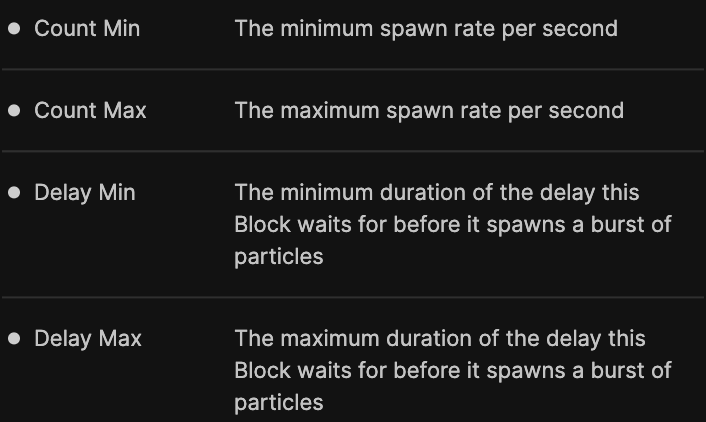
- Random spawns a random number of particles between two boundaries. The delay time is of a random duration between two boundaries.
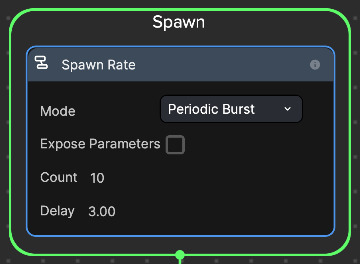
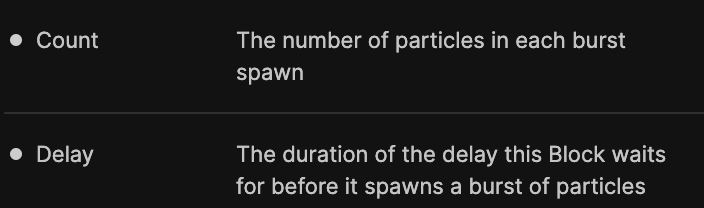
- Periodic Burst spawns a number of particles instantly and periodically using a delay The Expose Parameter property allows you to view parameter values, like Spawn Rate in Constant mode, in the Inspector panel. You can then control the parameters in the visual scripting graph.
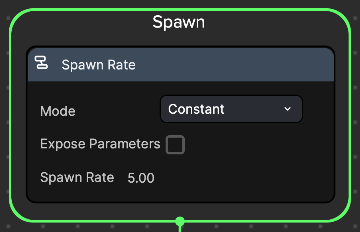
Mode: Constant
Mode: Random
Mode: Periodic Burst

Toolbar
The VFX Editor toolbar makes it easy for you to access your VFX assets and view and customize nodes.

 | VFX asset dropdown: If multiple VFX graph assets were created, you can use this dropdown to switch between your VFX assets |
 | My items: If your nodes have adjustable parameters, you can view and add them here |
 | Minimap: Use minimap, or the rectangular map that appears in the graph, to better navigate through widely-spread nodes |
 | Zoom: Click this button to zoom out and view all nodes created in the graph |
 | Search: Search the name of a specific node that was created in the VFX graph |
 | Detail: View the details and adjustable parameters of a node. The Details menu is commonly used to set variables, such as name and minimum and maximum values, and to create a group or sort index in the Inspector panel. |
 | Manual Compile: Click this button to update VFX Editor and refresh the preview. You must click Manual Compile to see the changes that were made, except for when you are adjusting parameter values. |
 | Auto Compile: Click this button once to automatically update VFX Editor and refresh the preview. If Auto Compile is on, you will not need to manually click the compile button after each update to view your changes. |
 | Comment: Add and customize a comment box around a selected node or group of nodes |
 | Add node: Add a node to the graph |
Node Library
VFX Editors offers two types of node libraries: one for context and operator nodes, and another for block nodes.
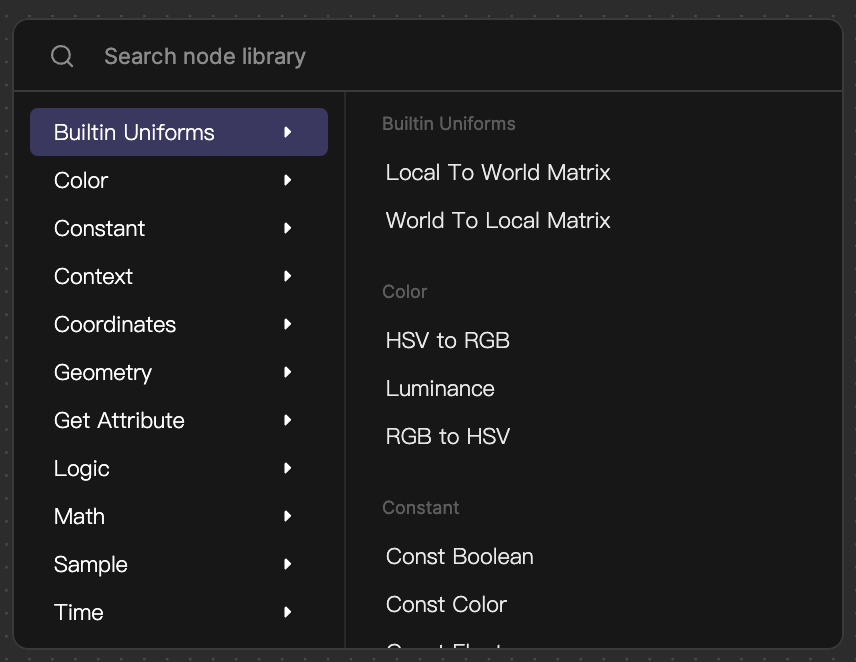
Context and Operator Node Library
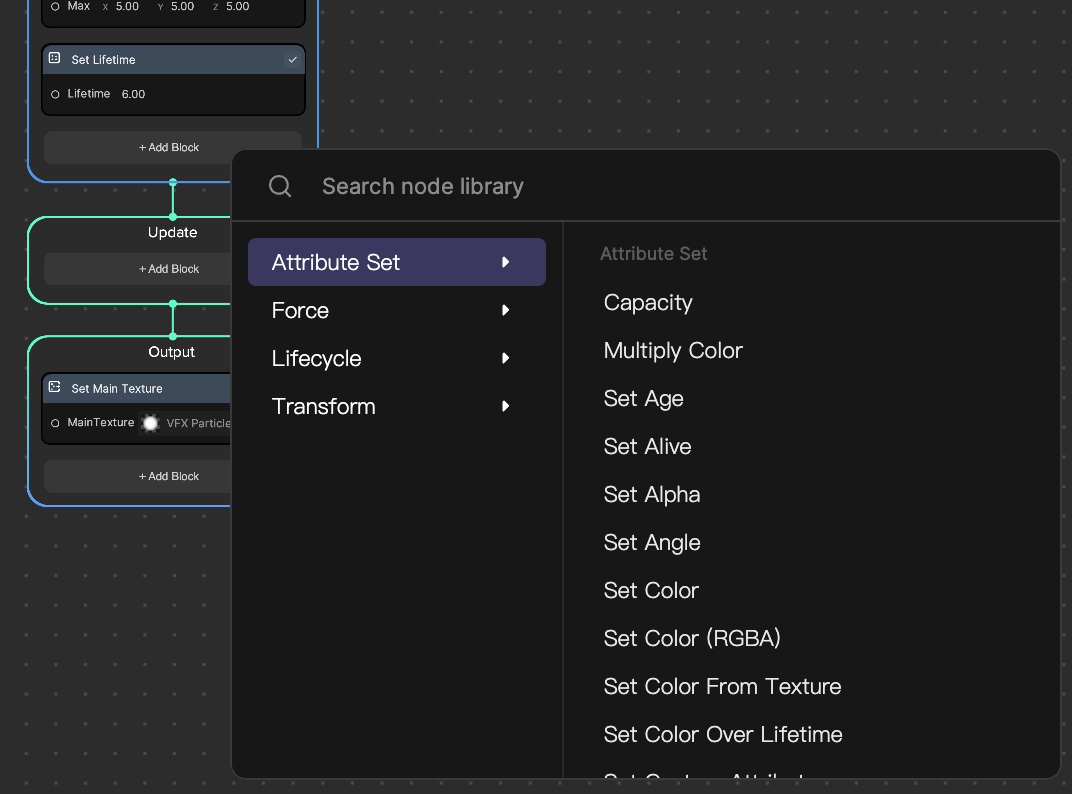
Block Node Library