Render Group and Rendering Order
A render group is a container that groups related objects together to optimize rendering. When an object is added to the Hierarchy panel, it is automatically included in a render group.
Cameras in a Render Group
A render group has a default camera that is responsible for rendering the objects that belong to that group. You can add more cameras to a render group in the Hierarchy panel and define their render order and layer in the Inspector panel.
The Post Effect render group does not have a visible camera.
Objects in a Render Group
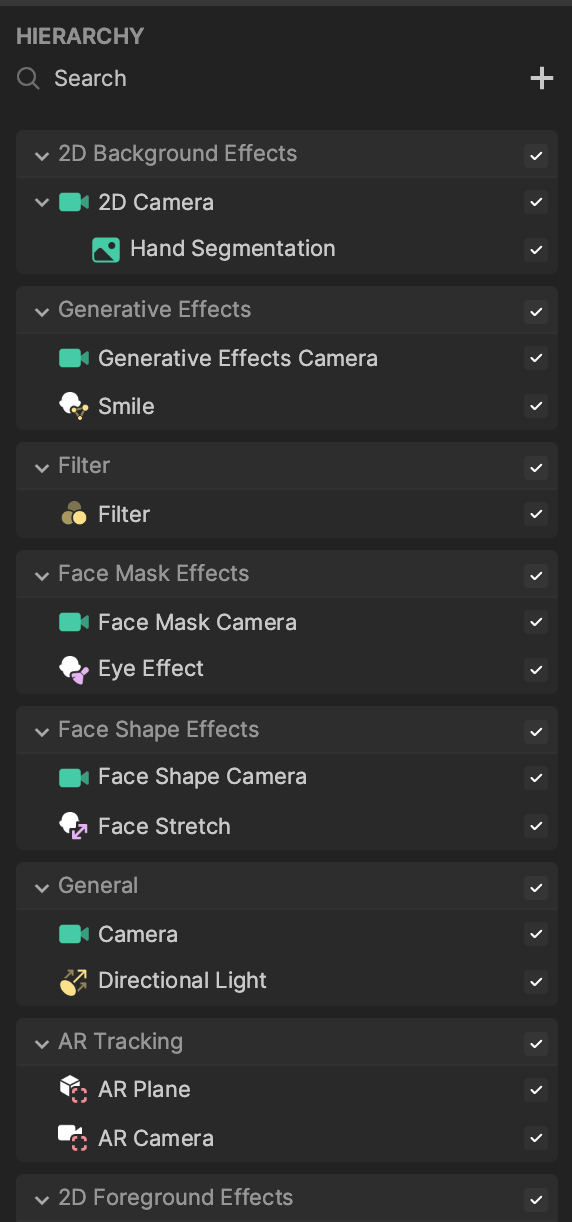
All objects added in the Hierarchy panel are added to a corresponding render group. The following are types of render groups in the order they get rendered in the scene.
- 2D Background Effects
- Generative Effects
- Filter
- Face Mask Effects
- Segmentation Effects
- Face Shape Effects
- General
- AR Tracking
- 2D Foreground Effects
- Post Effects
For example, the Face Mask object is assigned to theFace Mask Effects render group. If you add a Face Mask object, it will appear in the Face Mask Effects render group in the Hierarchy panel. If you add another Face Mask object, it will also appear in that same Face Mask Effects render group.
The default order of render groups was determined to optimize your effect with built-in filters in TikTok. You can ensure best practice for effect creation by using the render groups in the default order.
Add a Render Group
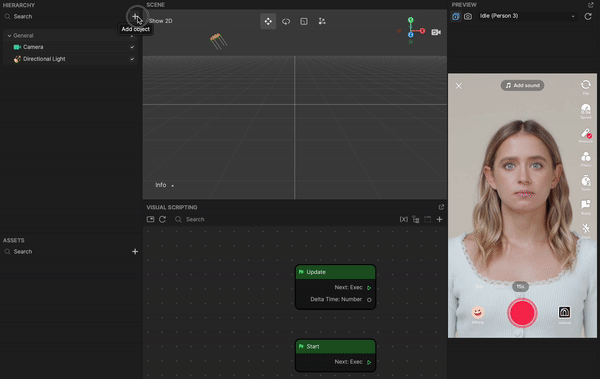
Render groups are automatically created in the Hierarchy panel when objects are added. By default, a new project comes with a light and camera object in the General render group.
If you want to manually add a render group, right-click in the Hierarchy panel and click Add Render Group.
To ensure optimal performance, avoid duplications of the same types of render groups. It is also recommended that you group the same types of objects in one render group. It is best practice to create multiple cameras in a render group instead of adding multiple render groups.
Rename a Render Group
While render groups have default names, you can rename them by right-clicking the group in the Hierarchy panel and clicking Rename.
Rendering Order
The placement of render groups in the Hierarchy panel determines the order in which they get rendered. The render group at the top of the Hierarchy panel will render first, while the render group at the bottom will render last.
You can modify the rendering order by dragging a render group and dropping it in your preferred placement.
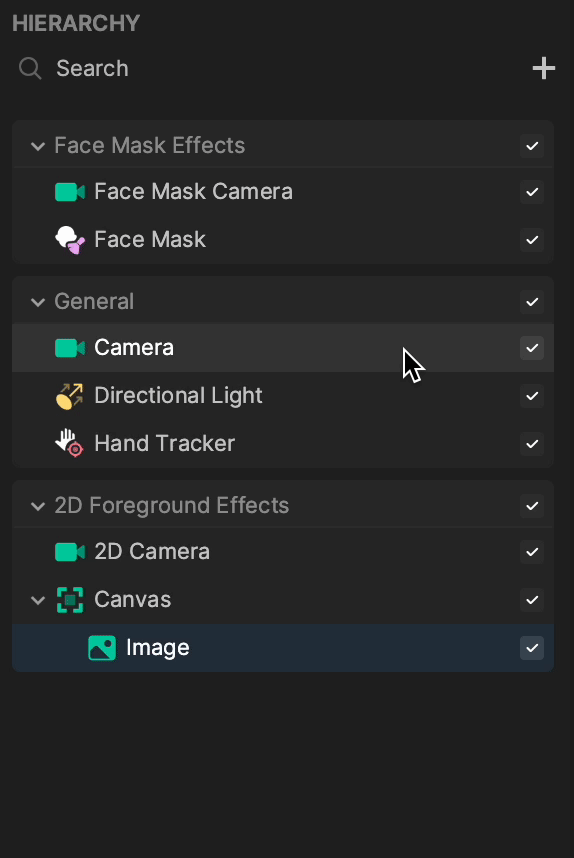
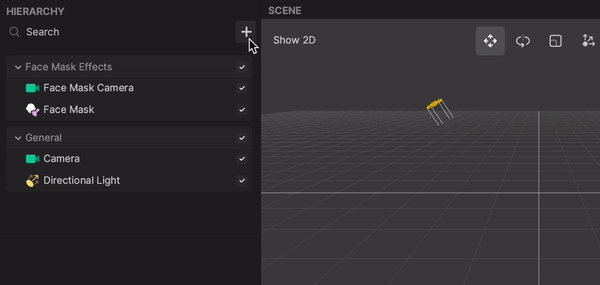
Usage: Render a Face Mask in Front of an Image
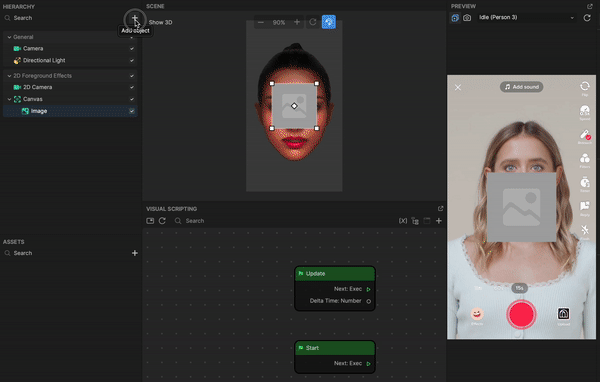
Start by adding an Image object:
- Go to the Hierarchy panel
- Click the Add object button [+]
- Go to 2D
- Select Image. The Image object, along with a camera and canvas, is added in the 2D Foreground Effects render group.
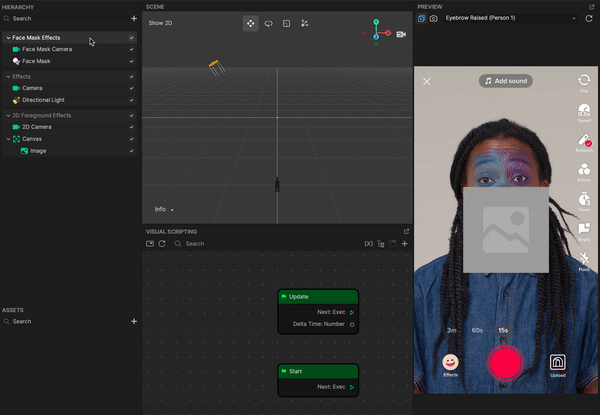
Next add a Face Mask object:
- Go to the Hierarchy panel
- Click the Add object button [+]
- Go to Face Effects
- Select Face Mask. The Face Mask object, along with a camera, is added in the Face Mask Effects render group.
To have the Face Mask object appear in front of the Image object, drag the Face Mask Effects render group and drop it at the bottom of the Hierarchy panel. The Face Mask object will now render last.
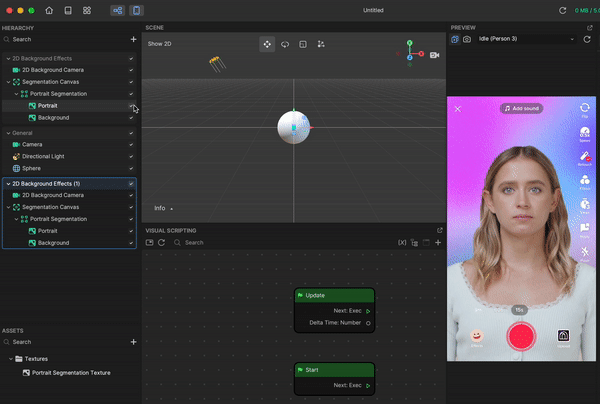
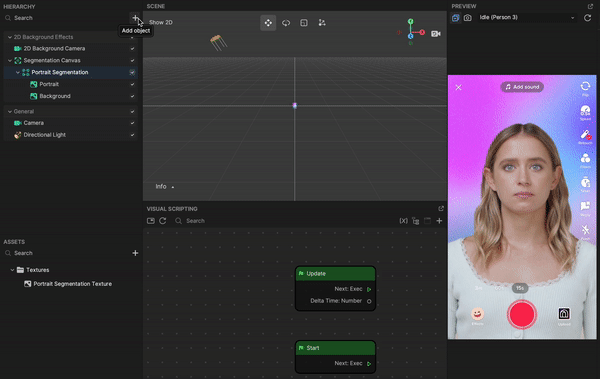
Usage: Render a 3D Object in Between a Portrait Segmentation and Background
Start by adding a Portrait Segmentation object.
- Go to the Hierarchy panel
- Click the Add object button [+]
- Go to Segmentation
- Select Portrait Segmentation. The Portrait Segmentation objects, along with a camera and canvas, are added in the 2D Background Effects render group.
Next add a Sphere object:
- Go to the Hierarchy panel
- Click the Add object button [+]
- Go to 3D
- Select Sphere. The Sphere object is added in the General render group.
With the default render order, the Sphere object will render on top of Background. Thus, you must separate Portrait and Background by first duplicating the 2D Background Effects render group.
Right-click the 2D Background Effects render group in the Hierarchy panel and click Duplicate. Then drag the duplicated 2D Background Effects render group and drop it at the bottom of the Hierarchy panel.
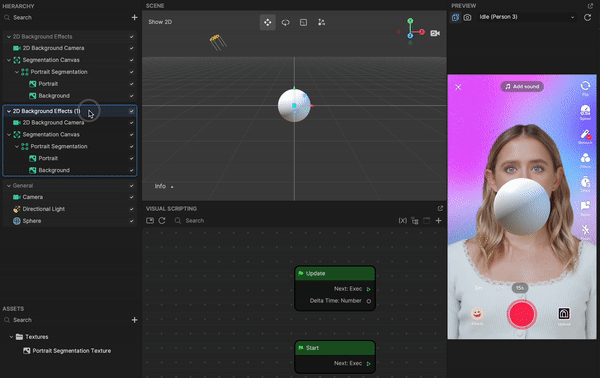
Since you want Background to render first, you should disable Portrait in the original 2D Background Effects render group. Then disable Background in the duplicated 2D Background Effects render group. This will ensure that Background renders first, followed by the Sphere object, and then Portrait.