Working in Effect House
The Effect House interface is made up of several panels and menus that contain everything you need to start making effects. This guide provides a brief introduction to each element of the Effect House interface.
The Effect House Workspace
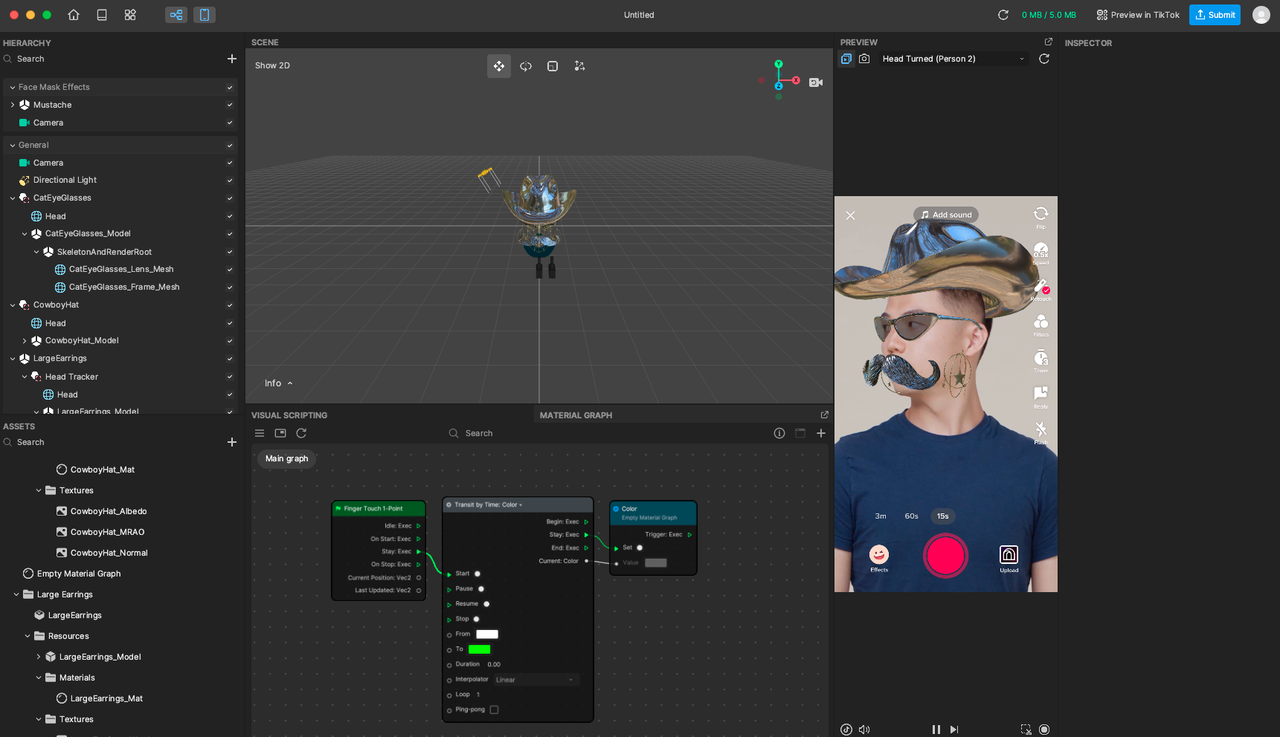
Once you click Create project or select a template from the home screen, you'll be directed to the Effect House workspace: the place where you can bring effects to life! The Effect House workspace is made up of a titlebar and seven different panels.
Titlebar
The titlebar is the topmost portion of the workspace. It contains the following functions.

- Home: Takes you back to the Effect House home screen
- Learning Resources: Directs you to the Effect House Learning Resources webpage
- Visual Scripting panel toggle: Hides the Visual Scripting panel from view when deselected
- Preview panel toggle: Hides the Preview panel from view when deselected
- Quick Access Bar: Displays commonly-used objects for easy access
- TikTok Sounds panel toggle: Hides the TikTok Sounds panel from view when deselected
- Click to update: Updates your effect to reflect the latest changes
- Current effect size: Reports the current size of your effect. Effects must remain within the 8 MB limit.
- Test performance: Opens a window with an option to run a test on your effect to ensure it works properly on all devices.
- Preview in TikTok: Generates a unique QR code that you can scan to preview the effect in TikTok. To scan the QR code, open the TikTok app on your device, go to Profile, tap Add friends, and then tap the scanner icon.
- Submit: Opens a window with a submission form. Fill out the required information and complete the form to submit your effect.
- Asset Library: Opens up Asset Library, where you can browse and download 3D and 2D objects, materials, filters, and more
Hierarchy Panel
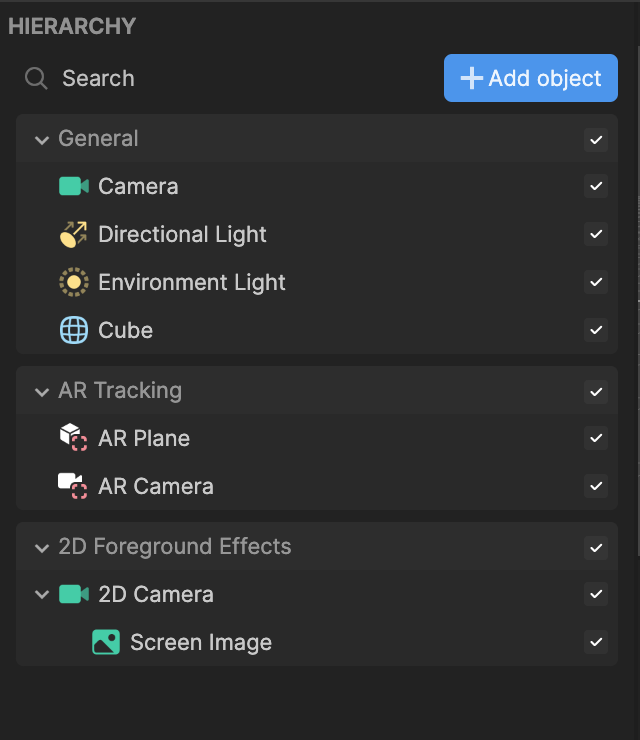
The Hierarchy panel is where you can see all the objects you’ve added to your project. Click the Add button [+] in the Hierarchy panel to explore all the built-in objects.
Assets Panel
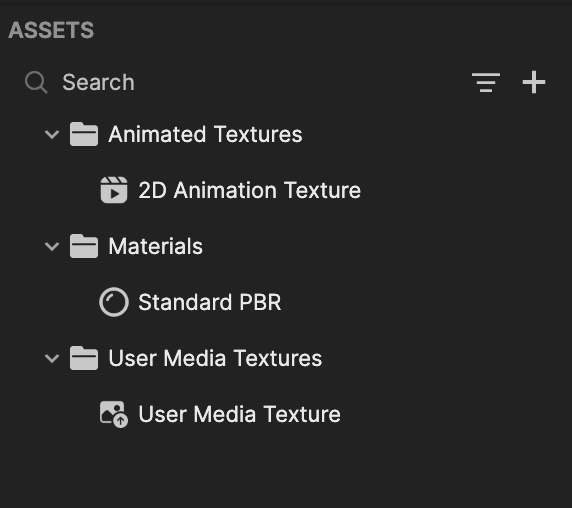
The Assets panel is where you can add an original or built-in texture, material, 3D object, and audio. This panel stores all the elements you may need to build an effect.
Scene Panel
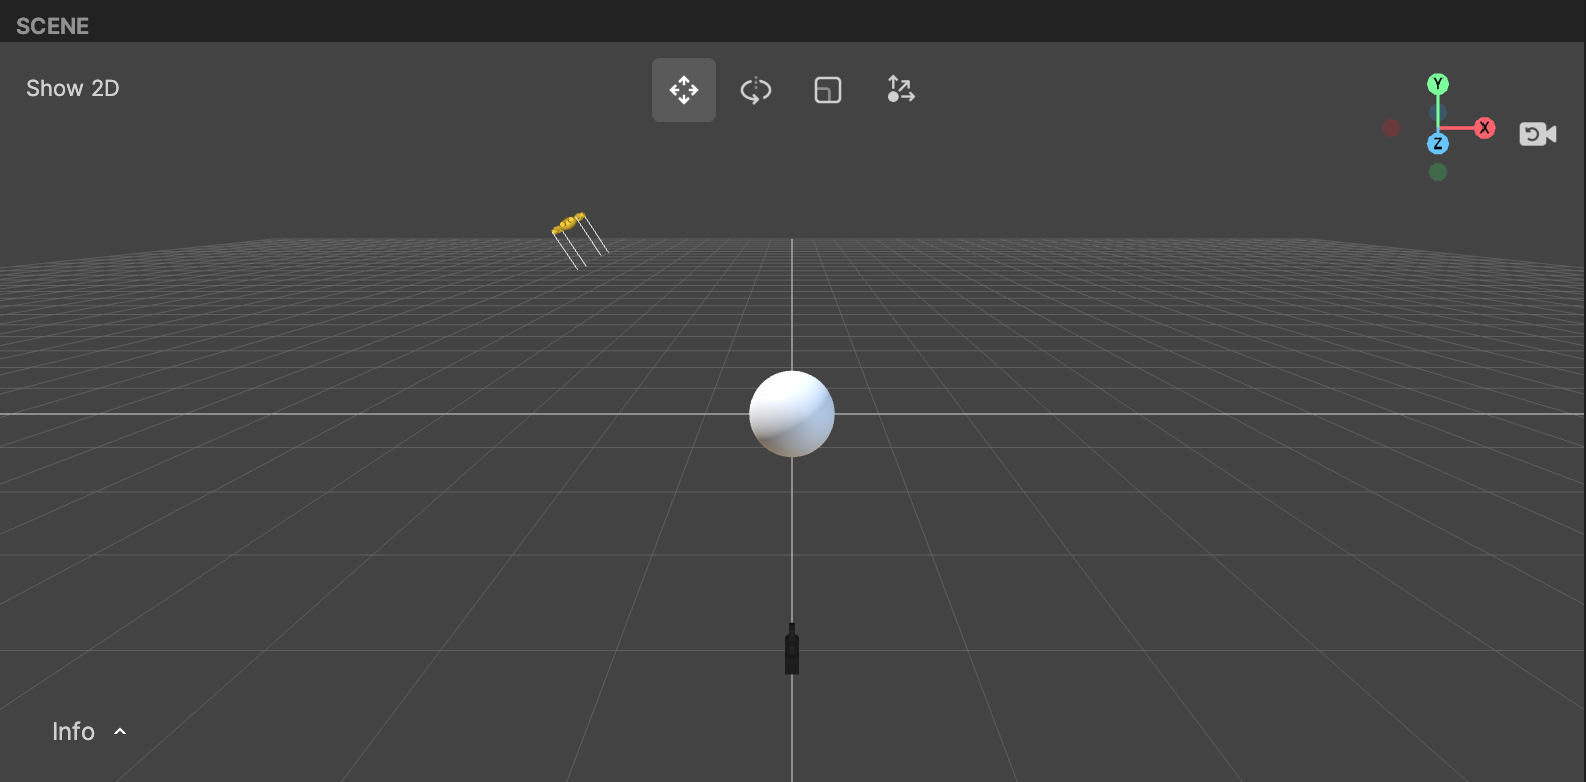
The Scene panel shows a 3D or 2D view of all the objects added to an effect. You can manipulate objects and control the view here.
Preview Panel
The Preview panel mimics a phone, allowing you to see how your effect will look when used in TikTok. Your effect is applied to a selected preview video.

Inspector Panel
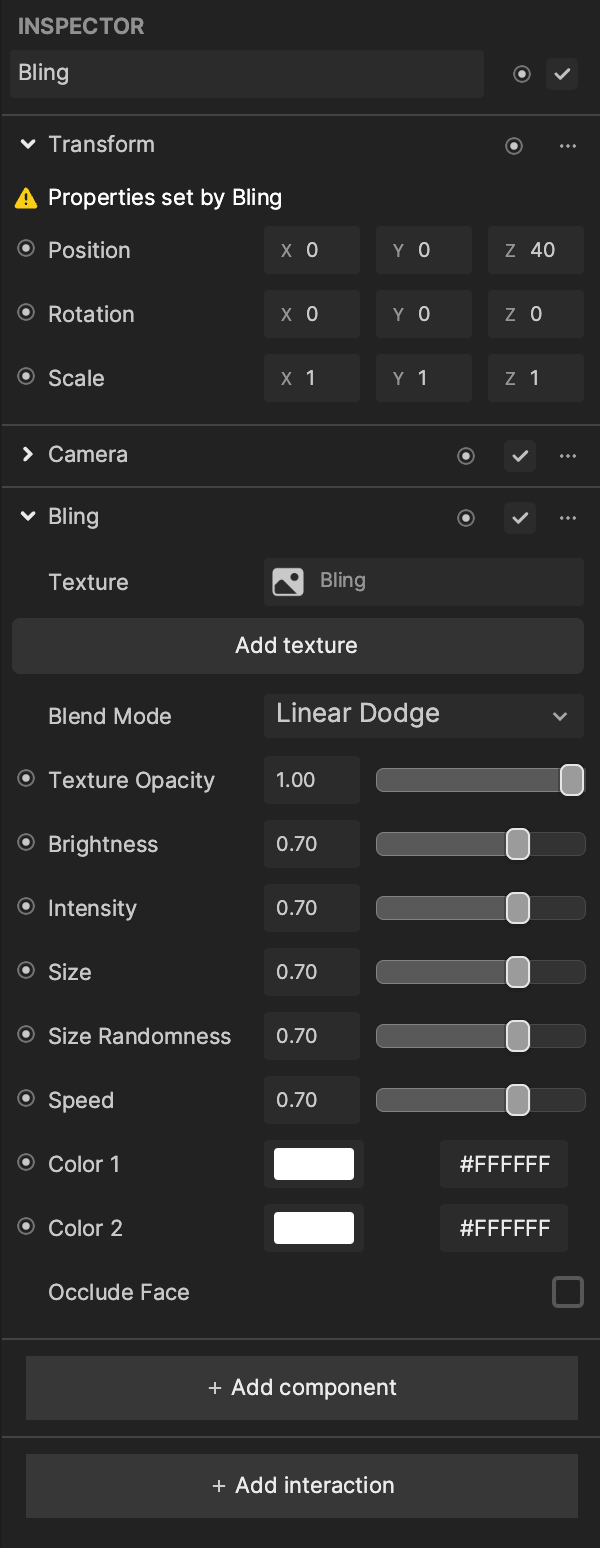
View and edit a selected object’s components and properties in the Inspector panel. You can also import assets for material and texture properties from your computer or Asset Library here.
Visual Scripting
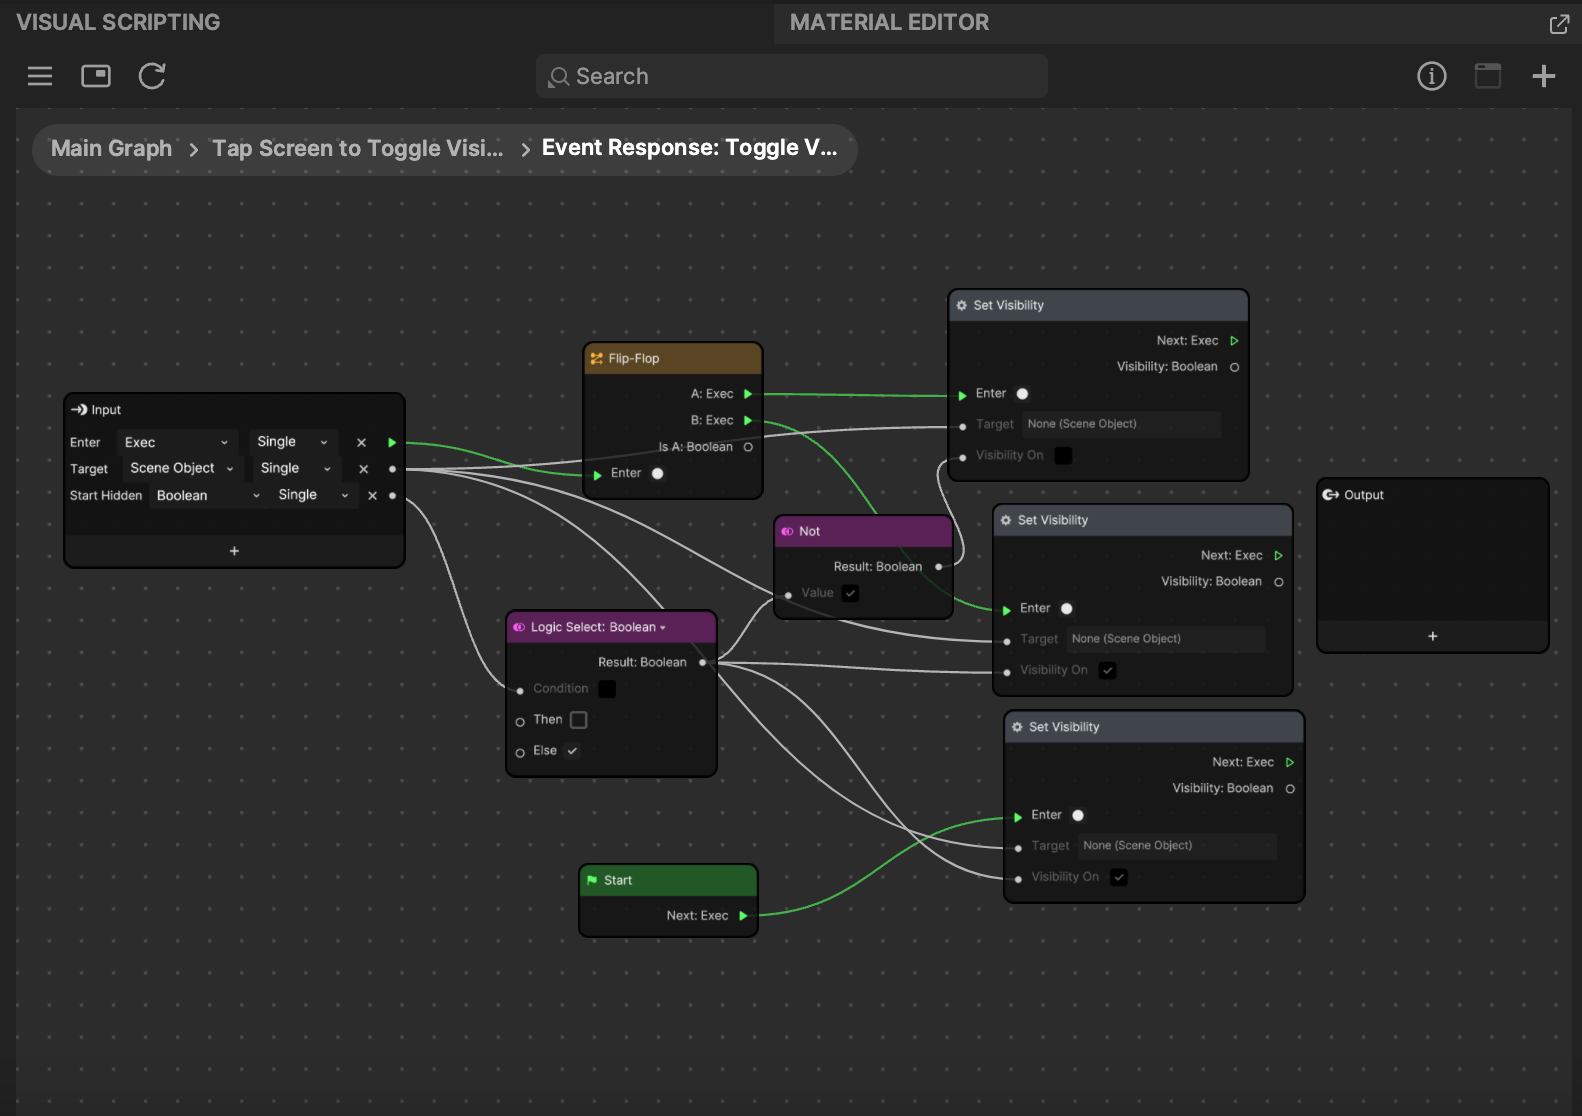
The Visual Scripting panel allows you to control how elements of your effect behave, or make your effect interactive. Visual scripting is similar to text scripting, like Javascript or C++, but is executed through visual blocks called nodes. The nodes are linked together with connectors to create a path of logic.
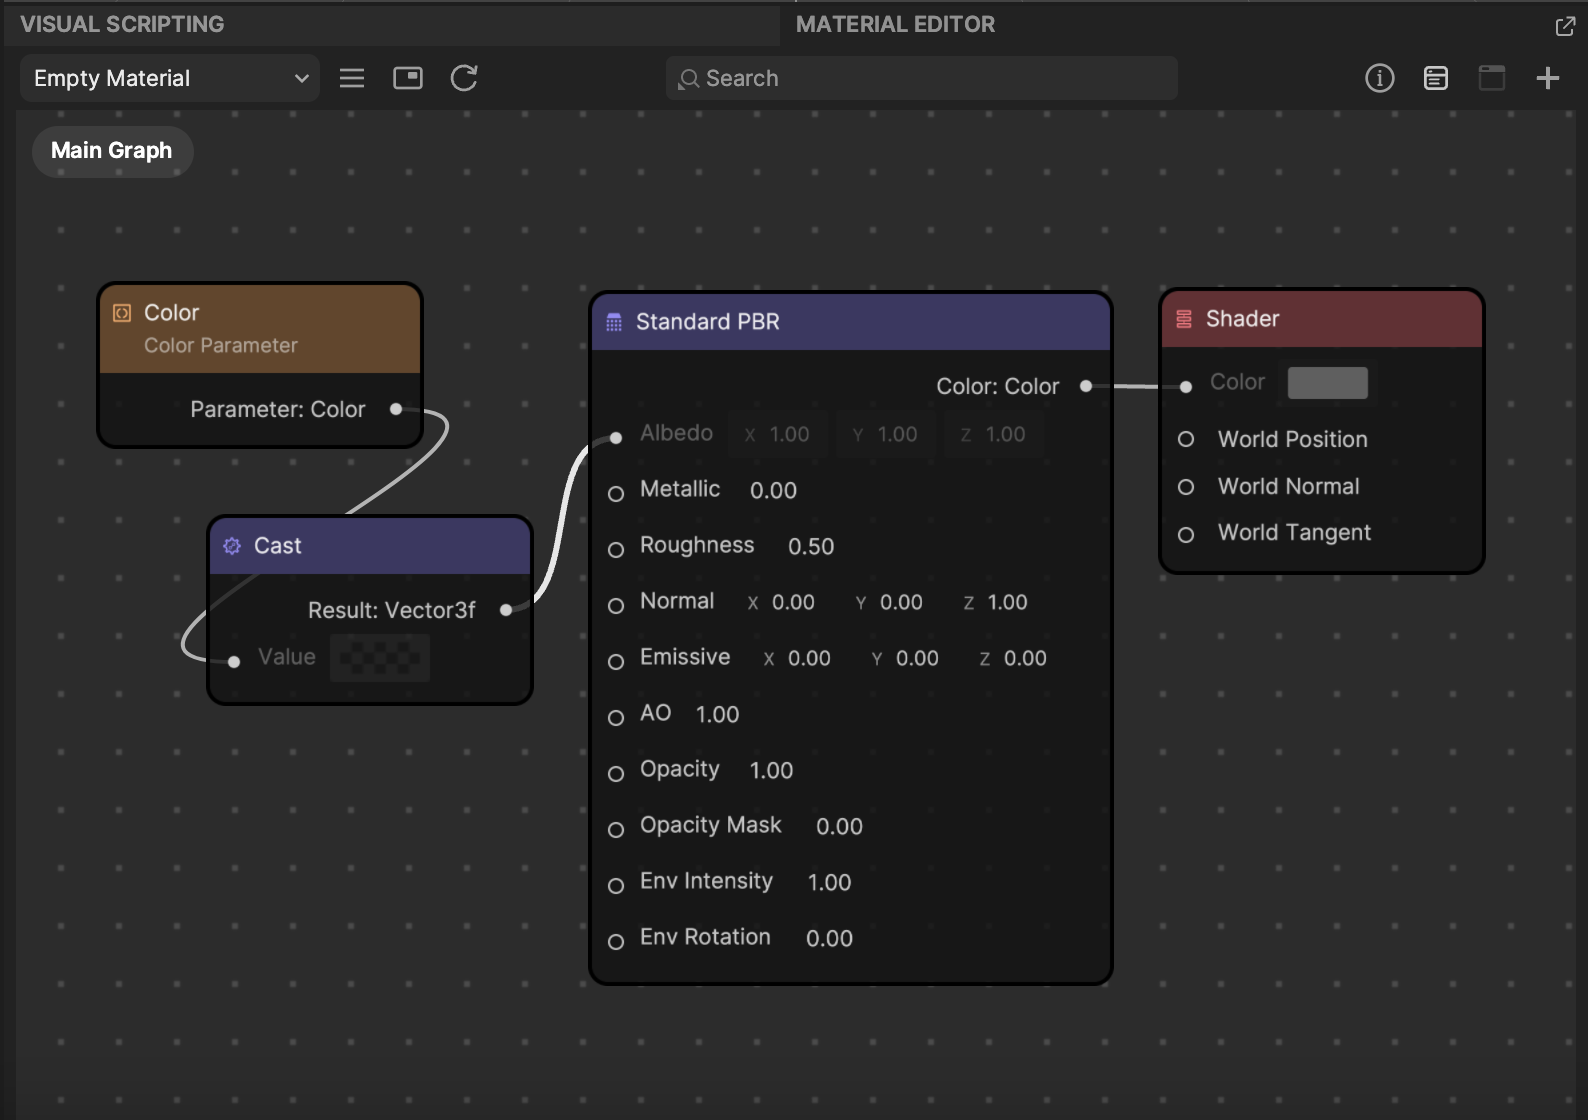
Material Editor
Material Editor allows you to build custom materials from scratch. It is hidden by default. You can access Material Editor by clicking the Add button [+] in the Assets panel, going to Custom Material, and then selecting Empty Material. You can apply custom materials to 3D objects to make them appear more realistic, or create camera filters that alter the overall look of your effect.
