Face Liquify
The Face Liquify functionality gives you the freedom to control the proportions of multiple facial and body features.



Add a Face Liquify Object
Add a Face Liquify object by clicking the Add button [+] > Face Effects > Face Liquify in the Hierarchy panel.
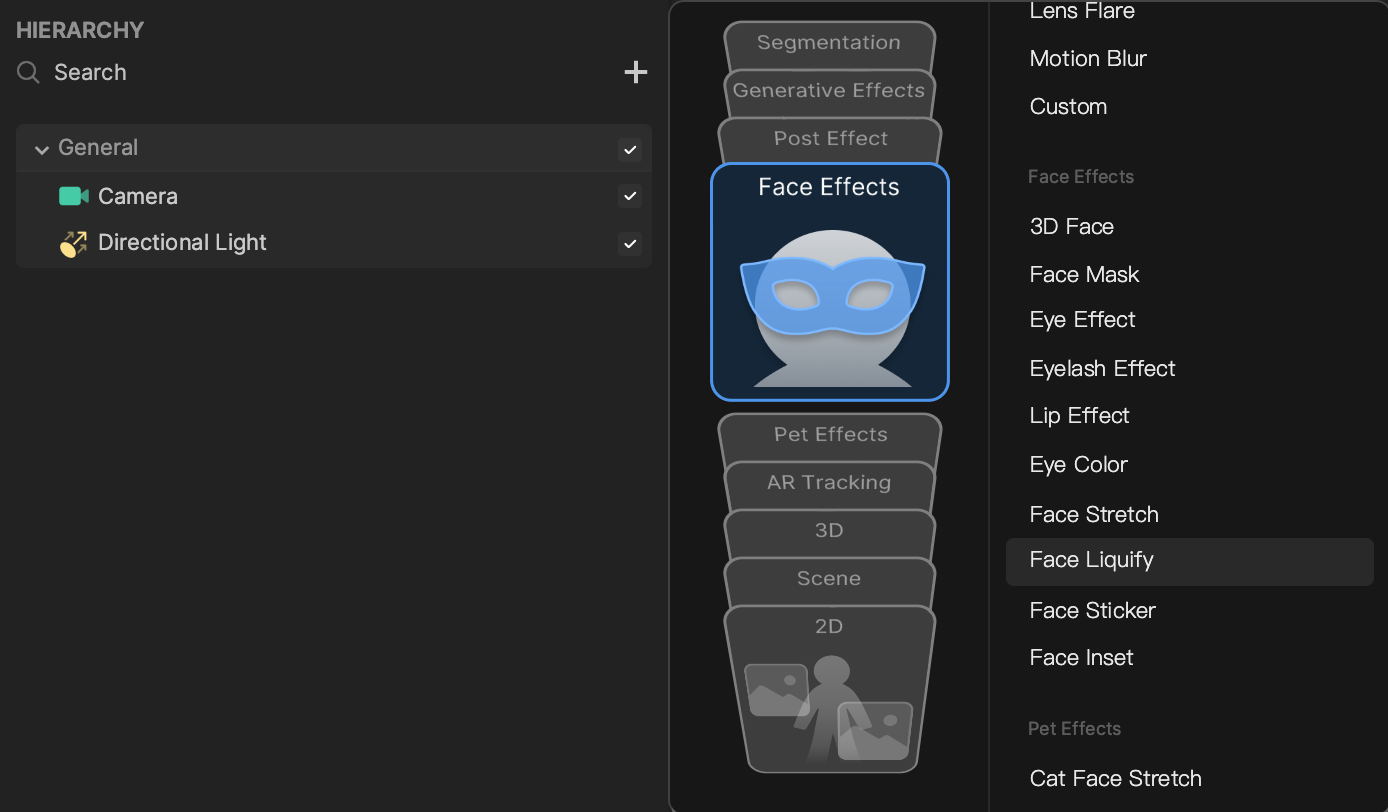
Adding a Face Liquify object automatically create Liquify nested under Face Binding.
Use the Face Liquify Object
Adjust a Liquify Object’s Transform
You can adjust the Transform of Liquify, including the values for Position, Rotation, and Scale under the Transform panel.



You can also adjust the properties of the Liquify component. All modifications will be automatically reflected in the Preview panel.
Use Multiple Liquify Objects
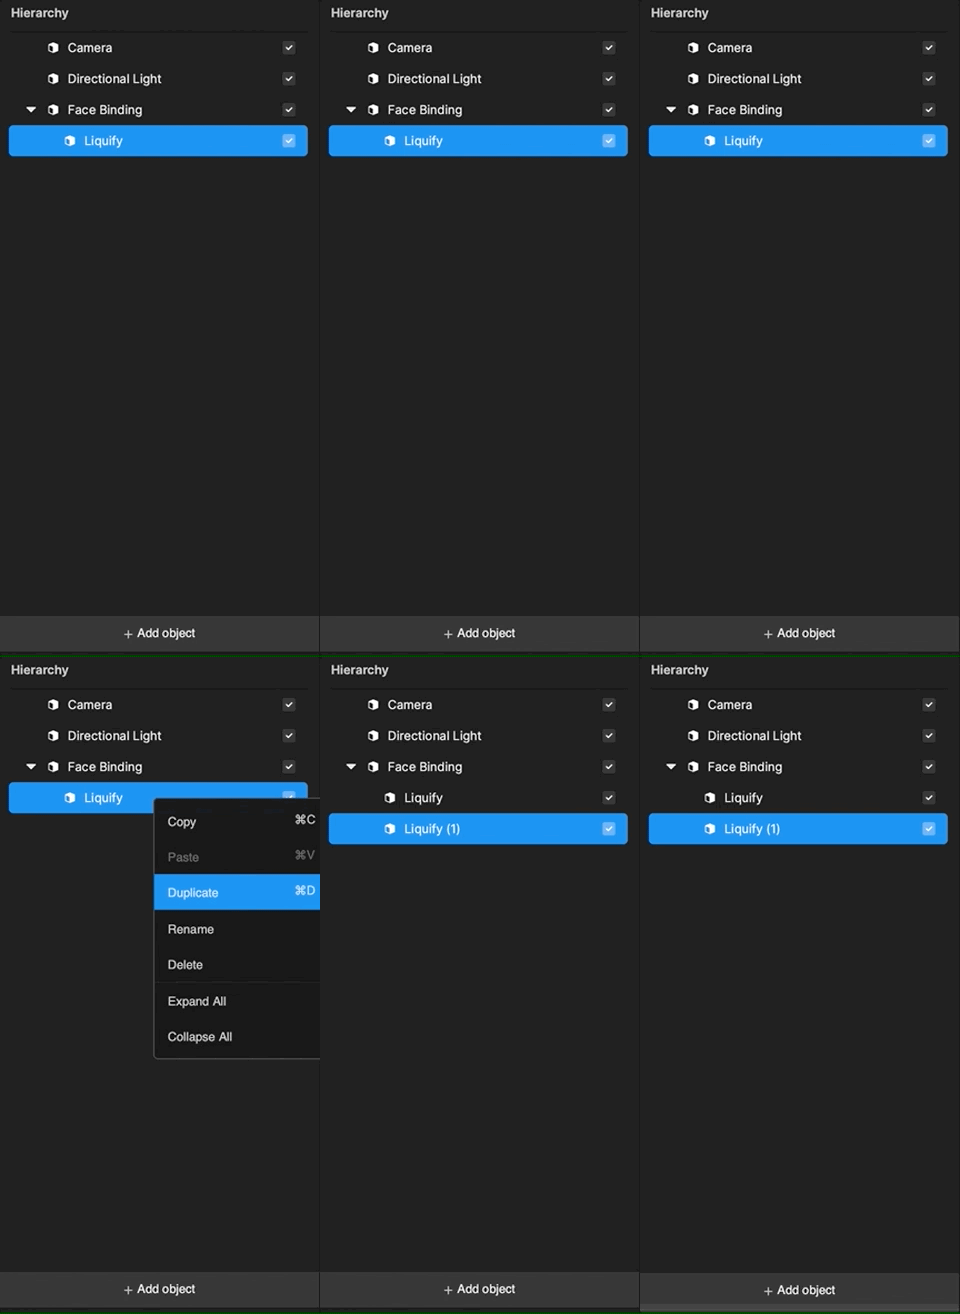
You can add more Liquify objects by right-clicking on the Liquify object and clicking Duplicate to create a copy of the existing entity. Adjust the copy to your liking and rename the layers accordingly.
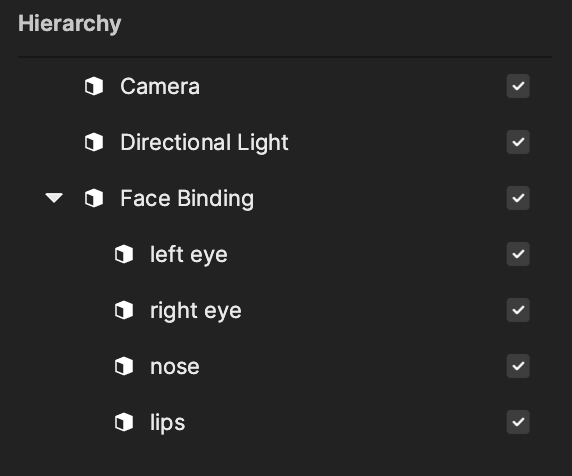
Copy-Paste and Reset Liquify Designs
Once you have created a design that you like, you can replicate the customizations to another Liquify entity. In the Inspector panel, click the More Options button in the top-right of the component and select Copy. You can then paste in the new entity. You can also restart the design by clicking Reset.
Edit Liquify Object in the Scene
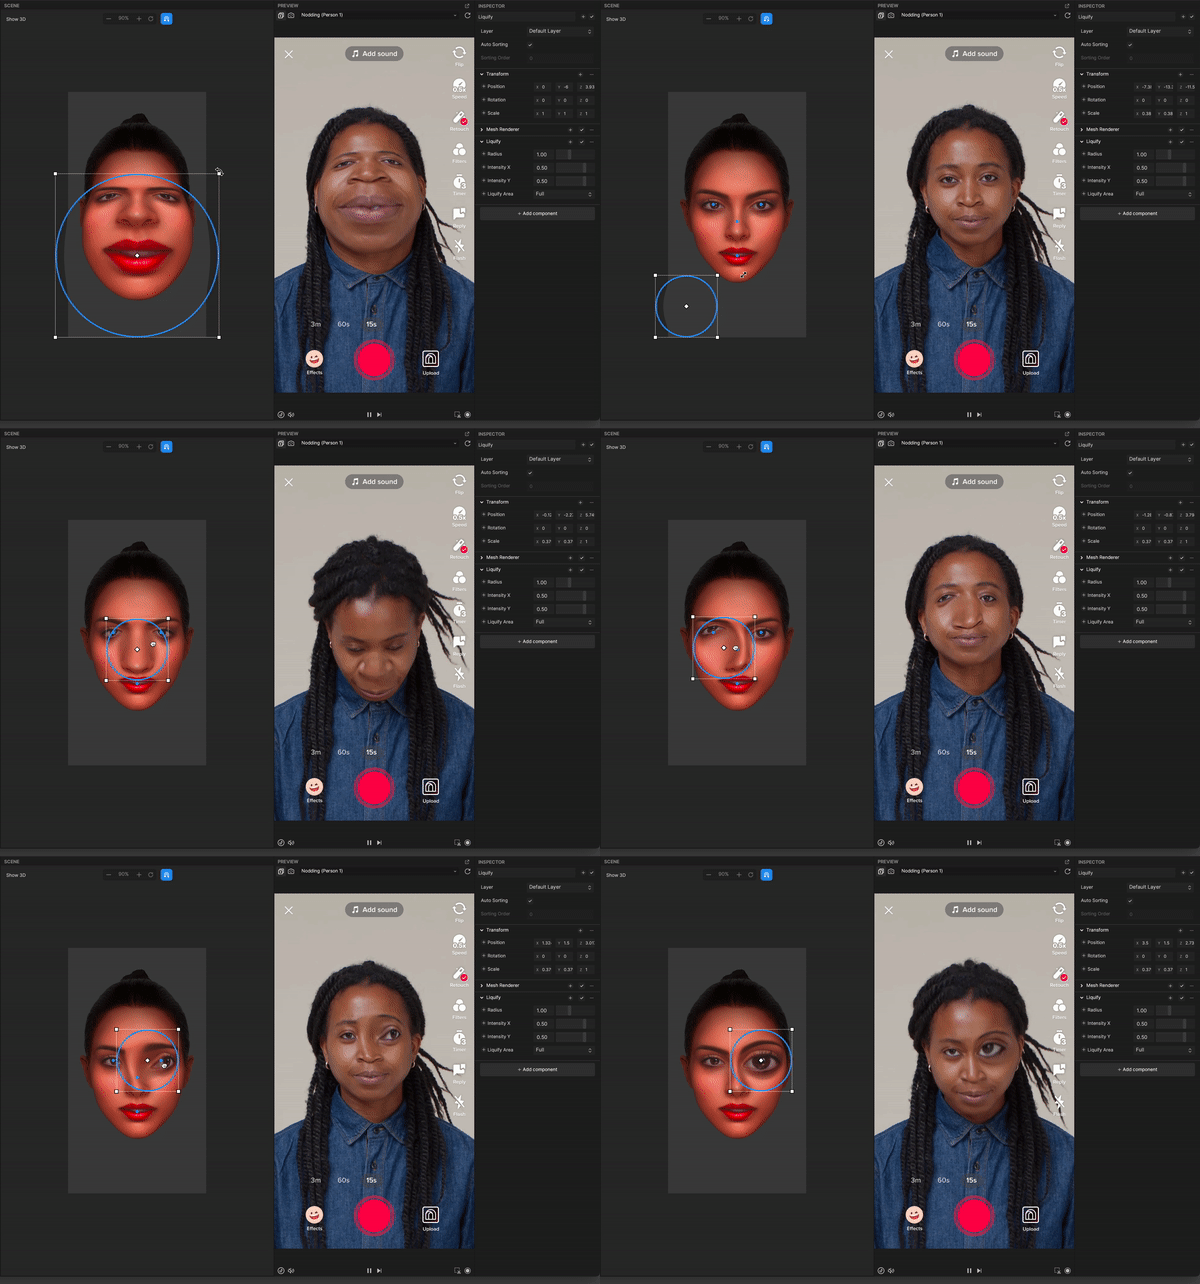
You can edit multiple Liquify objects at once in the Scene panel.
The center of a Liquify object can be aligned to a blue square on the model face. The blue squares represent the key facial points, like the center of the right eye.
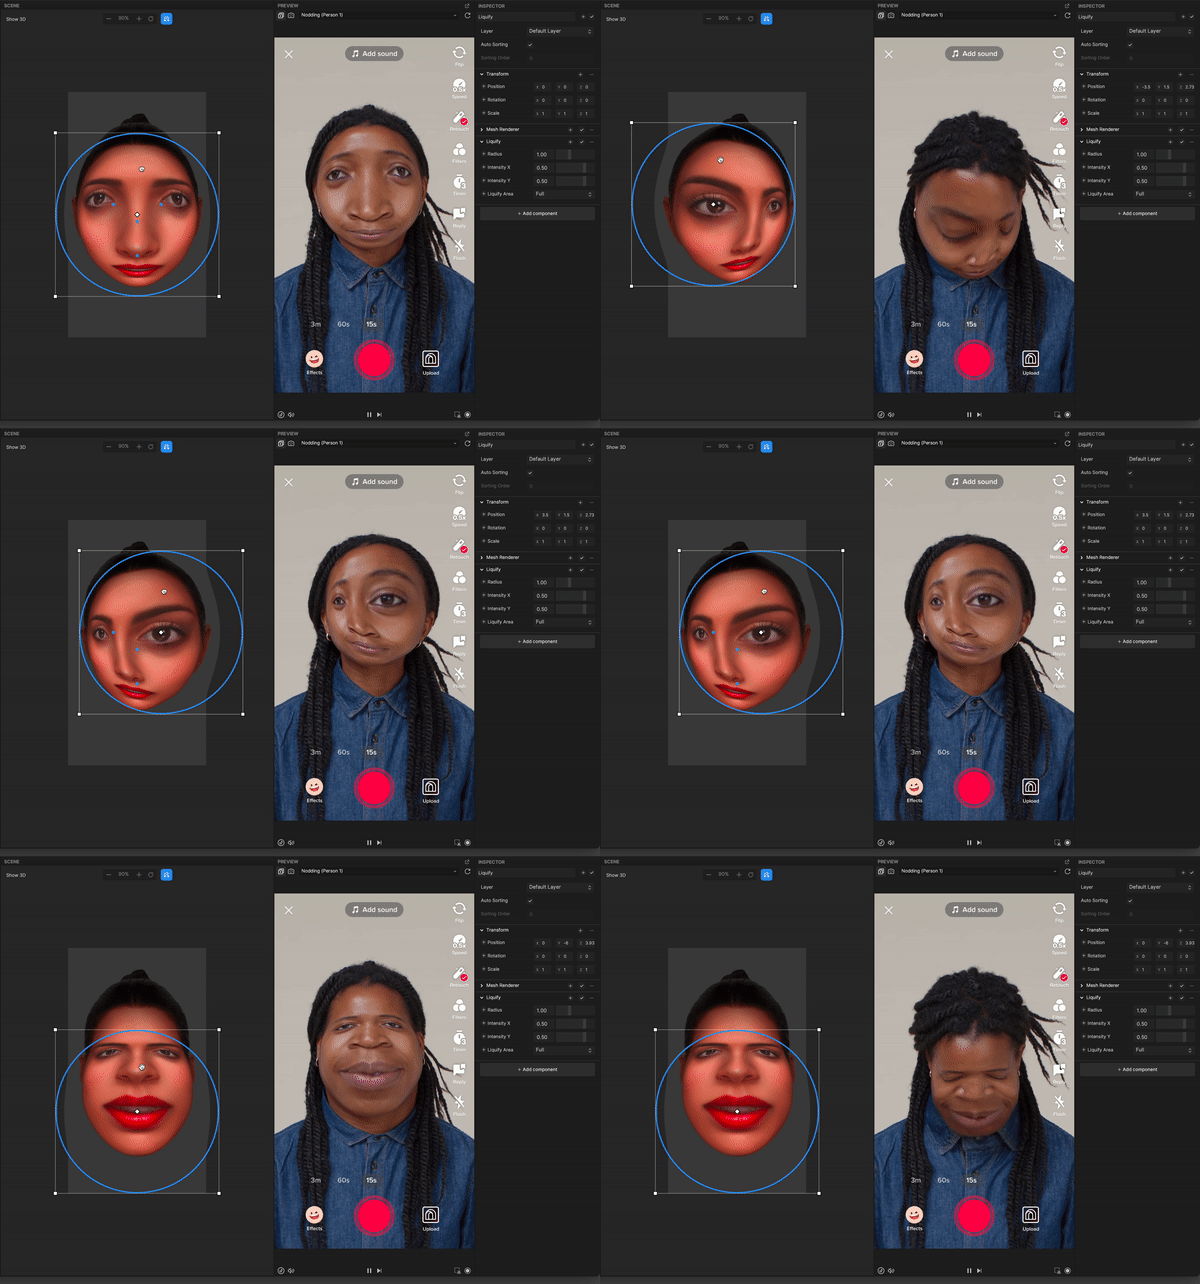
You can also resize a Liquify object.
Components
The Face Liquify object is made up of the following components, found in the Inspector panel:
Demo Effect: Musical Nose
You can use the Pitch Detection node to control the Face Liquify effect parameters. Check out the full demo with the Pitch Detection node!
