Version: 3.3.0

3D Face

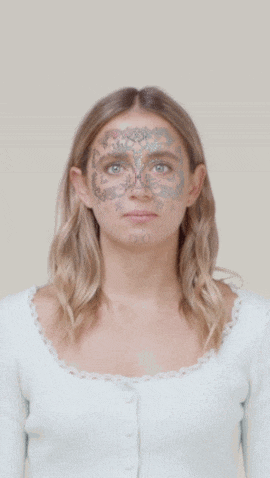
3D Face provides a 3D mesh mask on your face in real-time. It can be used for creating 3D face masks, 3D makeup, makeup with light reflection, face morphs, and face swap effects.

Download these files to following along:

↓ 3DFace.zip

↓ FaceAssets.zip

↓ faceMorph_faceMask.fbx

↓ FaceSwap.zip

sparkly 3d face mask  3d face morph

Add a 3D Face Object

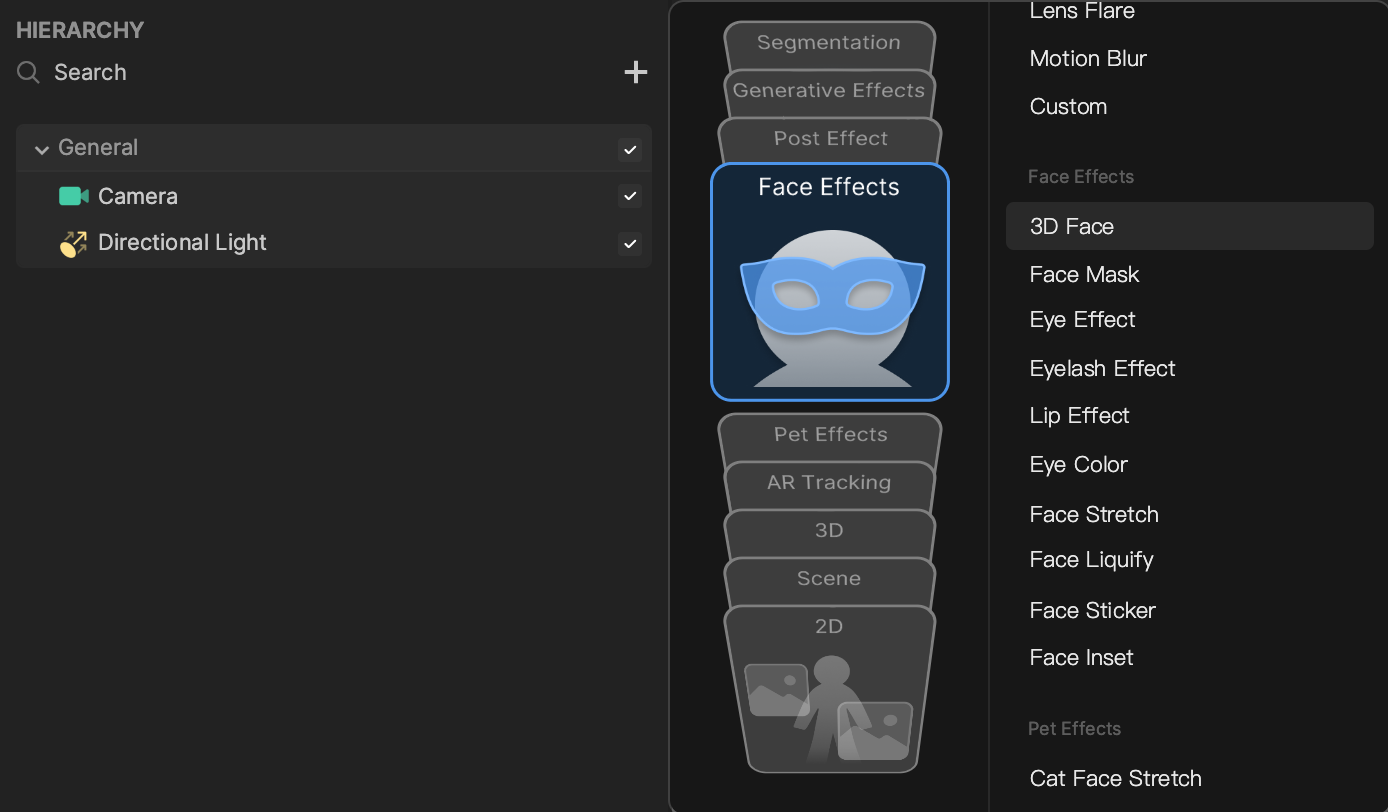
Add a 3D Face object by clicking the Add button [+] > Face Effects > 3D Face in the Hierarchy panel.

3D face hierarchy panel
tip

You cannot modify the Transform component of a 3D Face object because it is tracking your face.

When creating a 3D Face object, a Mesh Renderer component and a 3D Face Binding component are added by default. In the following sections, you’ll learn how to configure these components to make 3D face effects.

Use the 3D Face Object

The 3D Face object can be used in conjunction with other components to create a 3D face mask, morph the face into another shape, and create a face swap effect.

Components

The 3D Face object is made up of the following components, found in the Inspector panel:

Demo Effect: 3D Face Mask

In this example, you’ll learn how to make a simple 3D face mask with a customized pattern.

You will edit the face material, in addition to the texture.

Download the following demo package:

↓ 3DFace.zip

face mask

Customize the Material

After you add a 3D Face object, a Face Paint material is generated in the Material folder in the Assets panel. It is automatically assigned to 3D Face.

Face Paint is a built-in material that comes with 3D Face. You can use the default Face Paint or create a new Face Paint material by clicking the Add button [+] > Material > Face Paint in the Assets panel. Learn more about Face Paint.

mesh renderer component  3d face morph
tip

You can use Face Paint to create a face pattern, or create and assign other advanced materials to a 3D face. For example, by using Standard PBR material, you can create a metallic face mask that reacts to environmental lights.

Customize the Texture

Create the Face Texture

To customize textures for 3D Face, you can use any 2D design software to create a face image. You can download the FaceAssets package and use face_uv.png as a reference for the key points and positions on the face.

↓ FaceAssets.zip

3d face mask template

You can now import a customized image as a texture by clicking the Add button [+] > Import > From Computer in the Assets panel. You can also simply drag the image into the Assets panel. Learn more about image asset requirements.

Assign the Texture to the Material

First click the Face Paint material in the Assets panel. Then drag your face texture into the Texture section to assign it to the material.

3d face assign texture
tip

If you want to keep the alpha channel of your texture, select the texture under the Assets panel, then go to the Inspector panel, expand Advance Settings and select Premult.

face texture premult

Demo Effect: 3D Face Morph

In this demo, you will be editing the face mesh, material, and texture.

3d face morph

Customize a 3D Face Mesh

Download FaceAssets.zip to customize the mesh of the 3D face.

↓ FaceAssets.zip

3d face mask template    3d face mask model

After downloading this file, locate the FBX file named adjustedGeo_quads_01.fbx. This is the face mesh we used in our face tracking. Feel free to modify the FBX file using a 3D modeling software. You can change its UV but keep the vertex ID the same. Be sure you don’t remove any faces or vertices when adjusting the face mesh.

tip

You can adjust the blendshapes of the model to create interesting face morph effects.

Import a 3D Face Mesh

Here is a face mesh with adjusted blendshapes. Import this 3D face morph model by clicking the Add button [+] > Import > 3D Face Binding Mesh in the Assets panel.

↓ faceMorph_faceMask.fbx

import 3d face mask

Face Mesh Info

Let’s take a look at Face Mesh Info by selecting Face in the Assets panel.

face swap inspector

Which Face: The 3D Face object supports a maximum of five faces. For each face mask, you can specify which face from the input video to attach the face with 3D Face Binding. You can add multiple face objects to create multiple face effects.

Fill Eyes: Select this property to fill the face mesh’s eyes.

Fill Mouth: Select this property to fill the face mesh’s mouth.

Create Face Texture: Generate a dynamic face texture based on the tracked face.

Apply a Face Mesh to a 3D Face

Choose the 3D Face object in the Hierarchy panel and replace the Mesh property with your imported customized 3D face mesh.

apply mask to 3d face

Configure a Deformation Component

You will see the Deformation component has automatically been assigned to 3D Face. That is because the mesh has blend shapes. A Deformation component will show automatically if the mesh contains blend shapes.

face mask deformation component

Create Face Texture

If you want to extract real-time face texture and apply it to your 3D face mesh, select the default Face mesh in the Assets panel, then go to the Inspector panel to find Face Info. Click Create Face Texture to extract the face texture that you can find in the Assets panel.

create face texture

Apply the face texture to the material of 3D Face.

apply face texture

Demo Effect: Swap Faces

In this example, you’ll learn how to swap your face with your friend’s face.

Download the following demo package:

↓ FaceSwap.zip

3d face morph

Create two 3D faces by clicking the Add button [+] > Face Effects > 3D Face twice in the Hierarchy panel. You’ll see there are two face meshes and two face paint materials created in the Assets panel.

face swap hierarchy

To apply one person’s face texture to another person’s face, you’ll first generate the face texture from the camera inputs for each face. Select the Face mesh in the Assets panel, then go to the Inspector panel to find Face Info. Click Create Face Texture to extract the face texture that you can find in the Assets panel. Same for Face(1) Mesh. However, in order to generate the Face texture out of the second face in the scene, you need to change the Which Face value to 1, then click the Create Face Texture button.

face swap inspector  face swap face component

Now, apply Face (1) Texture to the Face Paint material of 3D Face object. Apply Face Texture to the Face Paint (1) material of 3D Face (1) object.

face swap face paint  face swap face paint 1

Select 3D Face (1) object in the Hierarchy panel. Navigate to the Inspector panel, and change the Which Face property of the 3D Face Binding component to 1. Now you should see the face swapped.