Eyebrow Eraser
The Eyebrow Eraser generative effect utilizes generative adversarial networks (GANs) to remove your eyebrows. This is perfect for replacing your original eyebrows with a customized set of animated eyebrows.

@marcwakefield
The generative effect is applied to match the skin and provide a seamless look. A generative effect will always apply to Face 0—the first detected face.
In the Demo Effect section, you will learn how to create animated eyebrows using a generative effect. You can download the following file to get started:
Add Eyebrow Eraser
Adding multiple Generative Effects objects may slow down the performance of your effect. It is recommended that you limit the usage of generative effects. Multiple generative effects targeting the same facial area should not be used together.
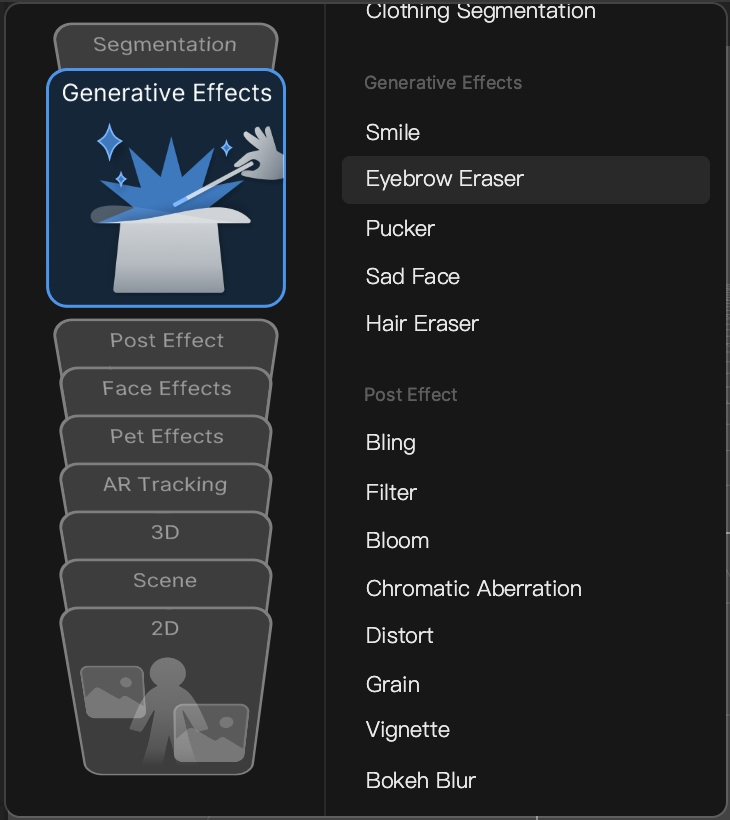
To add a Eyebrow Eraser object:
- Go to the Hierarchy panel
- Click the + Add object button [+]
- Go to Generative Effects
- Select Eyebrow Eraser
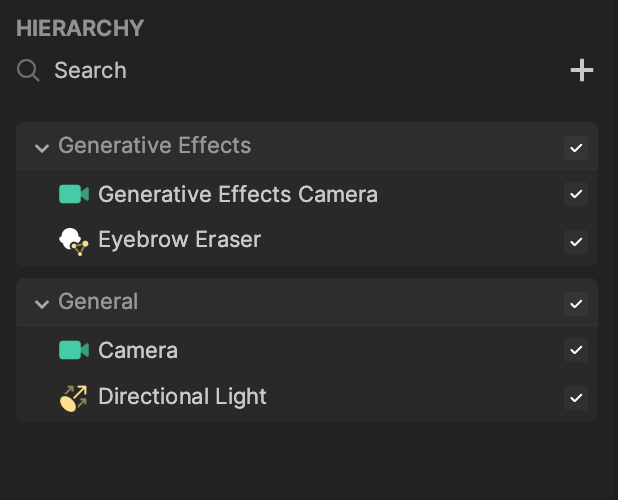
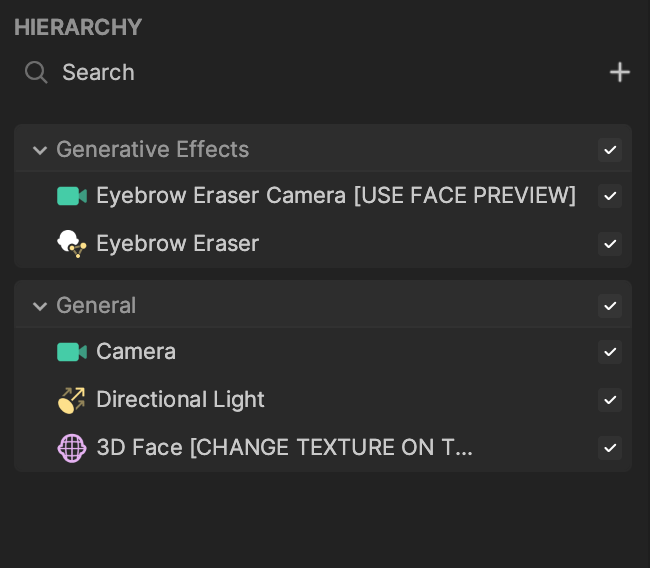
Eyebrow Eraser in the Hierarchy Panel
The Eyebrow Eraser object, in addition to its corresponding Generative Effects Camera object, appears in the Generative Effects render group in the Hierarchy panel. Learn more about render groups.
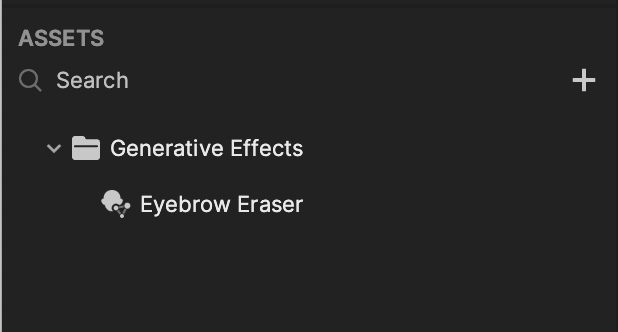
Eyebrow Eraser in the Assets Panel
You can find the Eyebrow Eraser asset under the Generative Effects folder in the Assets panel.
To manually add a Eyebrow Eraser asset:
- Go to the Assets panel
- Click the Add asset button [+]
- Go to Generative Effects
- Select Eyebrow Eraser
Components
The Eyebrow Eraser object is made up of the following components, found in the Inspector panel:
Demo Effect: Animated Eyebrow Editor
In this demo, the Eyebrow Eraser generative effect is applied to remove the eyebrows. Then a texture sequence is applied to a 3D Face object to apply the animated eyebrows.
If you haven’t already, start by downloading the following project file:
Use the Template
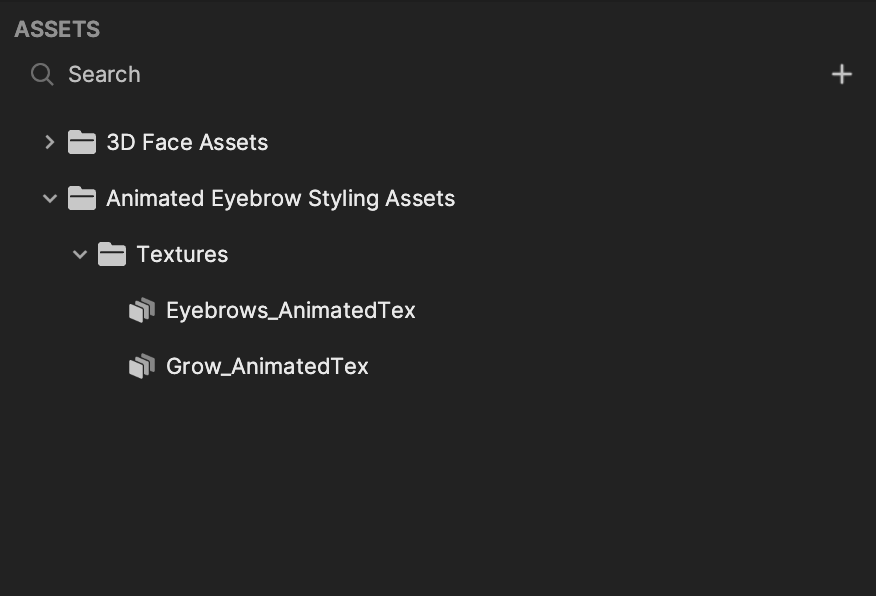
This template includes two textures for you to apply as your eyebrows’ animated texture sequence. You can find the two textures, Eyebrows_AnimatedTex and Grow_AnimatedTex, in the Assets panel.
In the Hierarchy panel, click the 3D Face [CHANGE TEXTURE ON THE ANIMATION SEQUENCE] scene object.
In the Inspector panel, you can see its Animation Sequence component, which is responsible for playing the defined texture sequence.
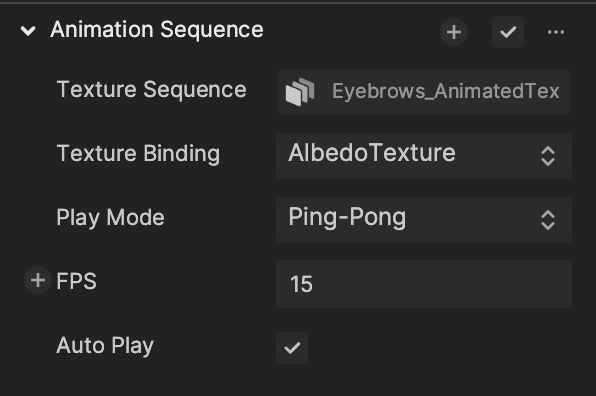
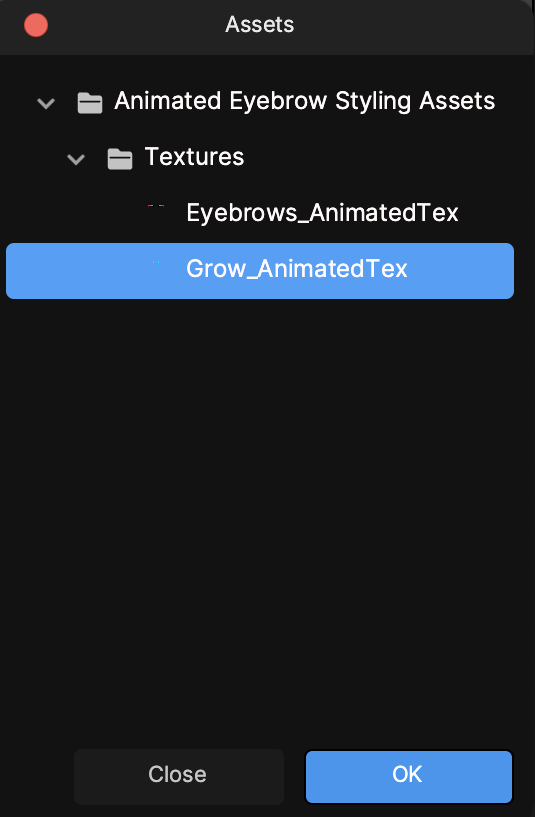
The default texture sequence is set to Eyebrows_AnimatedTex. You change it by clicking the Texture Sequence field and selecting an available texture. In this demo, there are two texture sequences available for you to use. To see what the other animated texture sequence looks like, select Grow_AnimatedTex and click OK.
You can see that the animated eyebrows have changed. You can play around with the other properties of the Animation Sequence component to further customize the eyebrows!
Create a Custom Animation
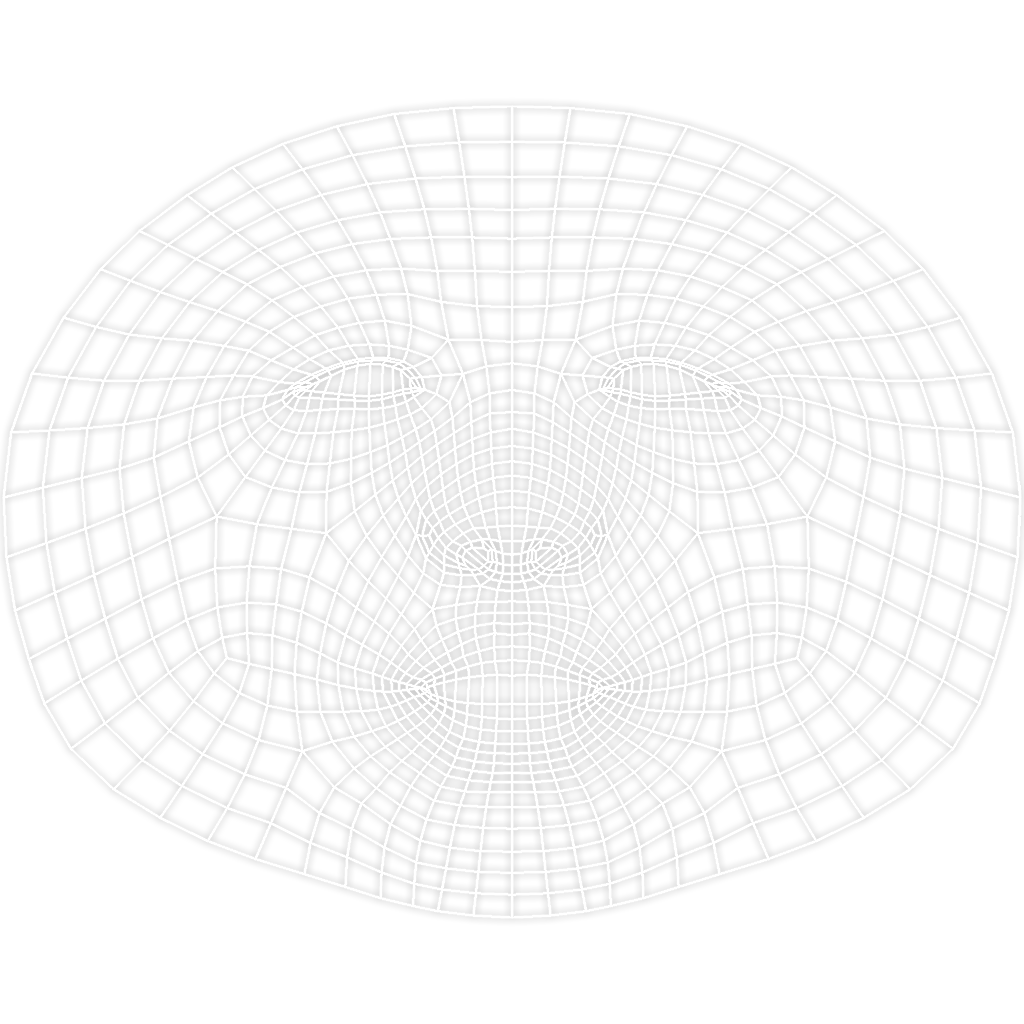
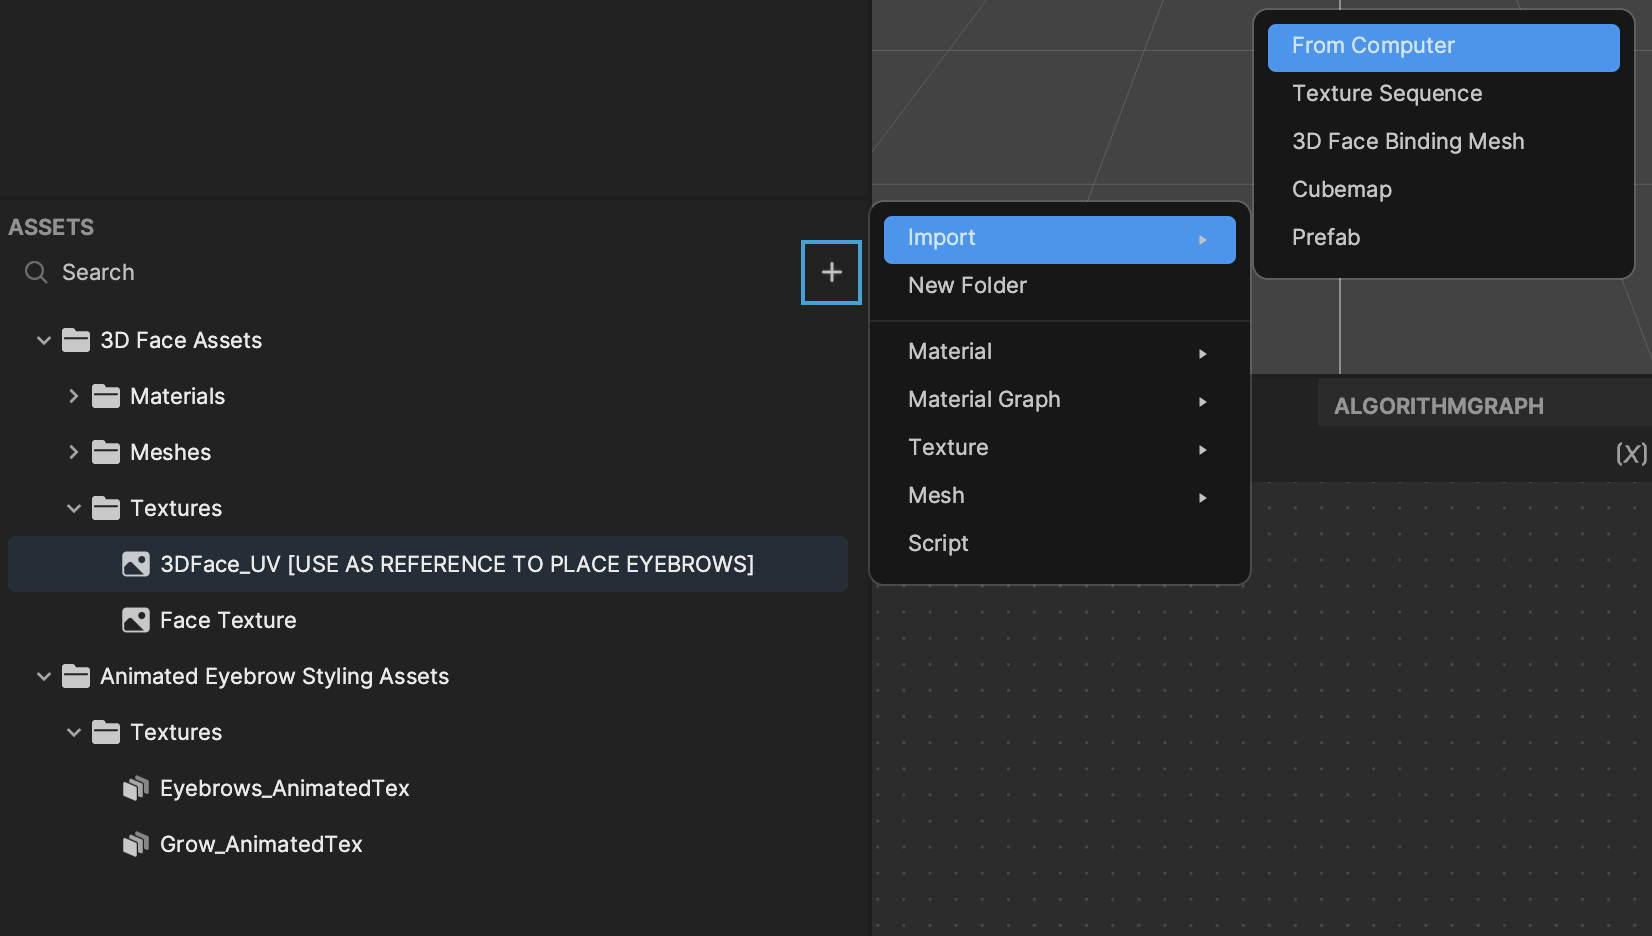
You can create your own animation texture sequence and import it into Effect House. First locate the reference image included in the downloaded animated_eyebrows.zip file. Open the Assets folder, 3D Face Assets folder, and then the Textures folder to locate 3DFace_UV [USE AS REFERENCE TO PLACE EYEBROWS].
This is the reference image you can use in your preferred animation tool. This image provides a good reference for the placement of facial features and makes it easier for you to design eyebrows.
Once you’ve created your animation texture sequence, export it as PNG files. Then in Effect House, go to the Assets panel and click the Add button [+], Import, and then Texture Sequence.
Select your exported images and click Open. You can now see your imported animation texture sequences in the Assets panel. Apply your customized eyebrows by selecting your animation texture sequence in the Animation Sequence component, just as we did above!