Camera
The Camera object is used to display the objects in your scene. Each effect requires at least one Camera to render out the scene. The Camera will also render everything in the selected Layer to the Render Texture. A project can have multiple objects rendered on different layers.
Add a Camera Object
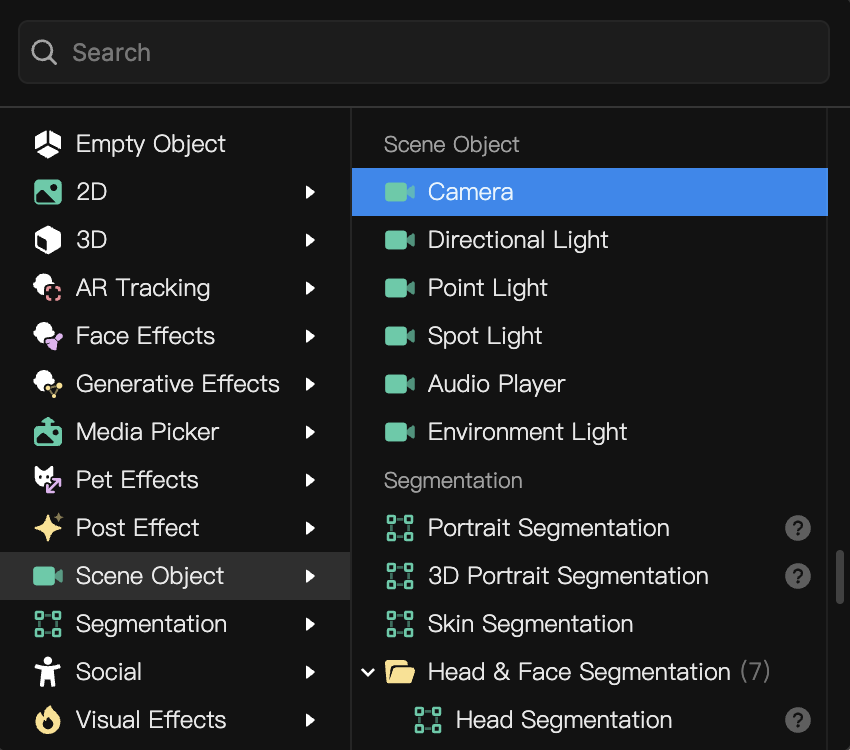
To add a Camera object:
- Go to the Hierarchy panel
- Click + Add object
- Go to Scene Object
- Select Camera
When importing a FBX model to Effect House, if the model contains Cameras, you can import them in the FBXImport Options menu.
Object Hierarchy
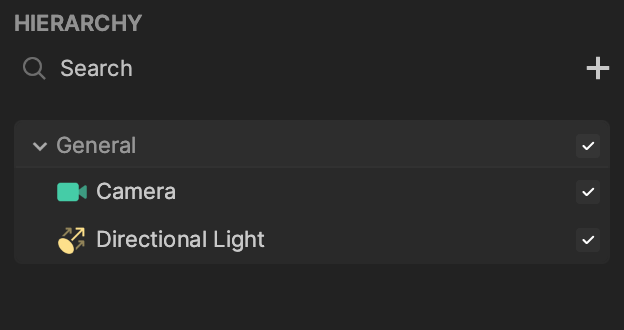
Starting in Effect House v2.0.0, the Camera object is automatically added to the General render group in the Hierarchy panel. Learn more about render groups.
Each render group automatically comes with a Camera object that is responsible for rendering objects in their respective render group. You can add more cameras in an render group and set their render order and layers to achieve your desired effect.
Components
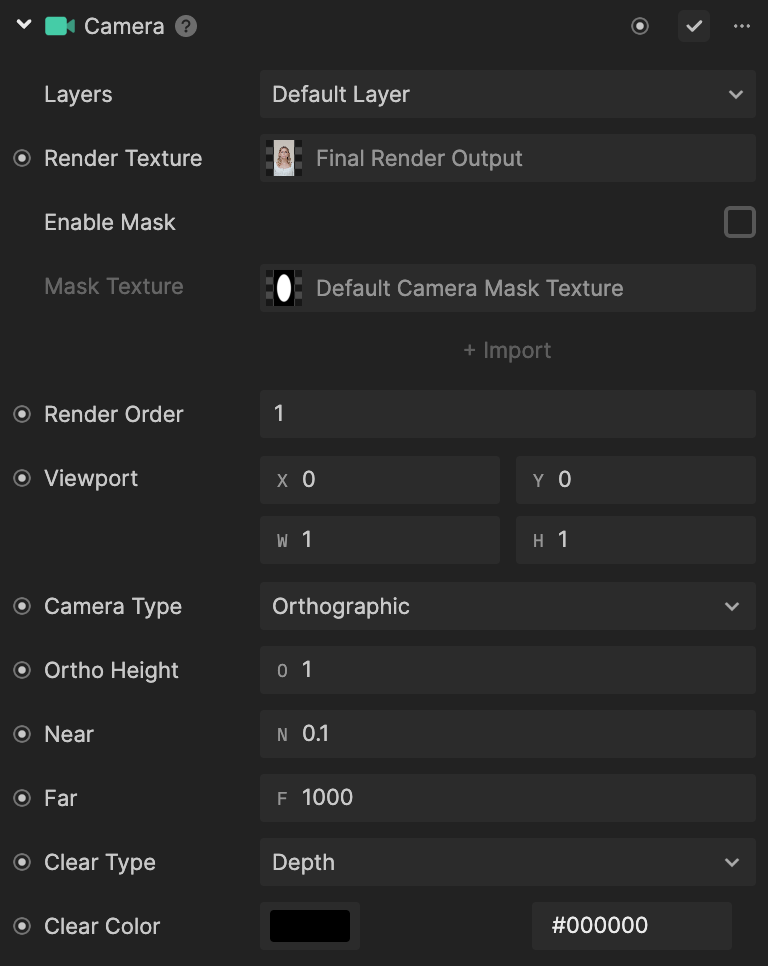
The Camera object is made up of the following components, found in the Inspector panel:
Perspective Camera (3D) and Orthographic Camera (2D)
There are two types of cameras you can select from:
- Perspective (3D)
- Orthographic (2D)
A perspective camera (3D) displays objects in a virtual world in three dimension, allowing for the perception of depth and volume. When you add the Camera object to the scene, it is a 3D camera by default.
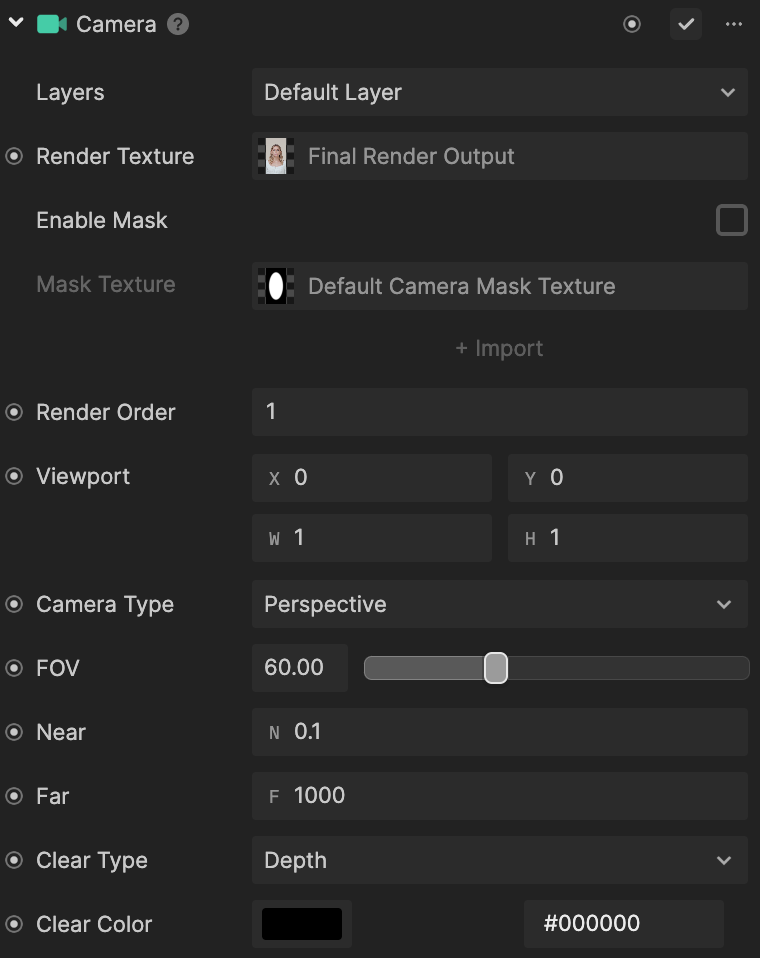
An orthographic (2D) camera displays objects in a virtual world in two dimensions, making your scene appear flattened. To configure a 2D camera, select the Camera object in the Hierarchy panel. Then under the Camera component, use the Camera Type dropdown to select Orthographic in the Inspector panel.
Move Your Camera in a 3D Scene
Select the Camera object and adjust the Transform component attached. Doing so adjusts the camera’s transform properties, including Position and Rotation.
You can either adjust the gizmo to manipulate the position, rotation, or scale, or type the value in the Transform component under the Inspector panel.
Certain settings can cause the camera’s transform function to be overwritten. In these cases, nothing will affect the final render, no matter how you adjust the camera’s transform or camera parameters. The camera settings may be overwritten when a 3D Face Binding component is assigned to the scene object.
Preview
Preview in Effect House
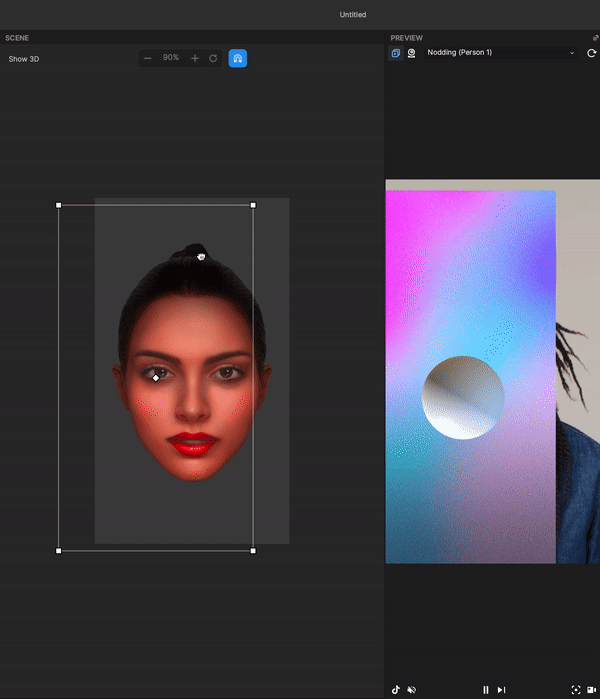
After configuring your scene and cameras in Effect House, you can view the Preview panel to get a sense of how your final project will look. You can see your scene objects overlaid on default preview videos, your webcam video, or your uploaded local media. You can use this panel to configure the exact positions and render textures of your camera(s) while you are developing your effect. What you see in the Preview panel matches the Final Render Output render texture.
Preview on TikTok
For more accurate testing, use the Preview on TikTok button to preview your project in the TikTok app.

Use Multiple Cameras in the Scene
When you want different cameras to render different objects or render one object on top of other layers, you must set up the render order and render layers.

Customize the Camera’s Render Texture
You can also use a custom render texture to have a sneak peek into what the camera is viewing in the scene and display it onto an image. Learn more about how to play with the render texture.