Render Texture
Render Texture is a texture that shows what the camera is looking at. You can apply this texture to an image or use it as a normal texture resource.
The Demo Effect section of this guide demonstrates how to create an effect with brush strokes. Download the following file to get started:
↓ camera_render_texture_brush_effect.zip
Built-In Render Texture
The default Camera object in the scene uses a built-in render texture called Final Render Output. This render texture uses the webcam video frame by default, so it shows what the webcam or the phone camera is viewing.

What you see in the Preview panel matches the Final Render Output render texture.
Create and Apply a Render Texture
To add a new Render Texture:
- Go to the Assts panel
- Click the Add asset button [+]
- Go to Texture
- Click Render Texture. The Render Texture is now added to the Assets panel.
Next, let's apply the new Render Texture to the Camera component:
Drag the newly created Render Texture from the Assets panel to the Camera component’s Render Texture property in the Inspector panel. This new Render Texture shows what the camera is viewing right now.
Display Render Texture On an Image
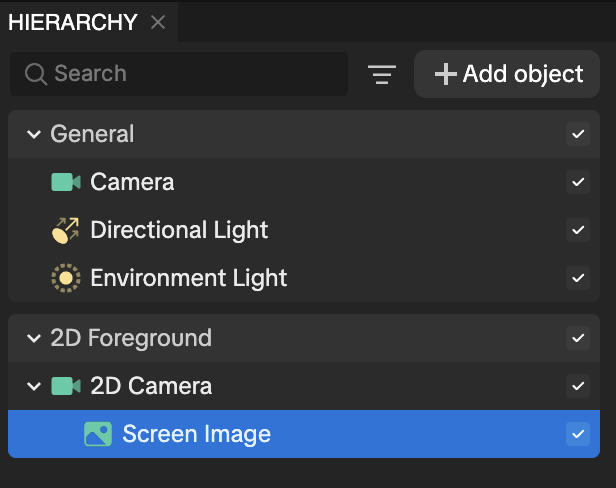
To display the camera’s view, create an image:
- Go to the Hierarchy panel
- Click the Add object button [+]
- Go to 2D
- Select Screen Image
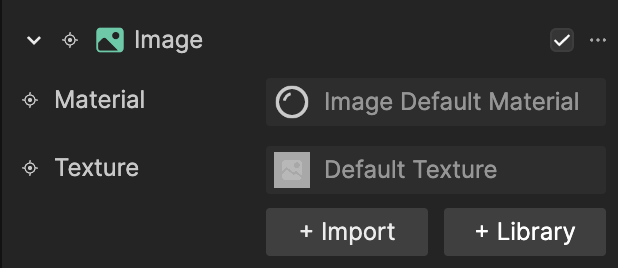
Select the Screen Image and navigate to the Inspector panel. Then change its Texture property to the render texture you assigned to the Camera object.
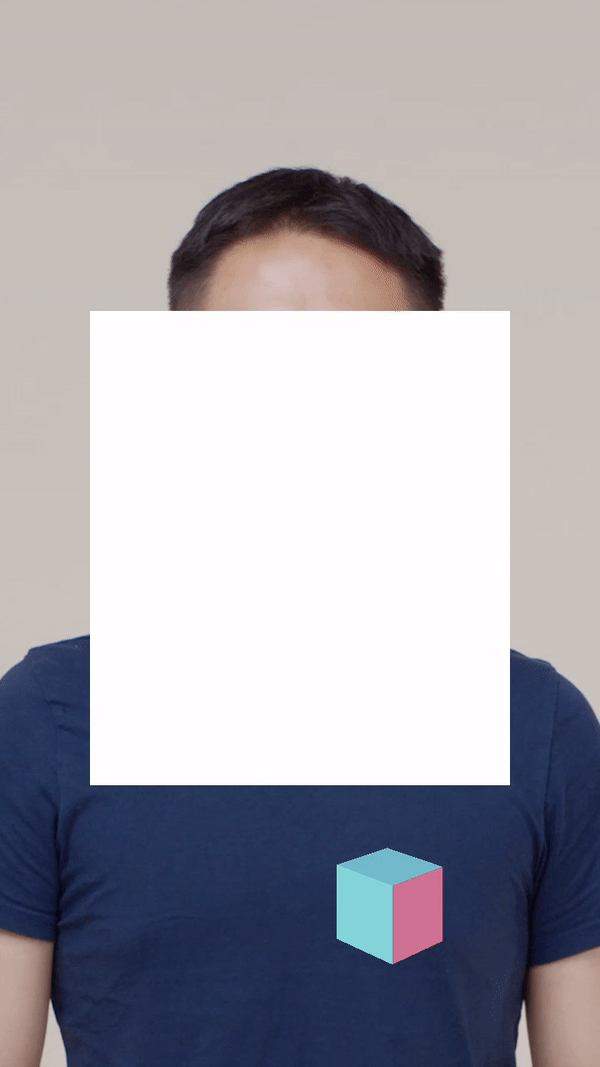
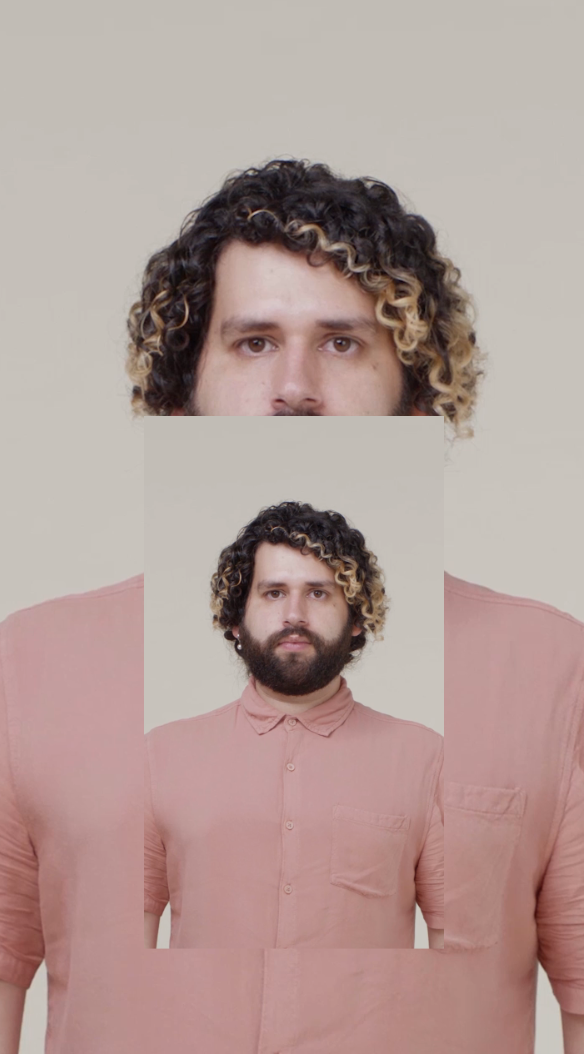
You should notice that the image seems to have disappeared from the Preview panel. This is because the render texture you created has a default Input Texture, which is the default webcam view. Now, it is the same with Final Render Output.
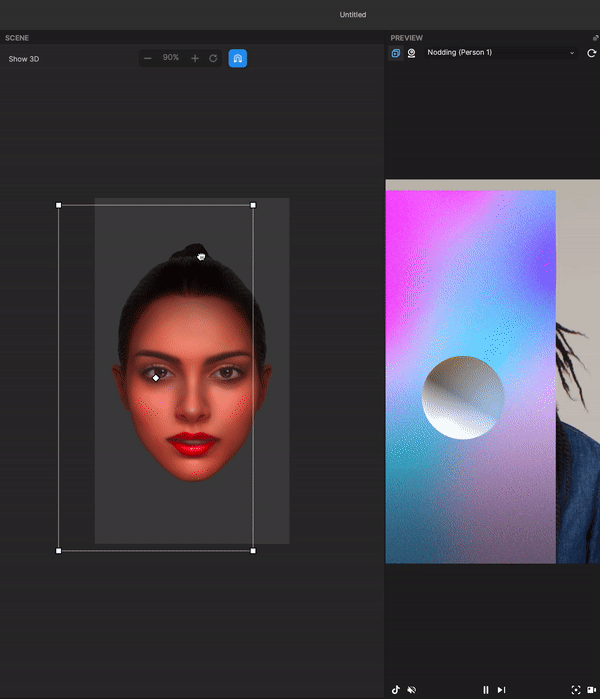
To see the difference, let's add a Sphere object:
- Go to the Hierarchy panel
- Click the Add object button [+]
- Go to 3D
- Select Sphere
Next, add the Sphere to the scene that is set up to the Layer property that the Camera (Default Layer) is taking care of, but the 2D Camera (Layer 1) is not. Now move the image around, and you’ll see the sphere is only shown in the image.

To render the camera view onto an image, you must set the Input Texture of the render texture to Final Render Output.
After you configure this, you’ll see the following effect:
Customize Input Texture
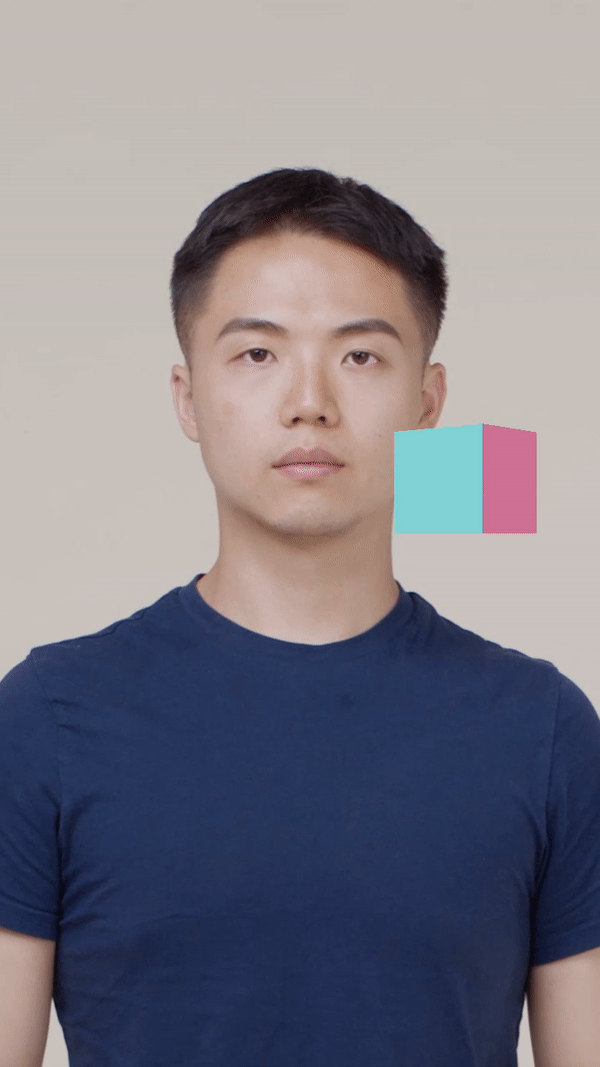
When creating a new Render Texture, it has a default Input Texture property. The default is the camera view which is shown as None. You can assign an image texture as the Input Texture to cover the original camera input. Try to replace the texture with one of the built-in textures, such as Background Texture.
You should see the image rendering the Background Texture below the virtual object now. You can resize the image and move it around.
You can also use Input Texture with transparency to allow the camera view to show instead of fully covering the camera rendering.

Fill Render Texture With Color
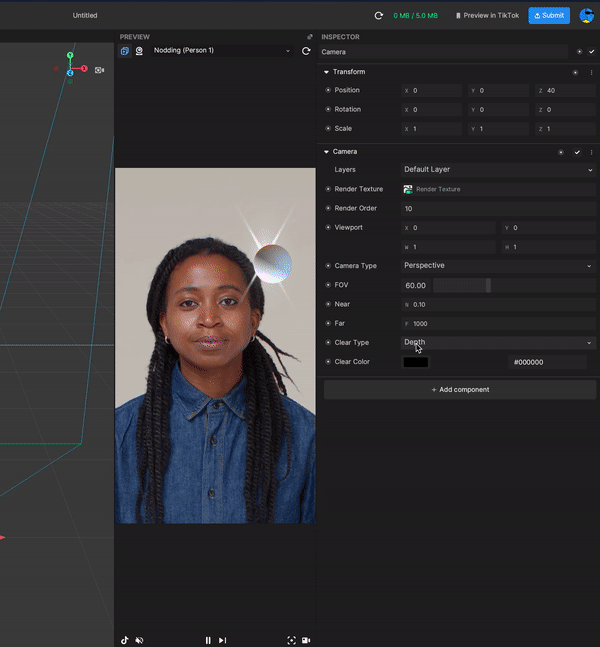
Customize a Camera’s Clear Type and Clear Color
In addition to replacing the camera view with an image, you can also fill the render texture with a solid color.
Select the camera in the Hierarchy panel. Navigate to the Inspector panel and set Clear Type of the Camera component to one of the following:
- Color
- Color Depth
- Color Depth Stencil
The render texture of the camera will be filled by the configured Clear Color property. Learn more about the Clear Type property.
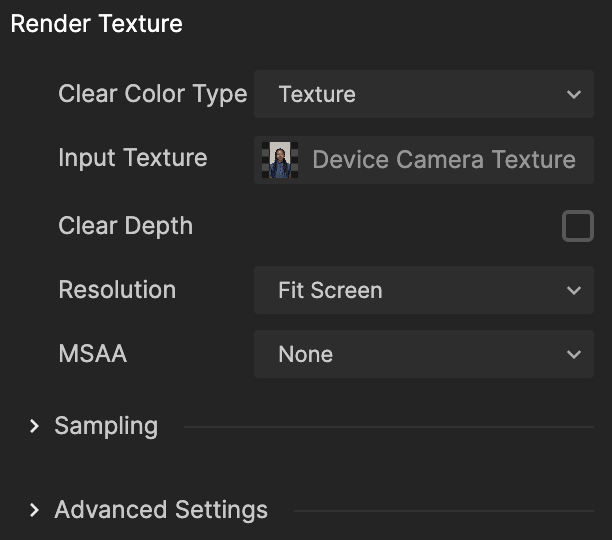
Render Texture Properties
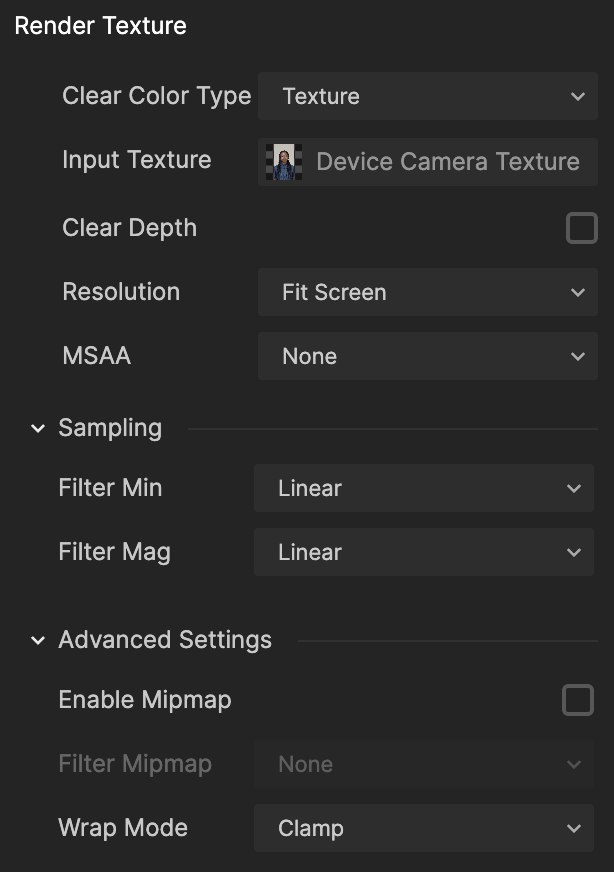
Input Texture: Use the original web camera or device camera view as the input, which is the default, or assign a texture to render the virtual scene with the original camera render.
If the Clear Type of the Camera component assigned with this render texture has been set to Color, Color Depth, Color Depth Stencil, the render texture of the camera will be filled by the configured Clear Color property.
Resolutions sets the sizing of the render texture.
- Fit Screen
- Fit Texture
- Custom: When selected, you can choose a custom width and height. The default is (720, 1280).
MSAA: Multisample anti-aliasing (MSAA) is a type of spatial anti-aliasing. This is a process for reducing aliasing at the edges of rasterized primitives. Choose None or 4X.
Sampling
- Filter Min
- Linear (Default)
- Nearest
- Filter Mag
- Linear (Default)
- Nearest
Advanced Settings
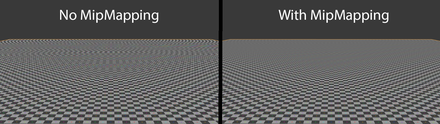
Enable Mipmap: When rendering textured objects in 3D scenes, a graphics processing unit (GPU) can use different approaches to determine how much of a texture’s detail is visible to the camera. Mipmaps are commonly used for rendering textured objects based on their distance from the camera to achieve a good balance between quality and performance. If selected:
- Filter Mipmap
- None (Default)
- Nearest
- Linear
- Wrap Mode STR three values are the same.
- Clamp (Default)
- Repeat
- Mirror
Demo Effect: Brush
In this demo, you will create a brush-stroke effect.
If you haven’t already, download the following file to follow along:
↓ camera_render_texture_brush_effect.zip
Keep the Input Texture of the Render Texture as None. Set the Clear Type of the Camera component to Depth, Don’t, or Depth Stencil.
Then drag the cube you created in the scene. You will see the movement trails stay on the render texture.
If you set the Clear Type of the Camera component to Depth, Don’t, or Depth Stencil, you can see these trails.
To understand the Clear Type differences between Depth and Don’t, put a plane intersecting with the cube, and then move the cube through the plane.
If you set the Clear Type of the Camera component to Don’t, you can see that when the cube intersects with the plane, there is a movement trail because the Don’t option does not clears the depth buffer from a previous render texture.

If you set the Clear Type of the Camera component to Depth, you can see that when the cube intersects with the plane, there is no movement trail because the Depth option clears the depth buffer from a previous render texture.
It will recalculate the depth between intersected objects and then redraw the new render texture.