Audio Player
Audio Player allows you to import audio files to an effect. You can control the volume as well as the play mode (single play or multiple loops). You can also pin the Audio Player as a Visual Scripting node. This will enable you to control the play status by connecting to the Audio Player Controller in real time.
This guide will walk you through how to add an Audio Player, customize the Audio Player settings, as well as how to control Audio Player as a Visual Scripting node.
Add an Audio Player Object
To add a Audio Player object:
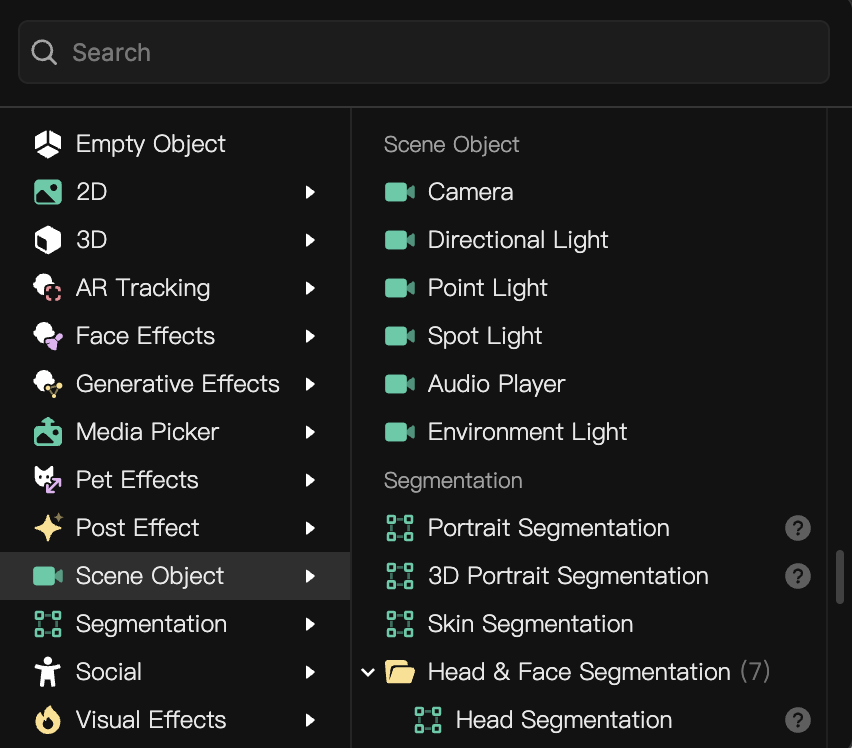
- Go to the Hierarchy panel
- Click + Add object
- Go to Scene Object
- Select Audio Player
Object Hierarchy
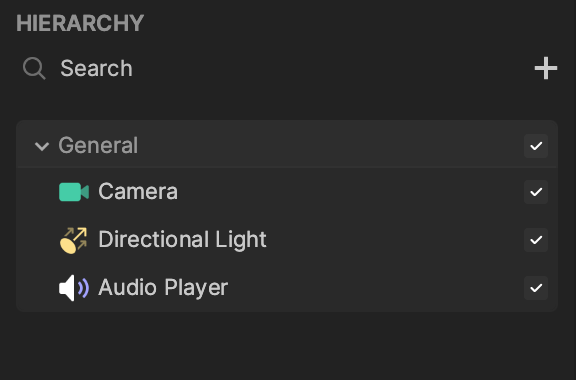
Starting in Effect House v2.0.0, the Audio Player object is automatically added to the General render group in the Hierarchy panel. Learn more about render groups.
Components
The Audio Player object is made up of the following components, found in the Inspector panel:
Import Audio Assets
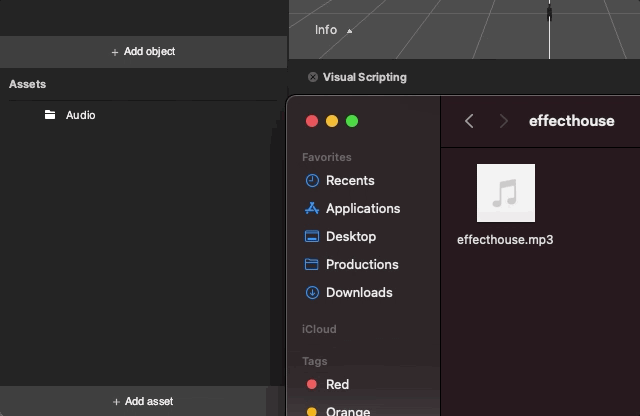
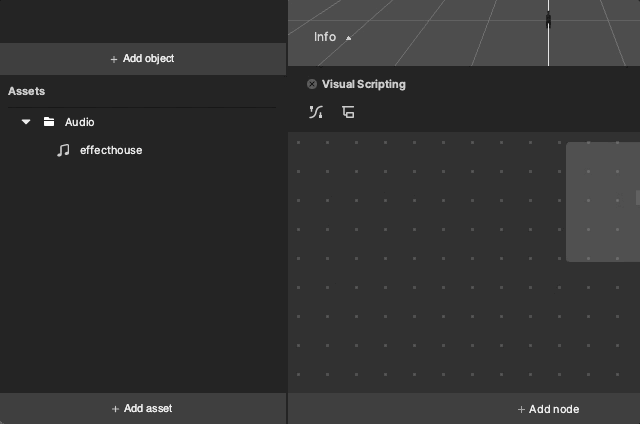
Import a MP3 audio asset by clicking the Add button [+] > Import > From Computer in the Assets panel. You can also drag a MP3 file into the Assets panel directly. Preview the audio assets in the Inspector panel.
Download the following audio sample to preview in Effect House:
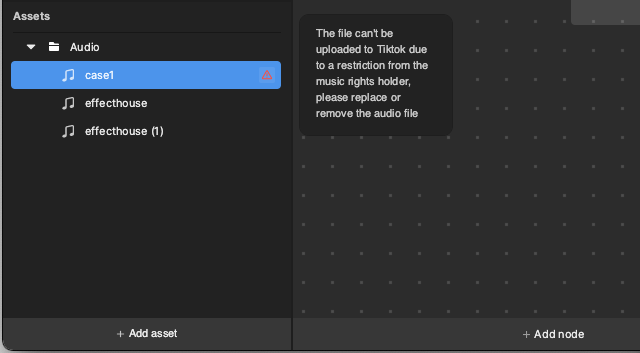
Only MP3 audio files can be imported. Audio files with 44,100 Hz sampling rates are recommended. Other sample rates will get compressed. Please wait for the audio assets to be successfully imported. If the audio asset has a restriction from the music rights holder, you will receive a red warning icon on the Assets panel. This warning icon means that the audio asset cannot be uploaded to TikTok. Please click retry to upload the audio file if you receive a yellow warning status.
Play Audio
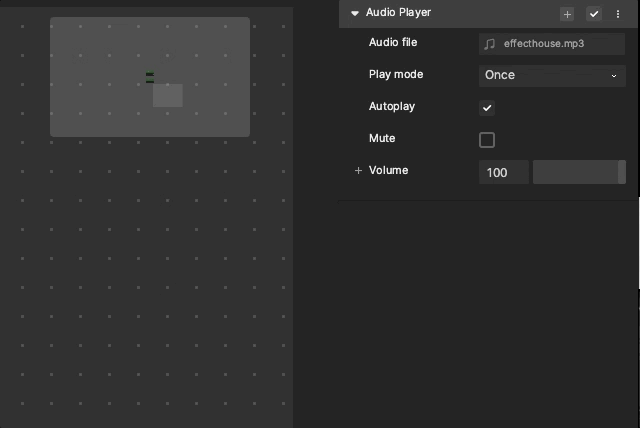
Select the audio file in Audio Player component by clicking Audio file to specify which audio file you want to play.
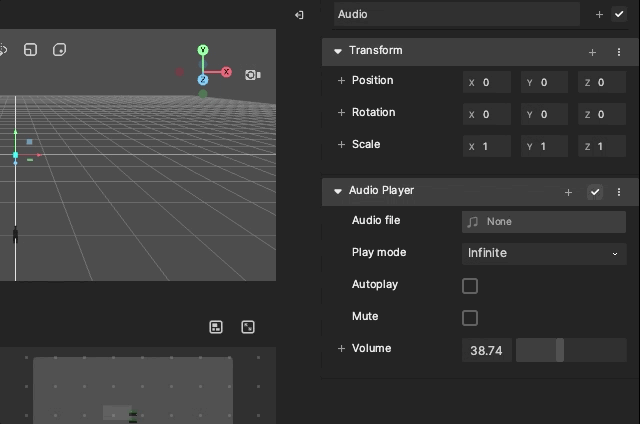
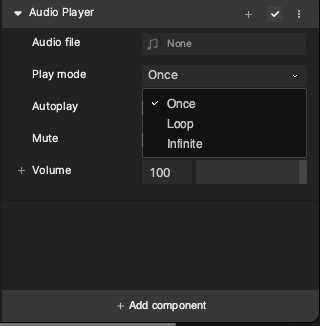
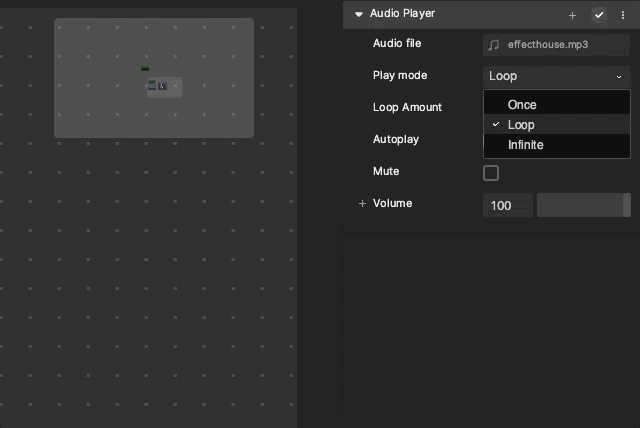
Select Play mode in the Audio Player component to specify how many times you want the audio assets to be played. If you select Loop, you can also adjust the Loop Count to specify how many loops.
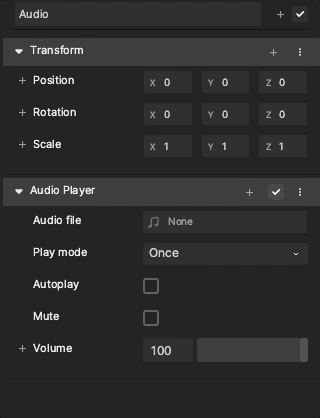
Select Autoplay to play the Audio file instantly. Adjust the Volume to specify how loud you want the audio assets to be played. You can also choose Mute to mute the Audio Player.

Preview Audio Effects
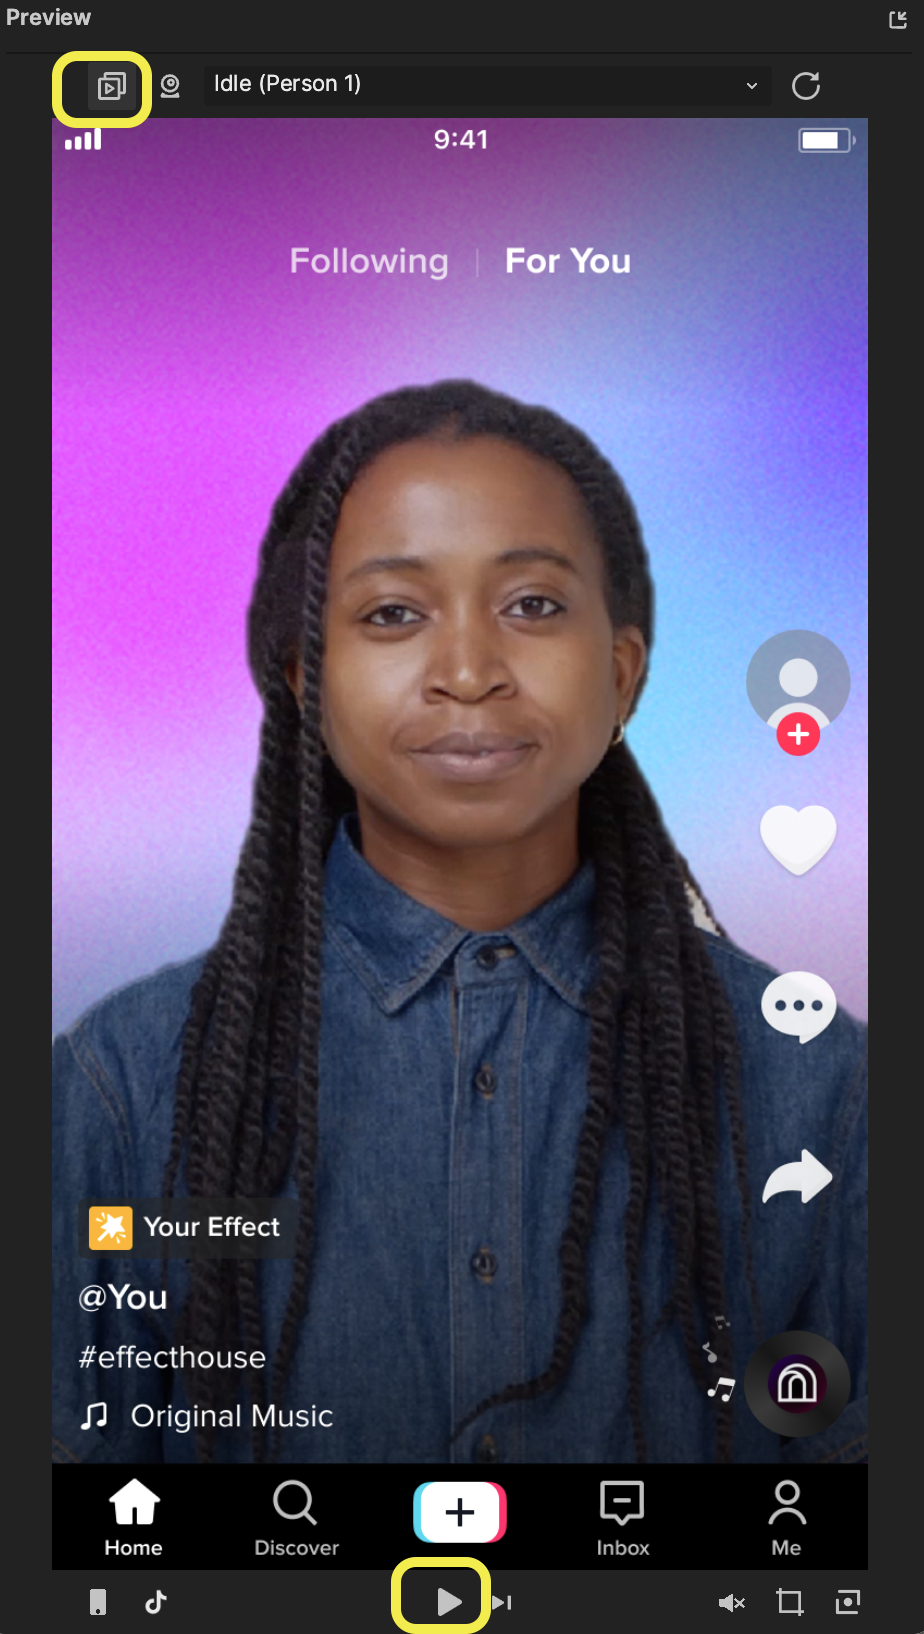
Preview In-Tool
You can play or pause the audio play by clicking the play icon from the Preview panel when you’re under the Media preview mode. You cannot play and pause the audio play after switching to the webcam.
Recording audio by using the screen recording feature in the Preview panel is currently not supported.
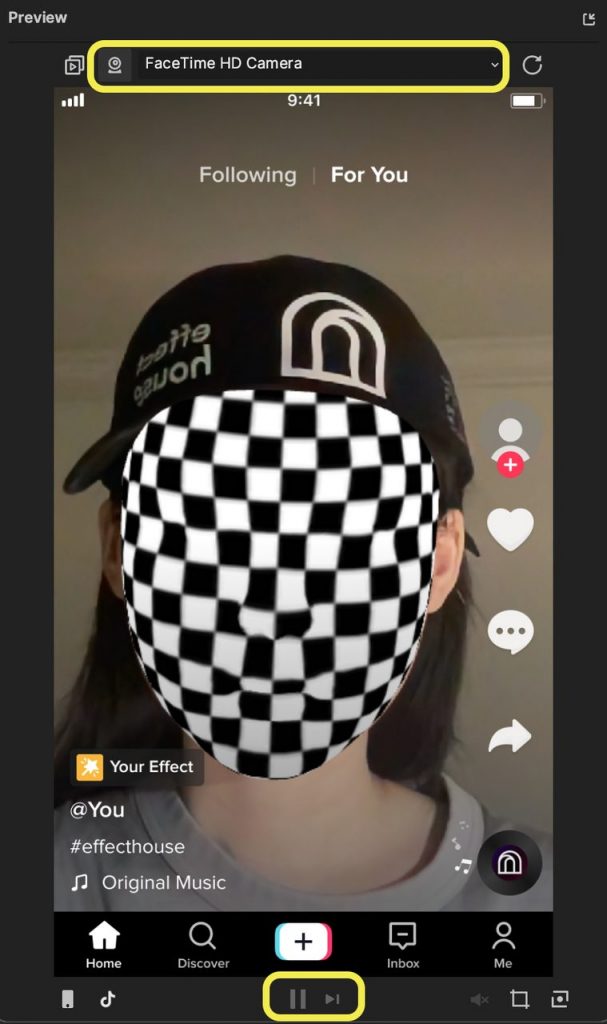
Preview on TikTok
Your audio effect will be recorded from the microphone of your phone, don’t cover your mic if you want to have a high-quality result. And if you wear earphones or headsets, the audio effect cannot be recorded.
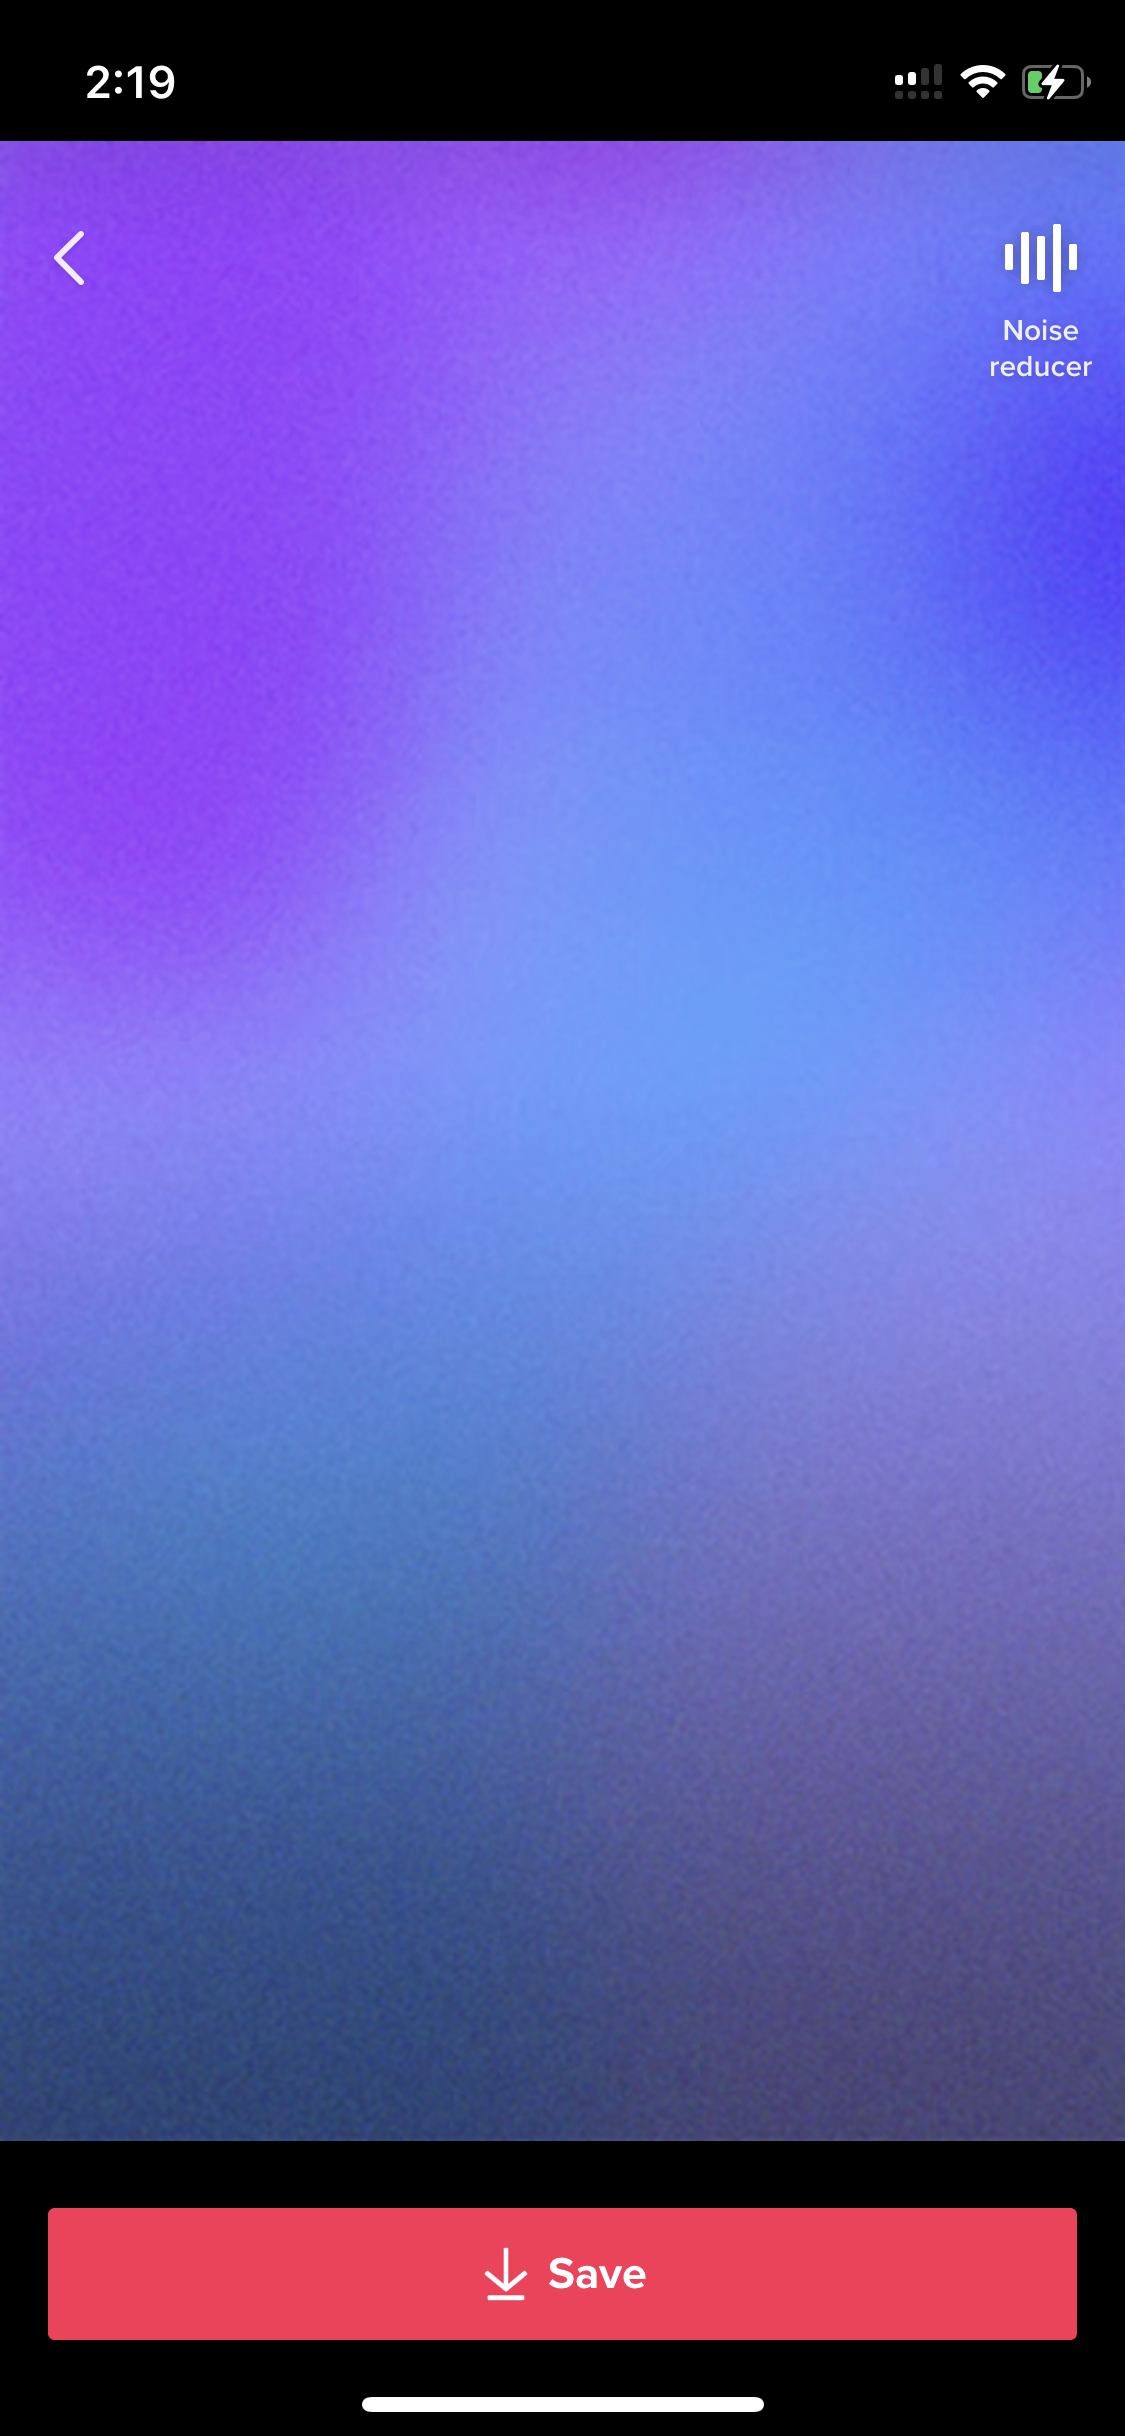
If you don’t want to lose the details of your audio effect, don’t check on the Noise Reducer on the top right corner of the screen.
Use VO and TikTok Songs With Audio Effect
If you select a TikTok song before recording, the song will cover all sounds from the video. This includes the microphone speaker and the in-effect sound.
If you select the TikTok song after recording on the editing page, the sound in the video (including the microphone and sound in the effect) can play with the TikTok song together.
Adding a voiceover will not affect the embedded sound.
Performance Impact
Audio Player and related audio features will generally not cause any frame rate reductions. Keep in mind that too many audio nodes or audio and segmentation combinations can impact your effect performance.
Visual Scripting
Types of Audio Nodes
You can use the following types of audio nodes:
- One is to control audio play.
- One is to detect certain features of the audio that could be used as a trigger.
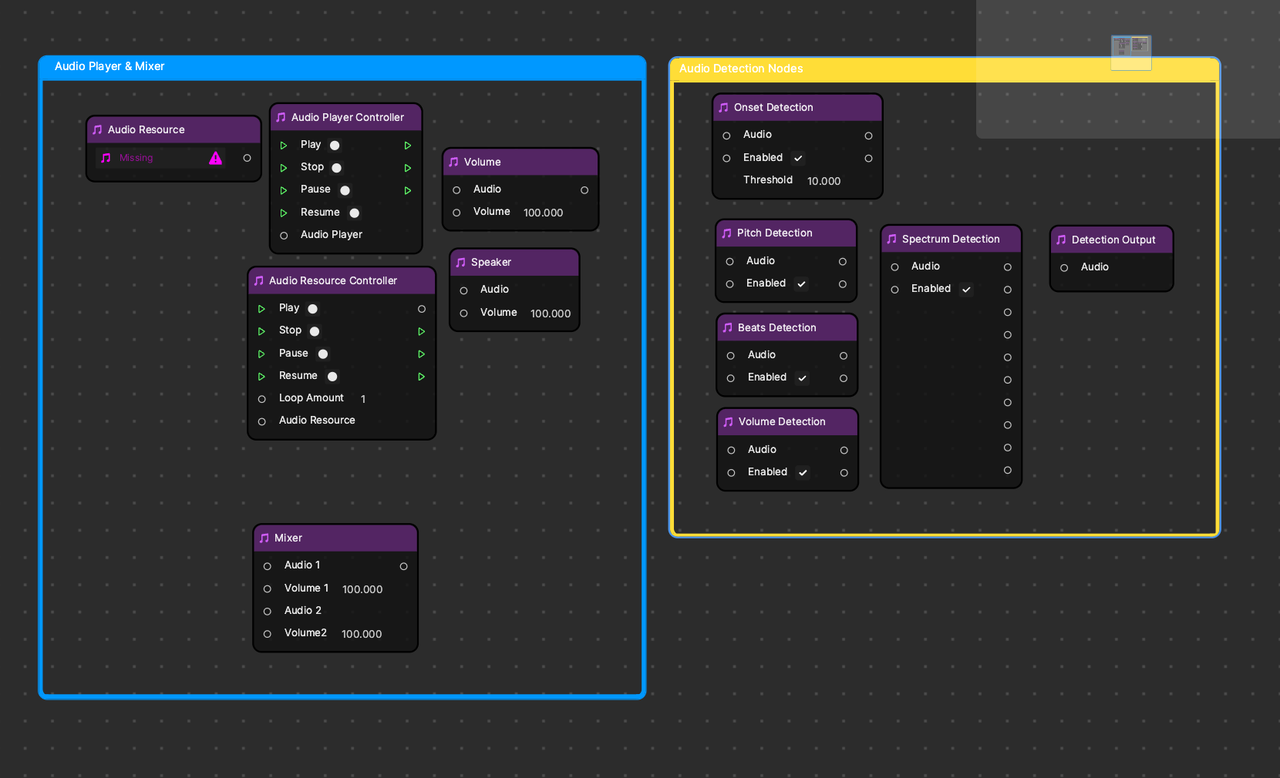
Control Audio Playing
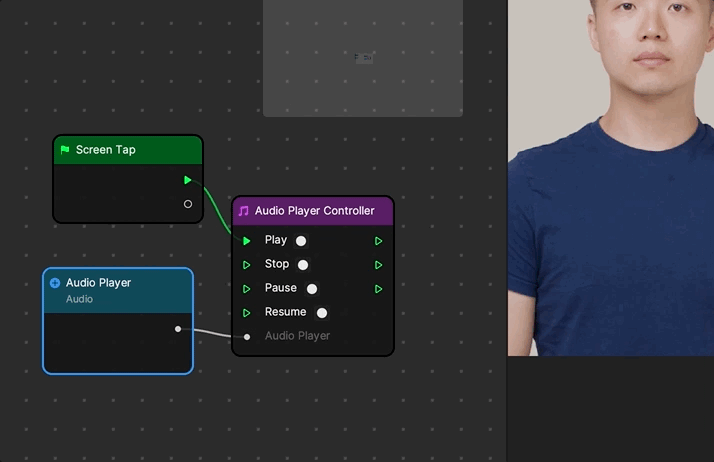
Control Play, Stop, Pause, and Resume, and get the On Play, On Stop, and On Finish statuses of the Audio Player component in the Audio Player Controller node in Visual Scripting.
Add the Audio Player component that you want to control into the graph by clicking the Add button [+] > Get Audio Player. You can see the Audio Player node is in the graph now.
Connect the Audio Player node to the Audio Player Controller node in the Visual Scripting panel.

You can now control the Audio Player in the graph panel. Here is an example of how to play the audio in loop one time by clicking the screen.
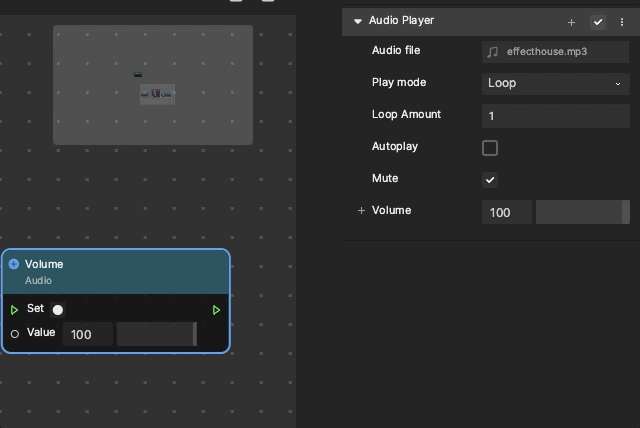
You can also control the Volume in the graph panel by clicking the Add button [+] > Set Volume.
There are Audio Resource, Audio Resource Controller, and Speaker nodes in the graph panel under the Audio section. Make sure to connect Speaker to Audio Resource Controller as the audio stream output.