Face Mask
Face Mask applies a 2D texture to a user’s face to create face paint or makeup effects.

Add Face Mask
To add a Face Mask component:
- Go to the Inspector panel
- Click + Add Component
- Go to Face Effects
- Click Face Mask
| Property | Description |
|---|---|
| Face Region | This property designates where the mesh will appear on the face. Chose Whole (default), Eyes, Eyelashes, or Lips. See the demonstration below. |
| Which Face | Select which face the Face Mask object is applied to. Multiple selections are supported. 0 represents the first face that appears in the scene and similarly, 4 represents the fifth face that appears in the scene. All are selected by default. |
| Texture | Choose a texture from the Assets picker. |
| Opacity | Use the slider to set the opacity to a value between 0 and 1, with 0 being transparent and 1 being opaque (unless the edges are feathered). |
| Blend Mode | Determines different calculations used to blend color and texture. Choose from the following blend modes:
|
| Opacity Enable | Customize the Opacity Texture and Color of the mesh. This is selected by default.
|
| Identify Occlusion | This option only appears when Eyes, Eyelashes, Lips and Teeth are chosen as the Face Region. Makes the effect invisible when something covers your face. |
| Finish | This option only appears when Lips are chosen as the Face Region. Choose from the following finishes:
|
tip
Note the size of the image you imported for the Face Mask. If you change the Face Region type to Eyes, Lips, or Eyelashes, make sure the size of your image is aligned with the template provided in this guide.
Demonstrations
Face Region
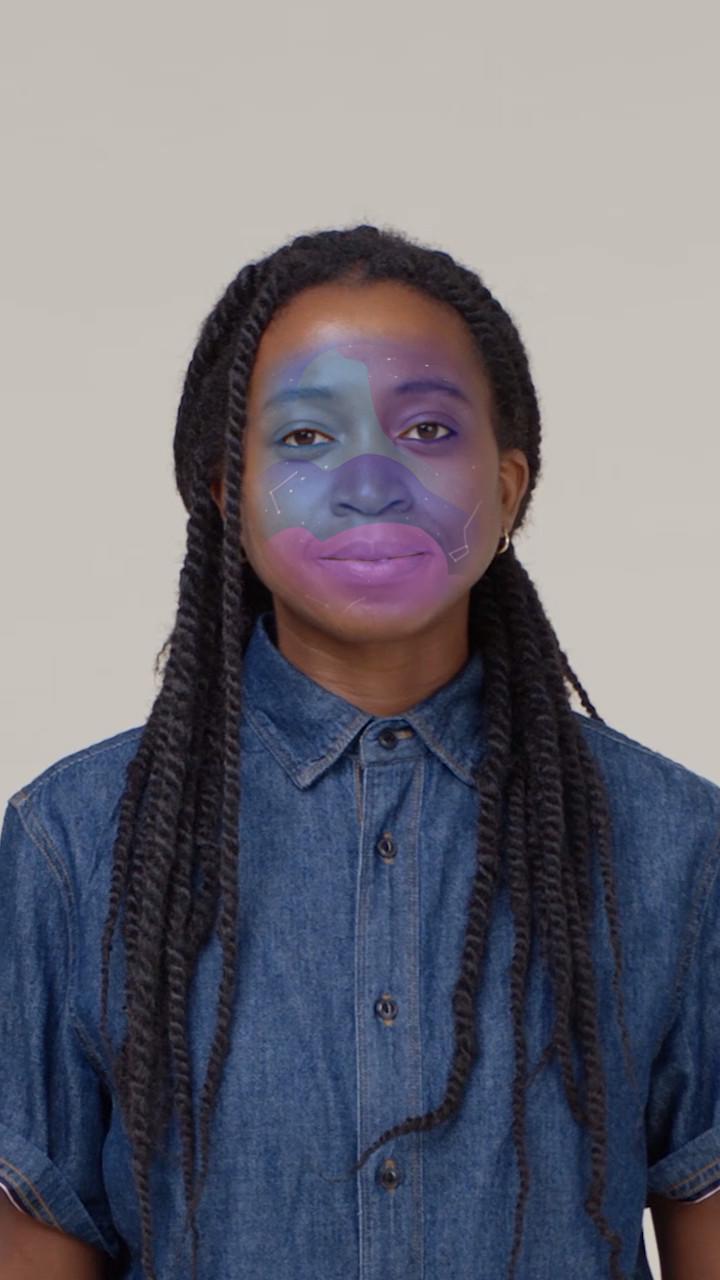

Whole
Eyelashes
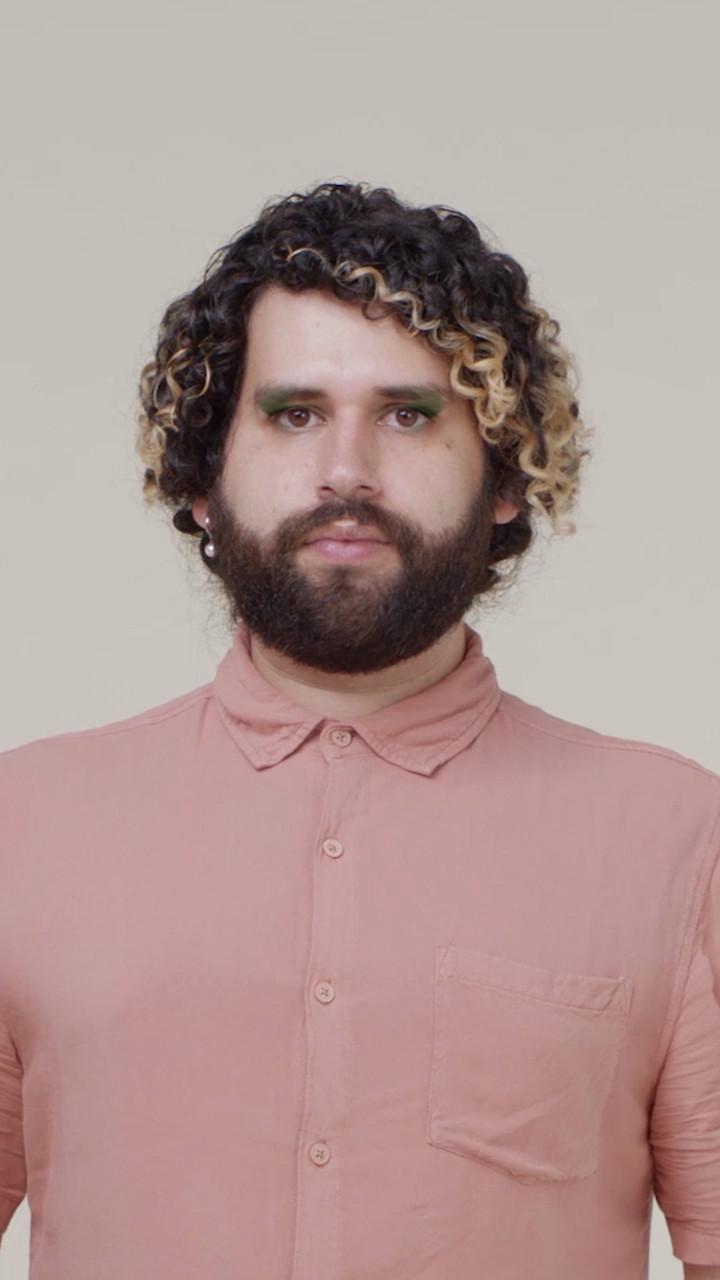
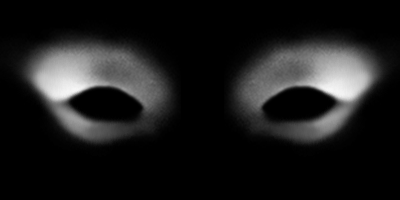
Eyes
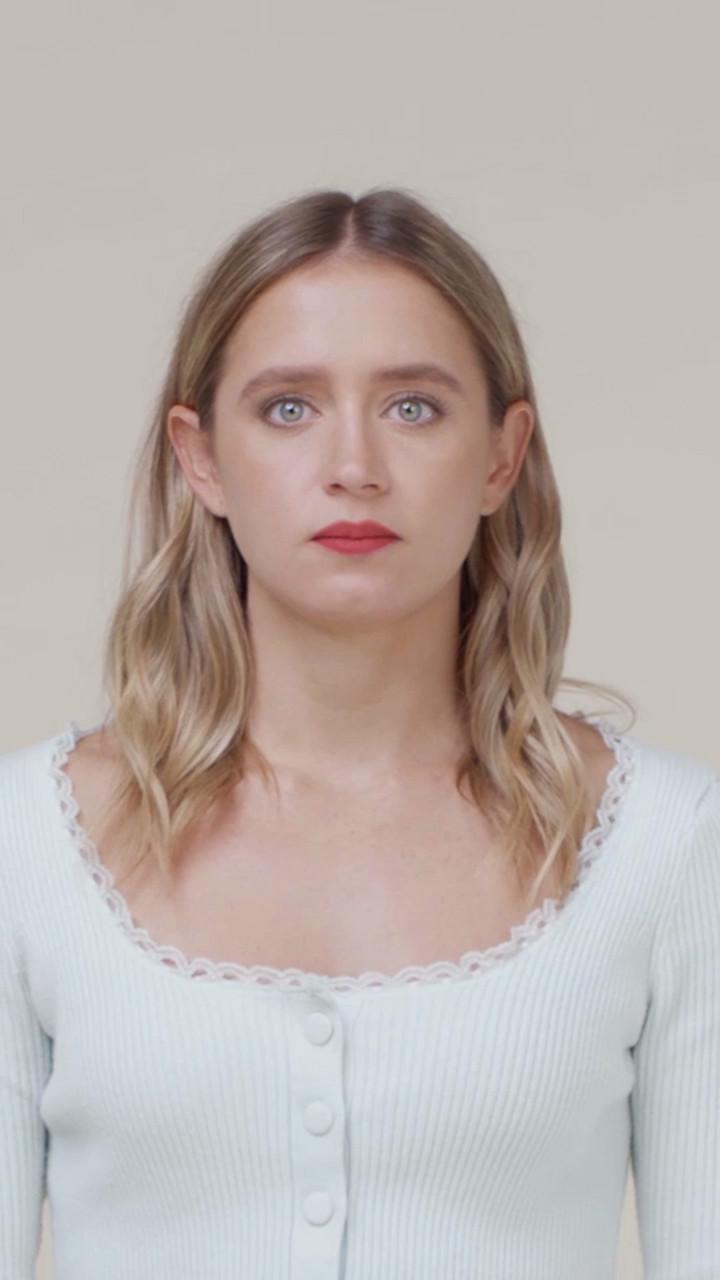
Lips
Opacity Texture


Color