Standard PBR
PBR (physical-based rendering) displays a texture color by adding lighting and material information in the shading. Its composition allows it to also receive shadow. PBR is typically used for creating realistic materials.
Create a Standard PBR Material
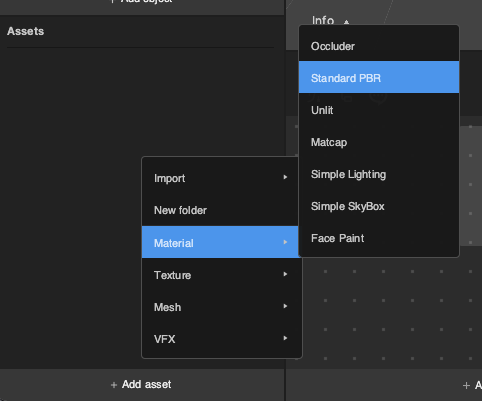
You can add Standard PBR material by clicking the Add button [+] > Material > Standard PBR in the Assets panel.
Apply a Standard PBR Material to a 3D Object
For this example, we will add a built-in Cube Mesh and apply the Standard PBR material to the cube.
The adjustable material properties will appear on the Inspector panel when Standard PBR material is selected.
Standard PBR Material Properties

Albedo is the diffused reflection of a surface. Think of it as the original color of the material without any lighting.
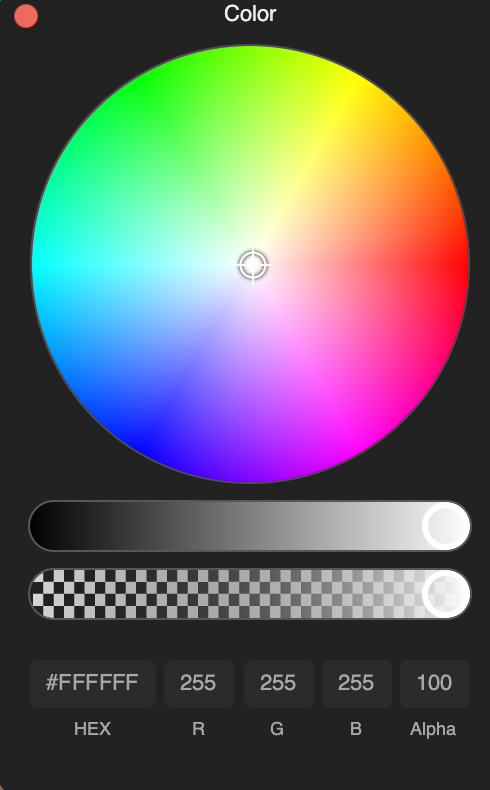
- Color: Set up the material’s Albedo color by the hexadecimal color code or by picking a color from the color wheel.
- Texture On: If checked, you can choose a texture as the material’s Albedo color. The Color you set up will become the filter color of the texture.

Opacity: When selected, the material will calculate a new Alpha value by multiplying the R channel value of this new Opacity Texture.
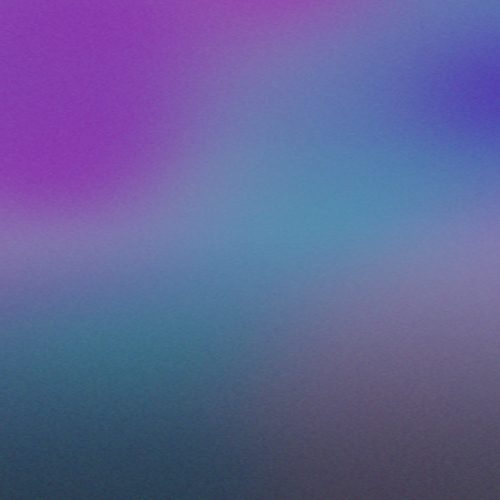
For example, this is material applied with Albedo Texture:
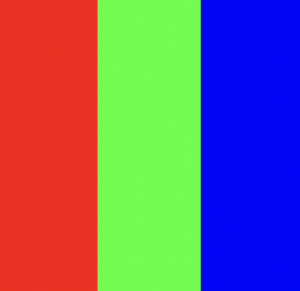
Opening an Opacity channel and applying an Opacity Texture will look like the following:
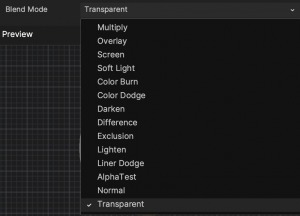
Set the Blend Mode under Render State 0 to Transparent.
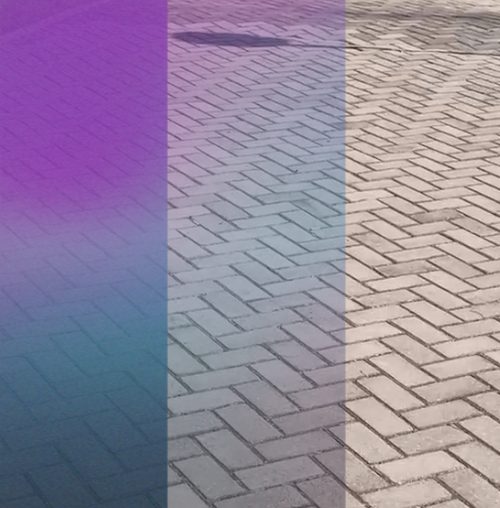
The final result looks like this: Red area stays the same as the previous one, but the blue area becomes fully transparent.

Normal is an optional property in PBR materials. If checked, the material will use the texture selected under it as the surface normal of the material instead of the mesh normal attribute. This property will affect any shading that involves surface Normal such as lighting.
- Texture: Using a Normal texture usually makes the material surface more detailed and realistic.
- Strength
- Default:
- Range:

MRAO (Metalness, Roughness, and Ambient Occlusion) defines the parameters used in calculating the lighting of the material surface. You can change these parameters for the whole surface of a material by setting up the following:
- Metallic
- Default: 0
- Range:
- Roughness
- Default: 0.5
- Range:
- Texture On: If checked, you can use an MRAO texture that packs MRAO into a 3-channel texture for the material’s surface.
- Texture: Texture
- AO
- Default: 1
- Range:

Emissive is an optional property in PBR materials that represents the surface of a material that is emitting light. If checked, you can choose a single color for emission or a texture.
- Texture: Texture
- Intensity
- Default: 0
- Range:
- Color: Set up the material’s Emissive color by the hexadecimal color code or by picking a color from the color wheel.

Environment affects the reflection of a material’s surface. You can choose a reflected environment’s Texture, Rotation, and Intensity using this property.
- Texture: Texture
- Rotation
- Default: 0
- Range: (0,1)
- Intensity
- Default: 0
- Range: (0,1)
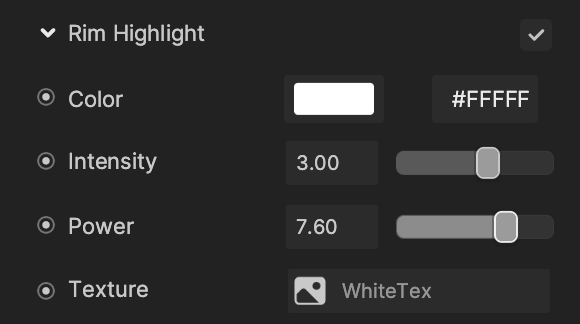
Rim Highlight controls the color and lighting of the edges.
- Color: Set the material’s Rim Highlight color by the hexadecimal color code or by picking a color from the color wheel.
- Intensity: The intensity of the highlight.
- Power: The tightness of the highlight.
- Texture: Apply a texture to the highlight.
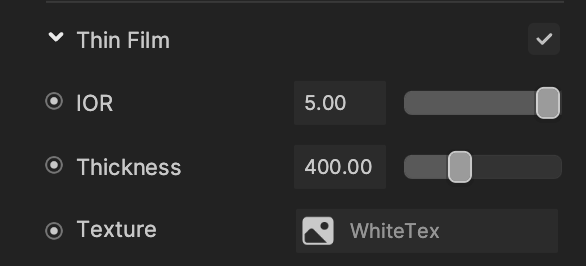
Thin Film applies an iridescent cover to the material.
- IOR: The index of refraction of the iridescent film.
- Thickness: The thickness of the iridescent film.
- Texture: Apply a texture to the film.

Shadow
- Shadow On: If selected, your object will display shadows cast by other objects.

UV Control changes how textures are sampled in PBR material. You can adjust the Tiling, Offset, and Rotation of textures using UV Control.
- Tiling
- X: (Default: 1)
- Y: (Default: 1)
- Offset
- X: (Default: 0)
- Y: (Default: 0)
- Rotation
- Default: 0
- Range: (0,1)
Render State 0
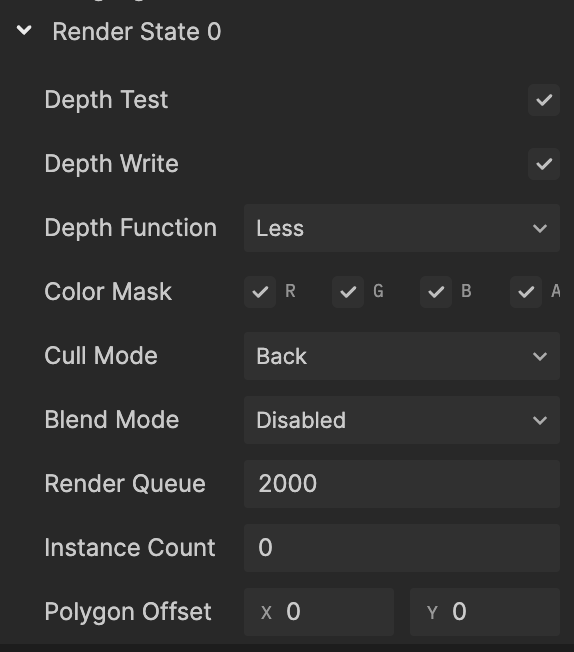
Depth Test: If checked, depth test should be performed and compared in the depth buffer.
Depth Write: If checked, the geometry depth is written to the depth buffer. Uncheck it if you are rendering objects that are transparent.
Depth Function: Determine how the depth testing gets performed.
- Default: Less Equal.
- Never: The depth test never passes and the object will never be rendered.
- Less: Draw the part of the object when it is in front of the existing objects and hide the parts that are behind the existing objects.
- Equal: Draw the part of the object that is at the same depth as the existing objects and hide the parts that are in front or behind the existing objects.
- Less Equal: Draw the part of the object that is in front or at the same depth as the existing objects and hide the parts that are behind the existing objects.
- Greater: Draw the part of the object that is behind the existing objects, and hide the parts that are in front of the existing objects.

- Not Equal: Draw the part of the object that is not at the same depth as the existing objects.
- Greater or Equal: Draw the part of the object that is behind or at the same depth as the existing objects and hide the parts that are in front of the existing objects.
- Always: The depth test always passes. Always render the object with the material.
Color Mask: If the following are left unselected, writing to the unselected channel into the render target will be stopped.
- R: Red
- G: Green
- B: Blue
- A: Alpha channels

Cull Mode: The polygon has front and back sides.

- None: Both inside and outside faces will render.
- Back: Polygons that face away from the viewer will not render.
- Front: Inside facing polygons will render.
Blend Mode instructs how the current material blends with the background. The default mode is Transparent.

- Instance Count: The default is 0
- Polygon Offset: The default is (0, 0)