Texture Preparation
Effect House supports multiple rendering materials, explained in the overview of materials. This guide will show you how to export and import the corresponding custom textures from some commonly used external software into Effect House.
Substance Painter
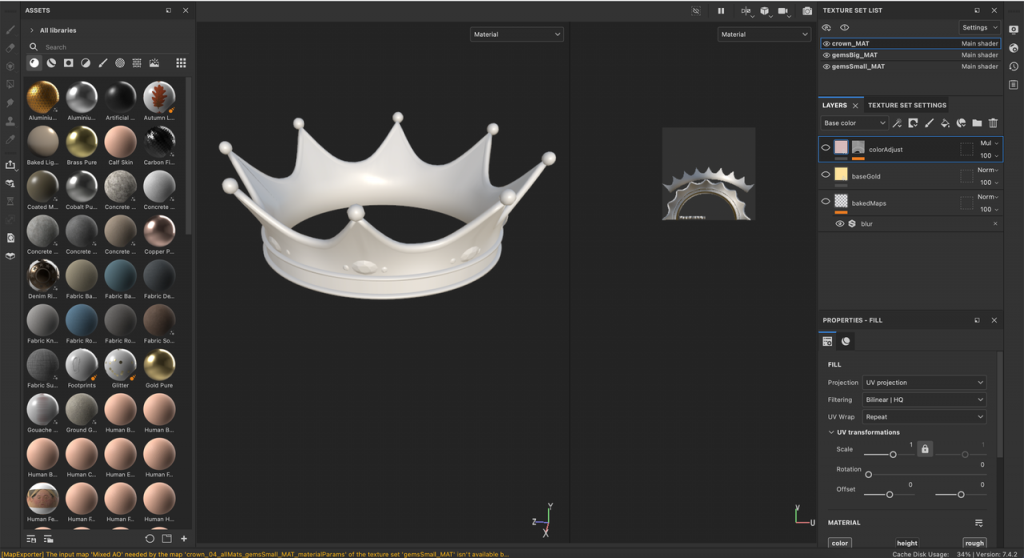
Import your mesh from other software, such as Maya and Blender, exactly like how you will import it into Effect House. Then for each texture set, you can create multiple layers to achieve the visual effect you want for your mesh, utilizing the library assets and other settings.
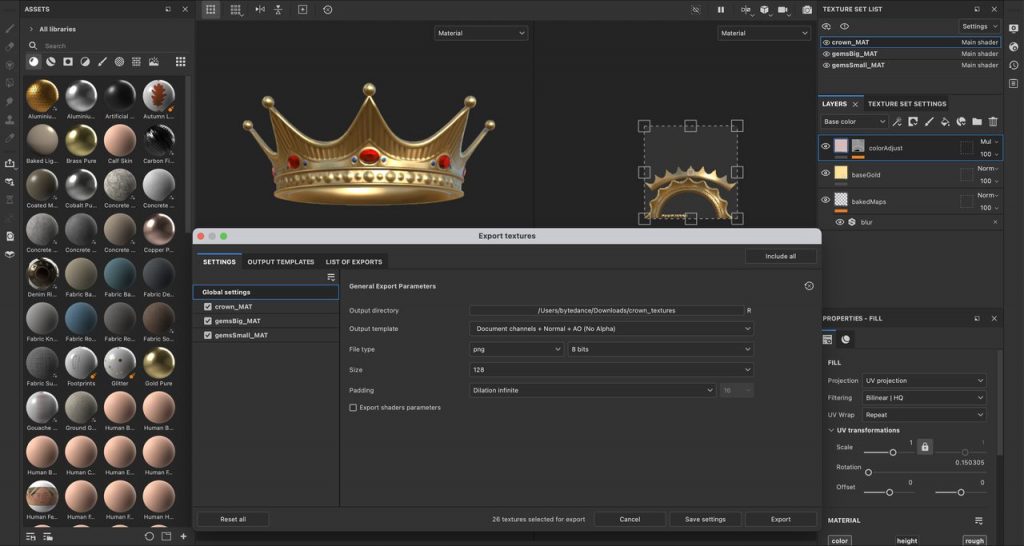
After you finish texturing, go to File > Export Textures. If you go to Output Templates, you will see a list of existing templates. You can create your custom preset templates.
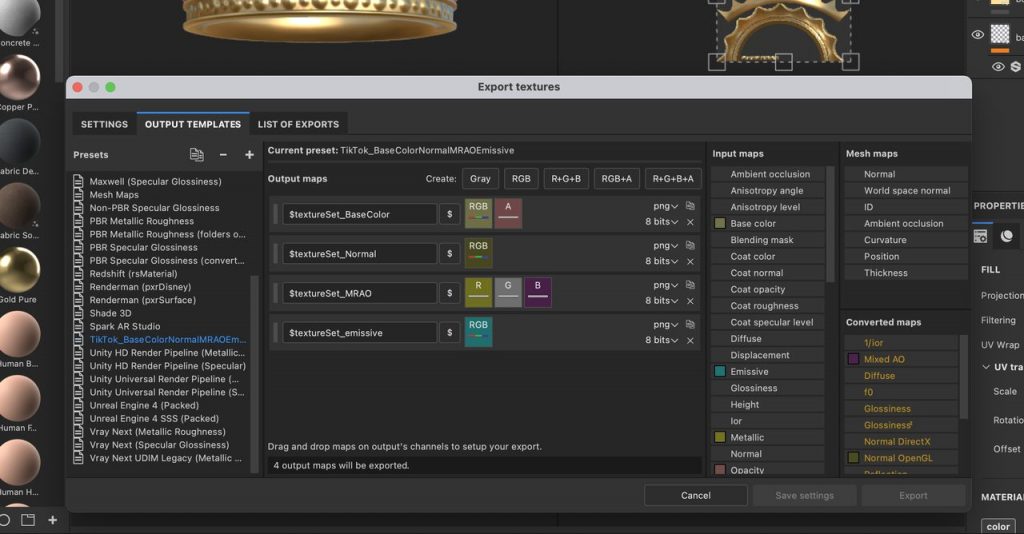
Download this template and add it to your Documents > Adobe Substance 3D Painter > assets > export-presets folder. Check to see if it shows up in the Output Templates tab with the correct Output Maps, including baseColor(Albedo), Normal, MRAO, and Emissive.
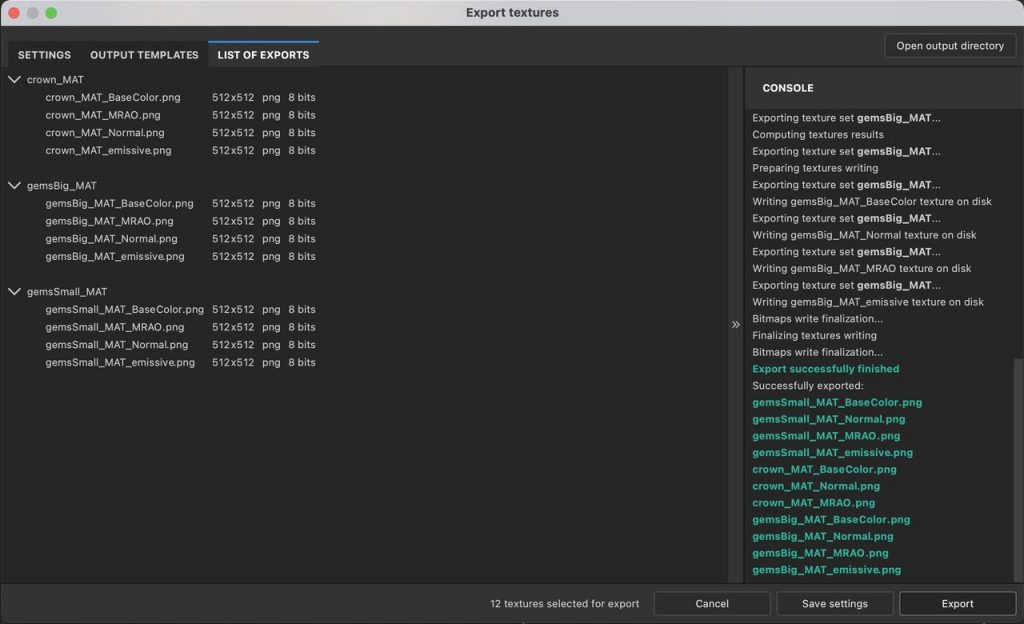
Set the File type to png and 8 bits. Make sure the Size is not bigger than 512.
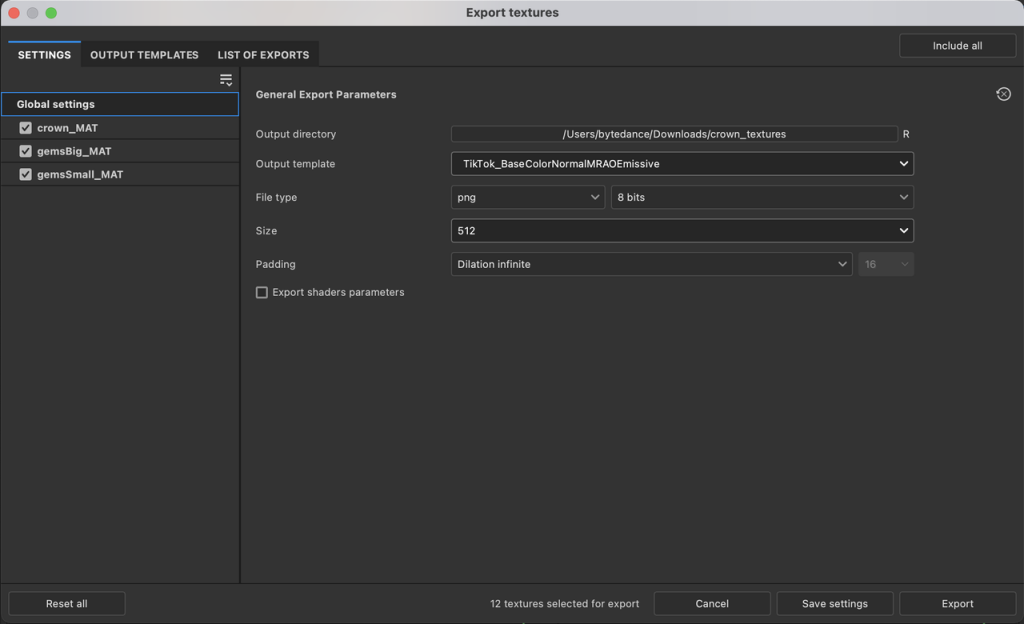
Click Export. You can see that the textures are successfully exported.
Import Texture to Effect House
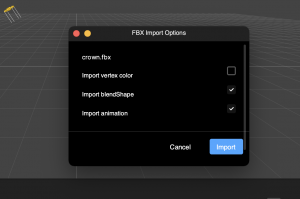
Import the mesh (recommended FBX or glTF format) into Effect House.
Drag the object into the Hierarchy panel and see the object has its subset of features and their matching materials.

Start with one of the materials. Check the corresponding boxes for Texture On. In this example, the material has Albedo, Normal, MRAO, and Emissive textures. In some other cases, an object material may have less or more textures, depending on how you design them.
Then, click on the placeholder texture and select the corresponding texture.
Now you have a fully customized and textured object!
Blender
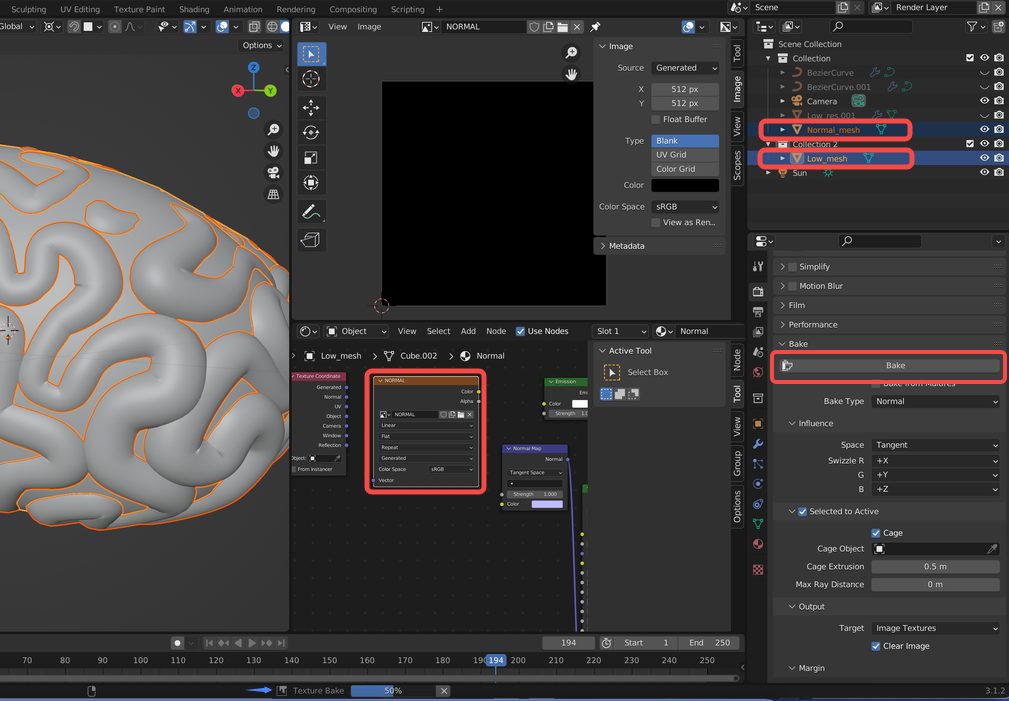
To directly generate the Normal texture in Blender, you can create an Image Texture for the low mesh, multiselect the Image Texture node, high-poly mesh and low-poly mesh, and press Bake.
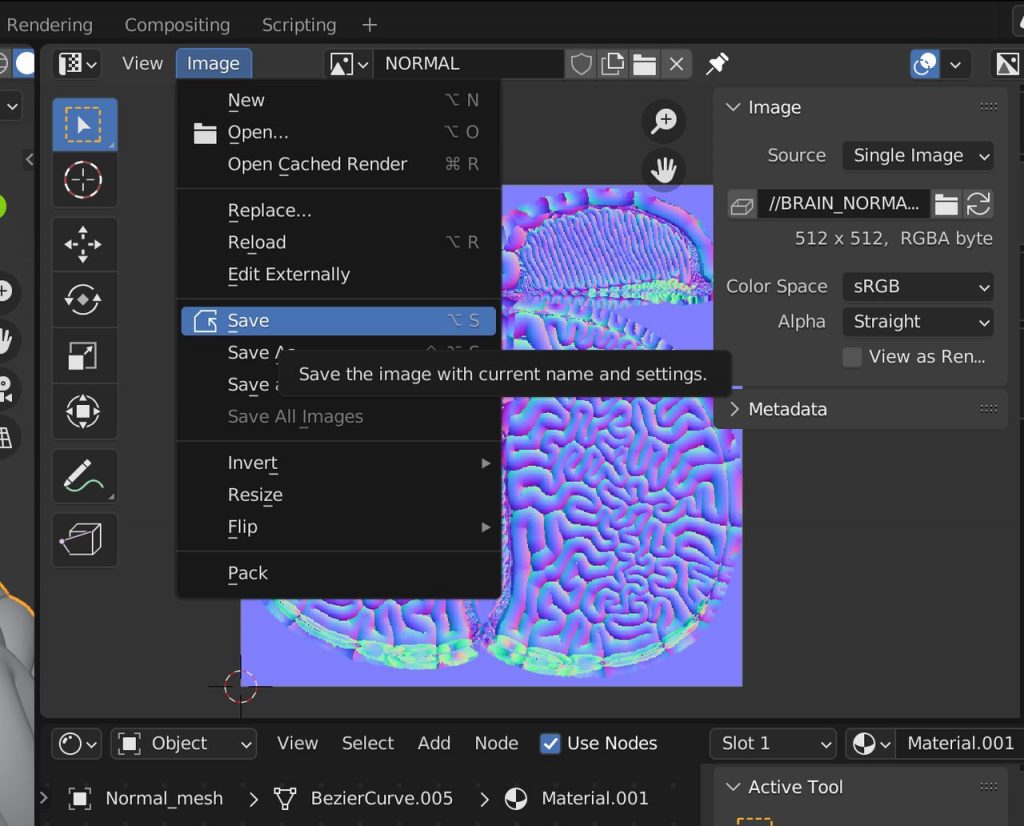
Then, you can save the image as an 8-bit PNG.
Import the low-poly model into Effect House. In the material texture panel, check Normal and add the custom Normal texture.
You can also create Albedo texture through Texture Painting in Blender.