Matte Shadow
Matte Shadow is applied to objects that receive shadows and render only as the received shadow. This is useful when you want to ground other objects in your scene, adding an extra level of realism.
Add Matte Shadow
Add Matte Shadow by click the Add button [+] > Material > Matte Shadow in the Assets panel.
Cast the Shadow
Matte Shadow is the default material for the Mesh Renderer of the AR Plane object. To render the shadow, you’ll need to configure the Cast Shadow property for the Light object and the 3D object that will cast the shadow.
Add an AR Plane to the scene by clicking the Add button [+] > AR Tracking > AR Plane in the Hierarchy panel. You will see an AR Camera also added to the scene. Delete the default Camera. Then add a Cube to the scene by clicking the Add button [+] > 3D > Cube in the Hierarchy panel.
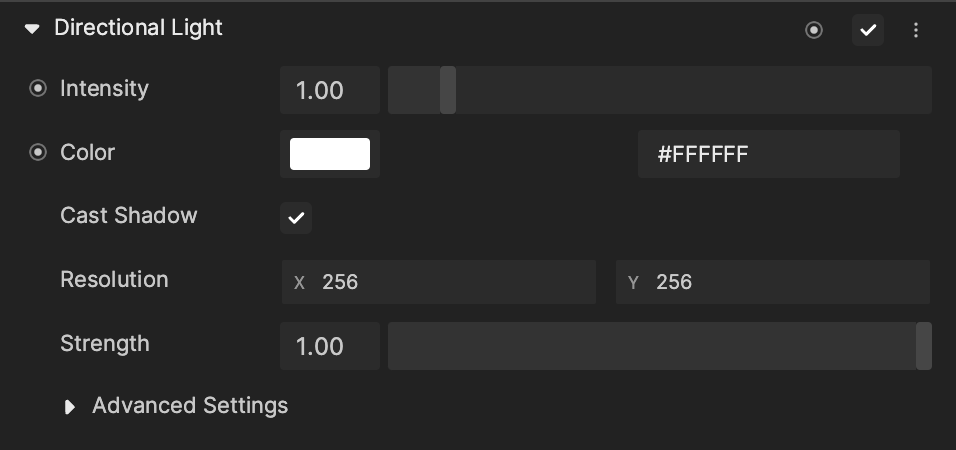
Navigate to the Directional Light component in the Inspector panel. Select the Cast Shadow property for this light.
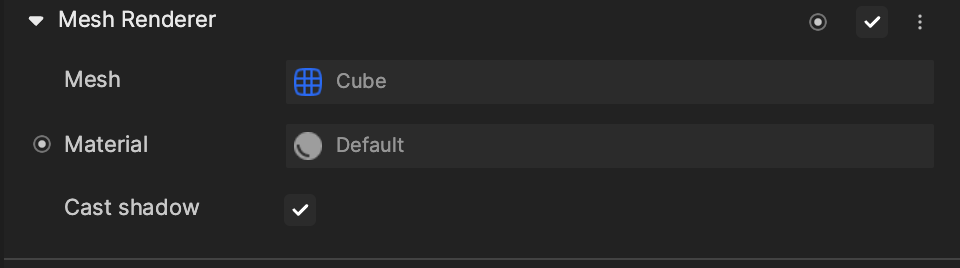
Then select the cube you just added, and navigate to the Mesh Renderer of the cube in the Inspector panel. Select the Cast Shadow property for this cube.
Refresh the effect and you should see the shadow rendering in the scene.
Make sure the AR Plane is below the Cube. Otherwise, you will not see the shadow.

Matte Shadow Properties
Render State 0
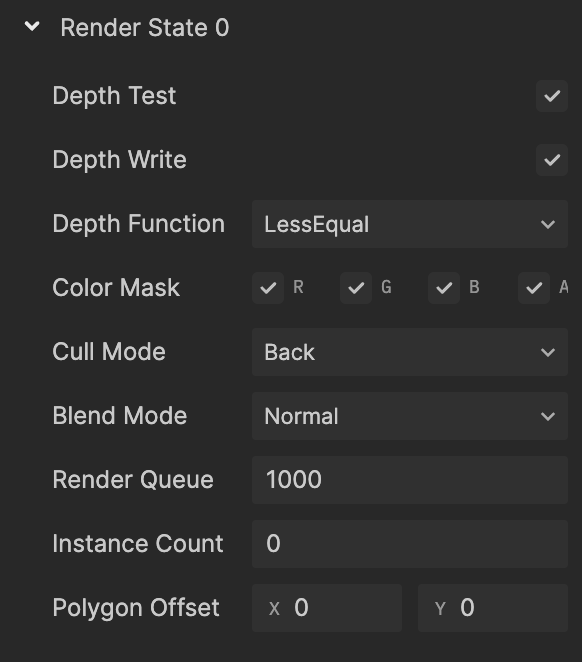
Depth Test: If checked, depth test should be performed and compared in the depth buffer.
Depth Write: If checked, the geometry depth is written to the depth buffer. Uncheck it if you are rendering objects that are transparent.
Depth Function: Determine how the depth testing gets performed.
- Default: Less Equal.
- Never: The depth test never passes and the object will never be rendered.
- Less: Draw the part of the object when it is in front of the existing objects and hide the parts that are behind the existing objects.
- Equal: Draw the part of the object that is at the same depth as the existing objects and hide the parts that are in front or behind the existing objects.
- Less Equal: Draw the part of the object that is in front or at the same depth as the existing objects and hide the parts that are behind the existing objects.
- Greater: Draw the part of the object that is behind the existing objects, and hide the parts that are in front of the existing objects.

- Not Equal: Draw the part of the object that is not at the same depth as the existing objects.
- Greater or Equal: Draw the part of the object that is behind or at the same depth as the existing objects and hide the parts that are in front of the existing objects.
- Always: The depth test always passes. Always render the object with the material.
Color Mask: If the following are left unselected, writing to the unselected channel into the render target will be stopped.
- R: Red
- G: Green
- B: Blue
- A: Alpha channels

Cull Mode: The polygon has front and back sides.

- None: Both inside and outside faces will render.
- Back: Polygons that face away from the viewer will not render.
- Front: Inside facing polygons will render.
Blend Mode instructs how the current material blends with the background. The default mode is Transparent.

- Instance Count: The default is 0
- Polygon Offset: The default is (0, 0)