Assemble Me
The Assemble Me template is a customizable game where you can arrange body pieces into a figure. Simply replace the images with your own to personalize your own unique Assemble Me game!

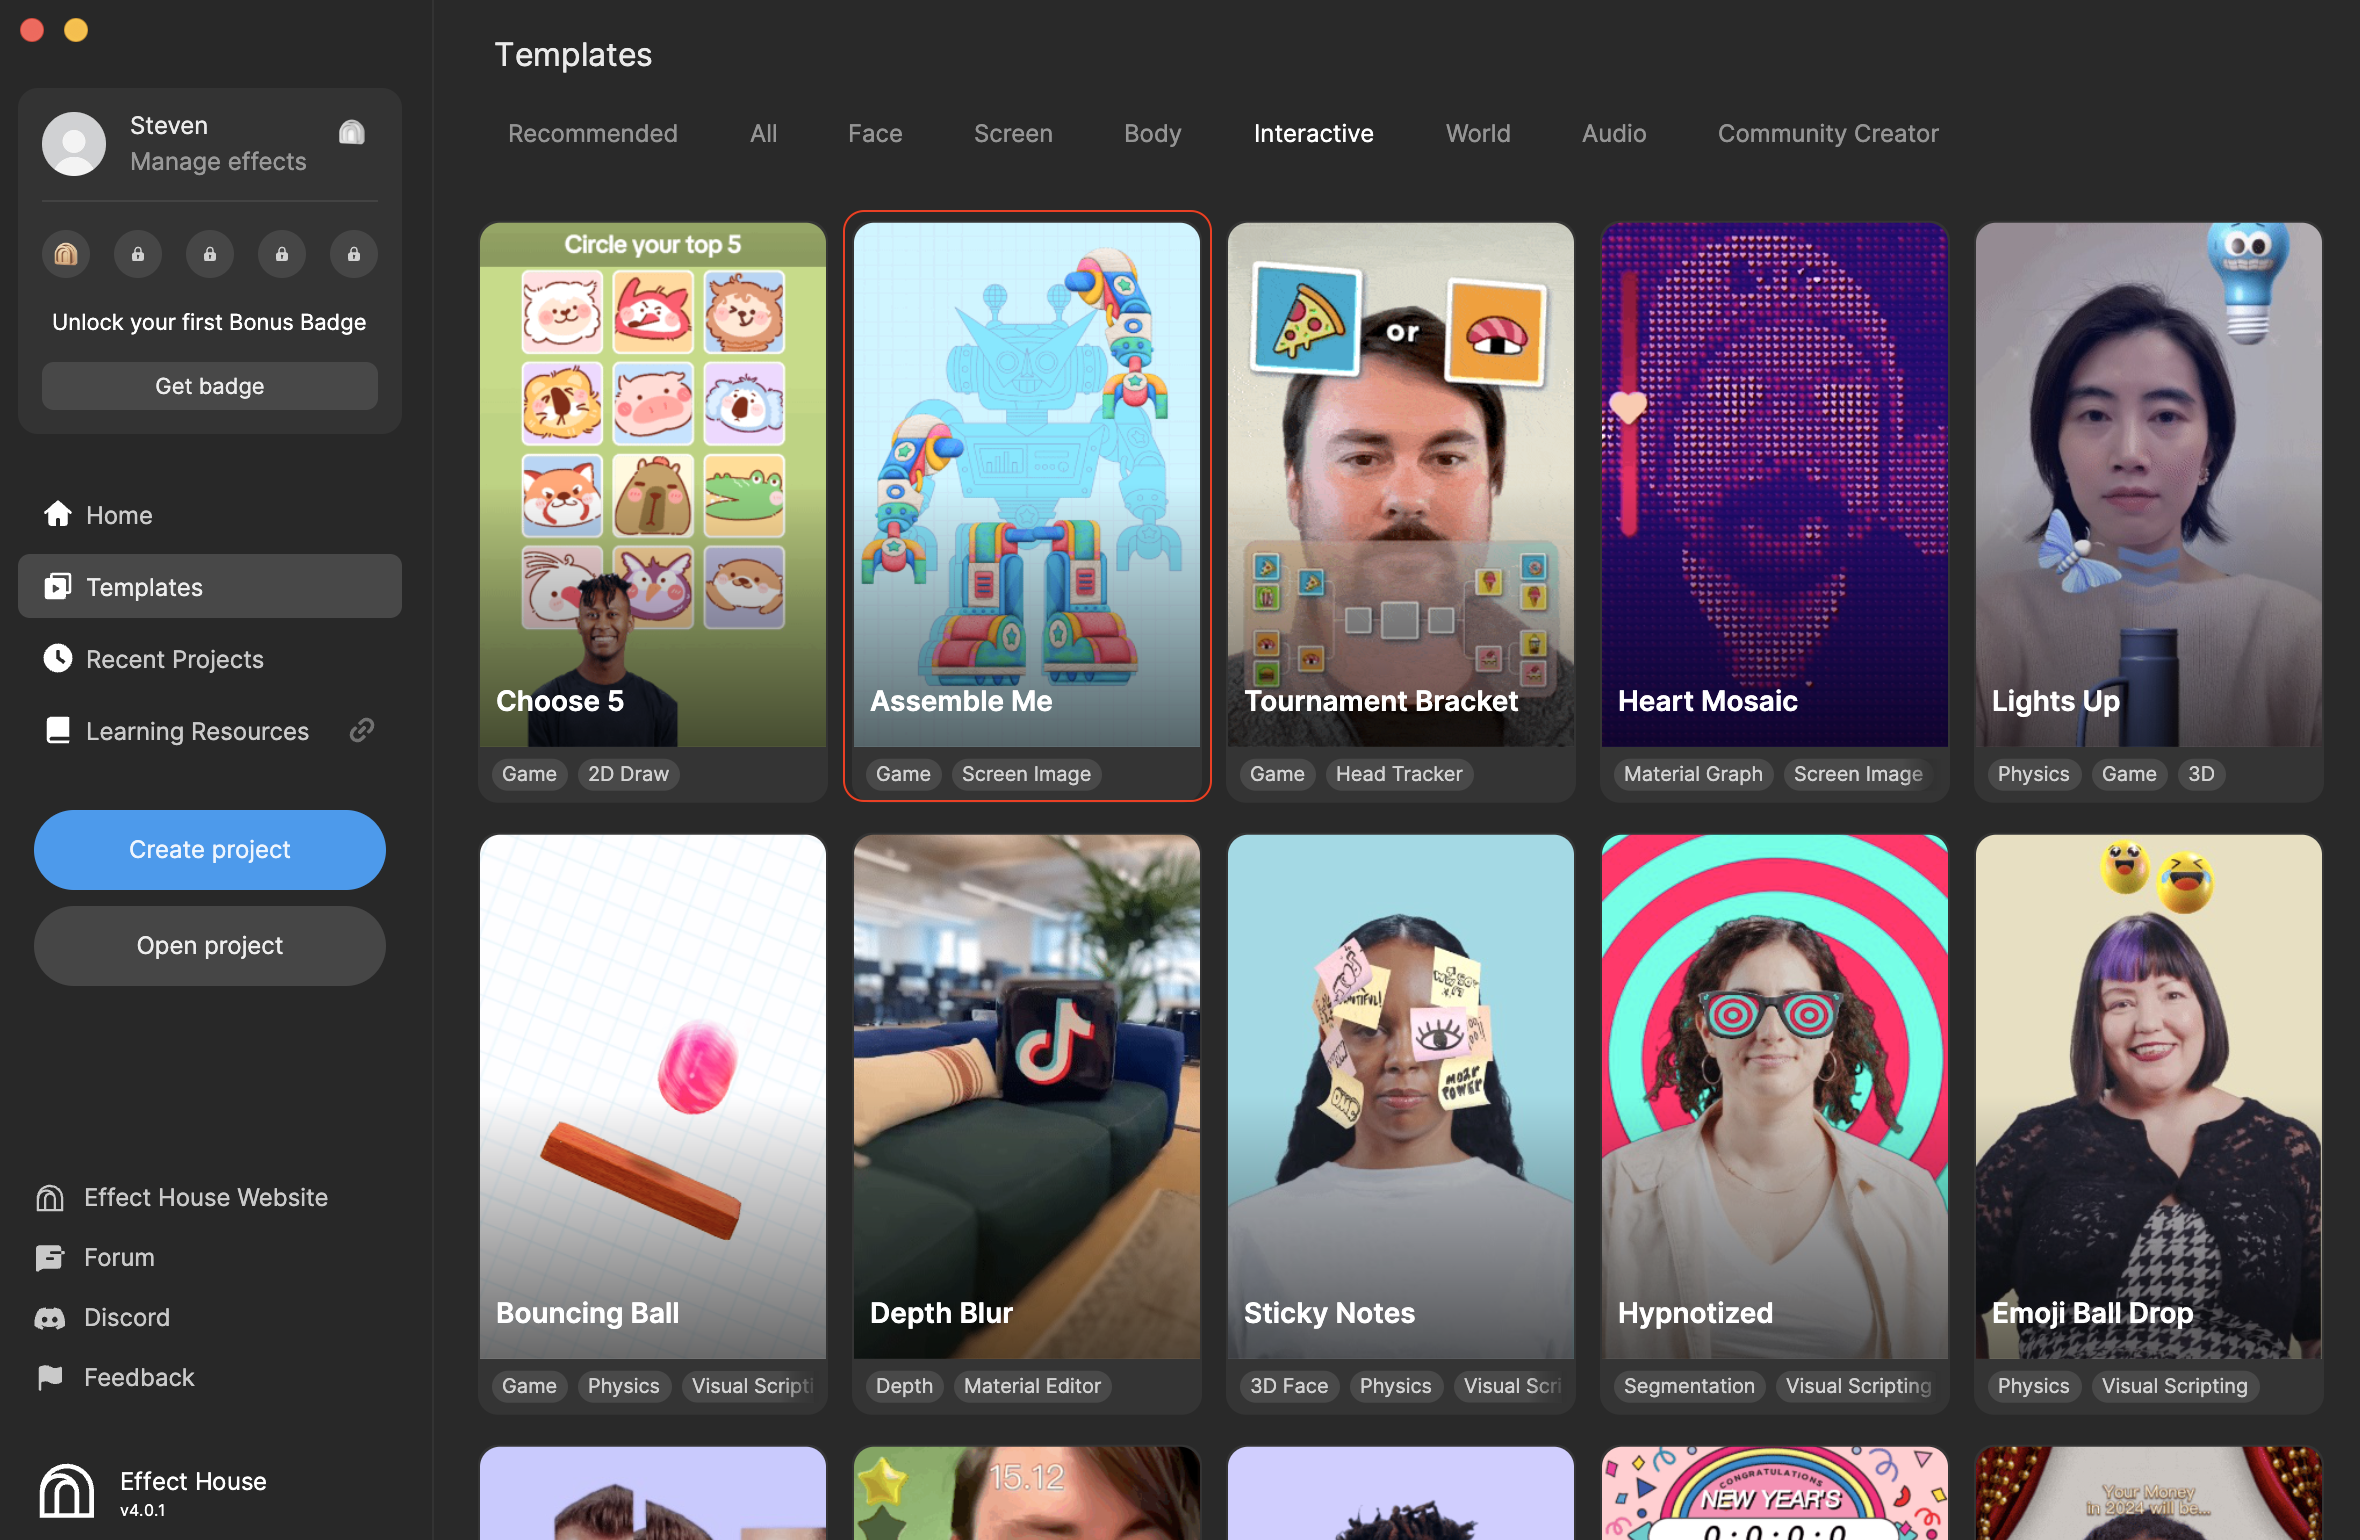
Open the Template
To use this template in your Effect House project:
- Go to Templates
- Click the Interactive tab
- Select the Assemble Me template
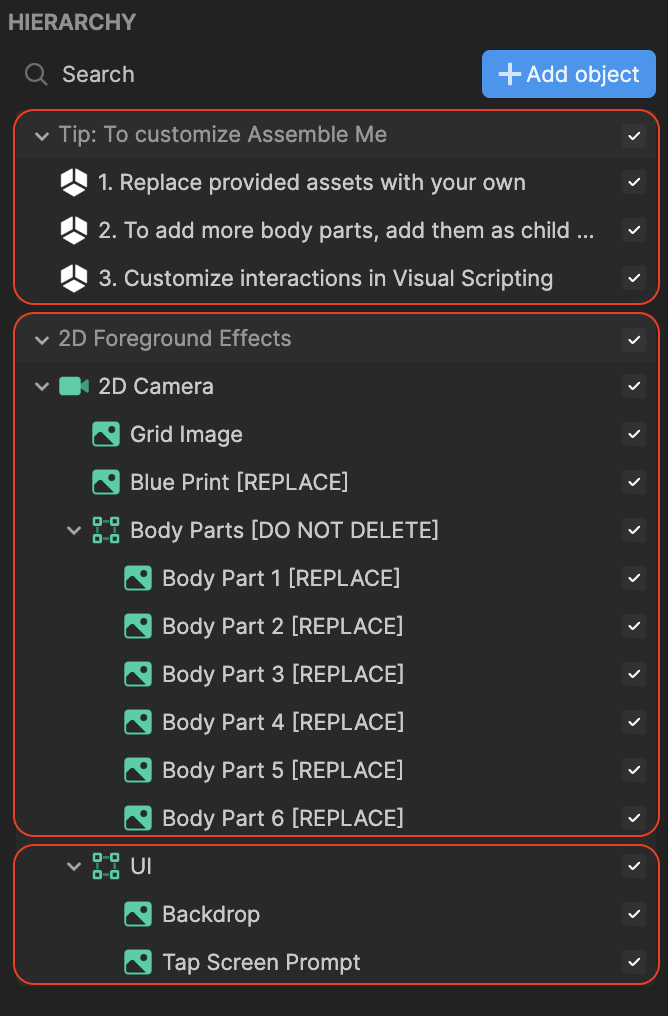
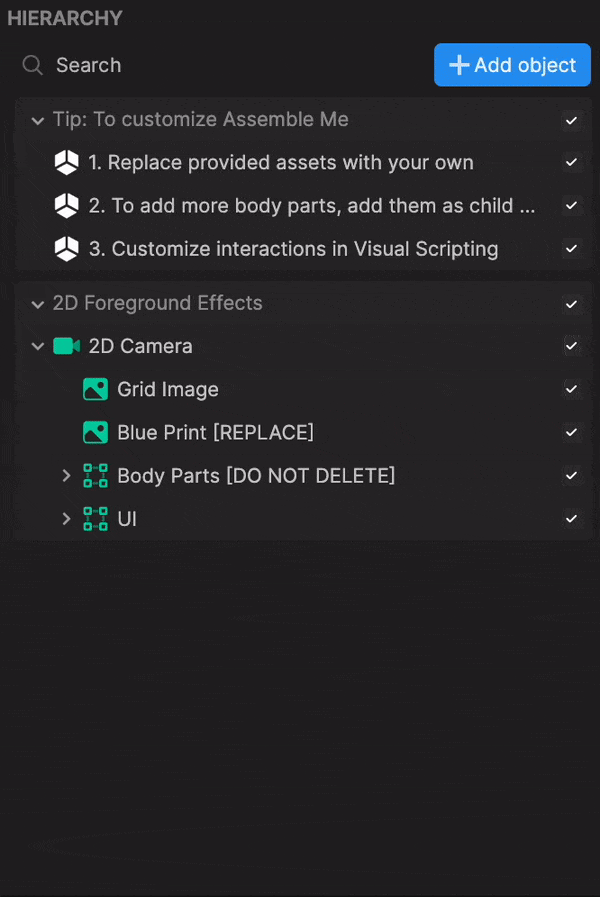
Hierarchy
The Hierarchy panel consists of two render groups:
- Tip contains helpful hints to customize the effect
- 2D Foreground Effects contains the main scene settings:
- Grid Image is the grid background which provides position reference when playing the game
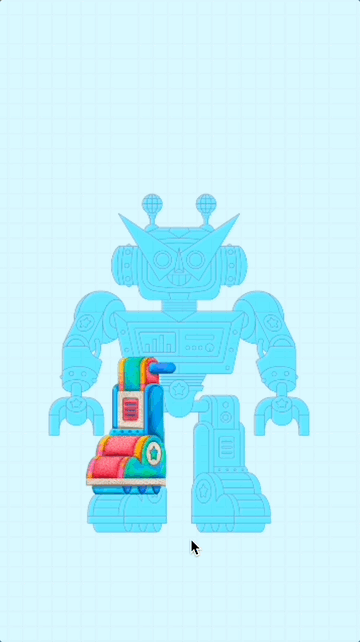
- Blue Print [REPLACE] is the image for the complete figure blue print to use as a reference
- Body Parts [DO NOT DELETE] contain 6 different images for each body part. You can adjust the total number of body parts by deleting or adding scene objects within this section.
- UI contains the backdrop and tap screen prompt
Understand the Interaction
The body pieces appear one by one. Each piece performs a looping animation along the X axis, and you can tap on the piece to lock it at the desired X position. Then, the piece moves along the Y axis, and you tap the body piece again to lock it at the desired Y position. You repeat this process until all body pieces are placed on the screen.
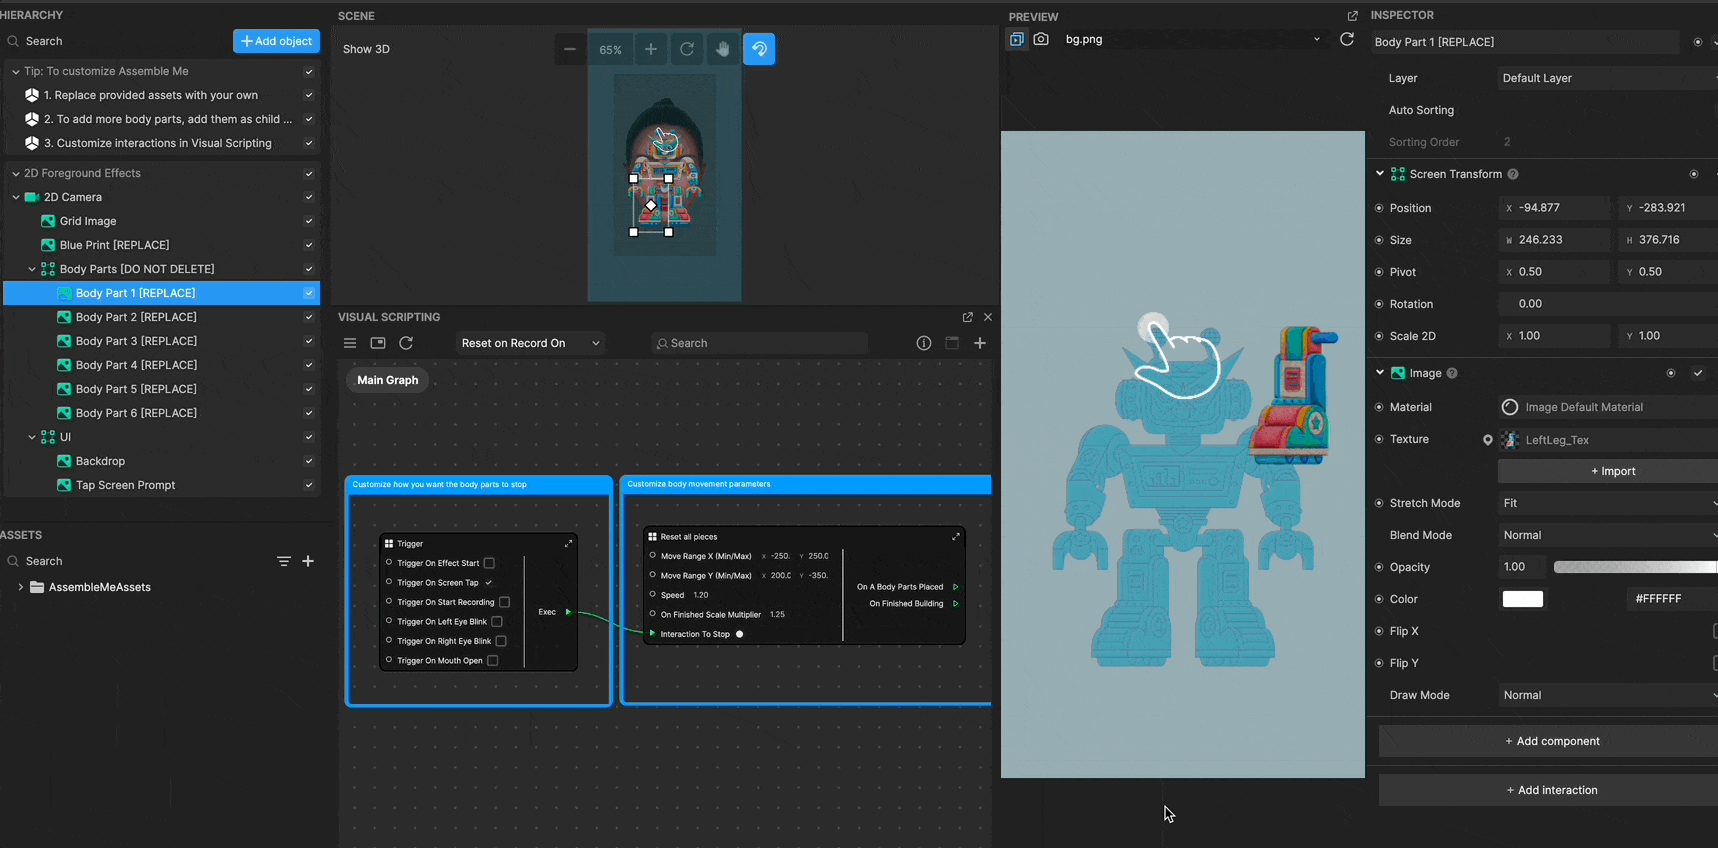
Change the Body Piece Order
The body pieces appear in the order listed in the Hierarchy panel, from top to bottom. For instance, the top scene object under Body Parts[DO NOT DELETE] corresponds to Body Part 1 [REPLACE], representing the left leg, and is shown first. You can rearrange the order of the body parts within this list!
Let's try changing the order of Body Part 1 [REPLACE] to a different order:
- Go to the Hierarchy panel
- Go to Body Parts [DO NOT DELETE] and click Body Part 1 [REPLACE]
- Move Body Part 1 [REPLACE] below Body Part 5 [REPLACE]
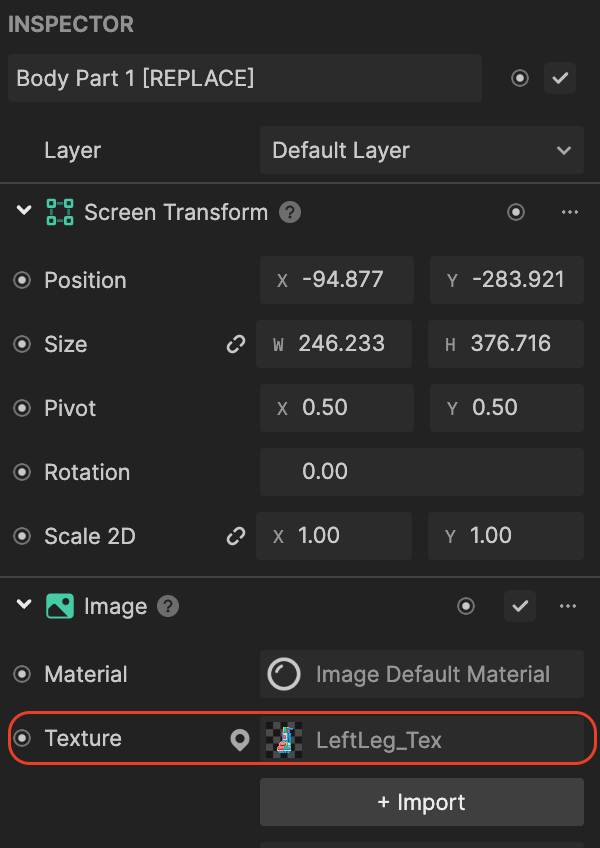
You can also change the image of the body piece by clicking the Texture field in the Inspector panel.
Visual Scripting
In the Visual Scripting panel, you can make adjustments to further customize the body pieces movement, speed, size, and the trigger to lock the piece's position.
Change the Body Piece Movement
To customize the body piece movement, speed, and size:
- Go to the Visual Scripting panel
- Adjust the Move Range X (Min/Max) property to modify the horizontal movement range and reset it. Similarly, adjust the Move Range Y (Min/Max) property to modify and reset the vertical movement range.
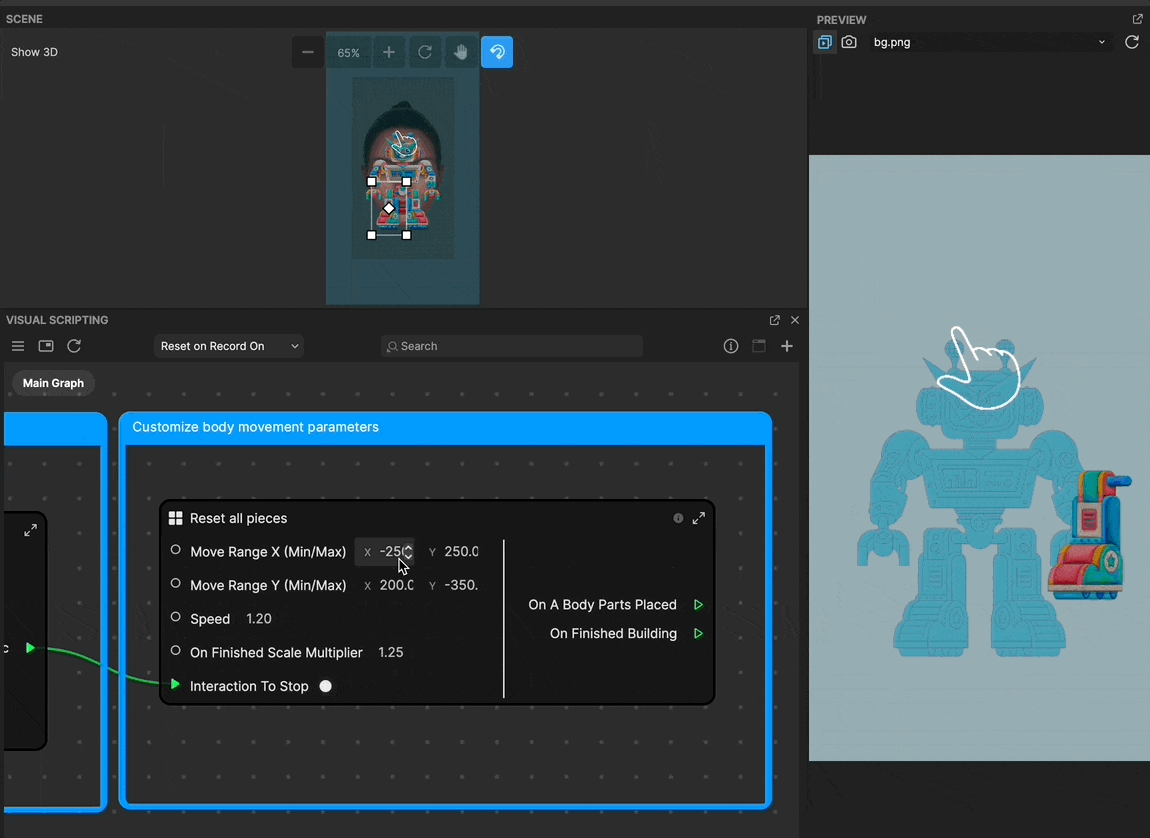
- Adjust the Speed value to change the body piece moving speed
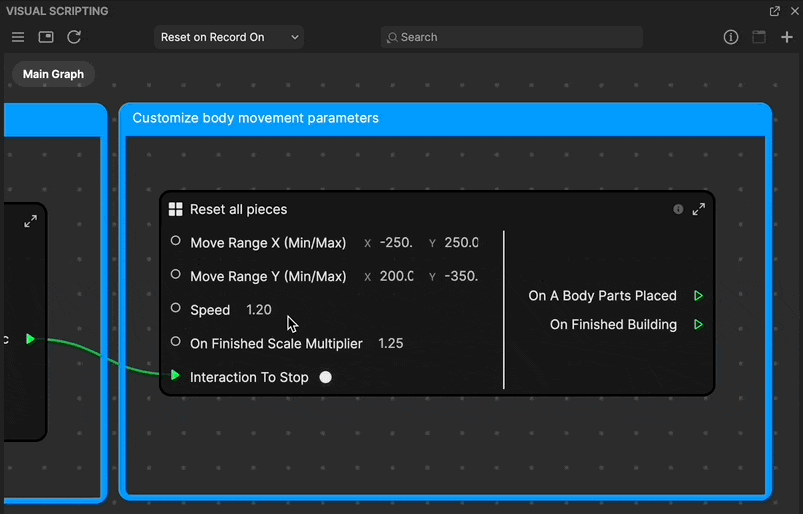
- Adjust the Finished Scale Multiplier value to change the scale size after you finish placing the body pieces
When On Finished Scale Multiplier is set to 2
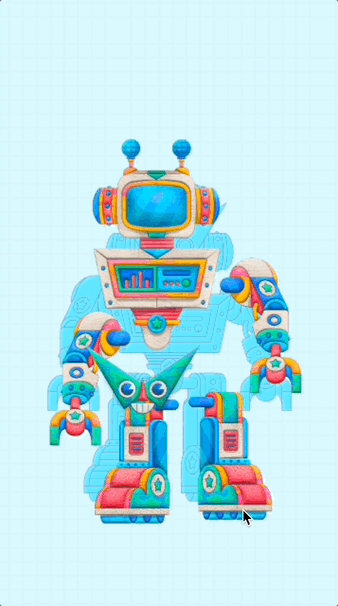
When On Finished Scale Multiplier is set to 1.25

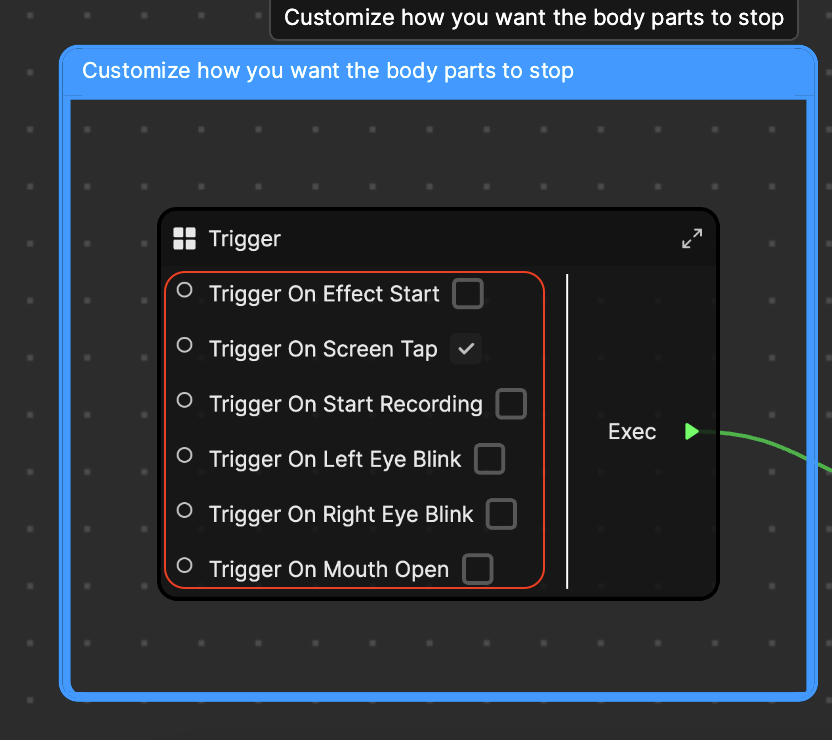
Change the Trigger
The Trigger On Screen Tap is used to trigger locking the piece's position. You can change this setting by choosing from the different trigger options available.