Face Veils
Use a two-point attachment system, utilizing the Cloth component, to create different kinds of face veils.

Open the Template
To use the template in your Effect House project:
- Go to Templates
- Click the Face tab
- Select the Face Veils template

Hierarchy
There is one render group in the Hierarchy panel. The General render group contains the Head Tracker object, which detects an onscreen head and provides information about the 3D position of the head in virtual space. The Left Pin [DO NOT DELETE] and Right Pin [DO NOT DELETE] are two set points for the face veil cloth to attach to, while the Head Collider (Capsule Collider) ensures the veil collides with the user's face. Blossom_Veil, Star_Veil [TRY], and Gold_Veil [TRY] are all sample face veils you can use at your disposal.
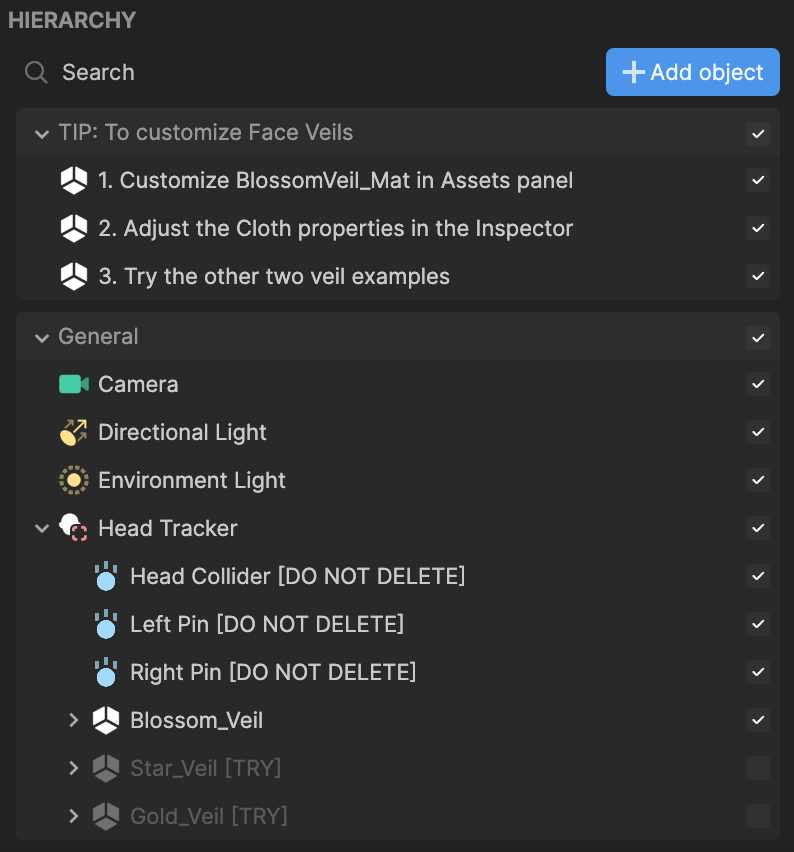
You may experience some unexpected behaviors with the Cloth component when reloading an effect or loading the effect in a new video (i.e. switching preview media). This can typically be resolved by restarting the effect.
Assets
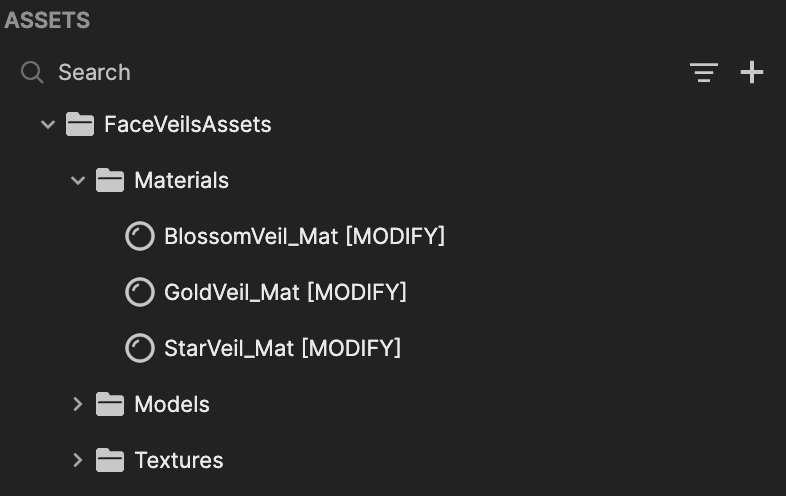
The Assets panel contains the built-in assets for this template. This includes the BlossomVeil_Mat, GoldVeil_Mat, and StarVeil_Mat, which are the materials applied to the face veil cloth. Modify these assets with your own to try different face veils!
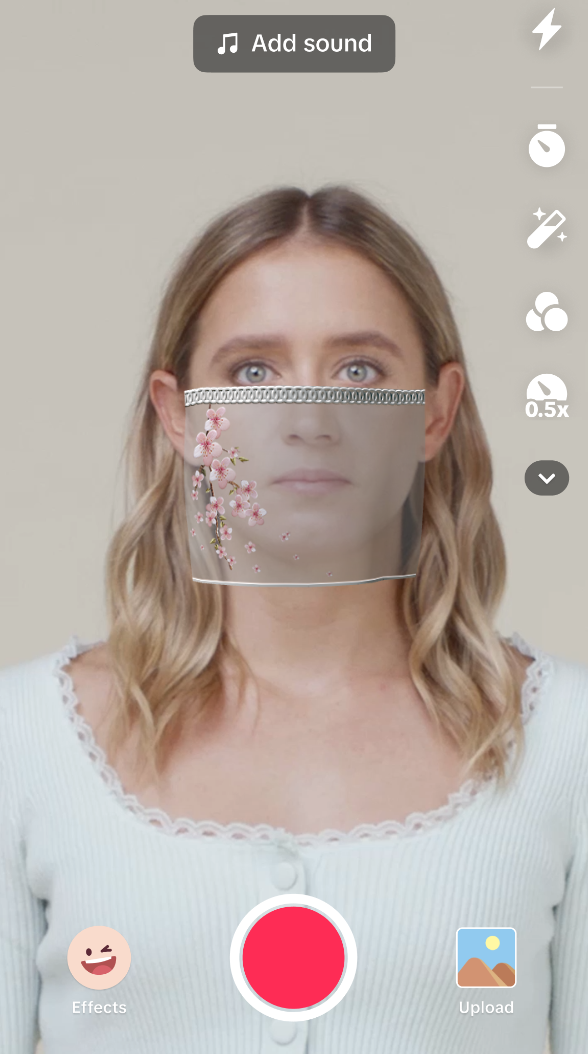
Blossom Veil Effect
Enable this in the Hierarchy panel to activate the blossom veil effect. This effect consists of a Cloth component, with additional cloth configurations. The Cloth component is what gives the cloth its physical properties. Adjusting the settings will allow you to create a flowy and bendy material, closely resembling the characteristics of an actual cloth.
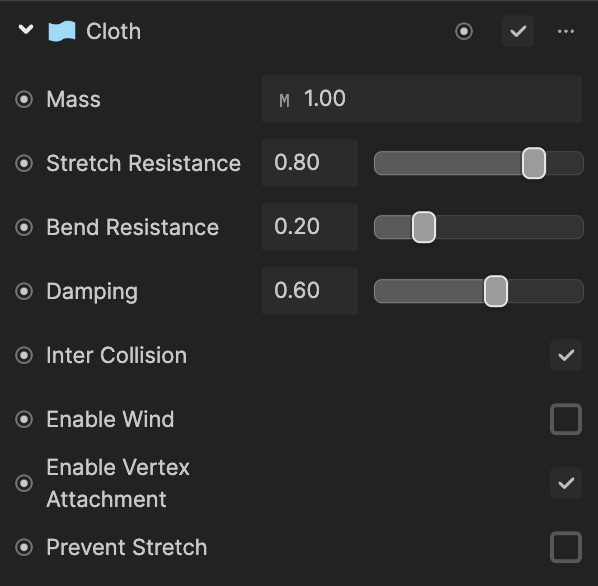
The Cloth component allows you to have vertex attachment enabled. This means that you can take specific vertices on the cloth and pin them to defined points. To achieve this, we used third-party software to paint the vertices red and white, respectively, on the left and right upper corners of the veil. Then, when importing the cloth to Effect House, we also imported the vertex colors.
Apply a Cloth Configuration for each of the vertices we just painted and assign the Vertex Color to its respective color. Creating this configuration ensures that any vertex with the color white follows the Transform set in the component, in this case the Right Pin on the right side of the face. Any vertex with the color red follows the assigned Transform, which, in this case, is the Left Pin on the left side of the face.
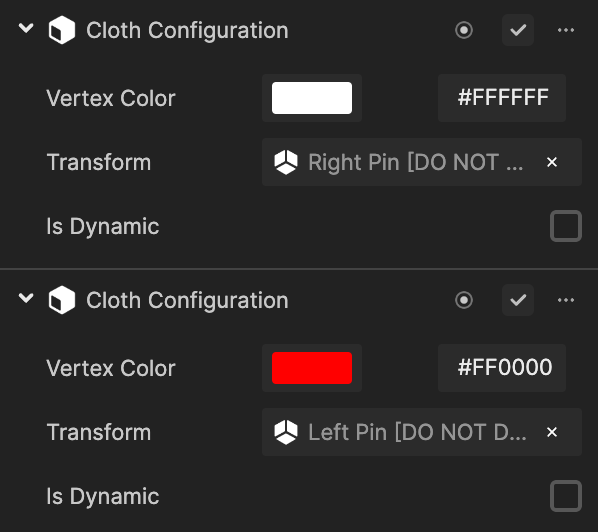
Doing so will keep the veil in a fixed place and prevent it from moving around.
Gold Veil Effect
Enable this in the Hierarchy panel to activate the gold veil effect. This effect consists of a Cloth component, with additional cloth configurations, as well as seven gold coins.
Similarly to the effect above, we used third-party software to paint the vertices red and white, respectively, on the left and right upper corners of the veil. Then, when importing the cloth to Effect House, we also imported the vertex colors.
Apply a Cloth Configuration for each of the vertices painted and assign the Vertex Color to its respective color. Creating this configuration ensures that any vertex with the color white follows the Transform set in the component, in this case the Right Pin on the right side of the face. Any vertex with the color red follows the assigned Transform, which, in this case, is the Left Pin on the left side of the face.
Each of the gold coins has a rigid body attached to them and are attached to the veil through their own cloth configurations. In the third-party software, we have painted each vertex above the respective ring a different color. Then, each ring is assigned its corresponding color in Effect House.
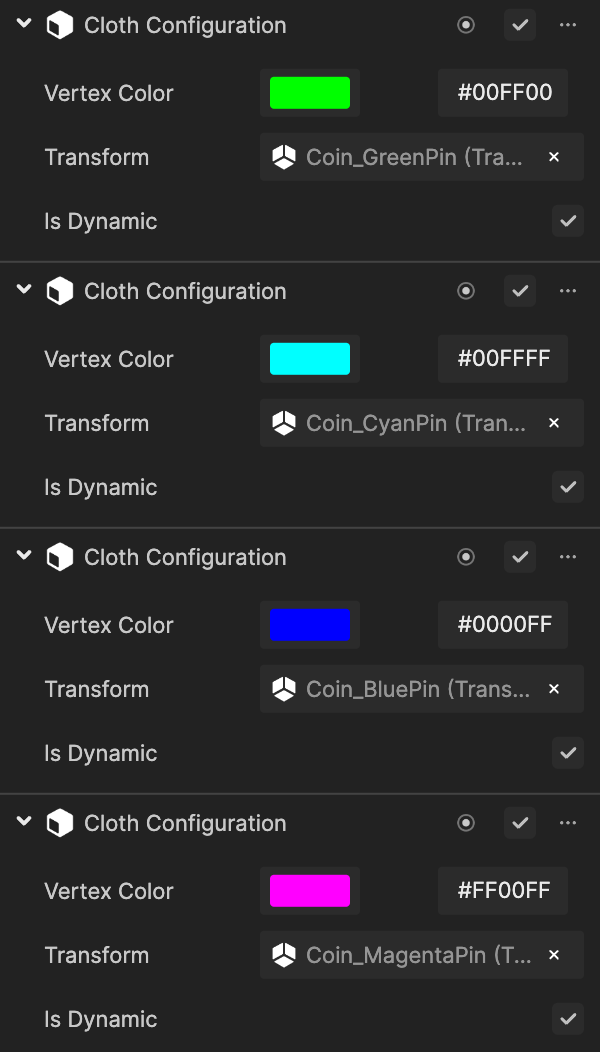
Set the cloth configuration of the rings to isDynamic so that they are not held in space and move purely at the whim of the cloth.