Screen Image Preparation
This guide will show you how to prepare a 2D image for your Effect House project.
Import an Image
You can import an image by clicking the Add button [+] > Import > From Computer in the Assets panel. You can also drag the image into the Assets panel.
You can import images larger than 1024 x 1024 px, but the larger dimension will be resized to 1024 px. If the file is larger than 1 MB after resizing, the import will be stopped.
Image Requirements
- Format: PNG and JPG
- Resolution limit: 1024 x 1024 px
- Single file size: Less than 1 MB
- Total effect package: Less than 8 MB
Import Errors
If your file does not meet the import requirements, it will fail to import. You may encounter the following import error:
Exceed Size
Couldn’t import [file name] because file exceeds the size limit of 1 MB. Check the image resolution and try again.
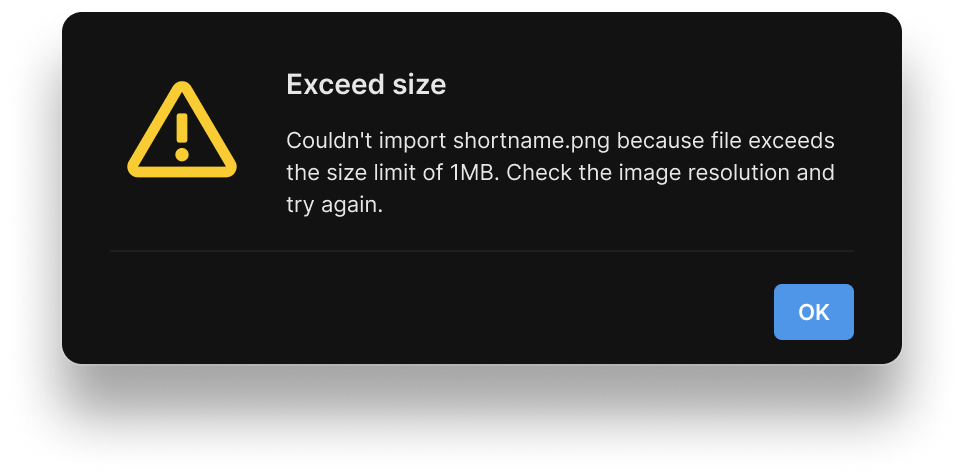
Image Properties

| Property | Description |
|---|---|
| Resolution | The resolution of the image file. The maximum resolution should be less than or equal to 1024 x 1024 px. |
| Size | The file size. |
| Type | The file type. |
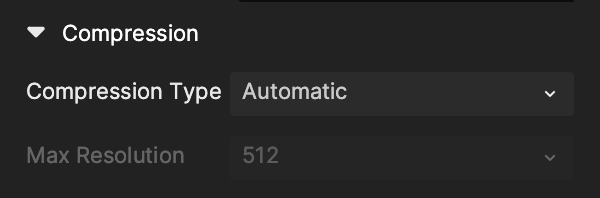
Image Compression
You can compress your image size to keep your overall effect package within the 5 MB limit. Smaller file sizes and lower resolutions can increase performance.
Select an asset from the Assets panel to access Compression in the Inspector panel.
| Property | Description |
|---|---|
| Compression Type | The resolution and size of the asset will automatically compress when you change the properties.
|
Set Max Resolution to the same or smaller than the original resolution of the image. Otherwise, the image quality will not improve and the file size will increase.
Setting the quality to High will not compress the image. Medium and Low will reduce the quality of the image.
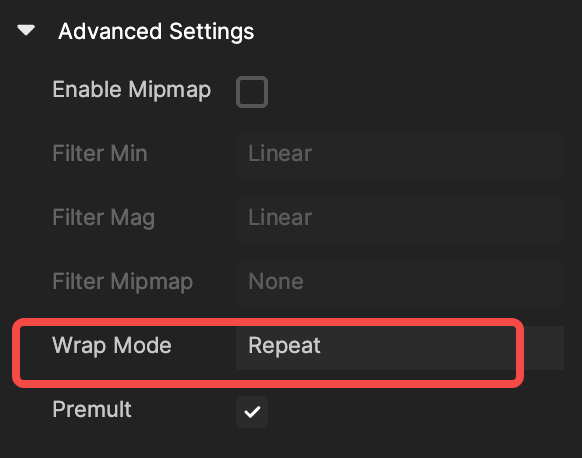
Image Advanced Settings
| Property | Description |
|---|---|
| Enable Mimap | If selected, define the following:
|
| Wrap Mode | Determine how the texture is sampled when texture coordinates (in UV control) are outside of the typical 0-1 range.
|
| Premult | Pre-multiply, or pre-mask, the image by masking the color by its own alpha channel. |