Face Avatar Drive
Use Face Avatar Drive to drive the deformation component. This results in movement that matches facial expressions. Face Avatar Drive is in the Head & Face category.
Input
| Name | Data Type | Description |
|---|---|---|
| Enter | Trigger | Trigger the node. |
| Deformation | Component | The deformation component to drive. |
Output
| Name | Data Type | Description |
|---|---|---|
| Exit | Trigger | Trigger the next node. |
Example
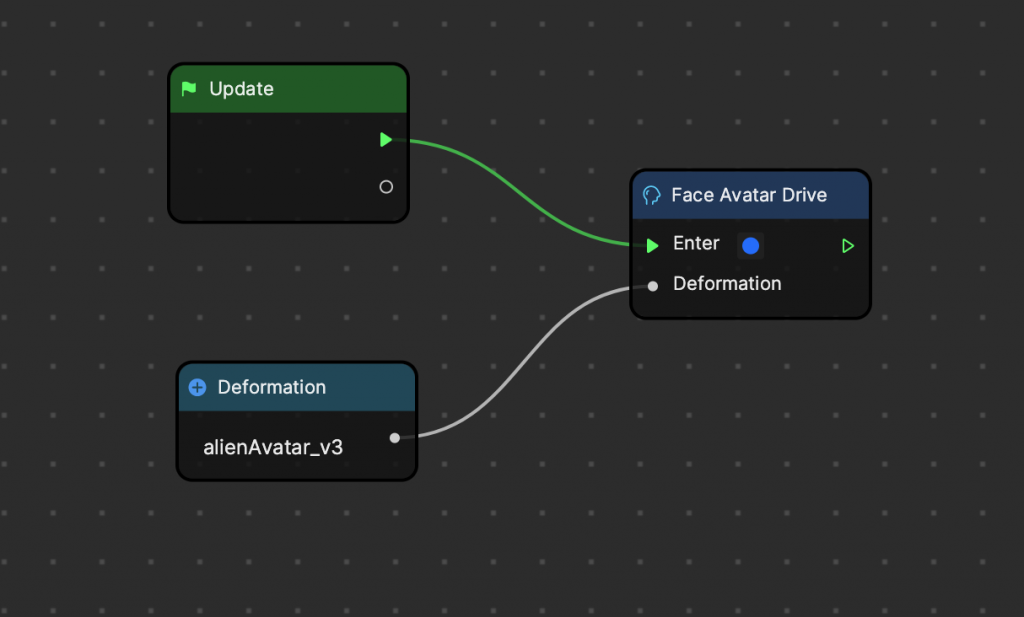
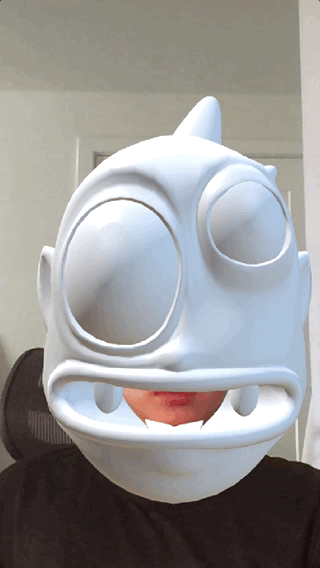
This example uses Face Avatar Drive to control the alienAvatar object’s deformation.
How to Use Face Avatar Drive
Face Avatar Drive allows you to track the position and movements of the facial features. You can track all features of the face or only particular features.
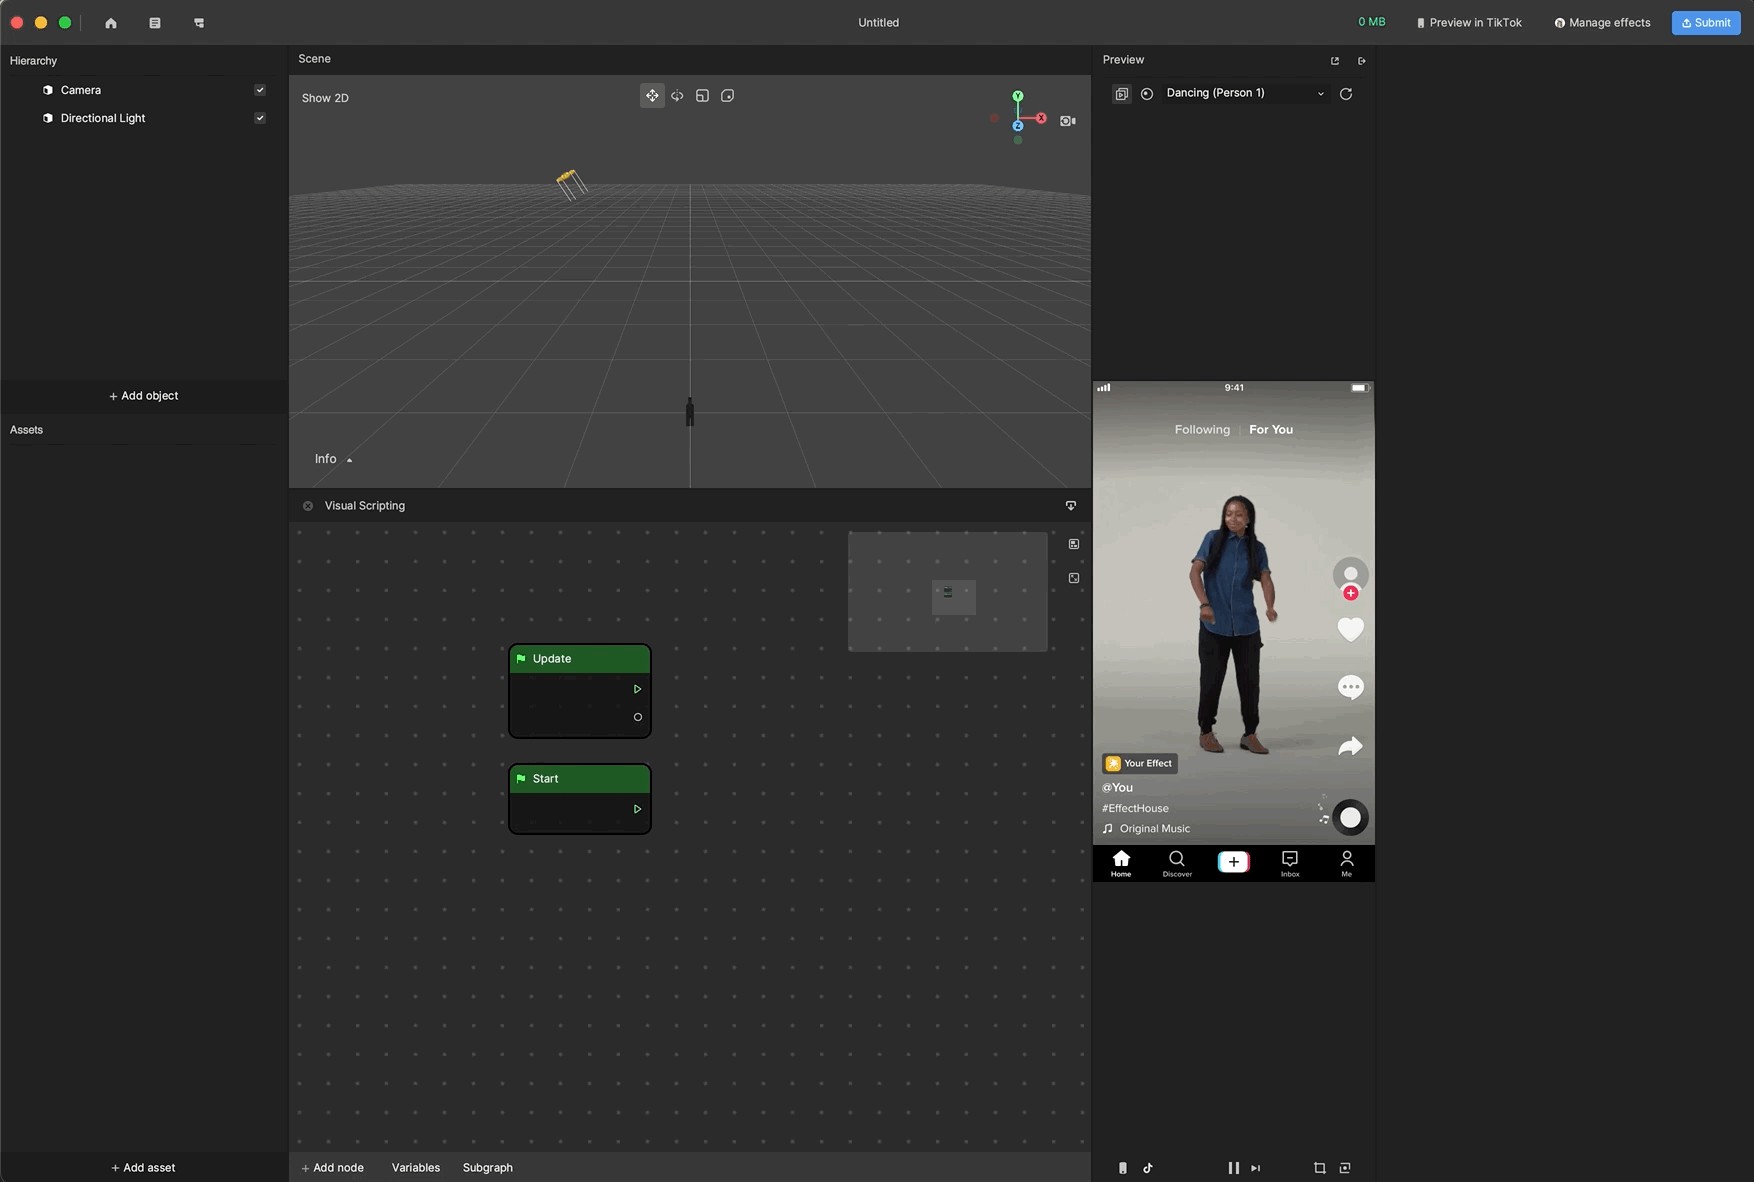
Add a Face Avatar Drive Node
Add the Face Avatar Drive node from the Visual Scripting panel. This node controls the Deformation component to drive the 3D Face Avatar deformation with facial movement.
Prepare a 3D Face Avatar Model
The Face Avatar Drive node maps the movement of key points of your face that are recognized by the camera to the key channels of the blend shape of the face avatar model.
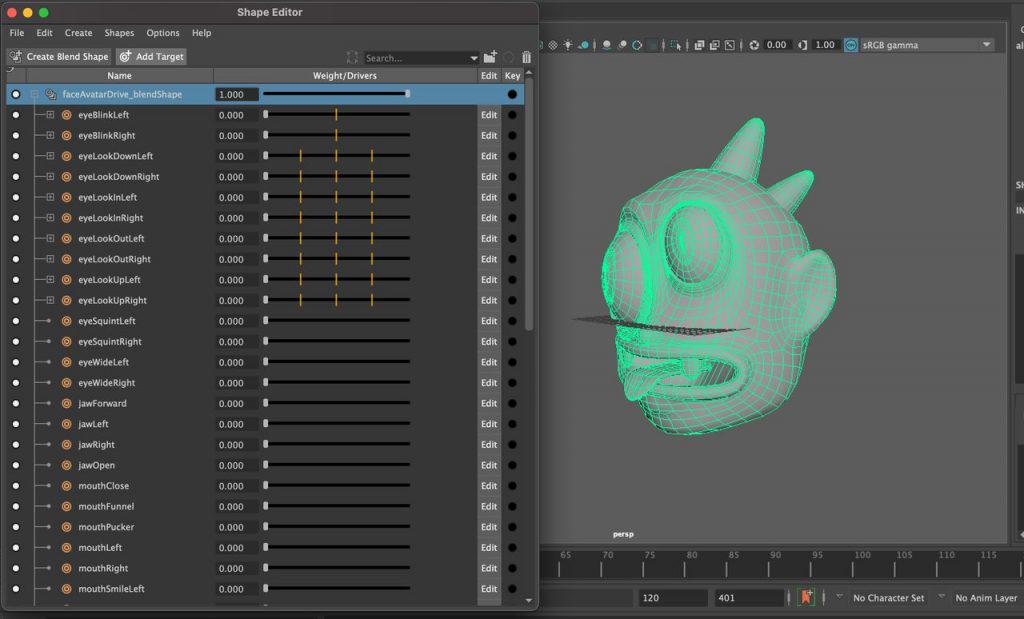
Set Up the Blend Shape
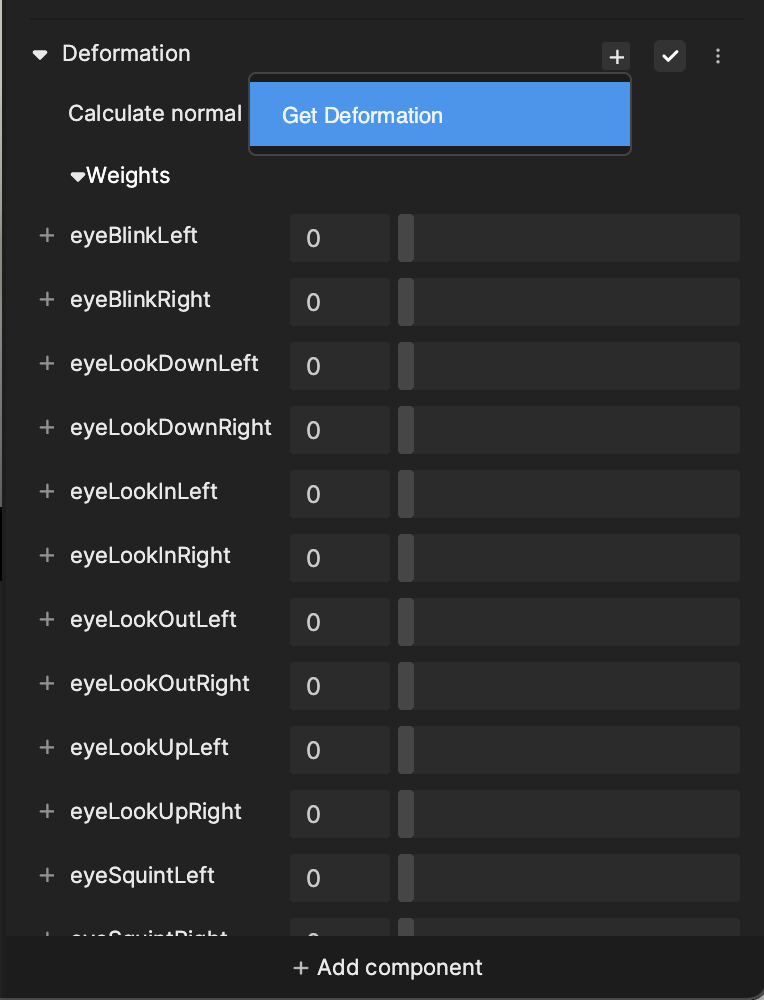
The Face Avatar Drive node controls 52 facial features but only supports one blend shape. You must prepare one blend shape with different channels that match the facial feature name in the following table.
The Face Avatar Drive feature only recognizes the matched naming targets and will ignore the other channels. You don’t need to create all 52 channels. Just pick the ones you need for your effect.
To create the blend shape, use a digital content creation tool, like Autodesk® Maya®.
| Name | Data type | Description |
|---|---|---|
| eft | Central | Right |
| eyeBlinkLeft | eyeBlinkRight | |
| eyeLookDownLeft | eyeLookDownRight | |
| eyeLookInLeft | eyeLookInRight | |
| eyeLookOutLeft | eyeLookOutRight | |
| eyeLookUpLeft | eyeLookUpRight | |
| eyeSquintLeft | eyeSquintRight | |
| eyeWideLeft | eyeWideRight | |
| jawForward | ||
| jawLeft | jawRight | |
| jawOpen | ||
| mouthClose | ||
| mouthFunnel | ||
| mouthPucker | ||
| mouthLeft | mouthRight | |
| mouthSmileLeft | mouthSmileRight | |
| mouthFrownLeft | mouthFrownRight | |
| mouthDimpleLeft | mouthDimpleRight | |
| mouthStretchLeft | mouthStretchRight | |
| mouthRollLower | ||
| mouthRollUpper | ||
| mouthShrugLower | ||
| mouthShrugUpper | ||
| mouthPressLeft | mouthPressRight | |
| mouthLowerDownLeft | mouthLowerDownRight | |
| mouthUpperUpLeft | mouthUpperUpRight | |
| browDownLeft | browDownRight | |
| BrownInnerUp | ||
| browOuterUpLeft | browOuterUpRight | |
| cheekPuff | ||
| cheekSquintLeft | cheekSquintRight | |
| noseSneerLeft | noseSneerRight | |
| tongueOut |
↓ avatarDrive_23_freshBlend.zip
Import a 3D Model
Import the model and make sure the Import Blendshape checkbox is selected. You can also view all blend shape channels in the Inspector panel.
Add a 3D Model to the Hierarchy panel
Drag and drop the model from the Assets panel to the Hierarchy panel. You can see that the Deformation component is auto-generated since the model contains blend shapes.
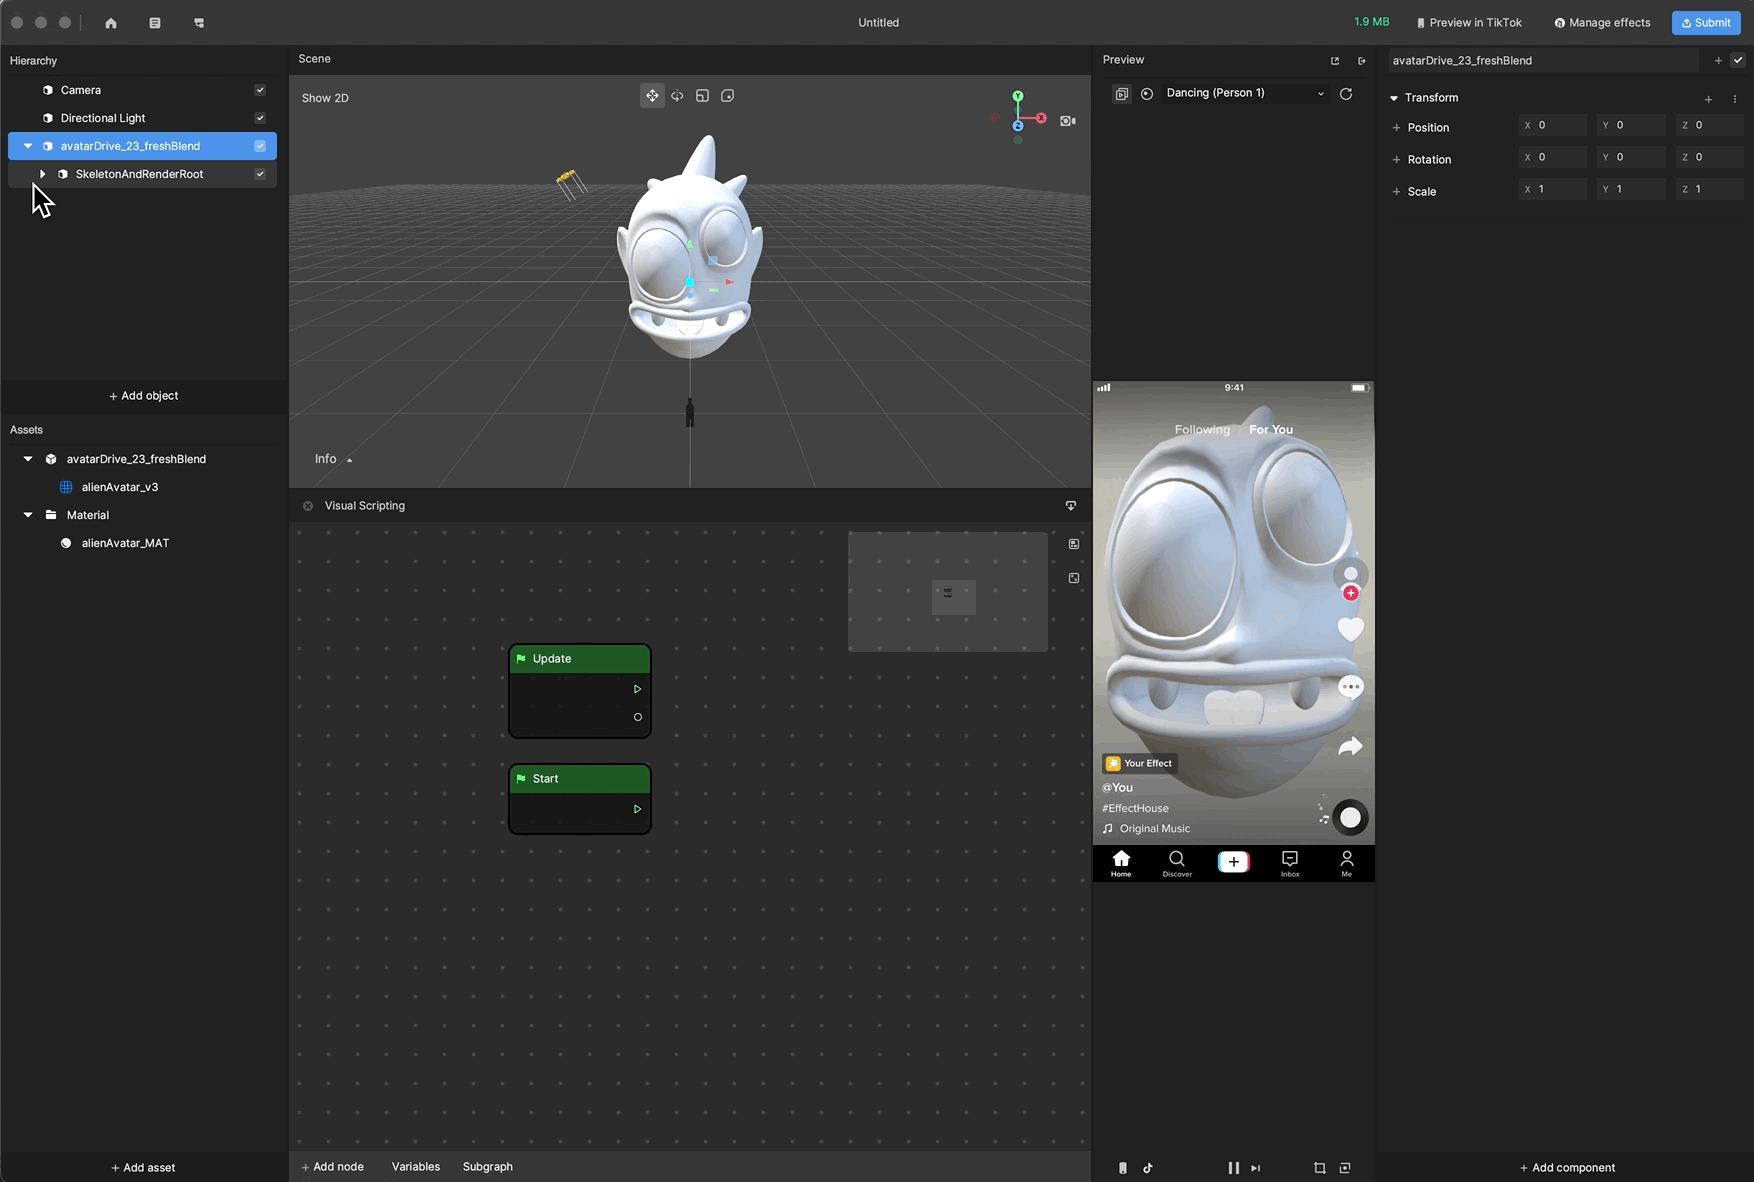
Link a Model to the Face Avatar Drive Node
Pin the Deformation component to the Visual Scripting panel as the input of the Face Avatar Drive node.
Create a model setup like the one shown in the screenshot below. Then the facial expression will be updated.
Now you can control your avatar!
Demo Effect: Face Avatar Drive With a Head Tracker
Check out this tutorial to learn how to add a Head Tracker as the parent to make your face avatar follow your head.

Demo Effect: Customize Face Avatar Drive With the Face Avatar Result Node
You can also play with the Face Avatar Result node to create more advanced interactions.
In this example, Face Avatar Result is used with eyeBlinkRight in the blend shape channel to control the right eye of the alienAvatar object. In the Deformation component channel of the alienAvatar object, select Set eyeBlinkRight to add the node.
