Asset Studio
Leverage the beta version of Asset Studio to import text-to-image assets. Asset Studio eliminates the need for artistic skills and expertise by generating custom 2D stickers and face masks.
2D asset generation is in early beta and outputs are meant for ideation purposes. Please ensure any usage follows Community Guidelines and Inclusivity Guidelines.
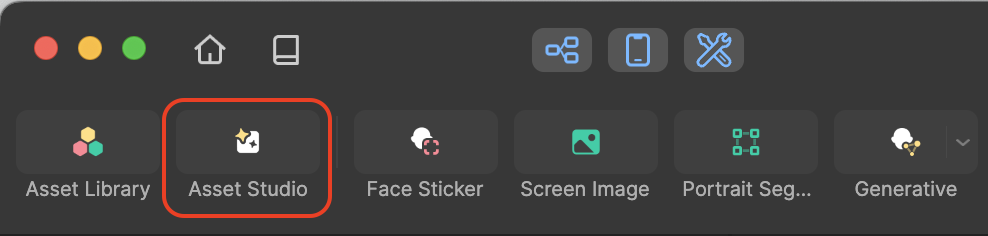
Access Asset Studio
In the Quick Access Bar, click Asset Studio.
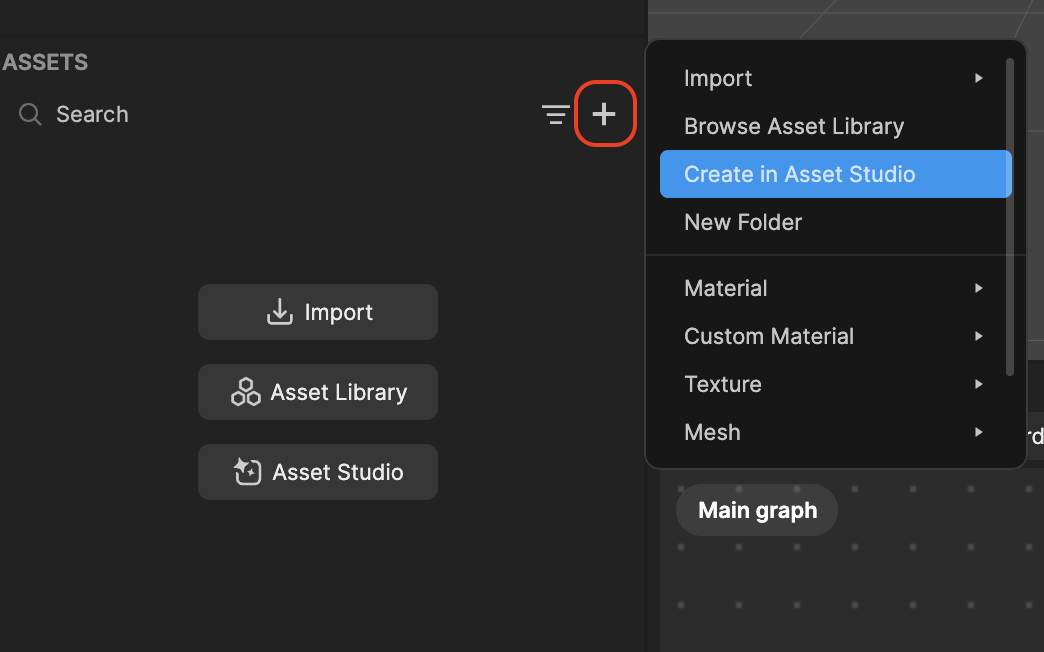
Alternatively, you can access Asset Studio from the Assets panel:
- Click the Add asset button [+]
- Click Create in Asset Studio
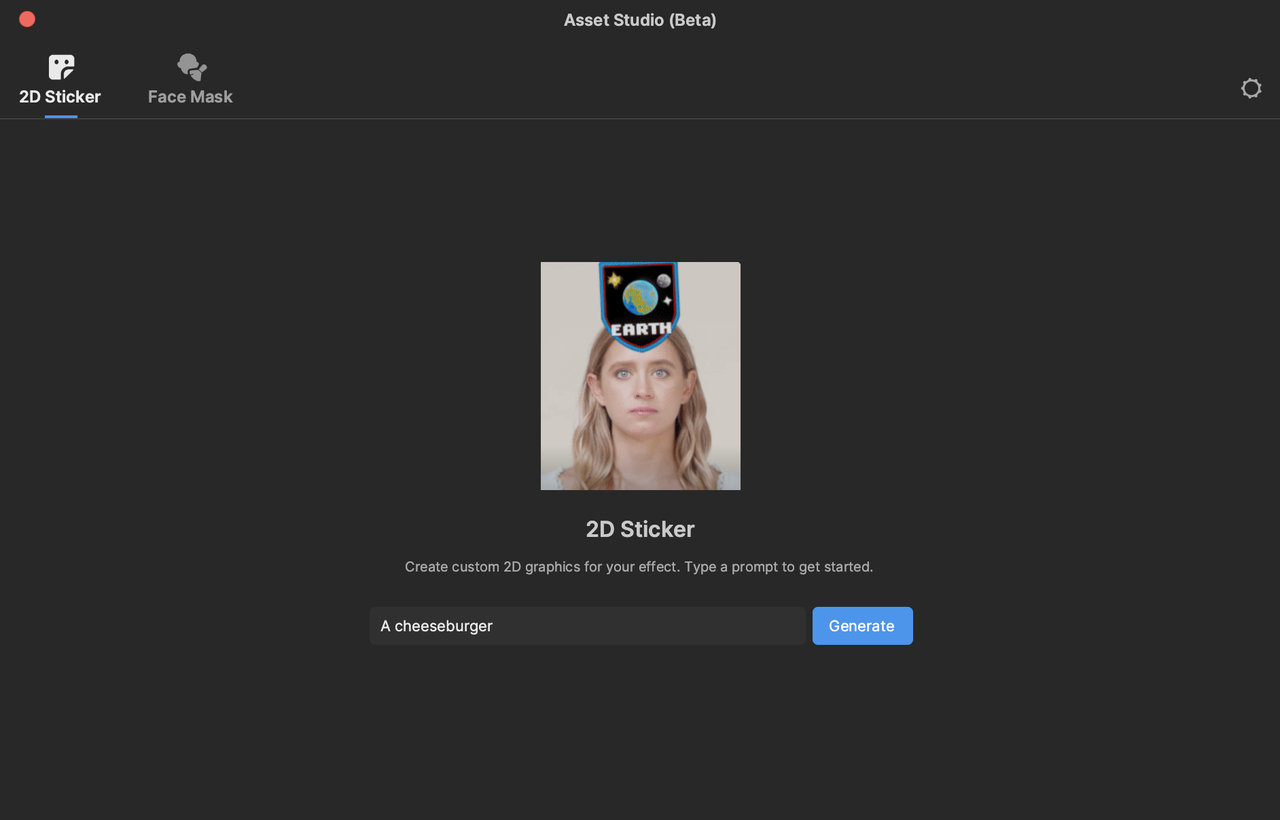
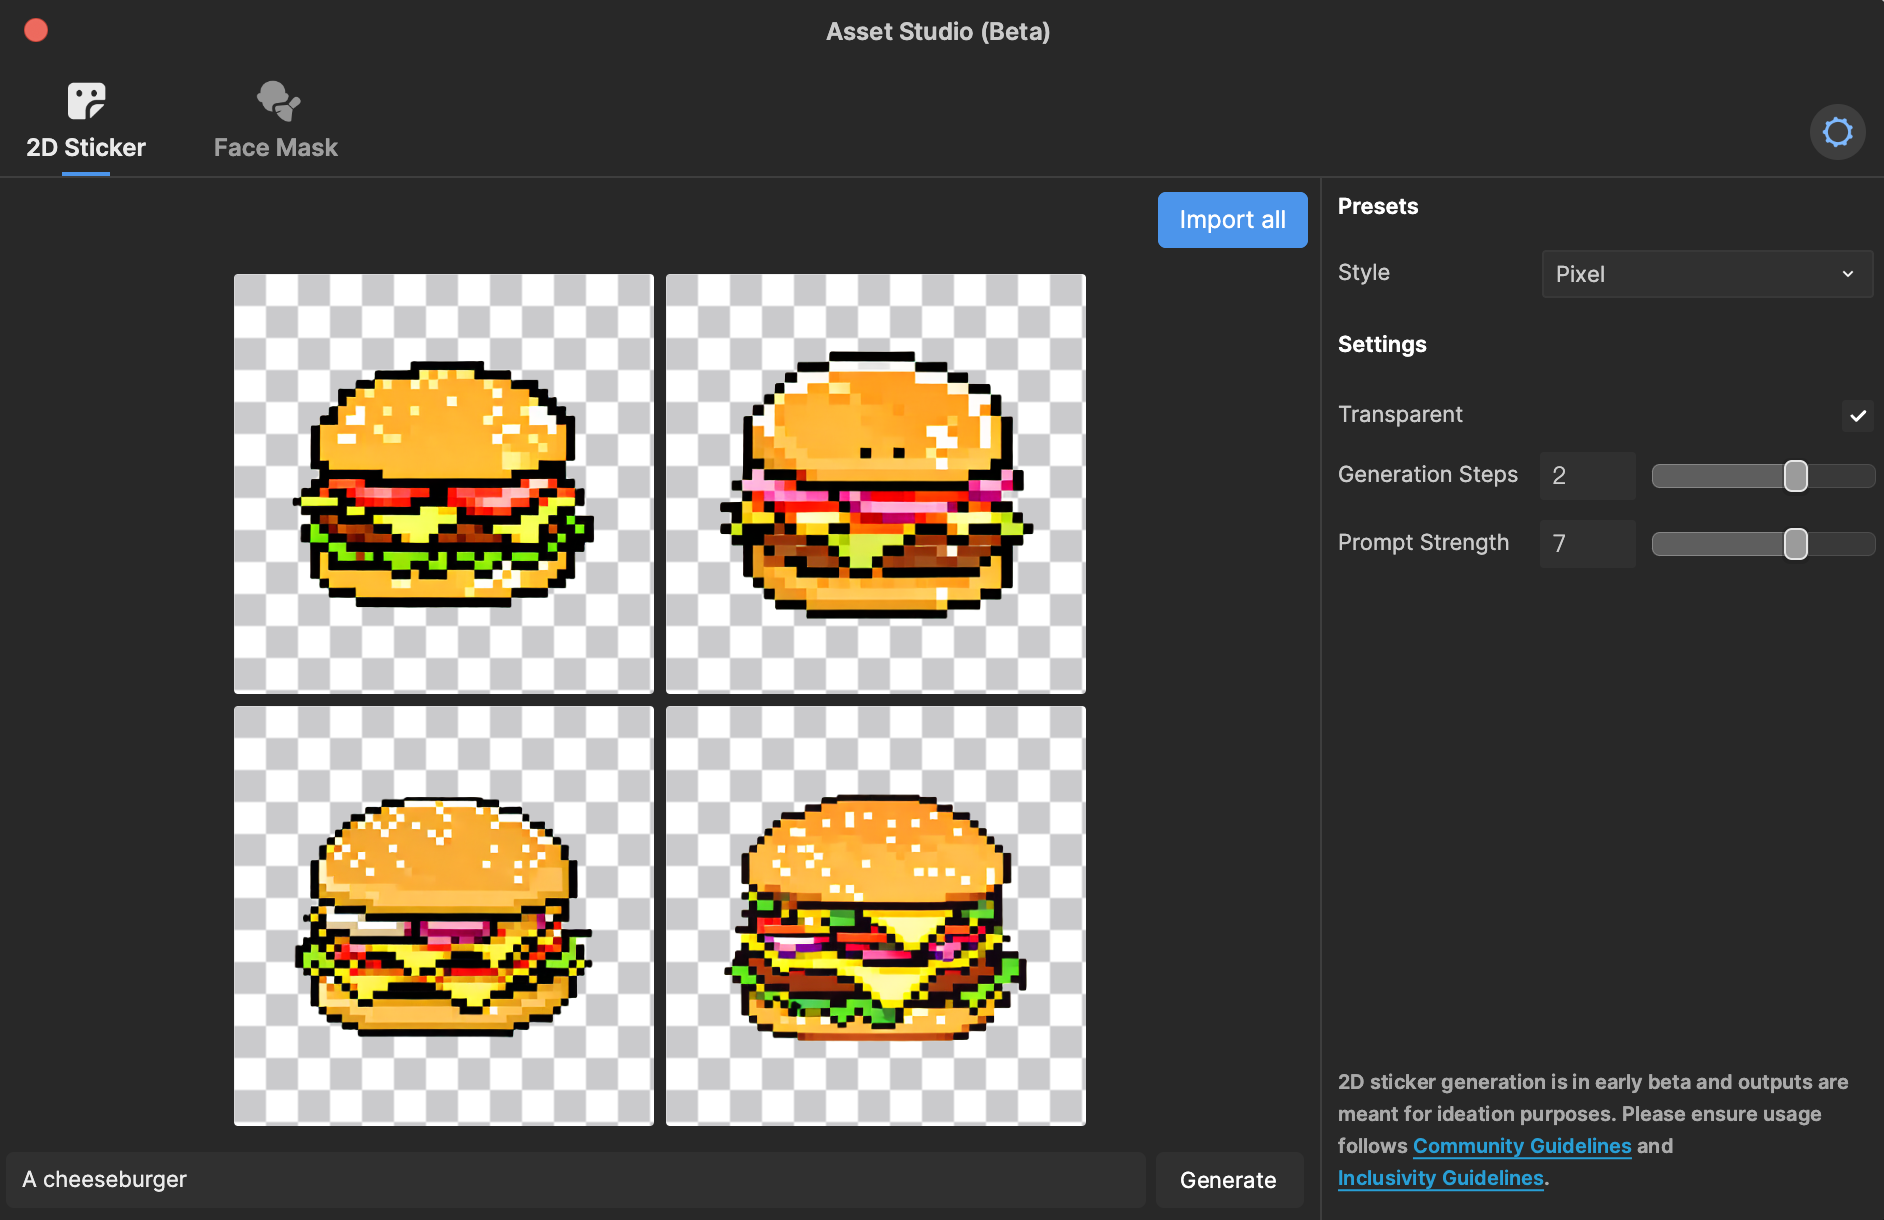
Generate 2D Stickers
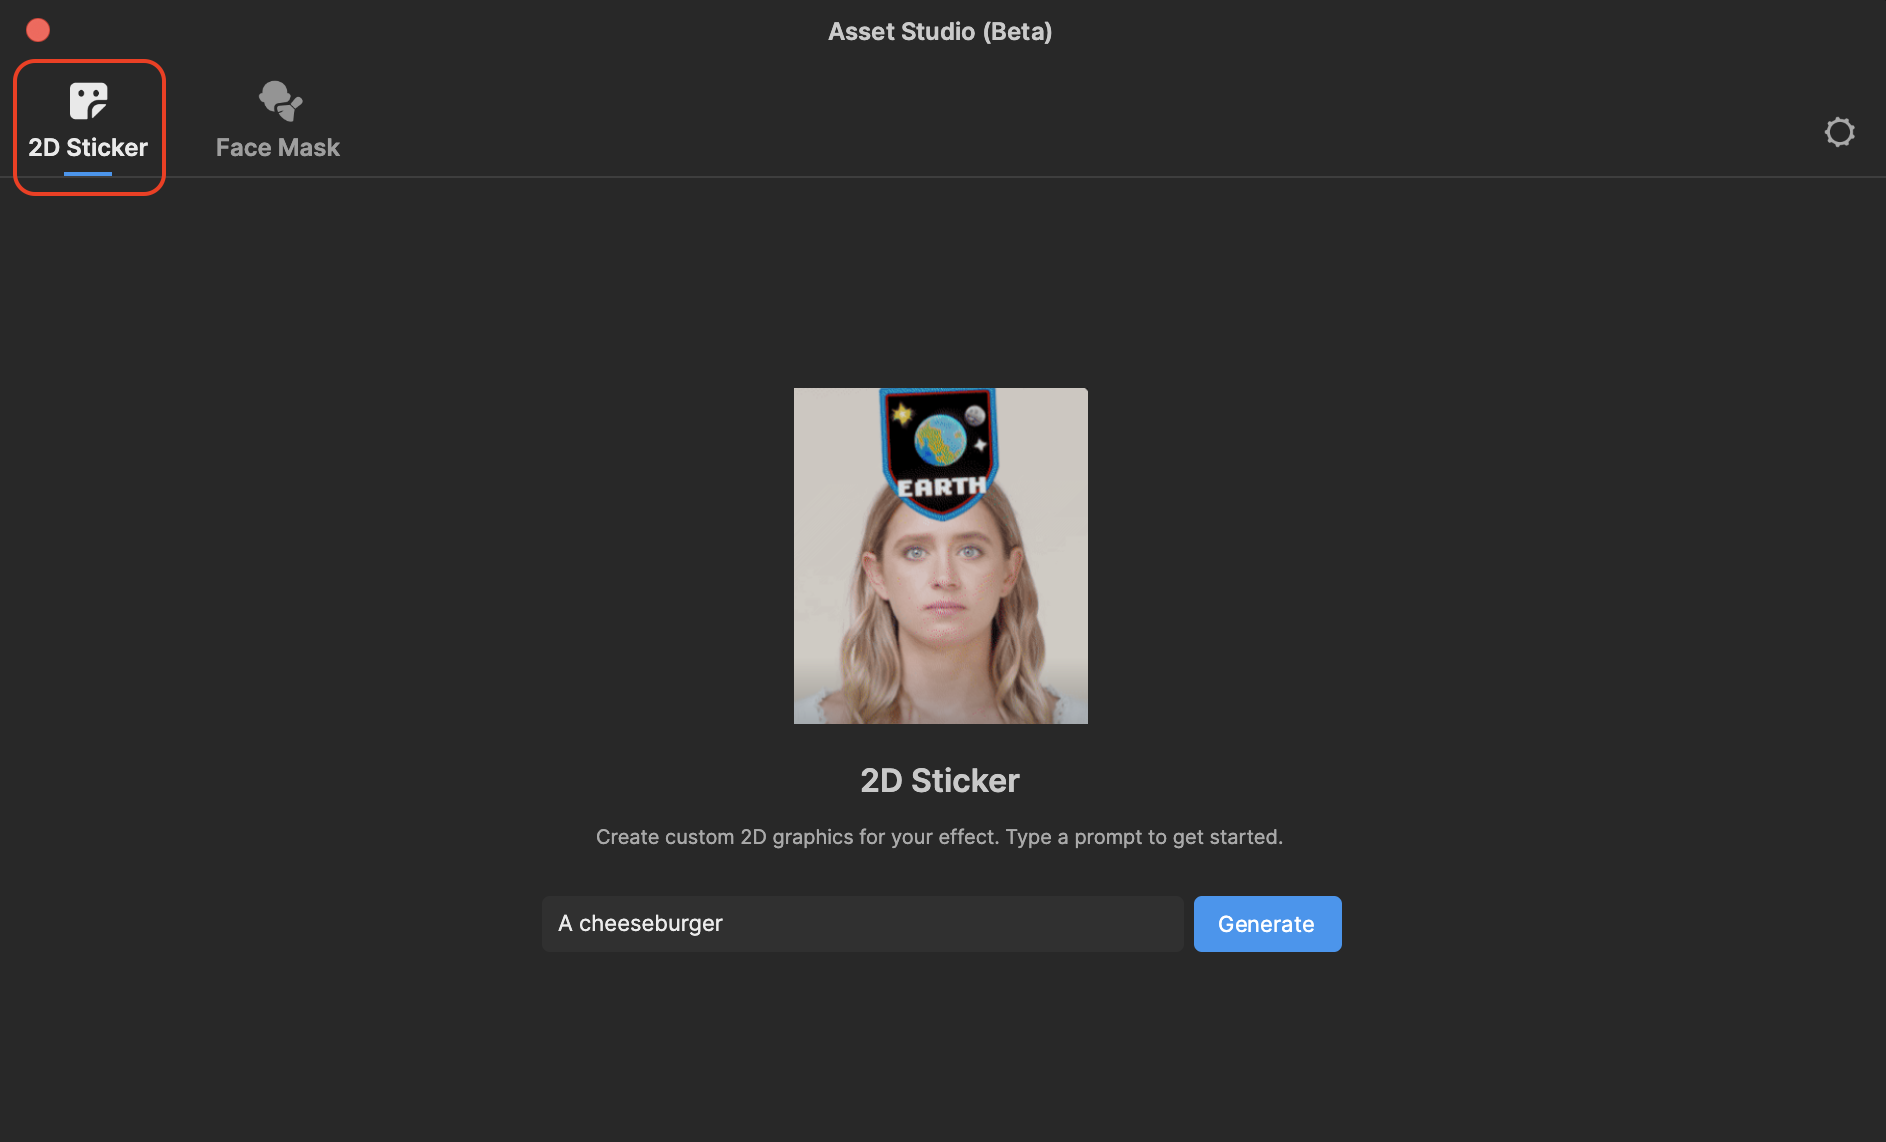
To generate custom 2D sticker assets in Asset Studio:
- Click 2D Sticker (selected by default)
- Click the Settings button to open the customizable properties
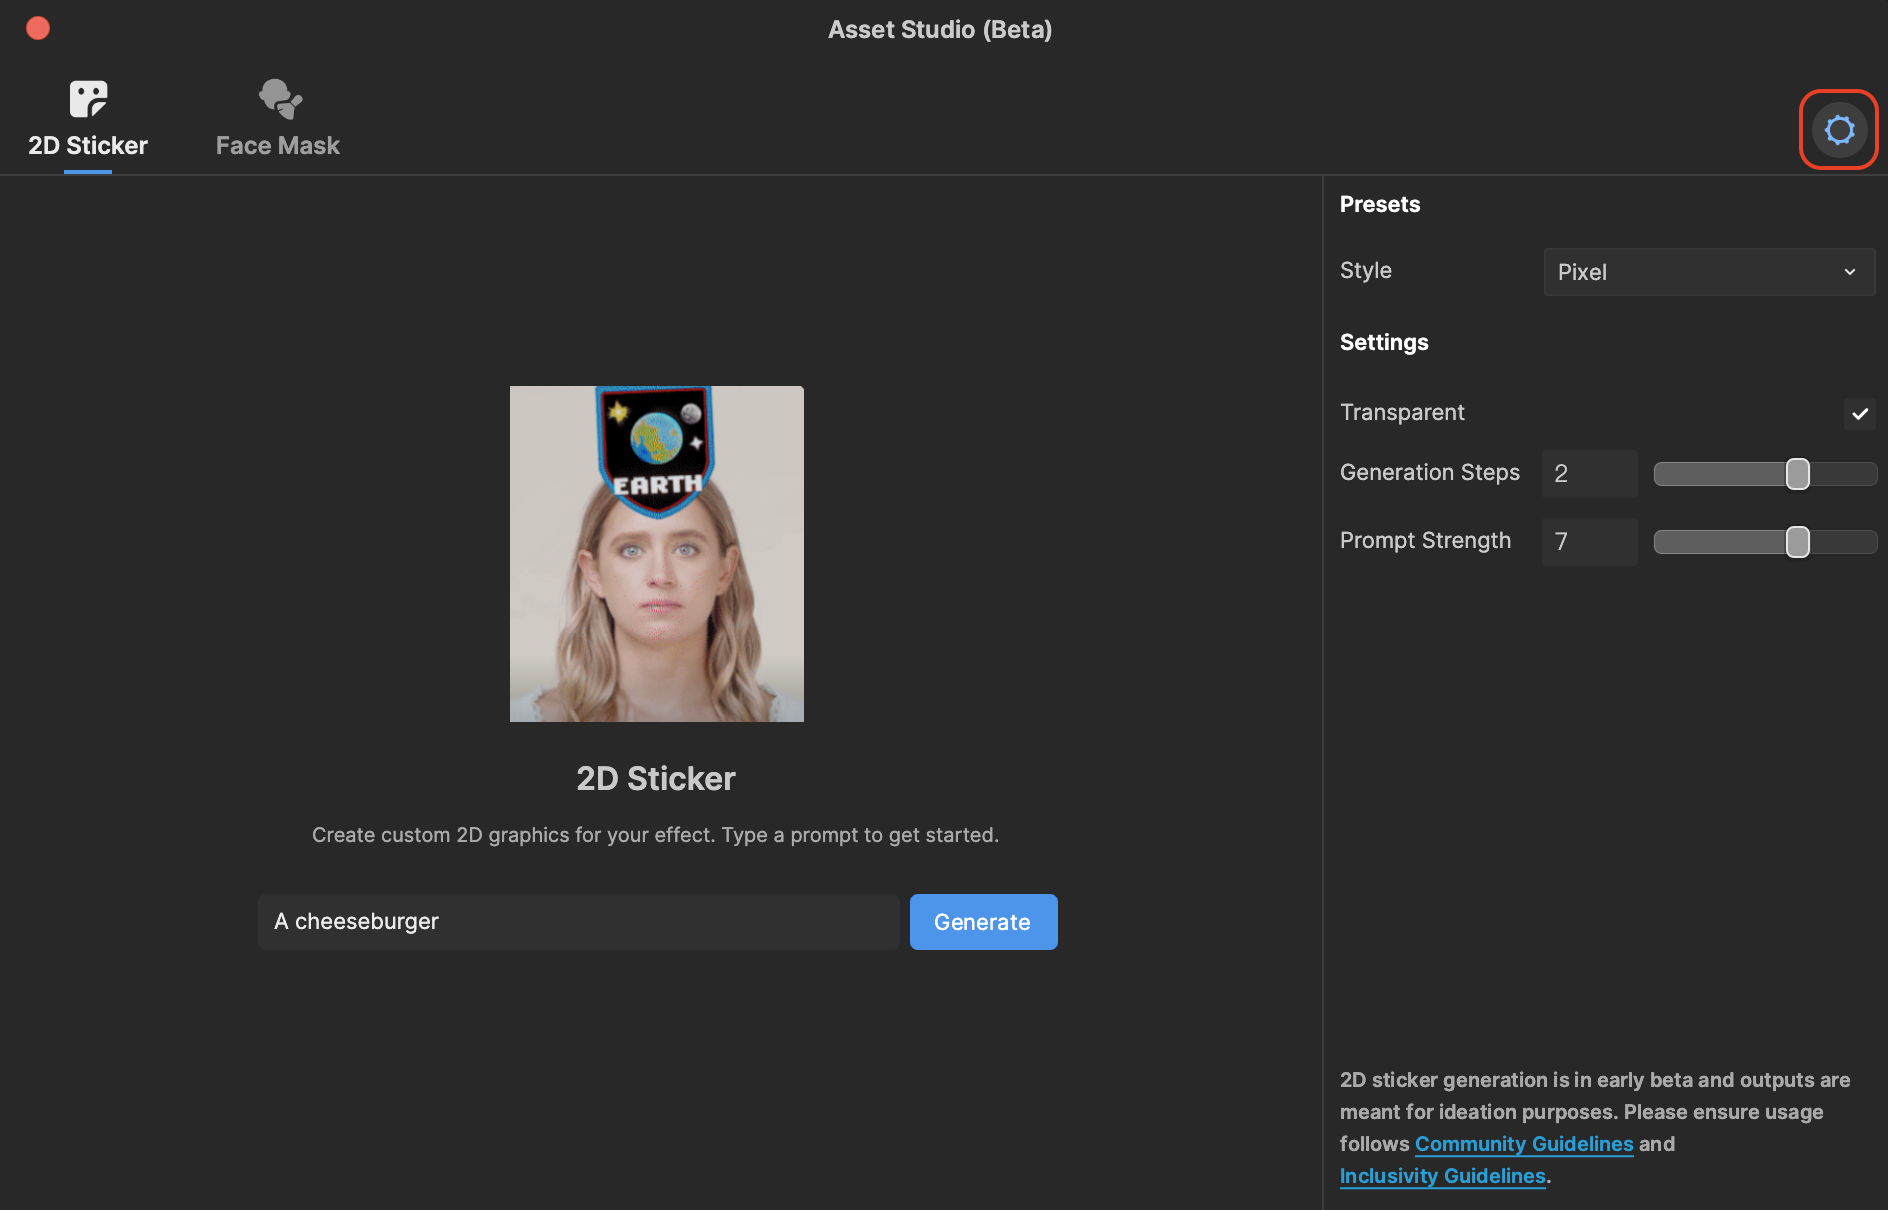
- Adjust the following generation properties:
Style: Select from Pixel, Pastel, Doodle, Plastic, Colored Pen, and Cartoon
noteCertain Asset Studio styles are not available in Europe
Transparent: Generates 2D stickers with a transparent background
Generation Steps: Determines how many iterations the generation process goes through
Prompt Strength: Determines how closely the output matches your text prompt
 |  |  |
|---|---|---|
- Enter a prompt and click Generate
The entered prompt is checked to ensure it complies with our community guidelines. If you encounter a "Prompt not supported" message but believe the phrase is appropriate, consider adding "a" before the prompt. For example, "A cheeseburger" instead of "cheeseburger".

Sticker Styles
Take a look at the following stickers to see the different aesthetic of each style.
Certain Asset Studio styles are not available in Europe
| A cheeseburger | A kitten | A clock | |
|---|---|---|---|
| Pixel | |||
| Pastel |  |  |  |
| Doodle |  | 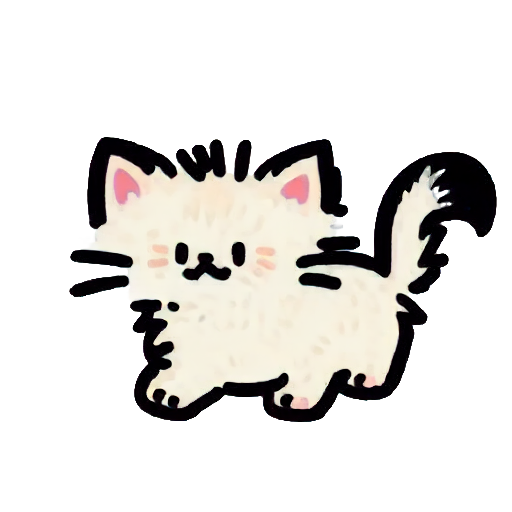 |  |
| Plastic |  |  |  |
| Colored Pen |  |  | 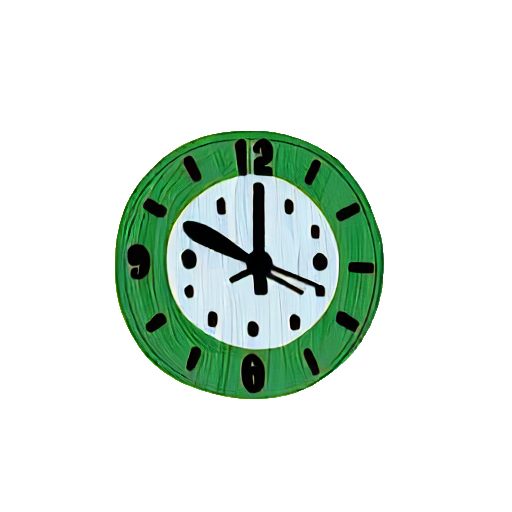 |
| Cartoon |  |  | 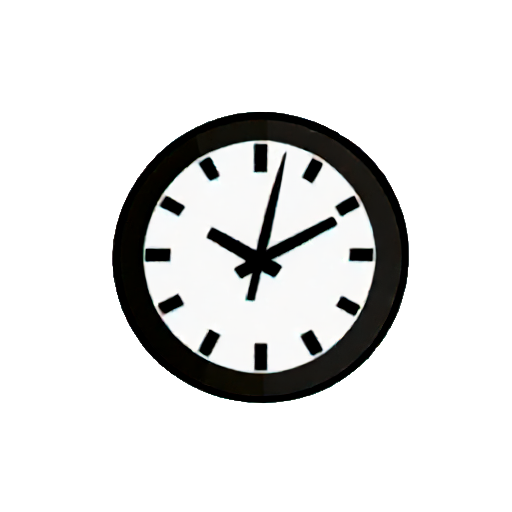 |
Preview and Import 2D Stickers
A batch of 4 sticker designs are generated for you to import.
The generator times out after 10 seconds. If it is unable to generate models within 10 seconds, you may receive an error message. In this case, check your internet connection.
Don’t see what you like? You can continue to generate new designs by customizing the settings and clicking Generate.
Once you’re satisfied with the generated stickers, you can import them.
To import assets into the Assets panel:
- Click the Import all button to import all four assets
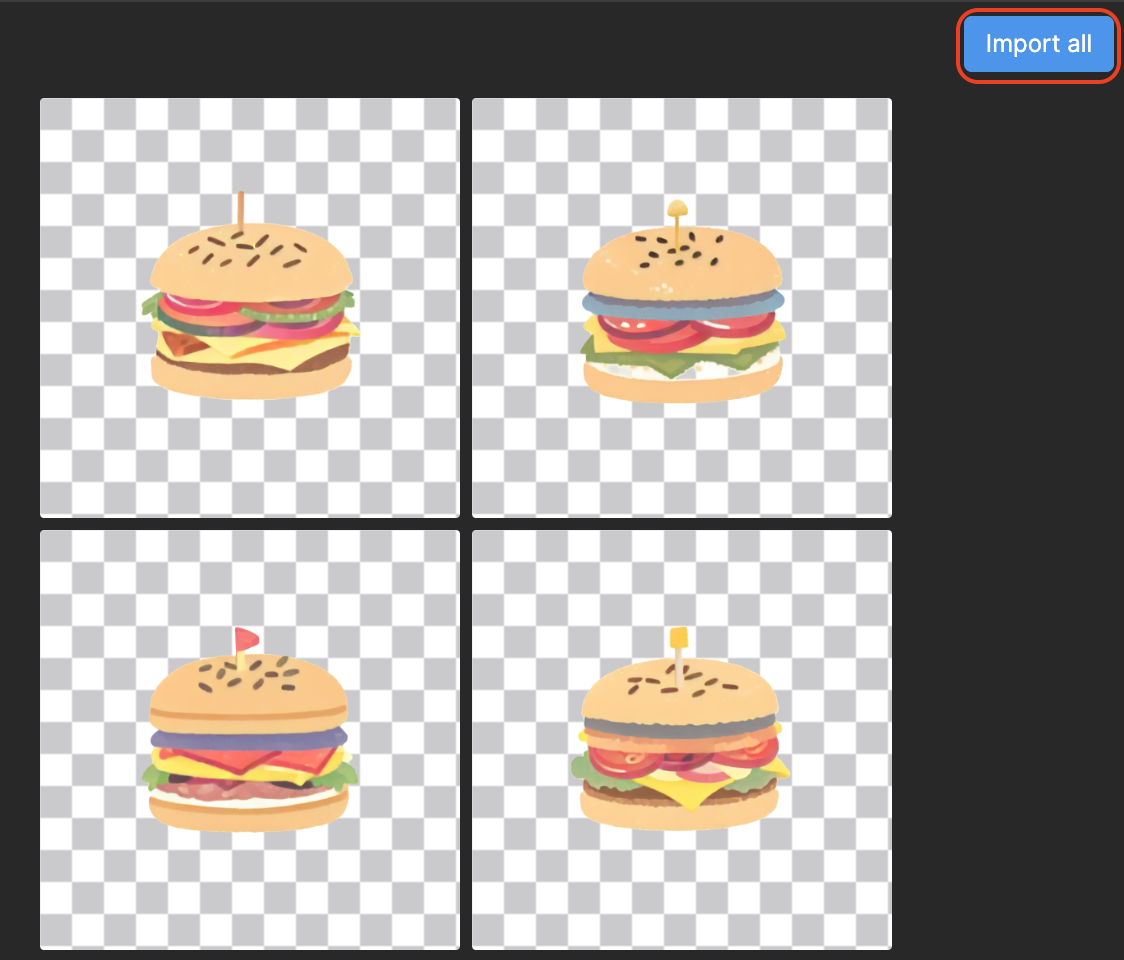
- Otherwise, select the assets you want and click the Import button

The imported assets appear in the Textures folder in the Assets panel.
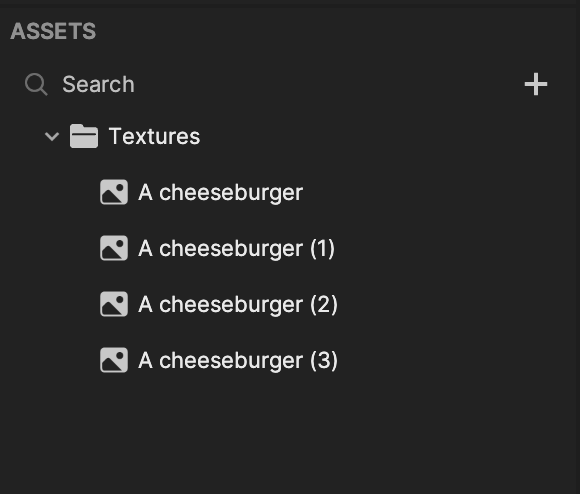
You can now assign an imported sticker as a texture. For example, you can change the texture of an Image component to one of the imported sticker textures.
Generate Face Masks
To generate custom face masks in Asset Studio:
- Click Face Mask
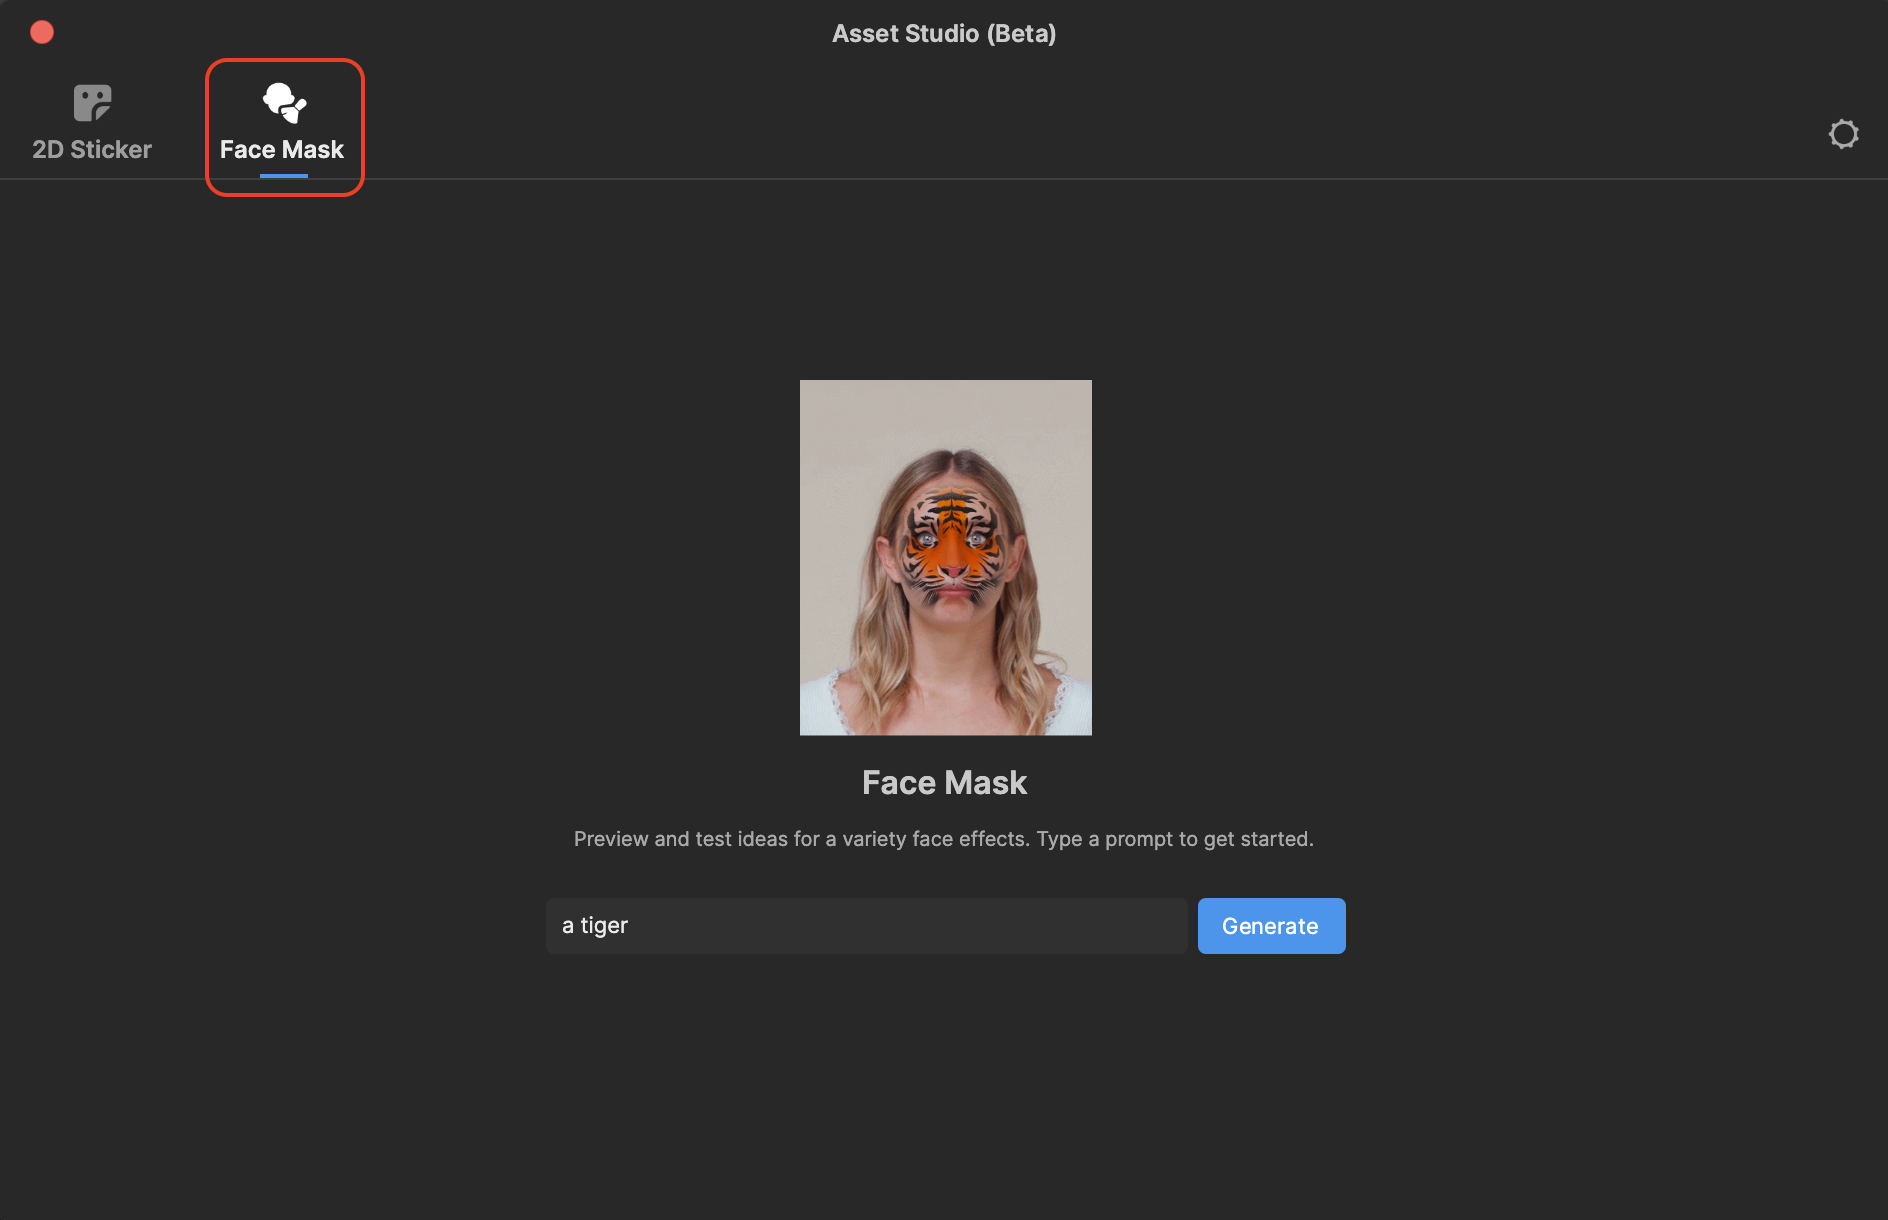
- Click the Settings button to open the customizable properties

- Adjust the following generation properties:
- Model: The preview face to display the resulting mask output. The selected model determines the base skin tone
- Match face tone: Match the skin tone of the reference face when generating face textures
- Generation Steps: Determines how many iterations the generation process goes through
- Prompt Strength: Determines how closely the output matches your text prompt
- Enter a prompt and click Generate
The entered prompt is checked to ensure it complies with our community guidelines. If you encounter a "Prompt not supported" message but believe the phrase is appropriate, consider adding "a" before the prompt. For example, "A tiger" instead of "tiger".
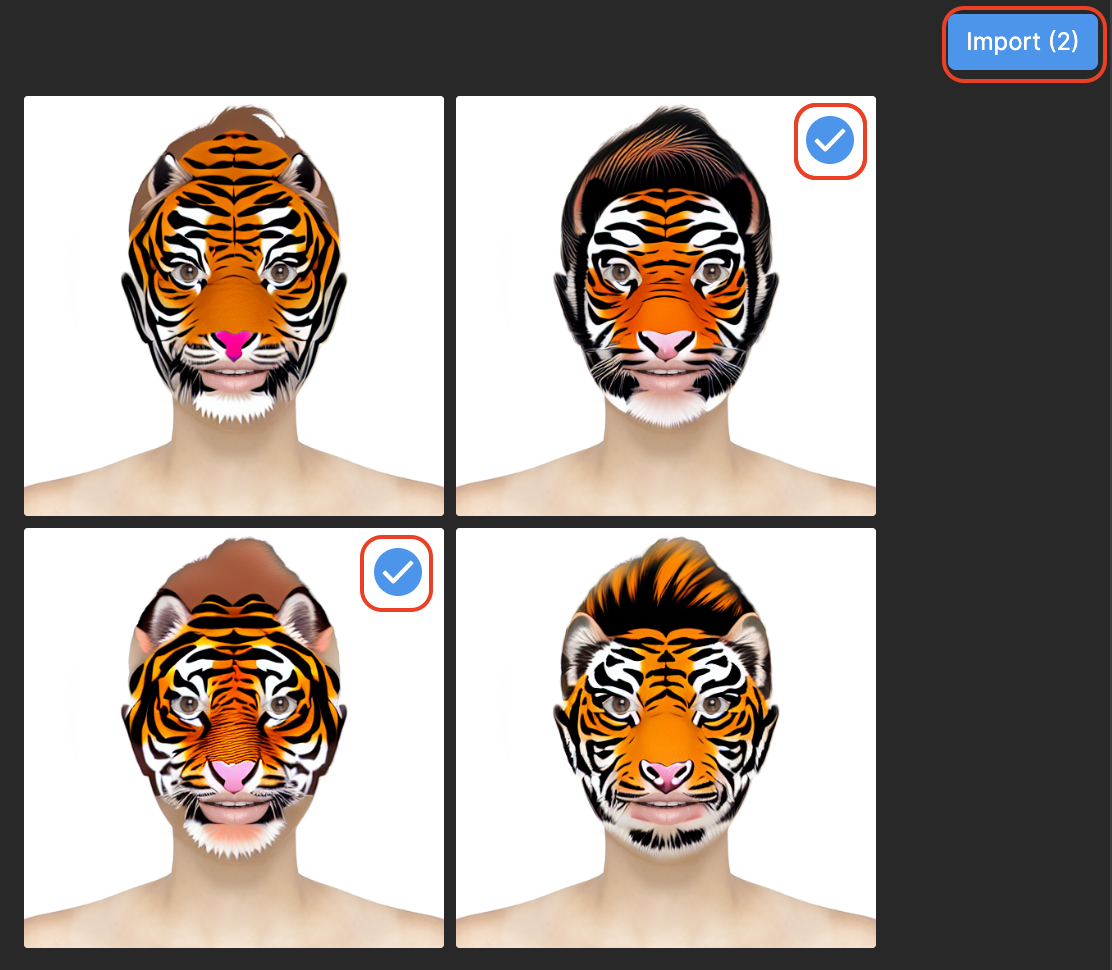
Preview and Import Face Masks
A batch of 4 face mask assets are generated on your selected reference face.

The generator times out after 10 seconds. If it is unable to generate models within 10 seconds, you may receive an error message. In this case, check your internet connection.
Don’t see what you like? You can continue to generate new designs by customizing the settings and clicking Generate.
Once you’re satisfied with the generated face masks, you can import them.
To import assets into the Assets panel:
- Click the Import all button to import all four assets
- Otherwise, select the assets you want and click the Import button
The imported assets appear in the Assets panel. The face mask outputs are converted into prefab assets containing a Face Mask object with the face texture applied.
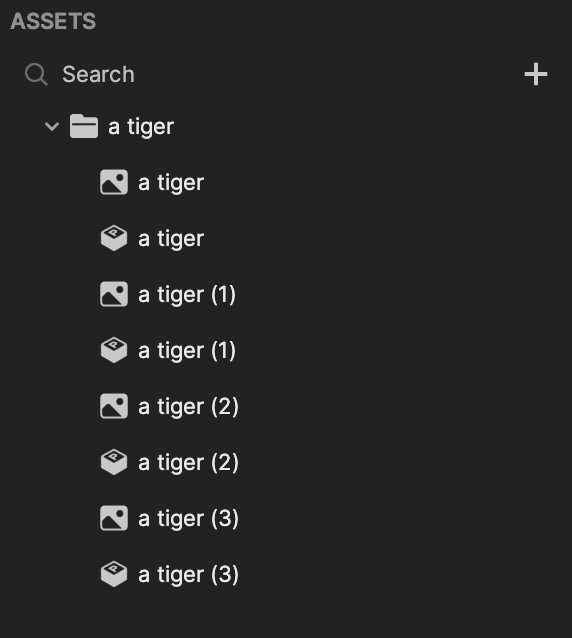
This allows you to conveniently drag and drop the assets directly into the Hierarchy panel.
