Plane
The Plane object is shape that can be manipulated in 3D space.
Add a Plane Object
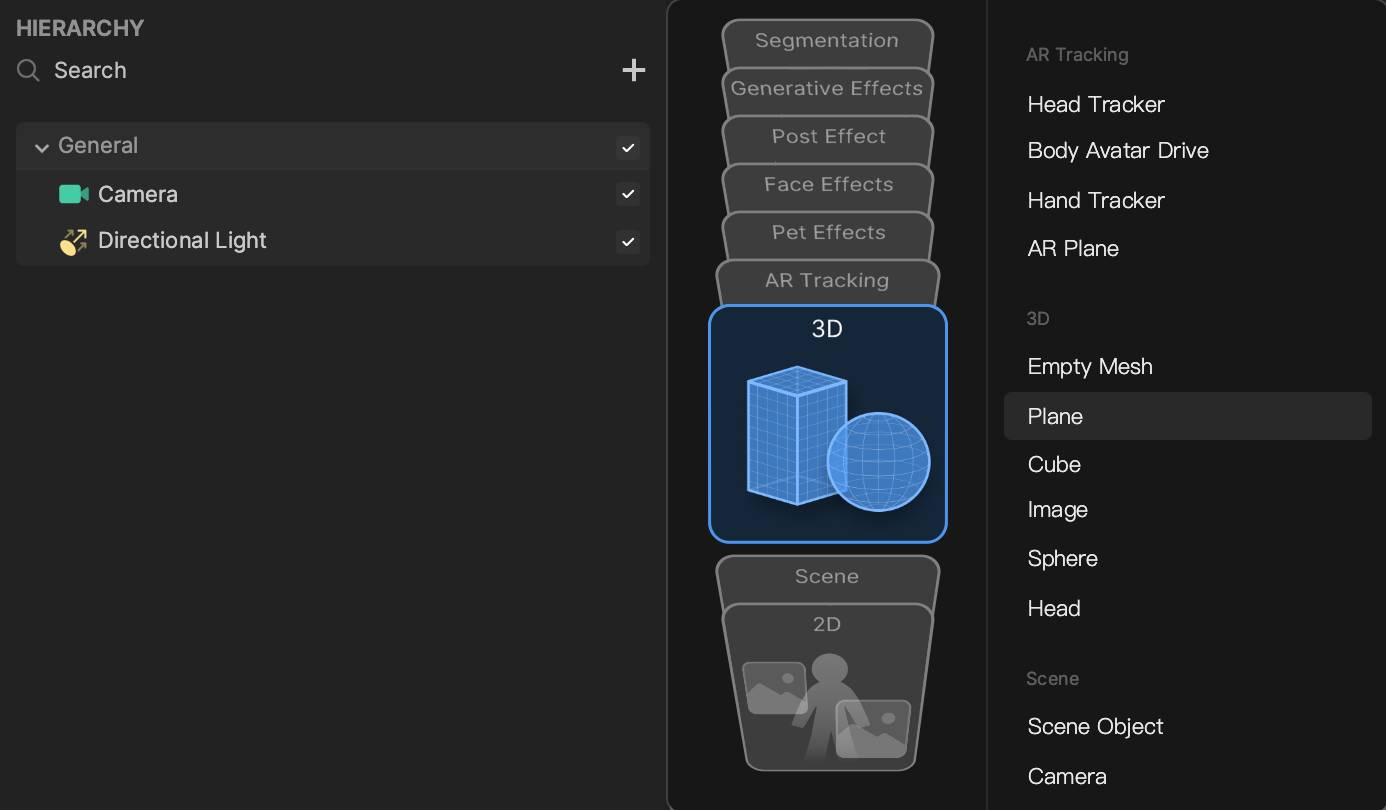
To add a Plane object, click the Add button [+], go to 3D, and then select Plane in the Hierarchy panel.
Use the Plane Object
Different textures, materials, and post-process effects can be applied to the plane to alter its appearance.
Move, Rotate, and Resize the Plane
In the Scene panel, you can scale, rotate, and transform the Plane.

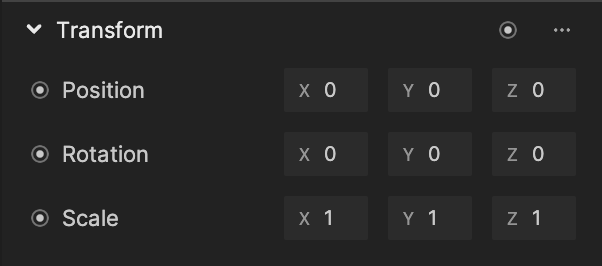
The Transform component in the Inspector panel allows you to manually adjust the Position, Rotation, and Scale properties.
Apply a Material to the Plane
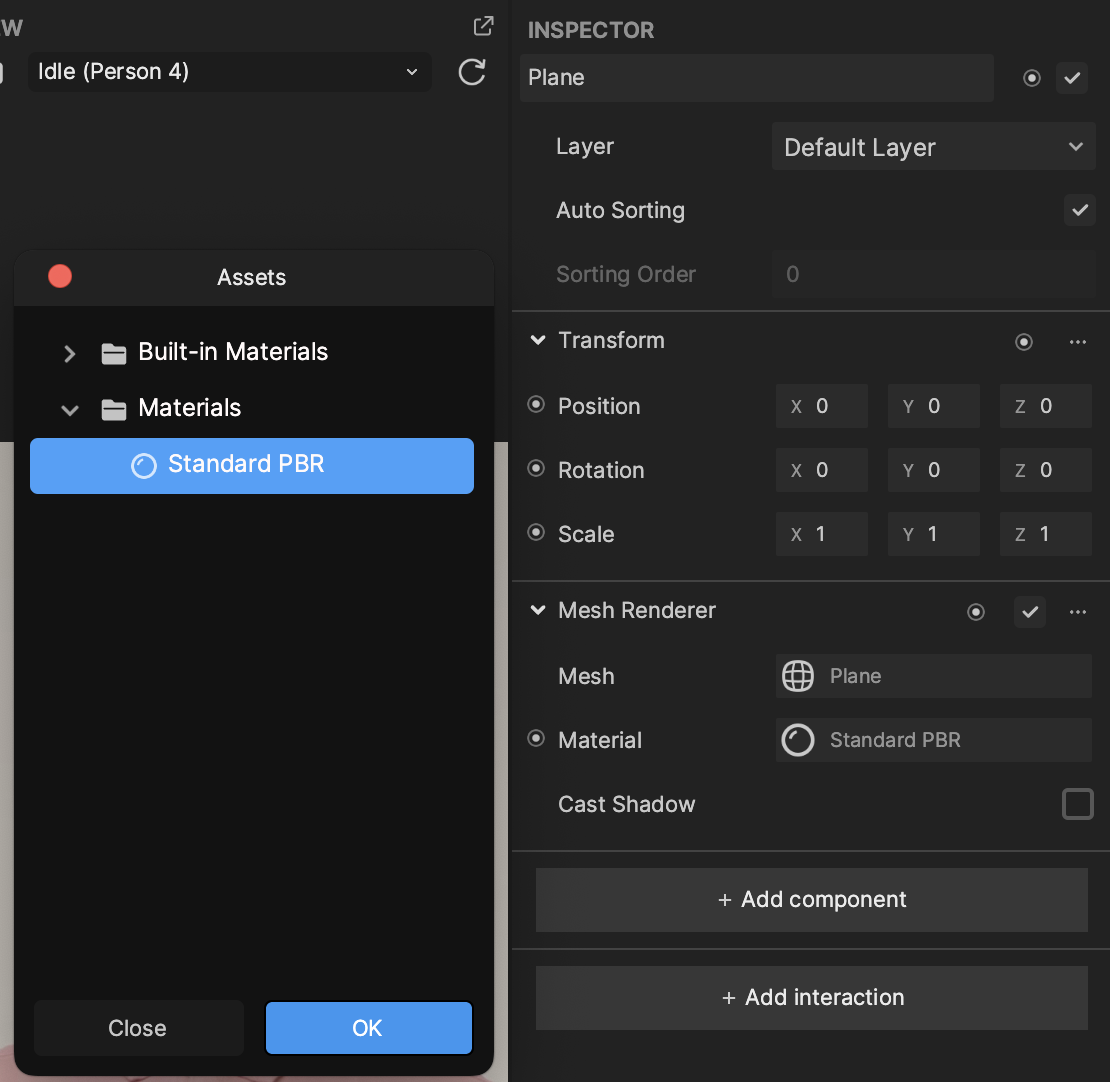
To apply a material to the Plane object, first add a material in the Assets panel. Click the Add button [+] in the Assets panel, go to Material, and then select your desired material. This example uses the Standard PBR material.

Select the chosen material in the Assets panel and then customize it to your liking, using the properties in the Inspector panel. Learn more about using Materials.
Then go to the Mesh Renderer component in the Inspector panel, click on the Material field, and then select your material. Alternatively, you can drag the material from the Assets panel into the Mesh Renderer's Material field.
Components
The Plane object is made up of the following components, found in the Inspector panel: