Dancing Cat
The Dancing Cat template lets you personalize a 3D character by applying a live snapshot texture to a specific mesh area. Customize the character with your own model and create a unique interactive experience using face textures.

Open the Template
To use this template in your Effect House project:
- Go to Templates
- Go to and select the Dancing Cat template

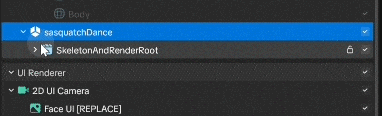
Hierarchy
The Hierarchy panel consists of the following render groups:
- Tip: to customize Dancing Cat contains helpful hints to customize the effect
- Snapshot Renderer manages the snapshot capture and rendering logic
- Background contains background scene elements
- UI Renderer renders the UI Camera and the FACE UI

Process to Swap Assets
Let's give Kitty a makeover! In this section, you'll replace the default model and apply the snapshot texture to your own custom asset.
Downloadable Assets
Assets used for this demo: ↓ DancingSasquatchAssets.zip
Final Effect House project with Assets replaced:
↓ DancingSasquatch_EH.zip
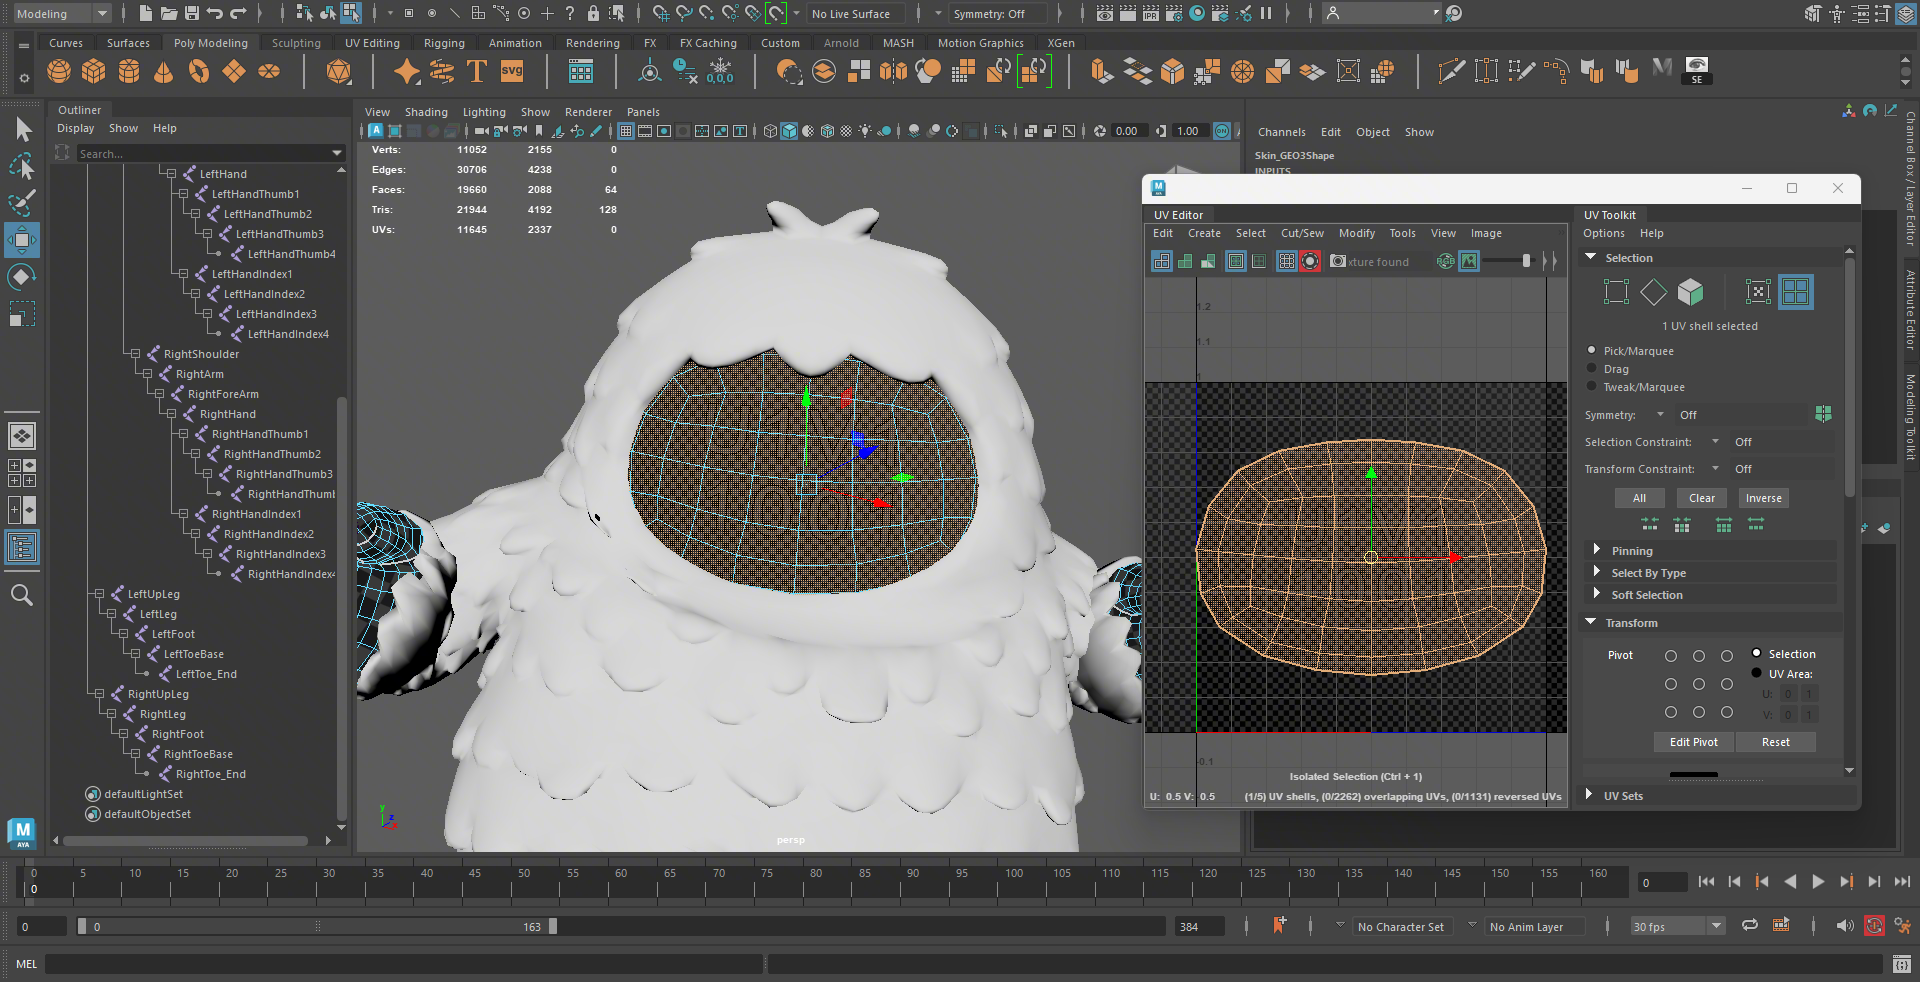
Prepare Assets in 3D Software
Before importing into Effect House, prepare your model in your 3D authoring software.
- Make sure the UV area that will receive the snapshot texture is centered and fills as much of the UV grid as possible.
- If the target area is part of a submesh, apply a separate material to that submesh. This makes it easier to assign the snapshot texture inside Effect House.
Import the Model
- Import your new model into Effect House
- Drag the model into the Hierarchy panel under Kitty [REPLACE]

Select the Target Mesh
In the Hierarchy panel, select the mesh or submesh that should display the face texture
Apply Snapshot Material
- In the Inspector panel, locate the material slot for the selected submesh
- Apply Face_Mat [Edit] to the submeshes that should display the snapshot texture

- Resize or adjust the transform as needed
Clean Up the Scene
- Delete the original cat model from the Hierarchy panel
- Remove any unused meshes or materials to keep the scene organized