2D AR Placement
The 2D AR Placement template places an animated 2D character (GIF or PNG sequence) onto a real-world ground surface detected by the phone camera. The AR Plane loops continuously and can be moved and rotated by the user through standard touch gestures.

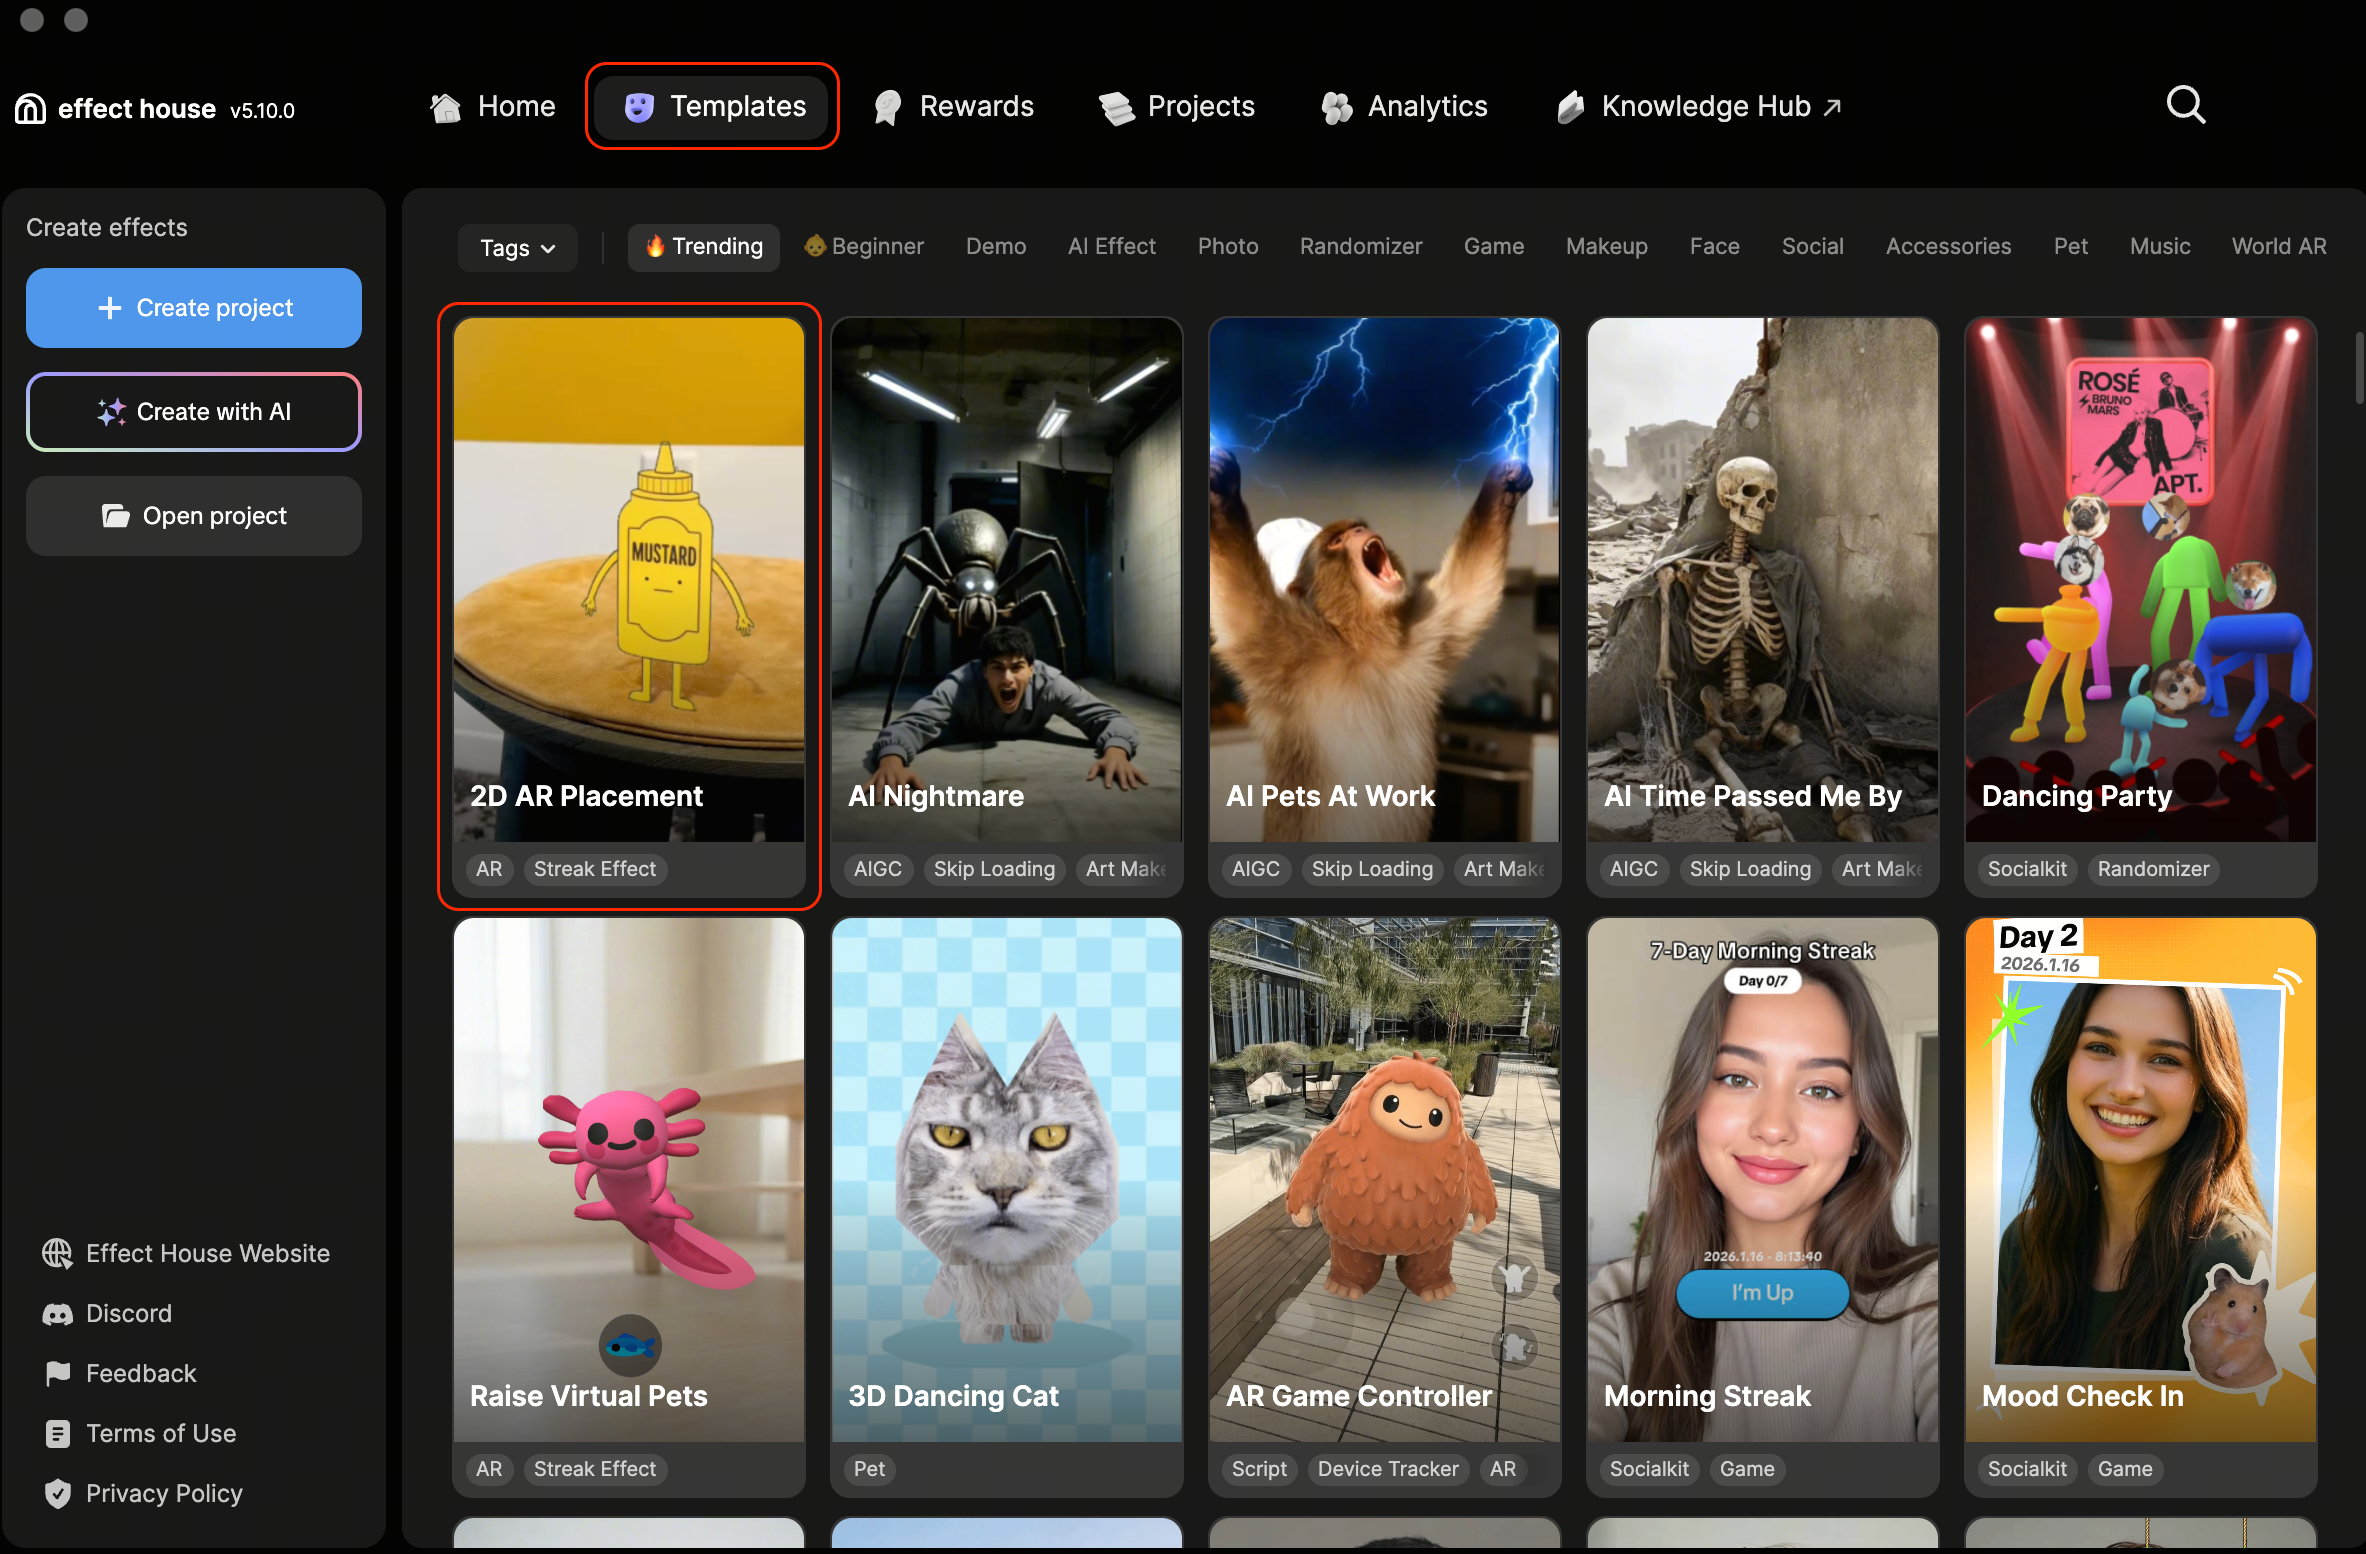
Open the Template
To use this template in your Effect House project:
- Go to Templates
- Click World AR
- Go to and select the 2D AR Placement template
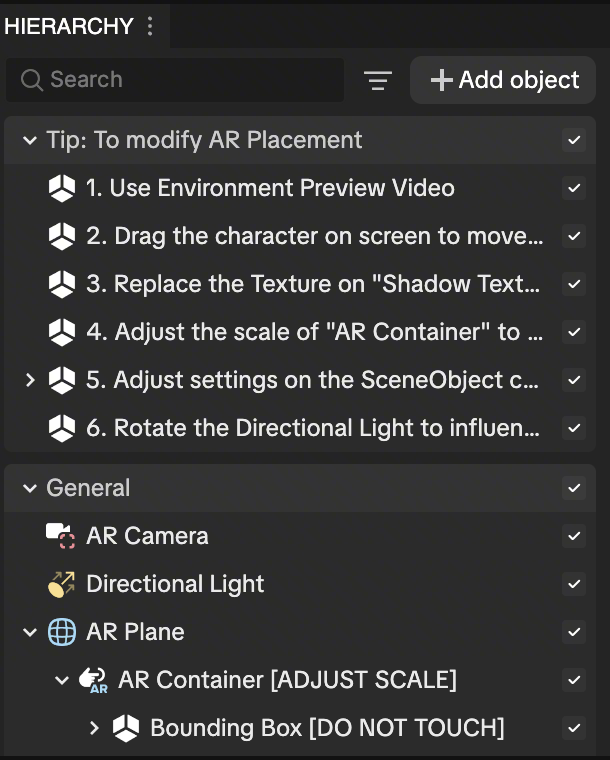
Hierarchy
The Hierarchy panel consists of the following render groups:
- Tip: To modify AR Placement contains helpful hints to customize the effect
- General contains AR camera, scene lighting, and the AR plane
- AR Camera enables the device's camera for the AR scene
- Directional Light controls the lighting in the environment
- AR Plane contains the AR Container [ADJUST SCALE], which houses the character and bounding box
Process to Swap Assets
Let's give our dancing mustard bottle a makeover! In this section, you'll replace the default 2D character and apply your own custom image sequence or GIF.
Downloadable Assets
Assets used for this demo:
↓ 2DARPlacementtestAssets.zip
↓ 2DARPlacementtestGif.gif.zip
Final Effect House project with Assets replaced:
↓ 2DARPlacementTemplate.zip
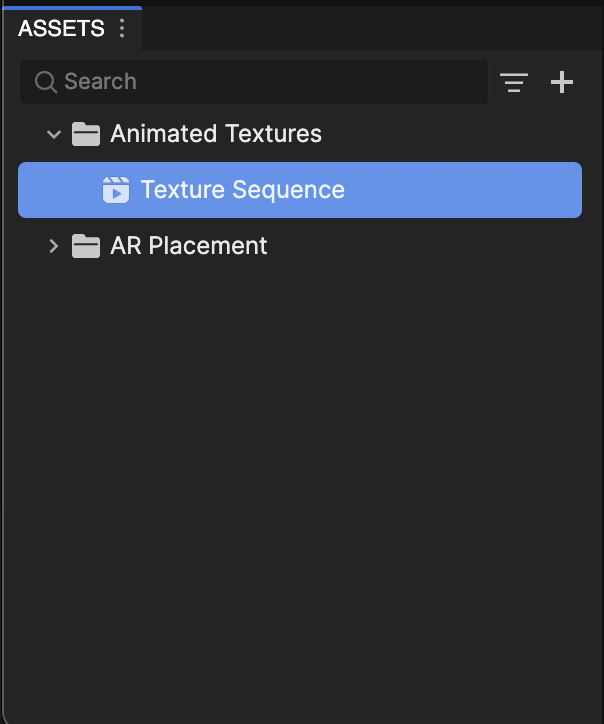
Import the Texture Sequence
Let's begin by importing the texture sequence from the files you downloaded and into the Assets panel.
- Go to the Assets panel
- Click the Add asset button [+]
- Go to Import and click Texture Sequence
- Go to the Assets folder and select all your transparent background PNG sequences
- Click Open
Apply the Texture Sequence
Next, let's take the image sequence you just imported and assign it to the Texture Sequence object.
- Go to the Assets panel
- Select Texture Sequence
- Go to the Inspector panel
- Go to Textures
- Select Default TexSeq and select your new image sequence
Alternatively, you can drag the Texture Sequence directly into the texture field.
Next, let's assign your image sequence.
- Go to the Hierarchy panel
- Select Shadow Texture
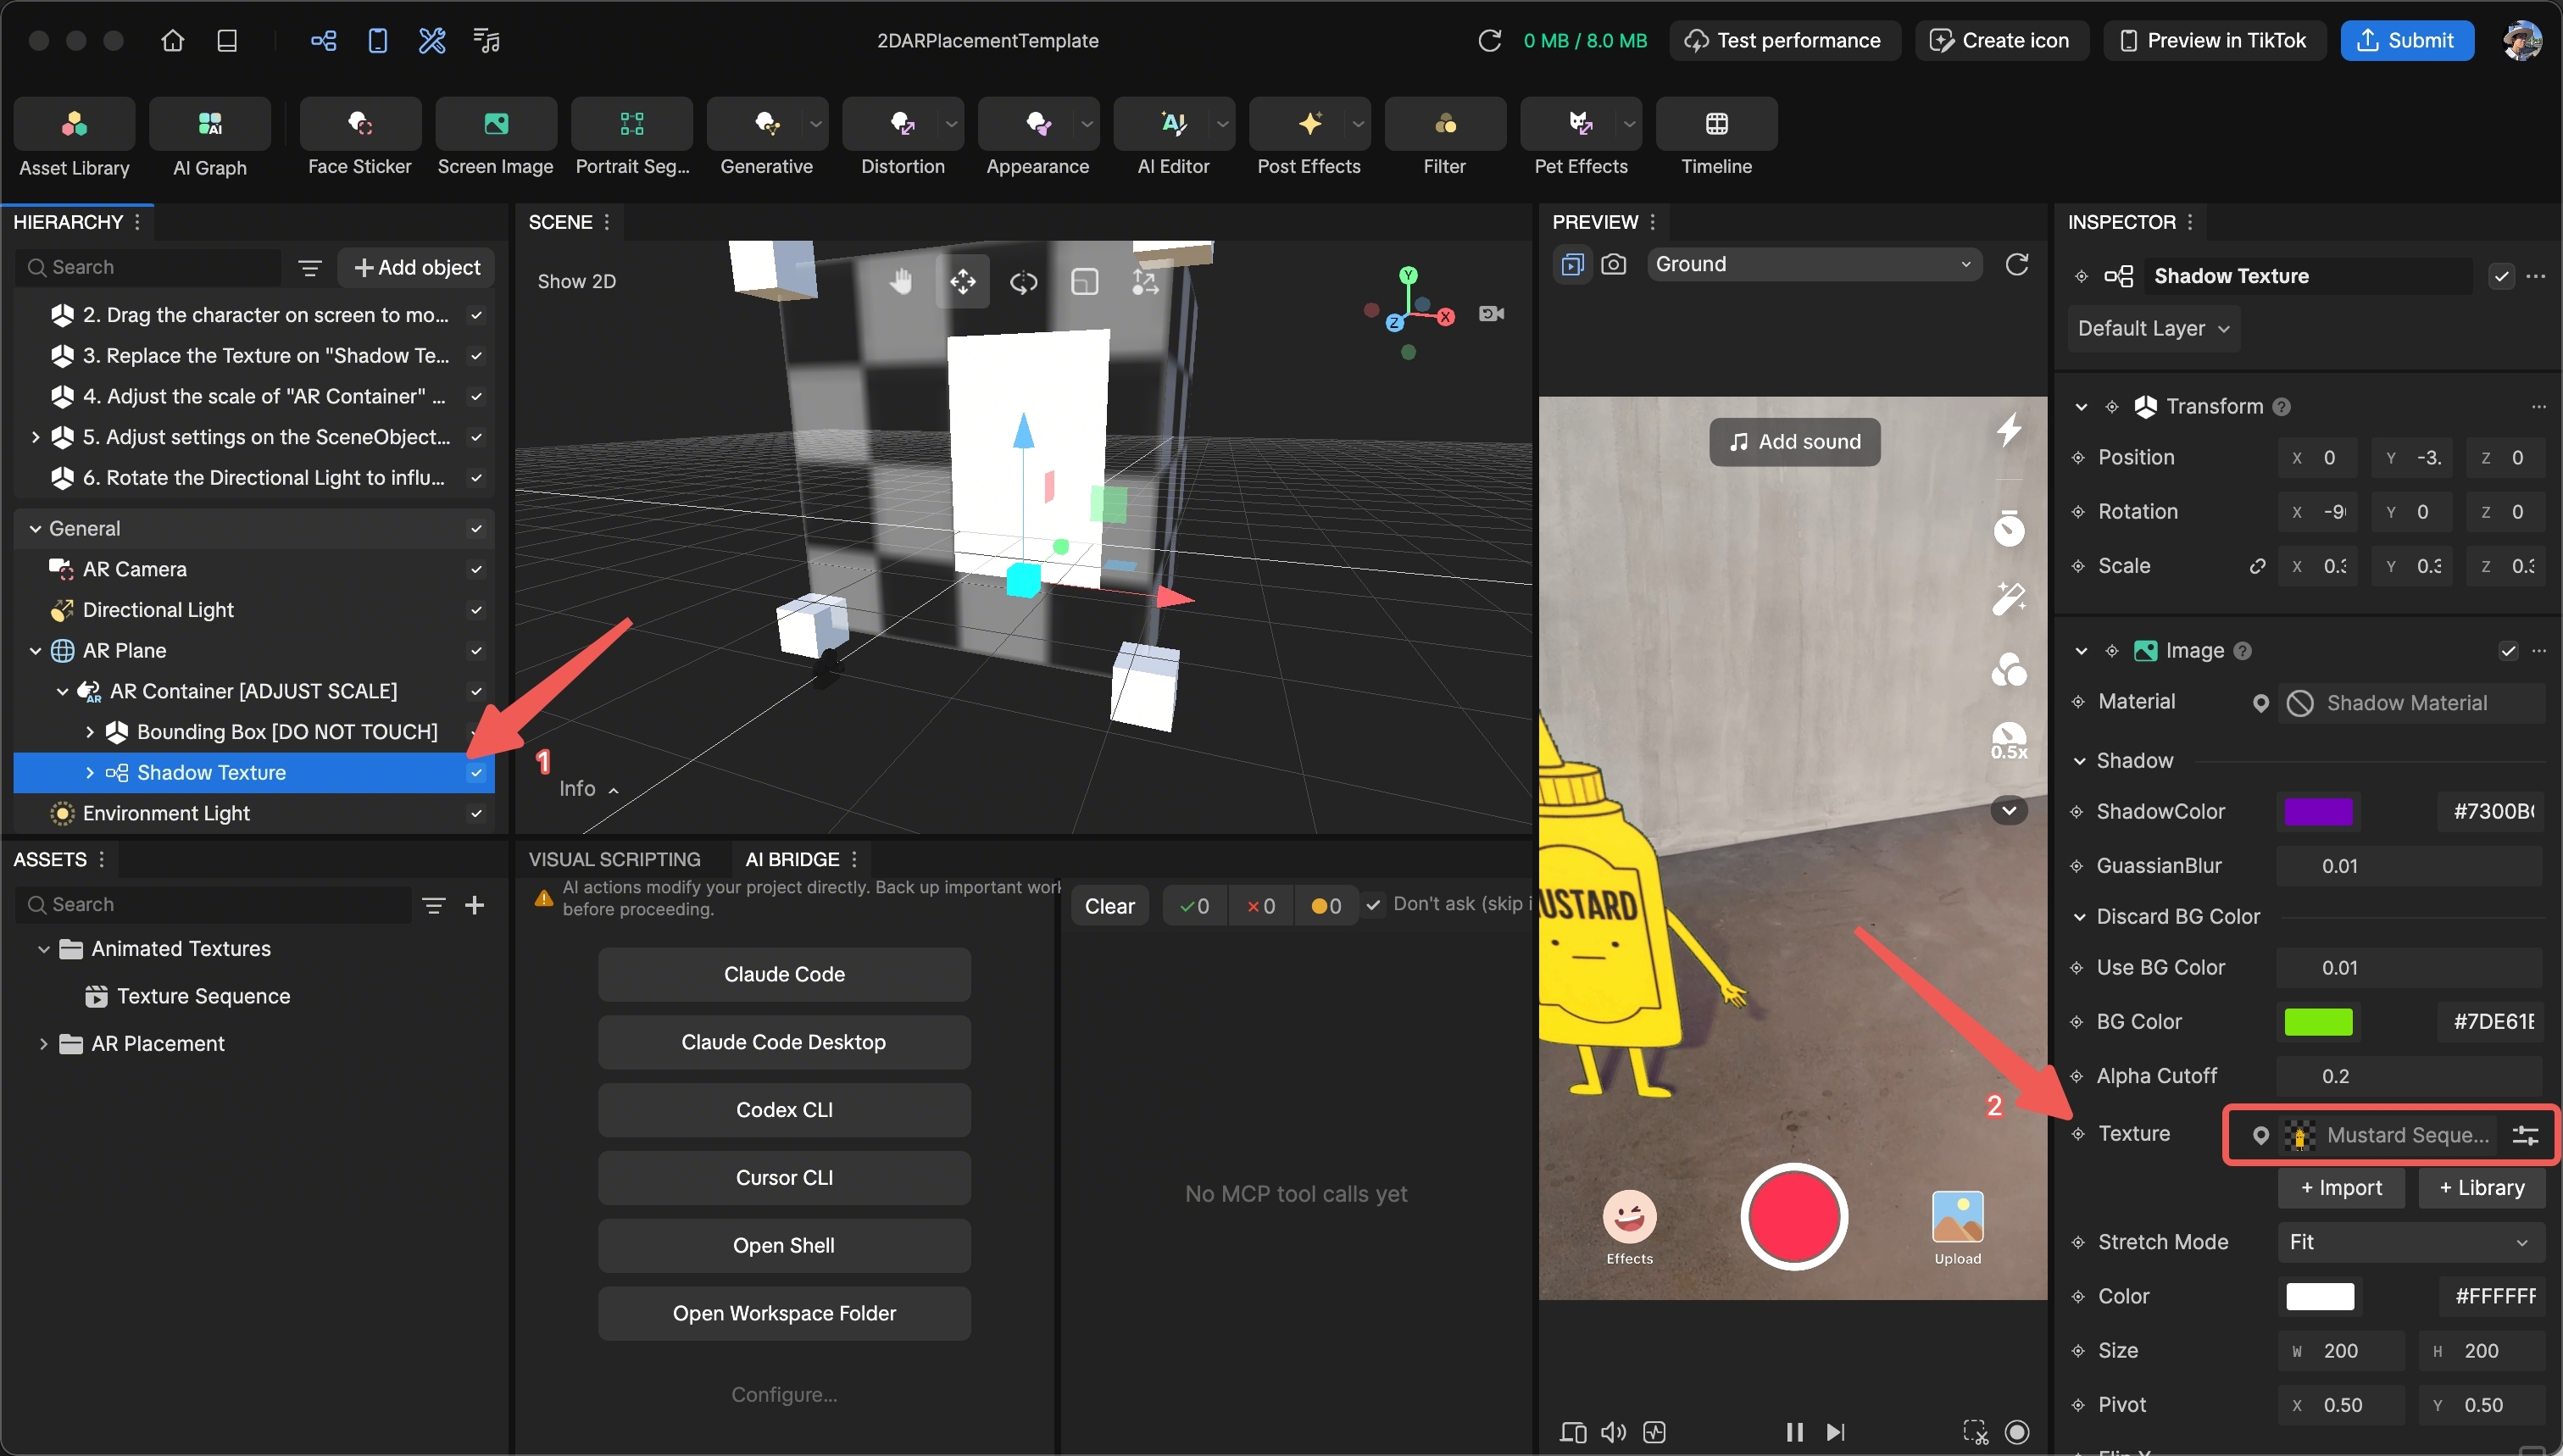
- Go to the Inspector panel
- Go to Texture
- Select Mustard Sequence and select your new image sequence
Adjust the Light Source
You can also adjust the light source to give your effect a different appearance.
- Go to the Inspector panel
- Go to Directional light
- Adjust the Transform (Position, Rotation, or Scale) to your liking
Alternatively, you can adjust the light source directly in the Scene panel.