Head Tracking
This tutorial will show you how to attach 3D objects to a person’s head so that it follows their movement, as well as how to setup the PBR material for the 3D object.
Prepare
Before we get started, download the package and open the Unfinished_HeadTracker project in Effect House.
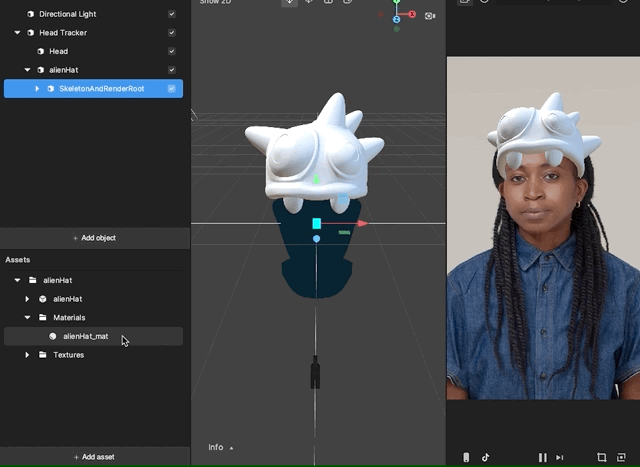
You will see that all the needed assets have already been imported in the Assets panel, including the alienHat 3D object and all the texture images.
Add a Head Tracker
First, you need to add a Head Tracker entity by clicking the Add button [+] > AR Tracking > Head Tracker in the Hierarchy panel.
If you go to the Inspector panel, you will find Face Binding assigned to Head Tracker. This is the key component that drives the head tracking functionality.
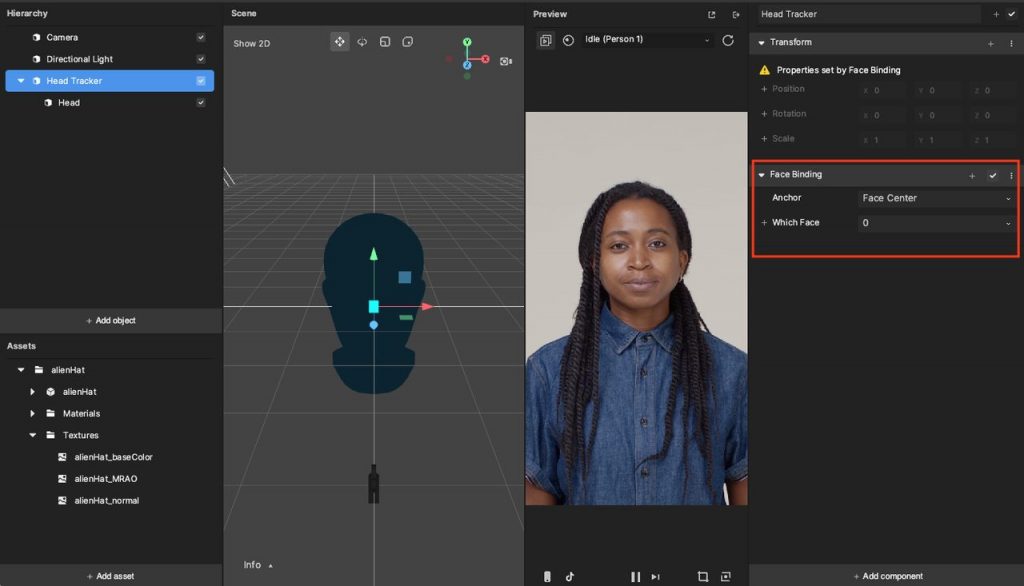
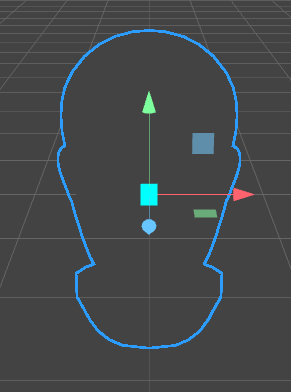
When you add the Head Tracker, a Head object is also created under the tracker object so that it follows the tracker’s movement. The head object is a head-shaped mesh with an Occluder material that will allow you to mask out the user’s head.
With the Occluder material, the head model can be used to occlude other 3D objects in the scene. For example, if a hat model wraps around the head, we can occlude the back of the hat so it appears to be sharing the same 3D space as the user’s head.
Track the 3D Model
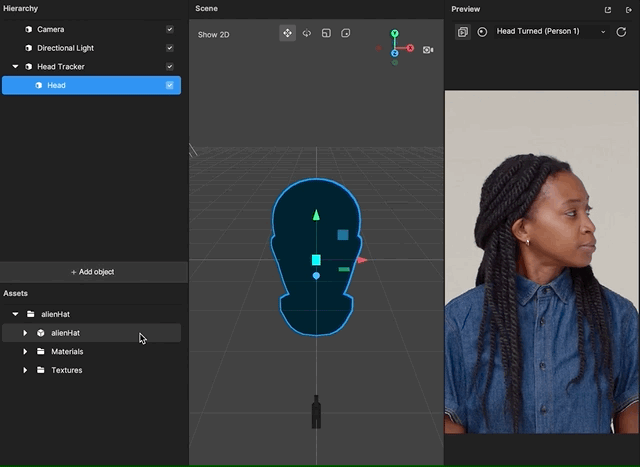
Add the alien hat model now! Find alienHat in the Assets panel. Then click and drag the model to the Head Tracker in the Hierarchy panel. In the Preview window, you’ll see that the hat is following the head movement.
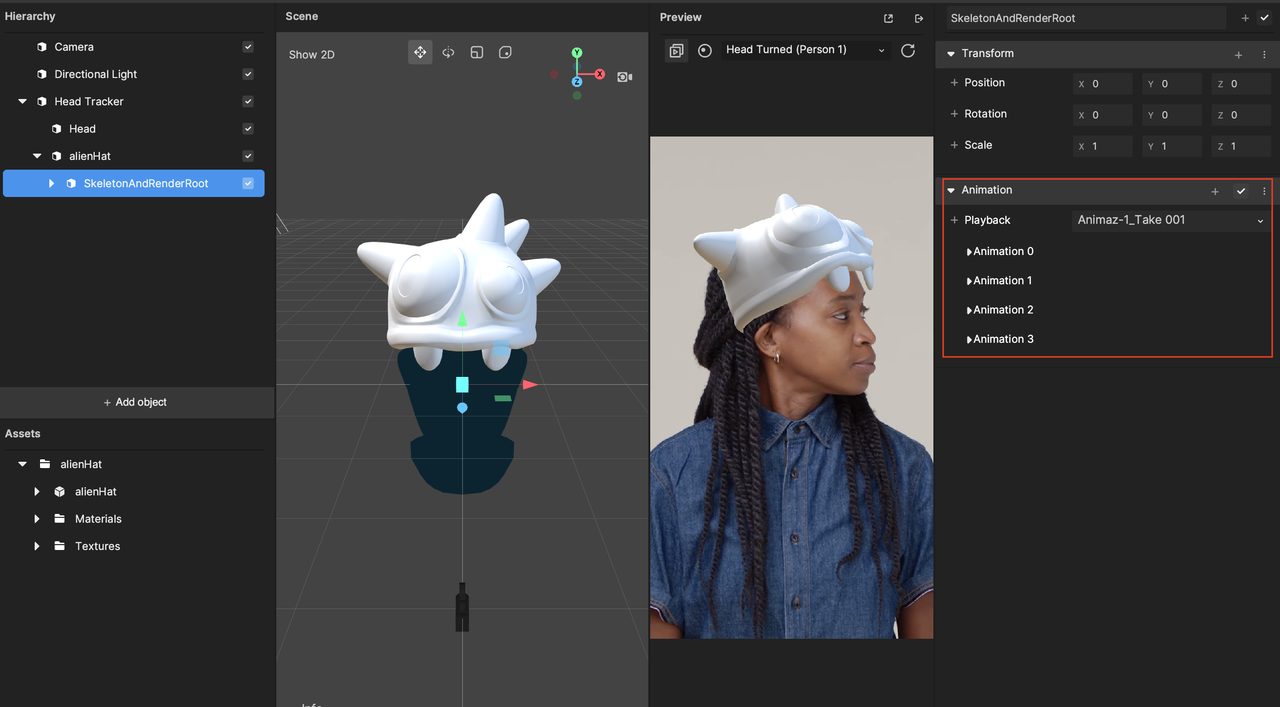
After dragging alienHat tp the scene, which adds joints and built-in animations, the model will begin to move. If you expand alienHat in the Hierarchy panel and select the SkeletonAndRenderRoot object, the Animation component will appear in the Inspector panel.
You can choose which animation clip you want to play by selecting from the Playback dropdown menu in the Animation component.
Set the PBR Material
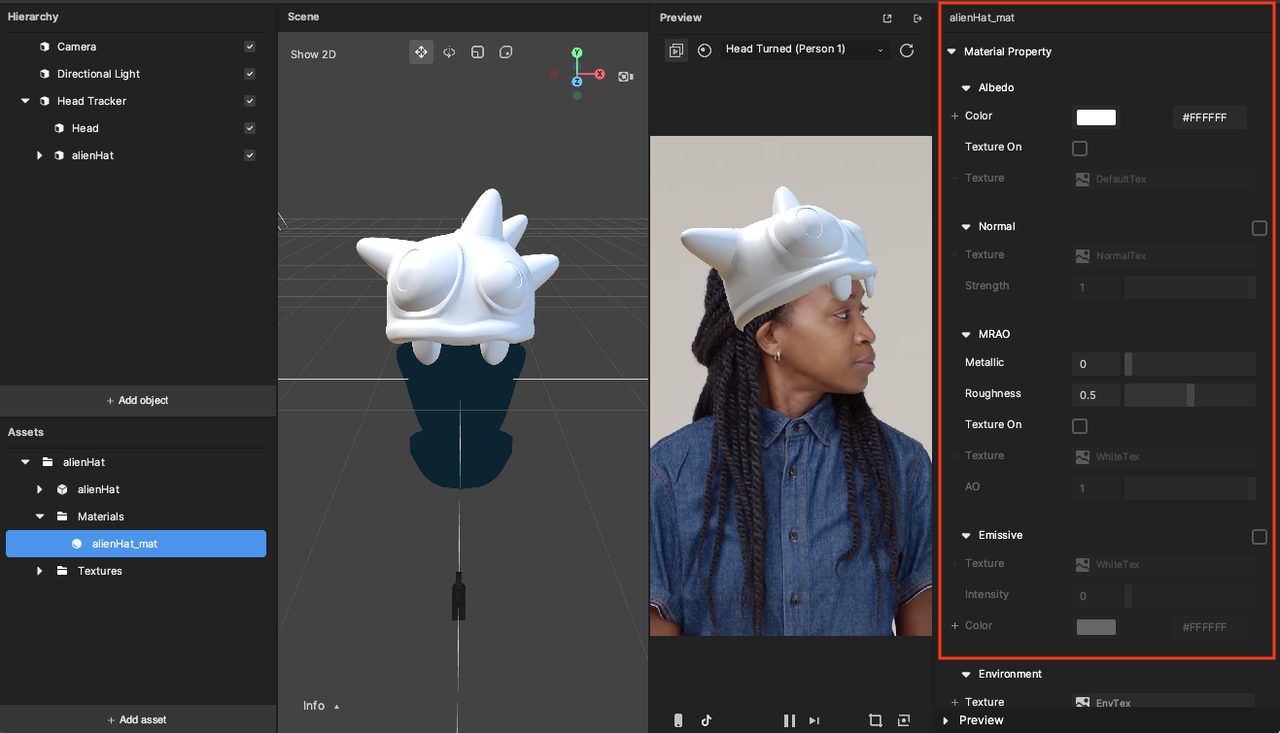
Now you can see that the model is placed correctly, but it has no material! Play with the material to give the hat some color.
There is already a material called alienHat_mat in the Assets panel. If not, try to create a PBR material by clicking the Add button [+] > Material > Standard PBR. This will create a default material that will respond to environmental lighting from the scene and to which you can assign custom textures.
Learn more about the Standard PBR material.
You can rename the material by right-clicking the Standard PBR material, choosing Rename, and typing alienHat_mat. Clear naming conventions will help keep your assets and structures organized when you build large scale projects.
Now your ready to put the material on your model! Take a look at the different parts of the alienHat model in the Hierarchy panel.
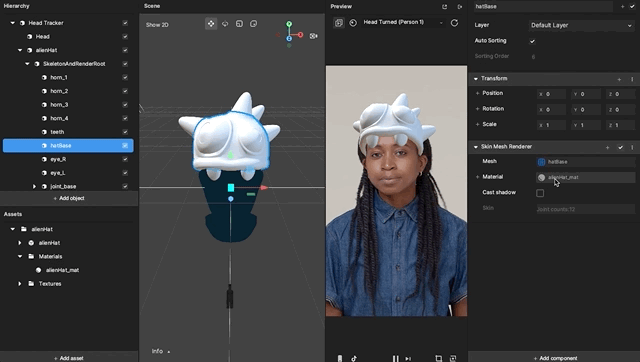
You need to apply your material to each of these pieces. Start by selecting the hatBase entity from the Hierarchy panel. You can see the Skin Mesh Renderer component in the Inspector panel.
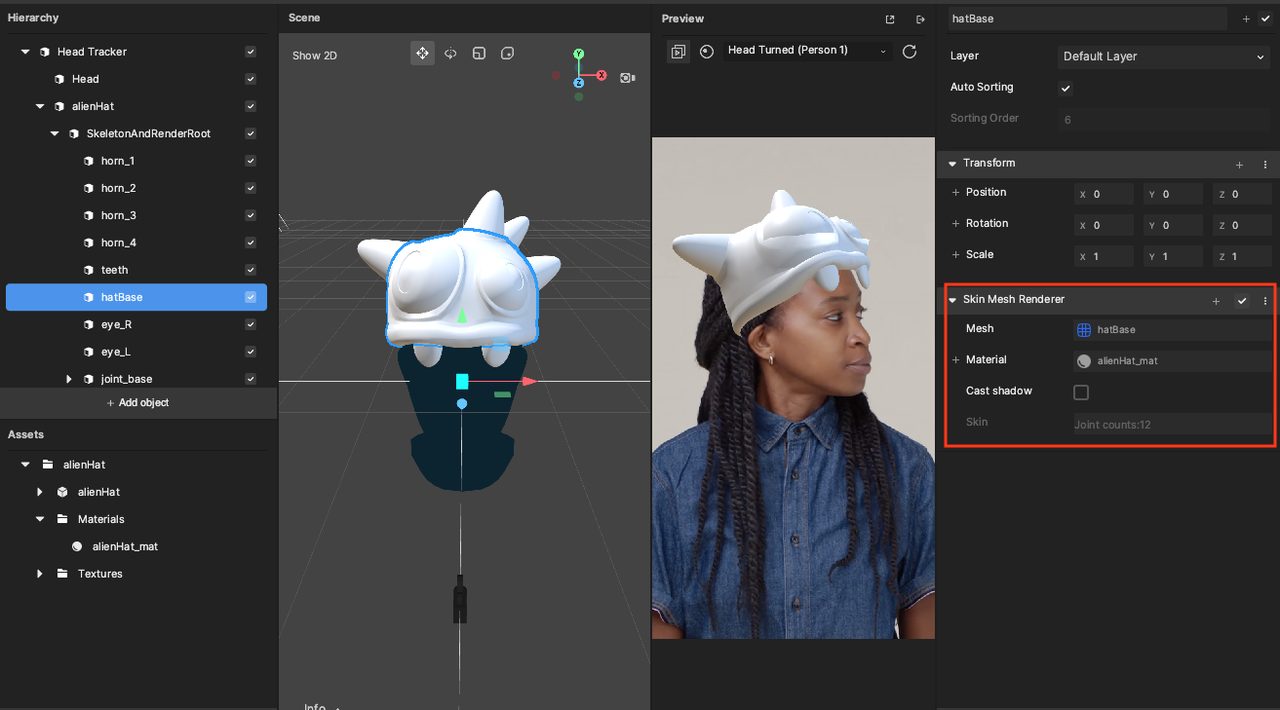
If the Material field, click it and select the alienHat_mat material.
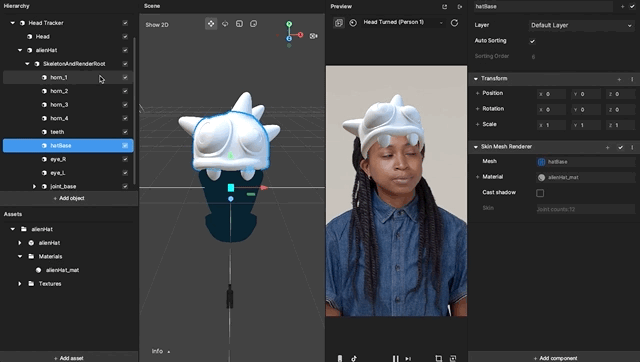
Repeat this step for every piece of the alien hat to make sure every mesh has been assigned the material.
Assign Texture
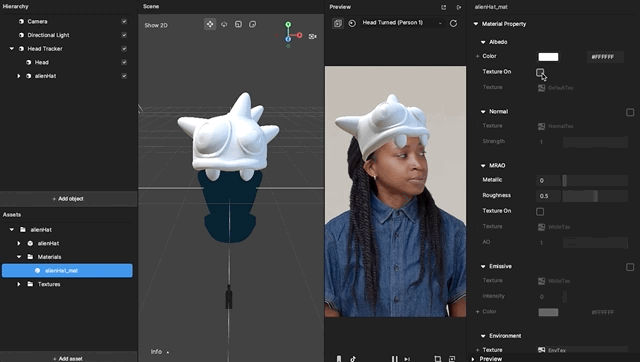
Next, we’ll apply textures to the material. Click the material in the Assets panel to bring up its properties in the Inspector panel.
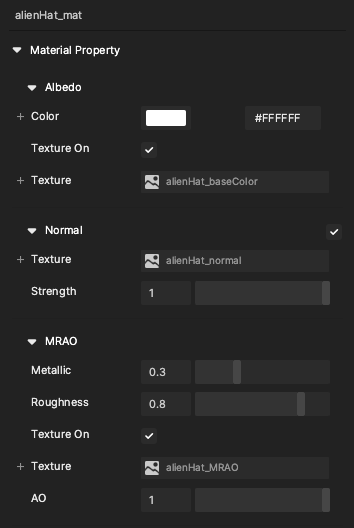
For the material, you will be applying the base color to the Albedo, the normal texture to the Normal section, and the MRAO texture to the MRAO section. In the Albedo section, click the Texture On checkbox. This will bring up an option to add a texture file. Select the alienHat_baseColor texture from the pop-up window.
Repeat this for the Normal section and the MRAO section with their respective textures. Your material properties should end up like this:
We can now see that the base hat has the correct material in the Scene and Preview panels!