Screen Image
The Screen Image object allows you to create an image in 2D screen space.
Add a Screen Image Object
To add a Screen Image object, click the Add button [+], go to 2D, and select Screen Image in the Hierarchy panel.
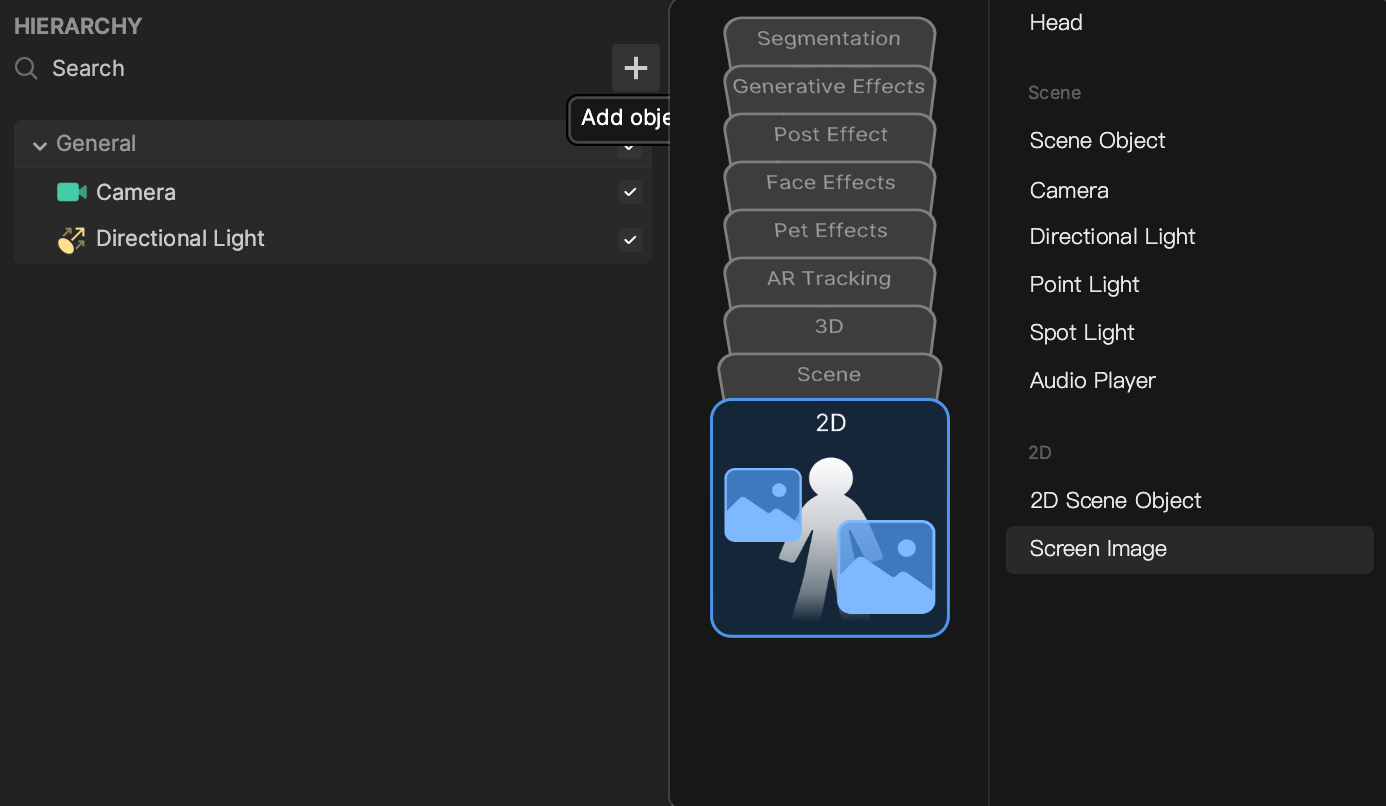
A 2D Camera is automatically added along with the Screen Image.

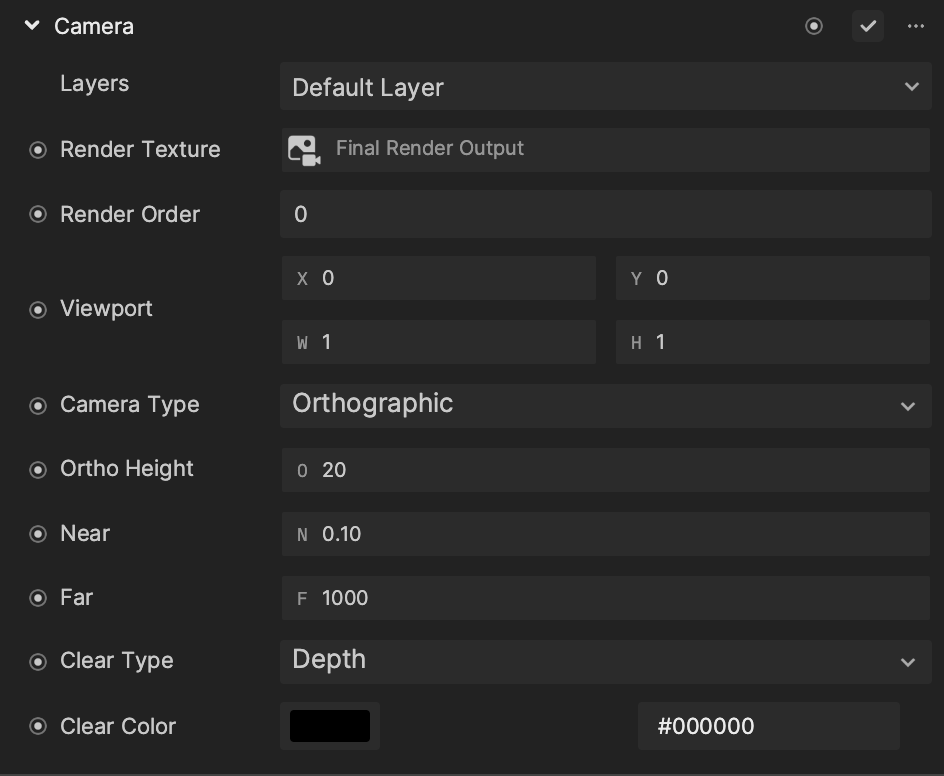
The assigned Camera Type is an Orthographic camera, which displays objects without perspective. Regardless of how you move the camera, the image will appear unchanged in the preview.
Altering the 2D Camera‘s Ortho Height value in the Inspector panel renders the image larger or smaller in the preview. A lower value shows a larger image, while a higher value shows a smaller image. Learn more about orthographic cameras.
Use the Screen Image Object
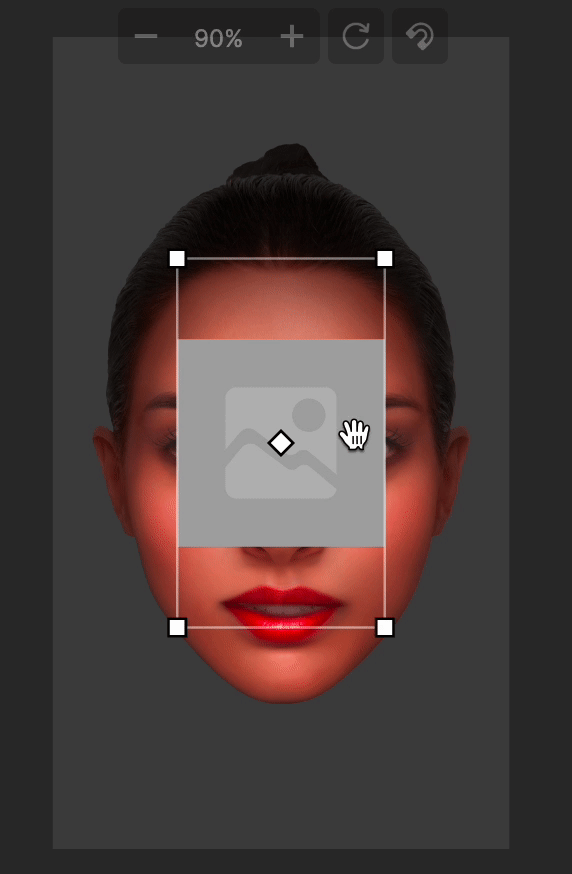
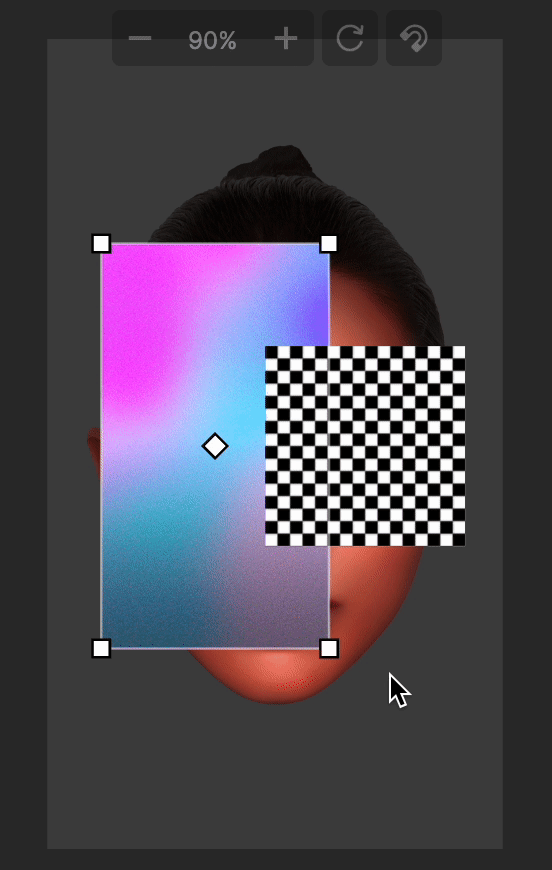
You can manipulate the Screen Image in screen space, and assign a Texture to change what it displays.
Image Asset Preparation
You can import image assets into Effect House by clicking the Add button [+] > Import > From Computer in the Assets panel. You can also simply drag the image into the Assets panel.
Learn more about 2D image preparation.
To apply the imported image to the Screen Image, select the Screen Image object in the Hierarchy panel. Then go to the Inspector panel to view the Image component, and change the Texture property to the imported image asset.
Image Requirements
- Format: Effect House supports PNG and JPG files
- Single file size: Less than 1 MB
- Total effect package: Less than 5 MB
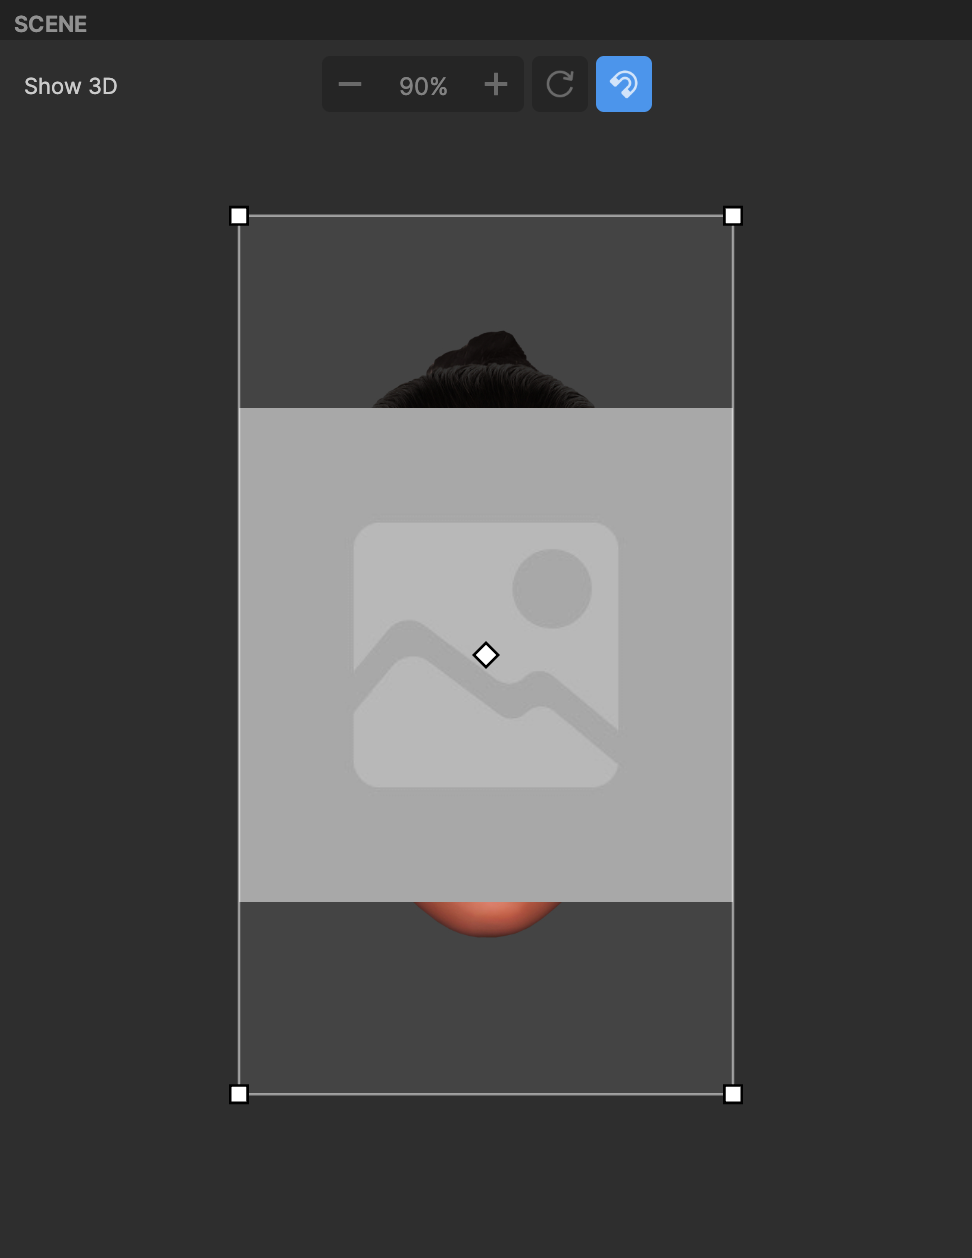
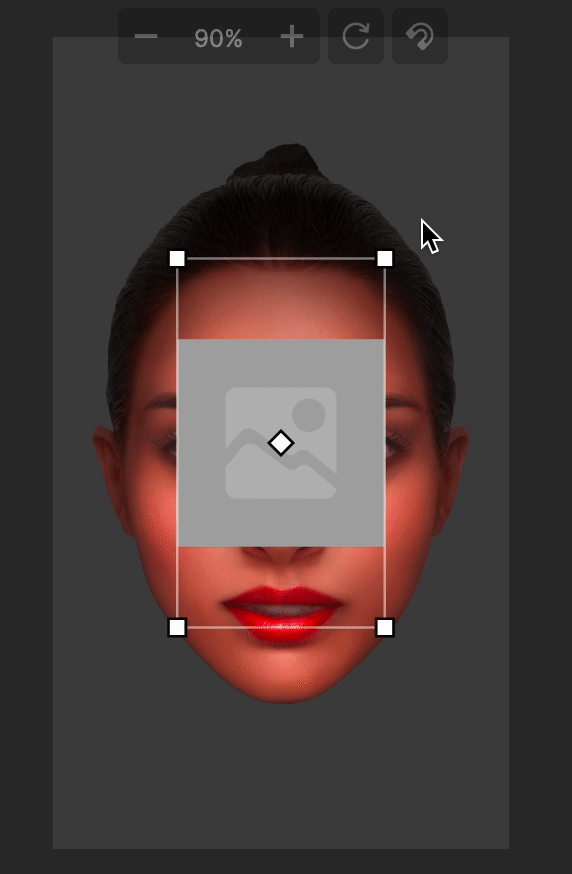
Move, Rotate, and Resize the Screen Image
In the Scene panel, you can scale, rotate, and transform the bounding box.
To reposition the image, click and drag the image in the Scene panel.
To resize the image, click and drag the corners and edges of the bounding rectangle. The image is scaled uniformly, so the aspect ratio is preserved.
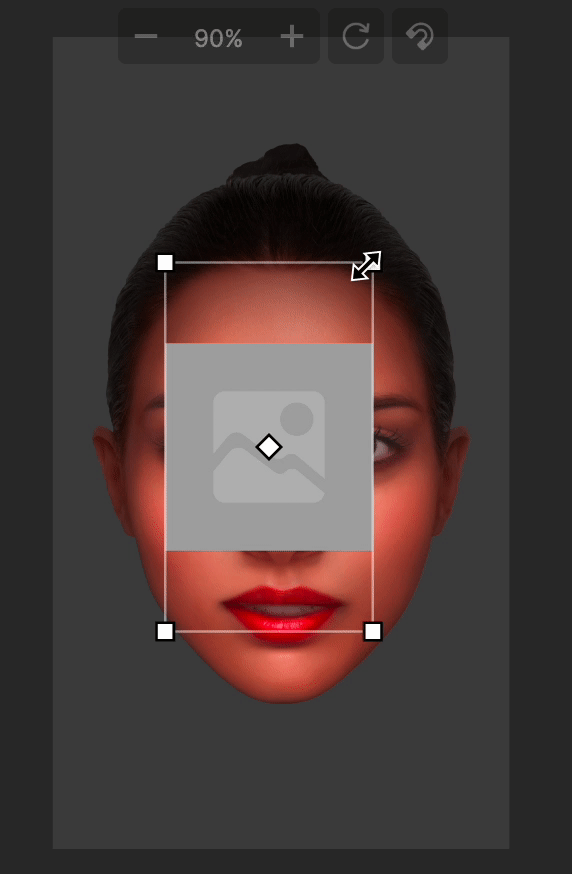
To rotate the image, hover your cursor over a corner of the bounding rectangle until the rotation handle appears. Click and drag with the rotation handle to rotate the image.

You can also use the magnet function to snap the image to specific locations in the 2D scene. Click the Magnet icon above the scene and adjust the image to your desired position. Snapping happens at the edge, corner, or center line of the 2D scene. It can also be used when resizing the object.
Use Multiple Screen Images
Ordering Images in the Scene
When using multiple Screen Images, the render order of the images is directly tied to their order in the Hierarchy panel. Objects lower in the render group will render after objects higher up in the render group.
Move Multiple Images Together
To group multiple Screen Images together, Command + click (Mac) or Control + click (Windows) the desired images in the Scene panel, and drag them to reposition them together.
When multiple Screen Images are selected, you can move them as a group, but you can’t rotate or scale multiple images at the same time.
Components
The Screen Image object is made up of the following components, found in the Inspector panel: