3D Face Mask
In this tutorial, you’ll learn how to construct a 3D face mask to create customized face mask effects. You’ll also learn how to control lighting resources with Visual Scripting to apply animated reflection and refraction effects on the 3D face.
Get Started
Start by downloading the 3DFace package and locating the Unfinished_3DFace project.
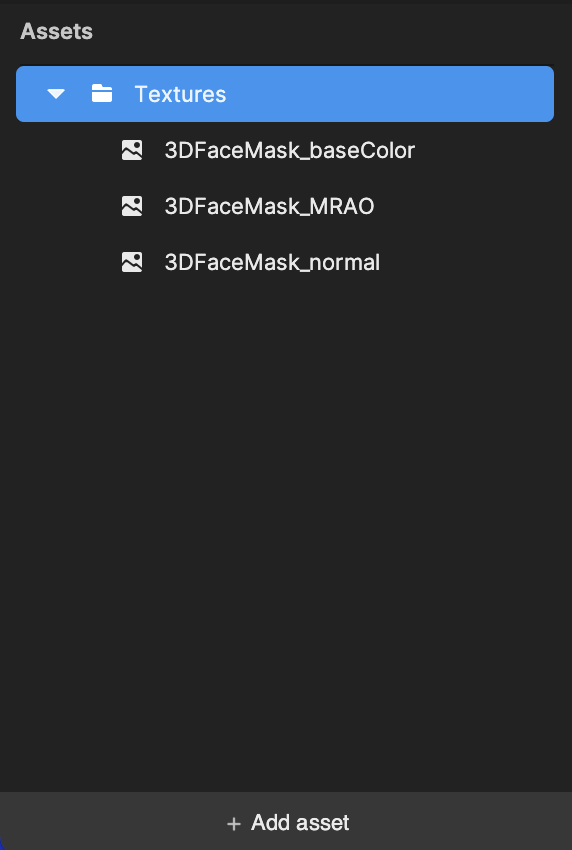
You will see all the required assets imported in the Assets panel.
Add a 3D Face Shape
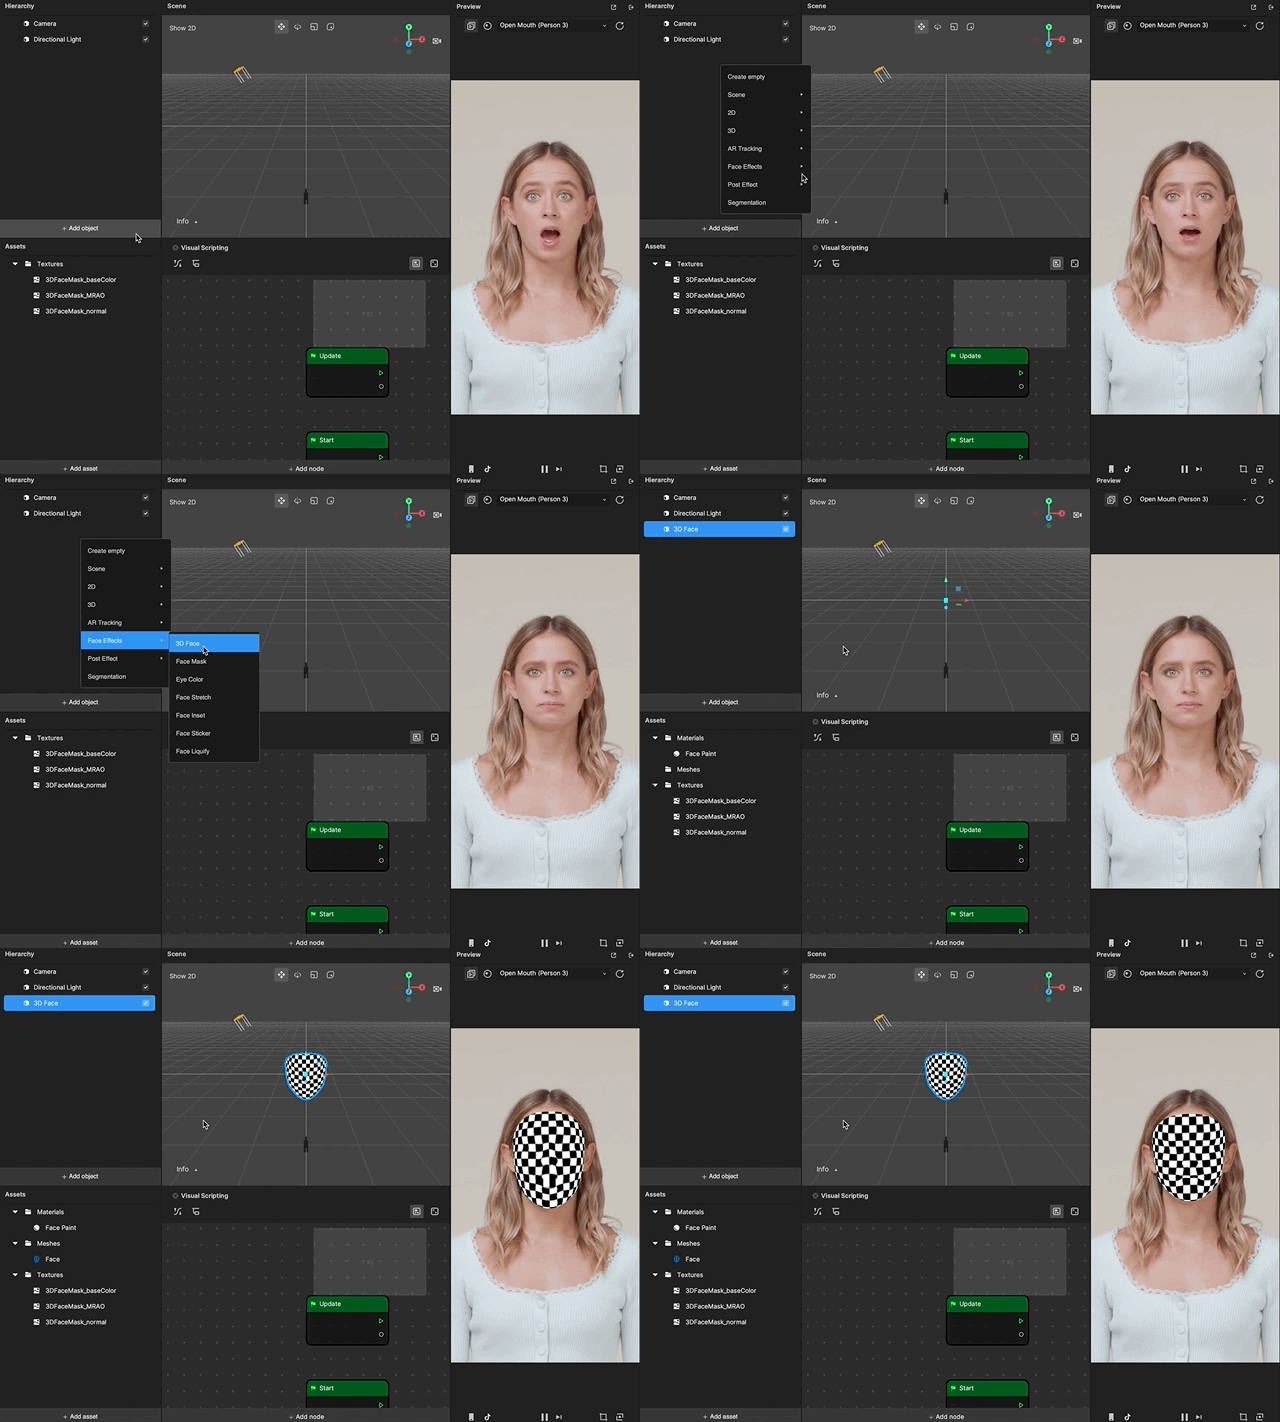
Start by adding a 3D Face object, the foundation of your effect. You can do this by clicking the Add button [+] > Face Effects > 3D Face. You will see a default 3D Face object generated on the face in the Preview panel.
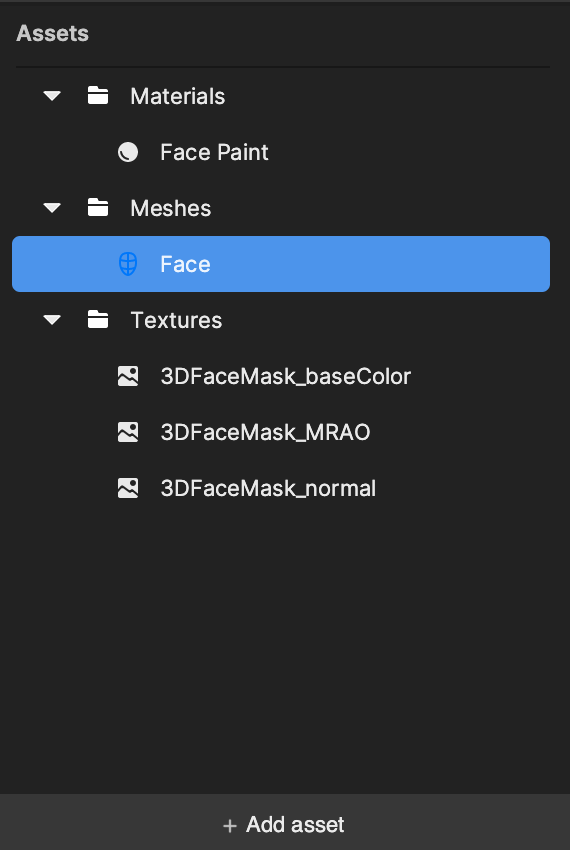
The mesh of the 3D face is generated automatically. You can find it in the Meshes folder in the Assets panel.
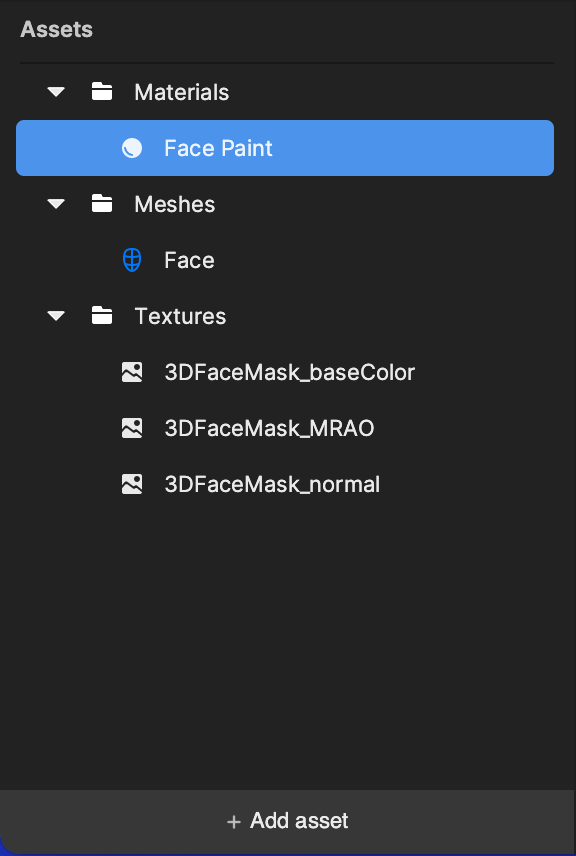
You will also notice that a Face Paint scene object is generated in the Material folder and automatically assigned to the 3D Face.
Face Paint is a built-in material that comes with 3D Face mesh. It is an unlit material (meaning it doesn’t respond to lighting) with UV control that allows you to quickly swap patterns that appear on the face. Learn more about Unlit materials.
Apply PBR Material
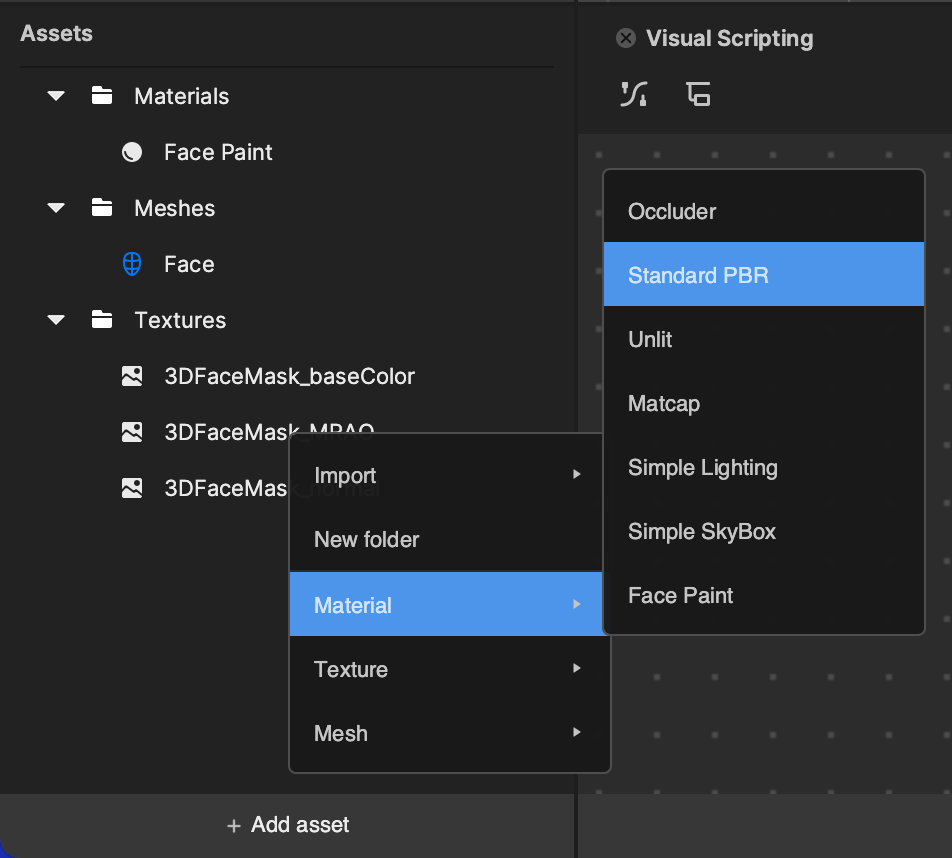
In this step, you will make the effect respond to different lighting environments. This is done by using PBR material instead of Face Paint material for the 3D Face. Go to the Assets panel and click the Add button [+] > Material > Standard PBR to create a new PBR material.
Learn more about Standard PBR material.
Then rename the material to 3DFace_mat.
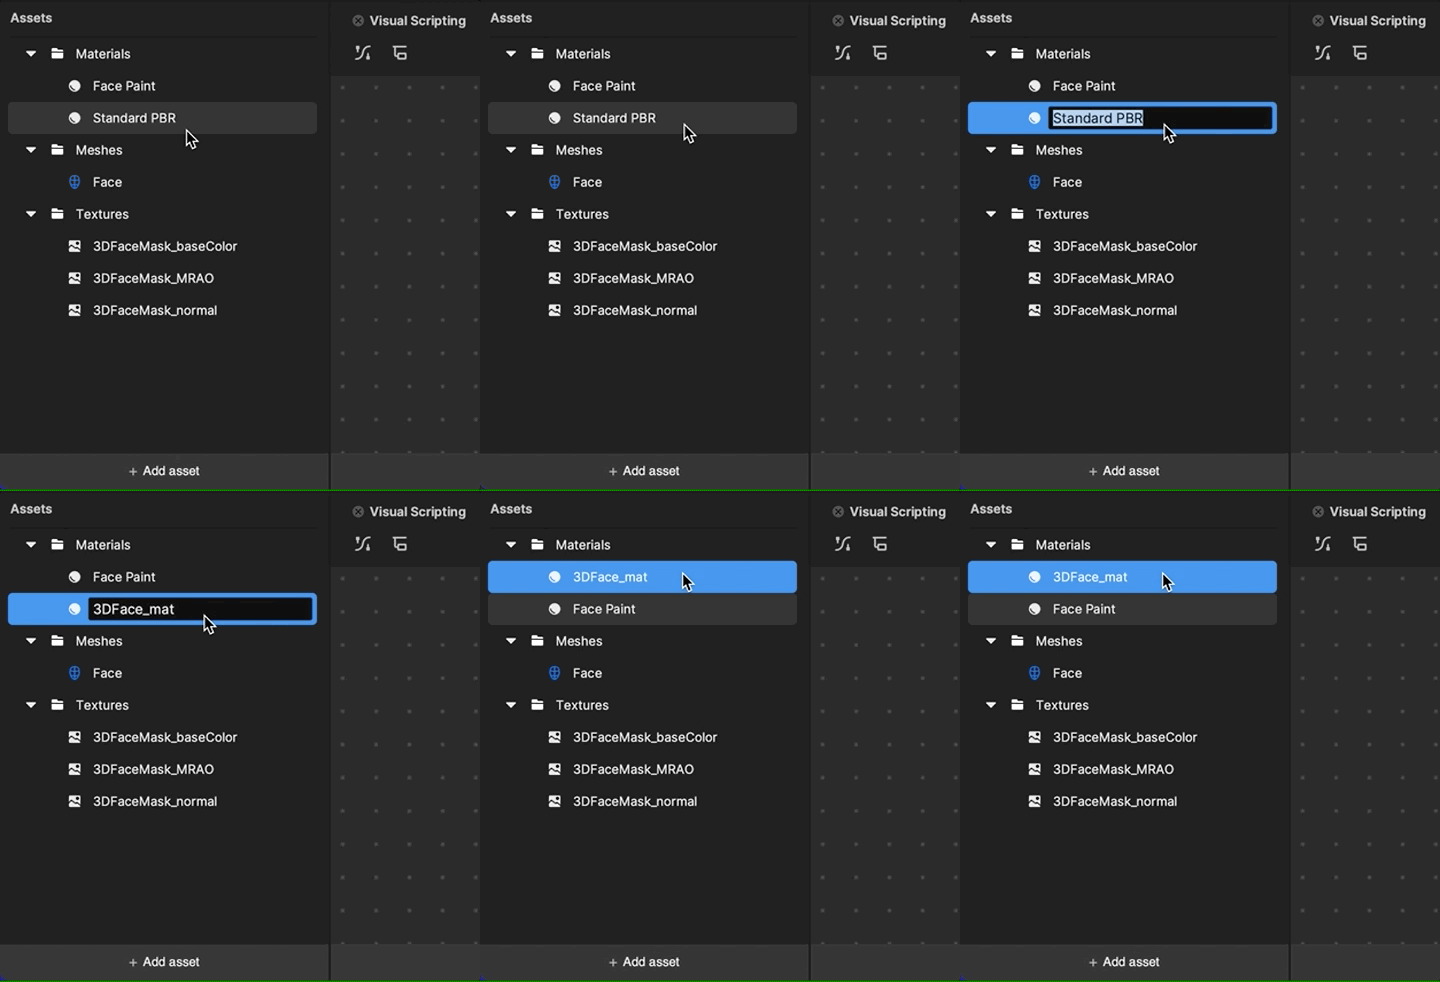
Now you’re ready to put the material on the 3D Face.
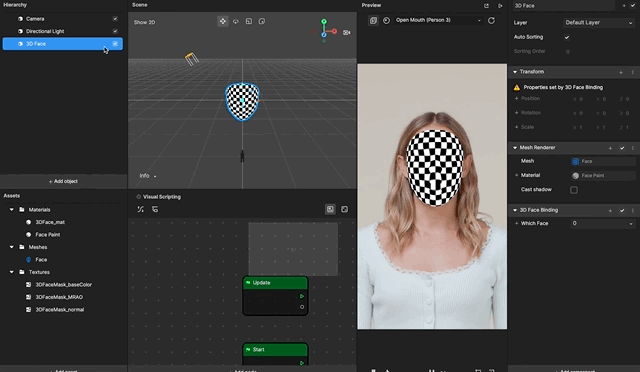
Go to the Hierarchy panel and select the 3D Face entity. Find the Mesh Renderer component in the Inspector panel.
Click the Material parameter, and select the new material 3DFace_mata from the pop-up window.
Assign Texture to the Face Mask
Next you’ll apply textures to the material. Click the 3DFace_mat in the Assets panel to bring up its properties in the Inspector panel.
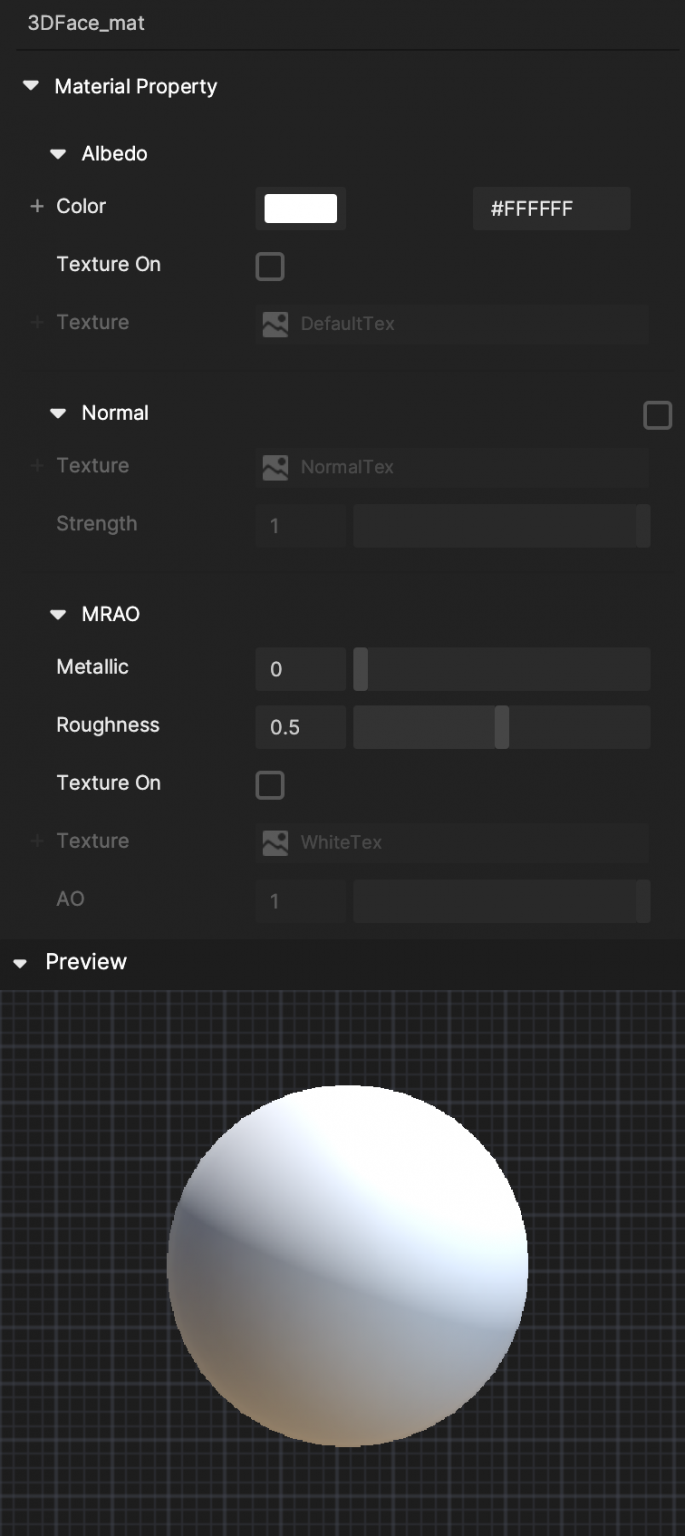
In the Albedo section, select the Texture On checkbox. This will allow you to add a texture file under Texture. Select the 3DFaceMask_baseColor texture from the pop-up window.
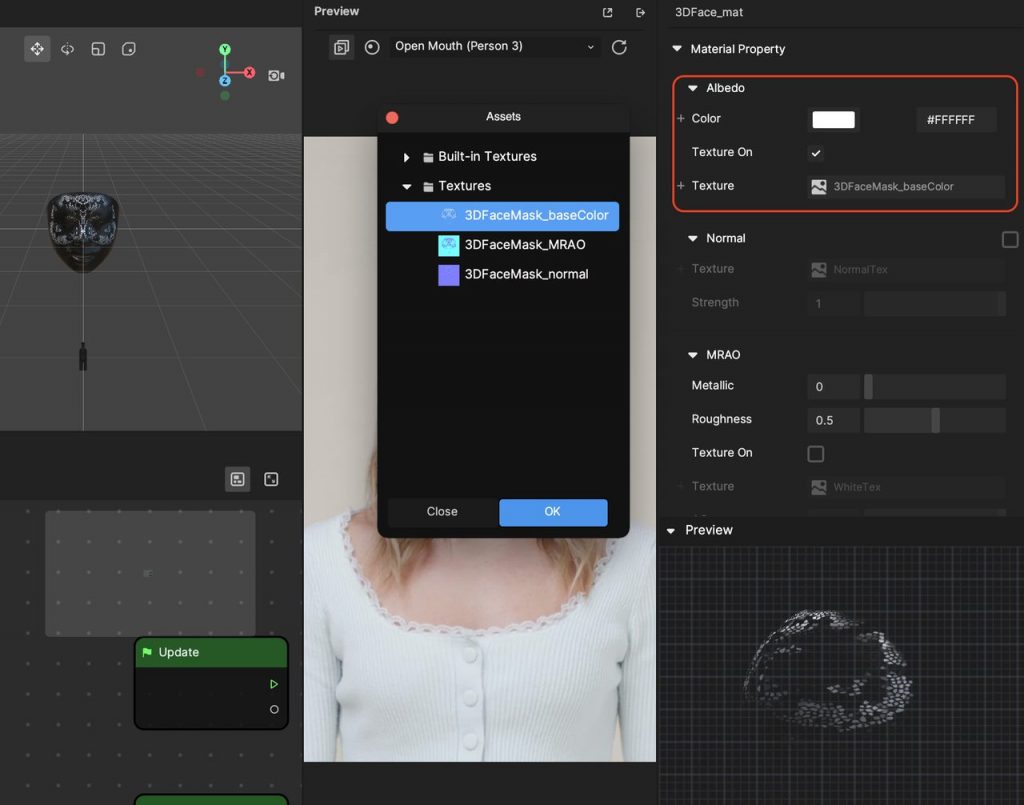
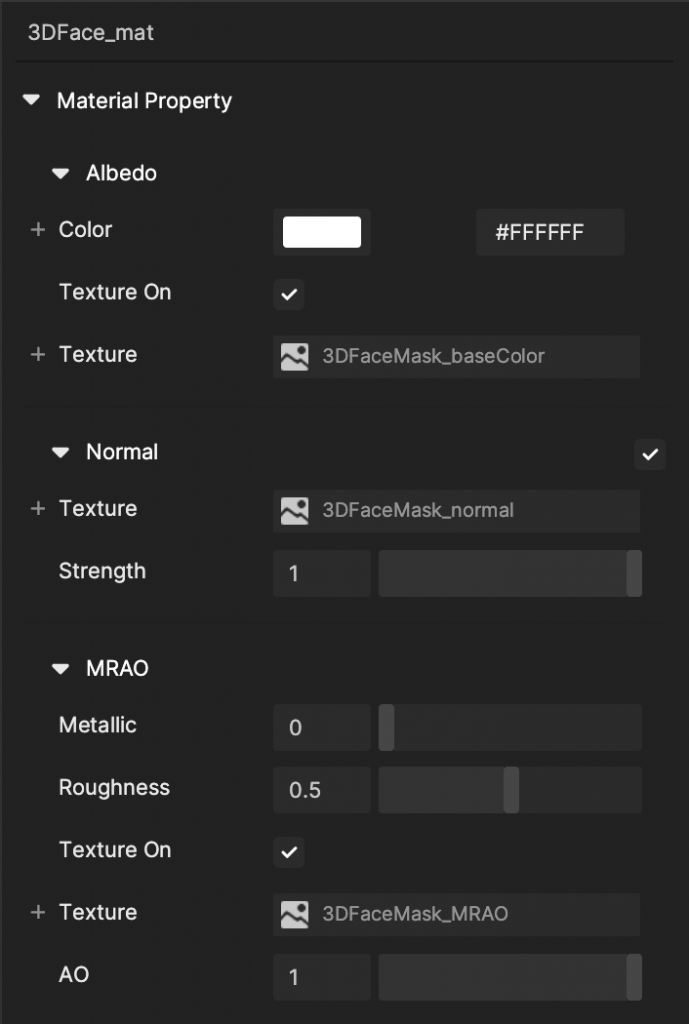
Select the Texture On checkboxes for both Normal and MRAO (Metalness, Roughness, Ambient Occlusion) sections and add their respective texture files. Your material properties should look like this:
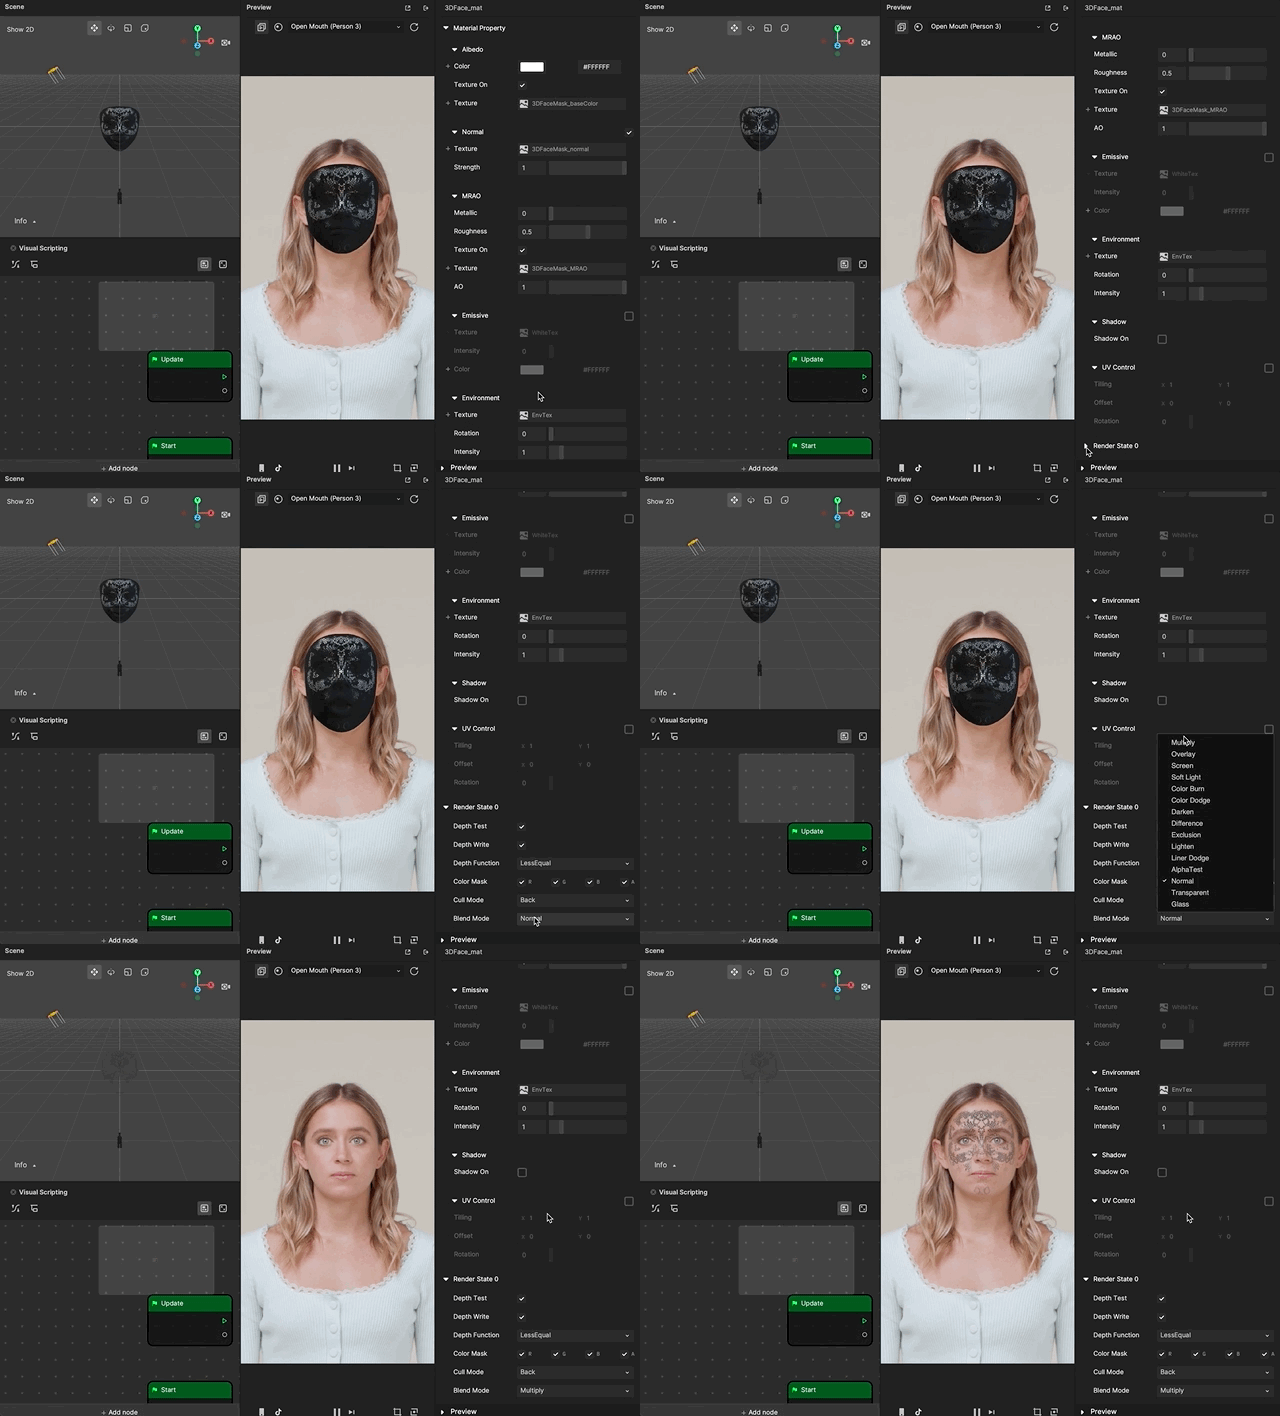
Notice that the 3D Face has the material in the Scene and Preview, but it is not transparent. This is because Blend Mode is set to Normal by default.
Scroll down in the Inspector Panel to Render State 0. Click the arrow to display all properties. You can change Blend Mode to Multiply. After doing so, the 3D Face will have the correct effect.
Edit Face Lighting Resources
Next, create the lighting setup in the scene to properly light your PBR materials.
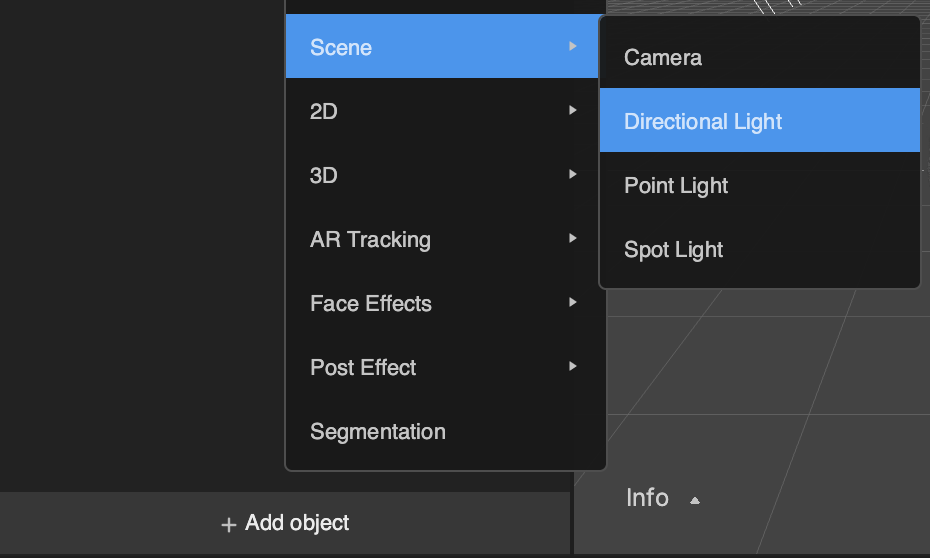
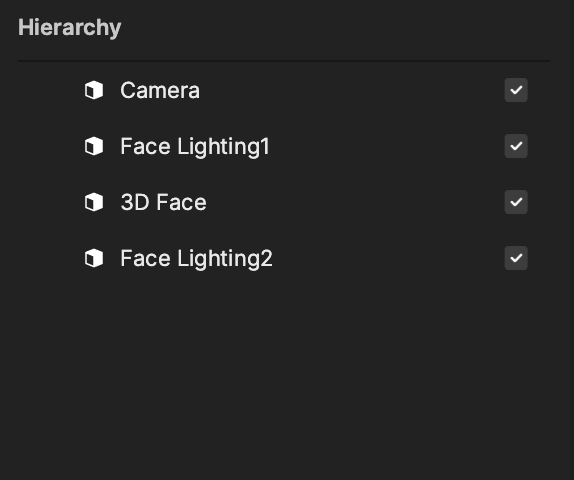
There is one lighting resource in the scene by default, but you want to have two lights to create the color changing effect. Click the Add button [+] > Scene > Directional Light to add one more light. Rename one light to Face Lighting 1 and the other to Face Lighting 2.
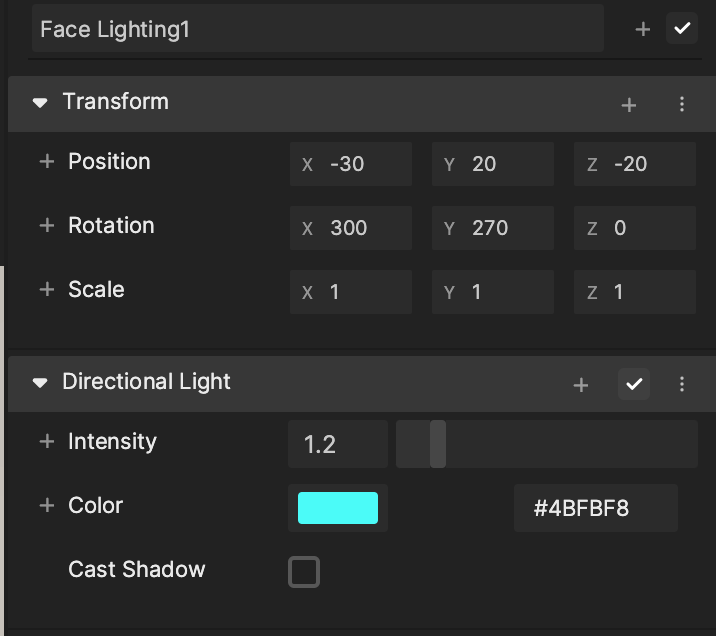
For Face Lighting 1, go to the Inspector panel and find the Directional Light component.
Set the Intensity to 1.2 and Color to #4bfbf8. For Face Lighting 2, set the Intensity to 2.9 and Color to #f568e3.
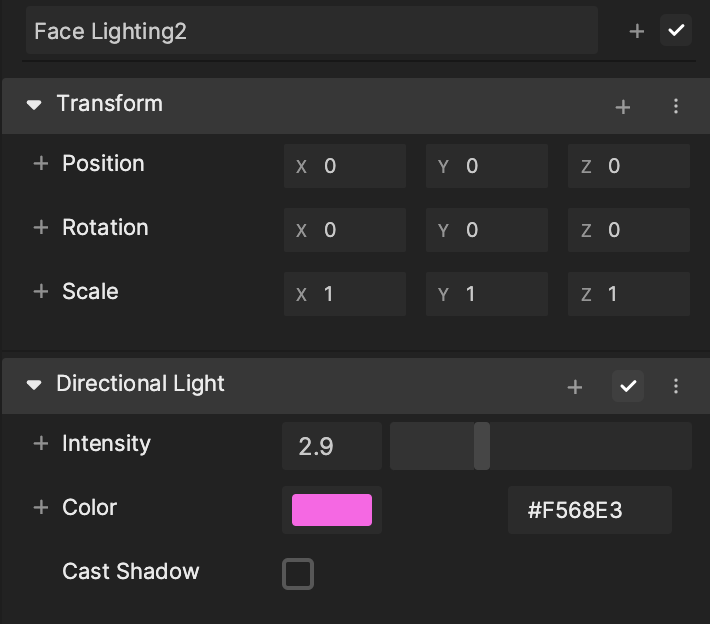
Feel free to play with the color and intensity parameters of the lighting resources.
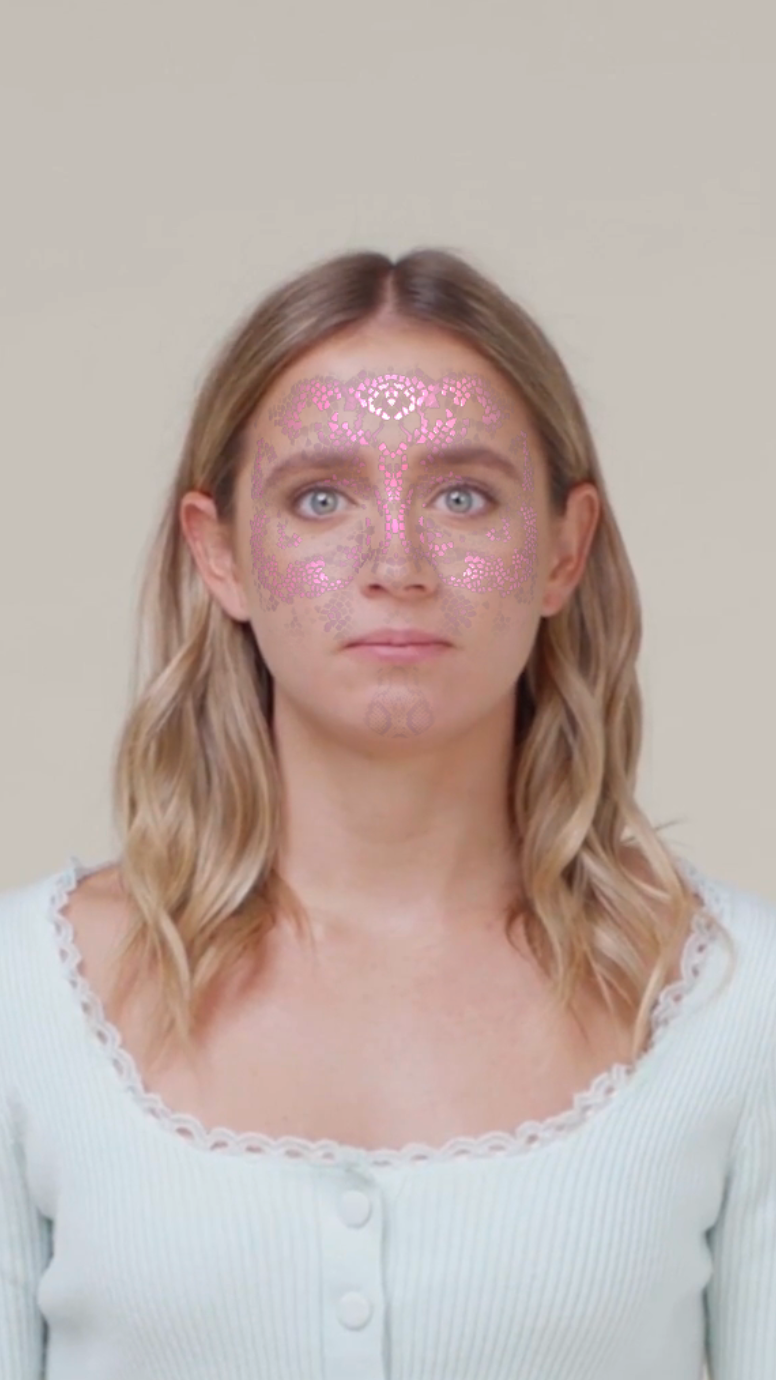
Now, these two lights are merged together. Animate the rotations of the lighting resources to take things to the next level!
Control Lights With Visual Scripting
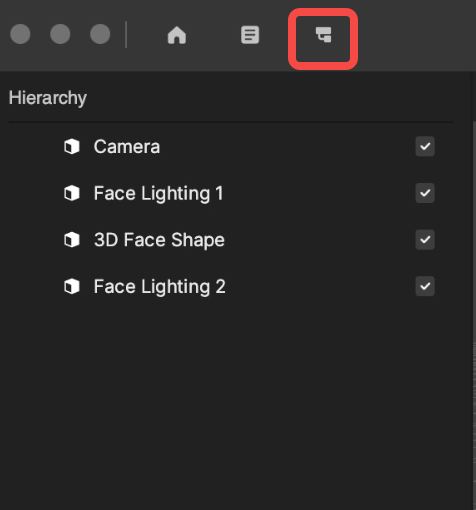
In order to control the rotation of the lighting you just added, first click the Graph button in the top left corner to bring up the Visual Scripting panel.
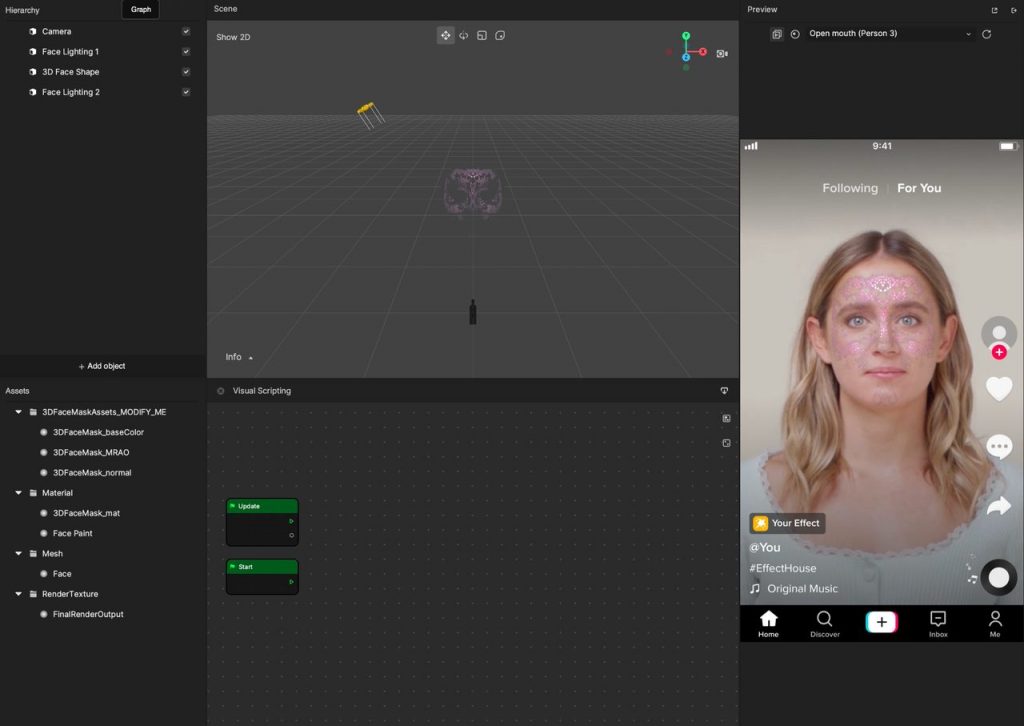
Now it’s time to add Visual Scripting nodes.
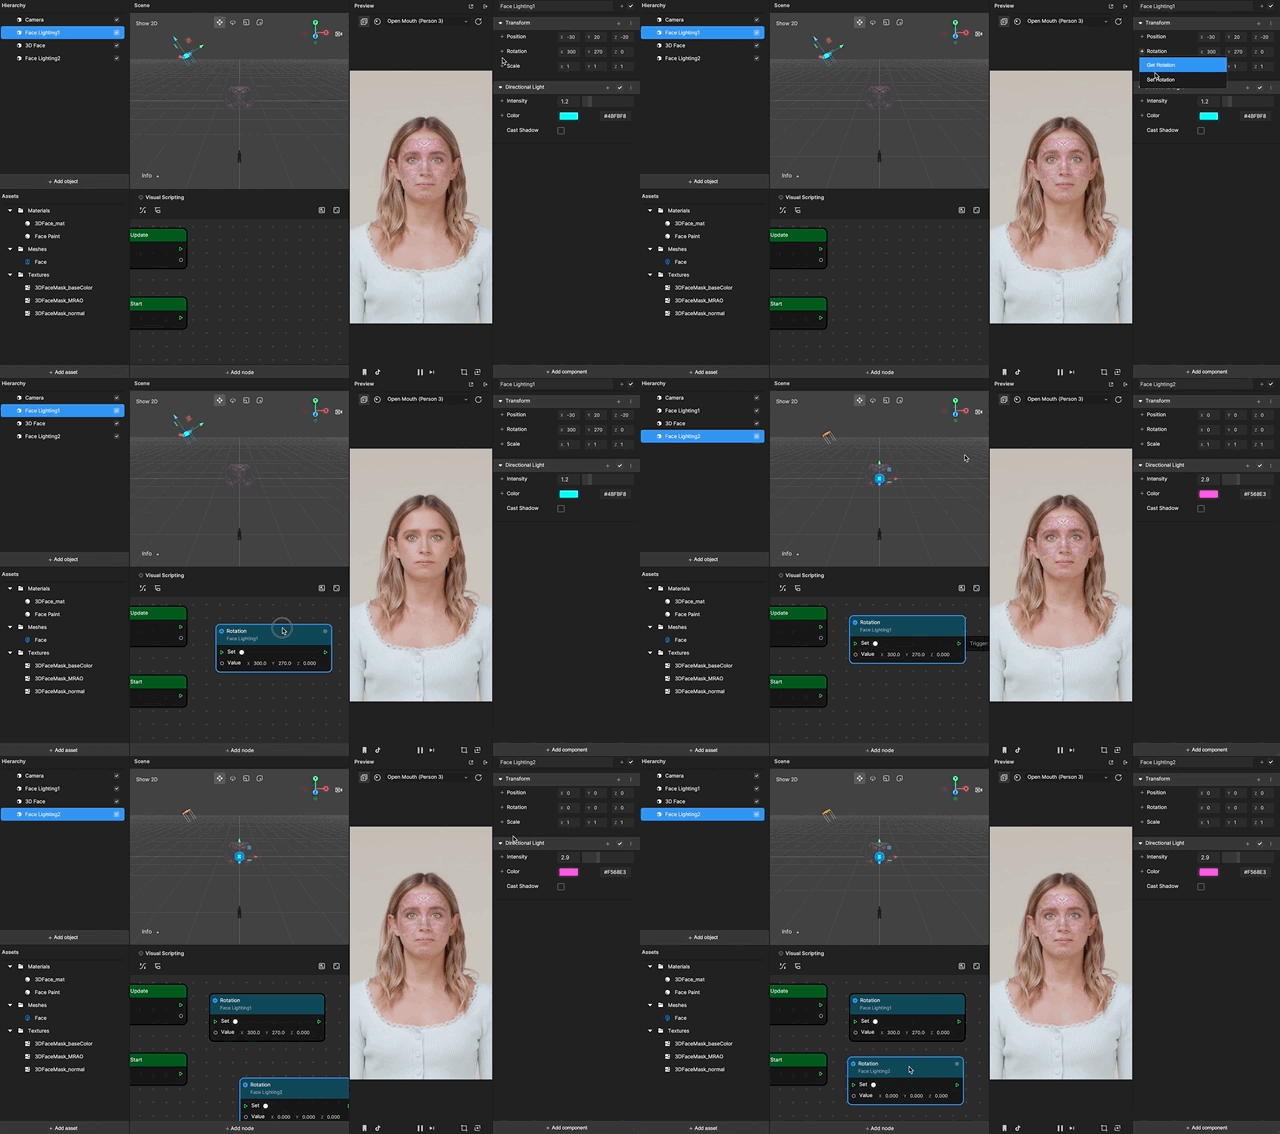
Select Face Lighting 1 to open the Inspector panel. Find the Rotation parameter under Transform and click the Add button [+] to select Set Rotation. You can see the node was created in the Visual Scripting panel. Repeat the same step with Face Lighting 2.
Next, use Get Time to control the rotation by clicking + Add node (or right-click the panel), then type “Get Time” in the search bar to find the node.
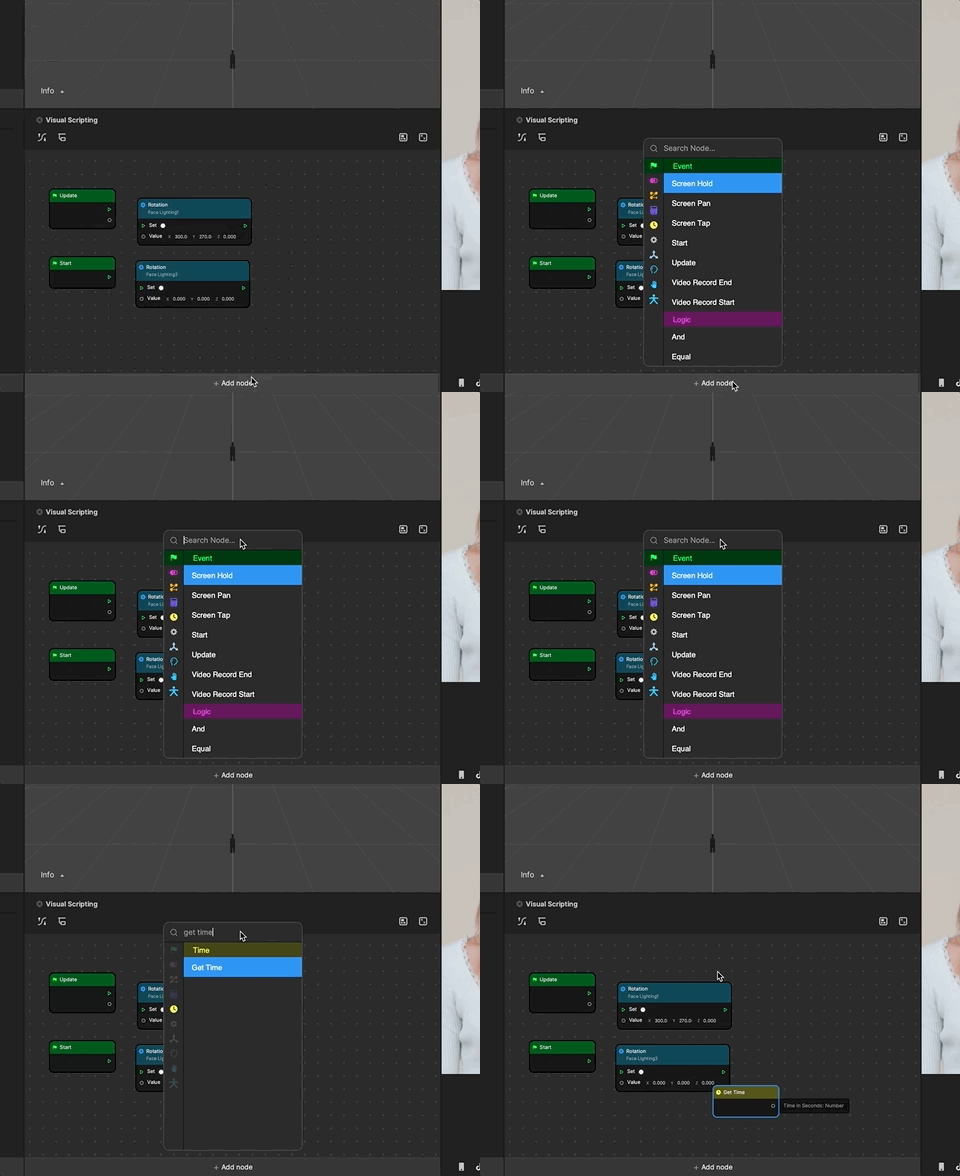
Use the same way to add Sin and Multiply nodes. Use these two nodes to limit the rotation values between a certain range.
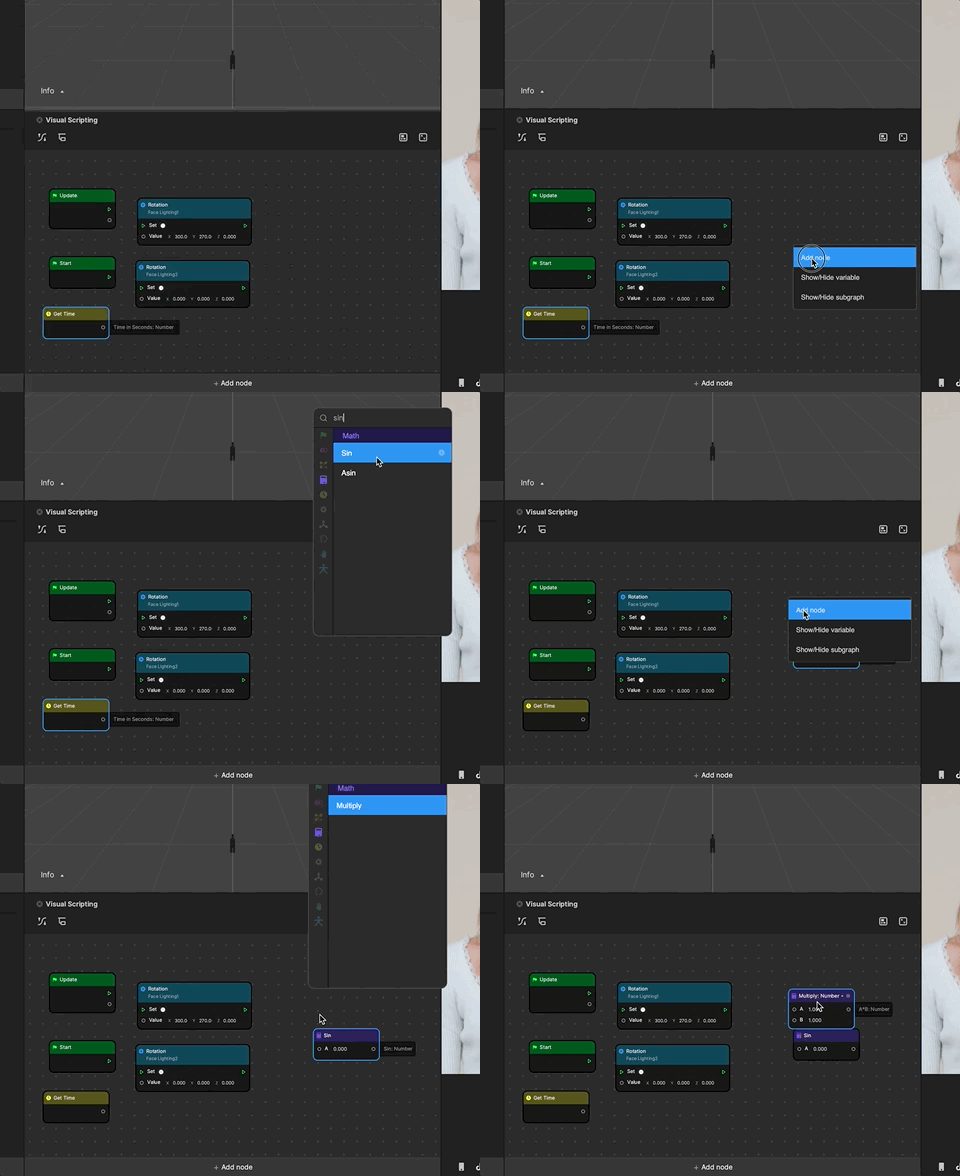
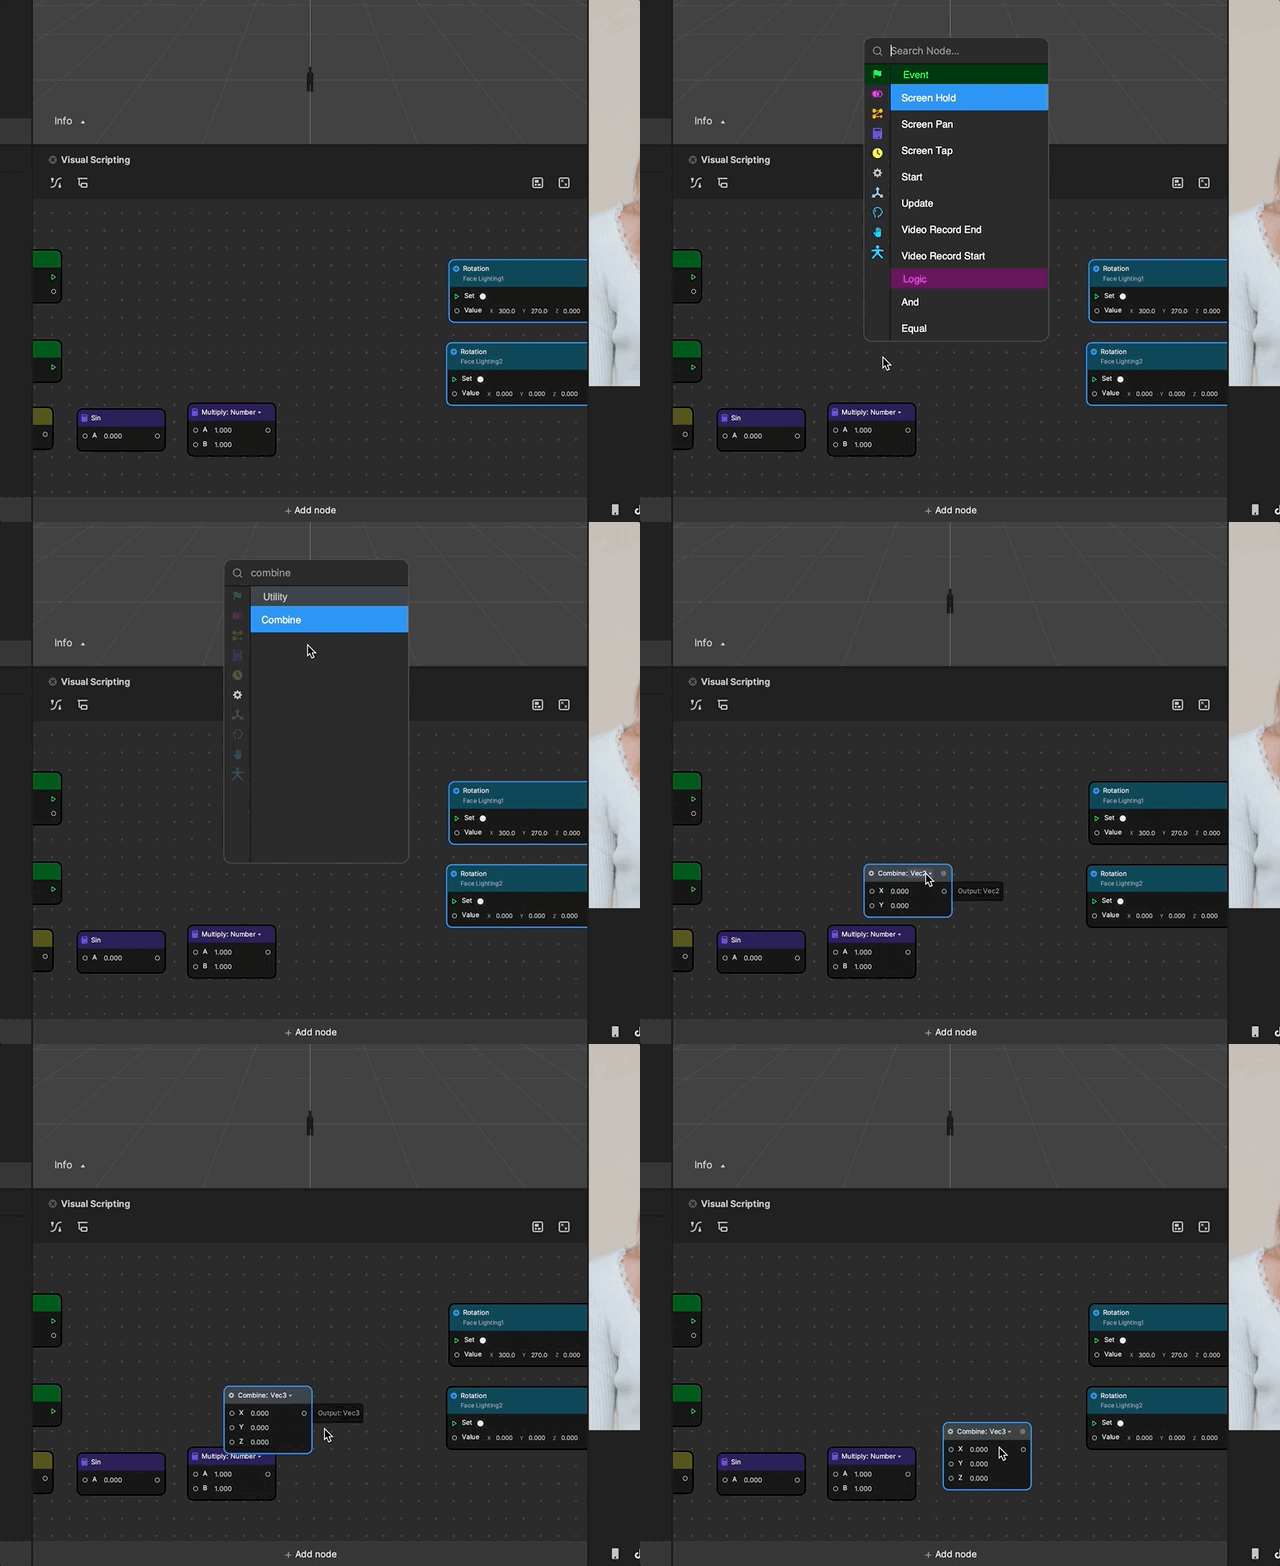
You also need a Combine node to convert these variables to Vector 3f. Right click on the Visual Scripting panel and find Combine to add. Click the data type on the Combine node and choose Vector3f.
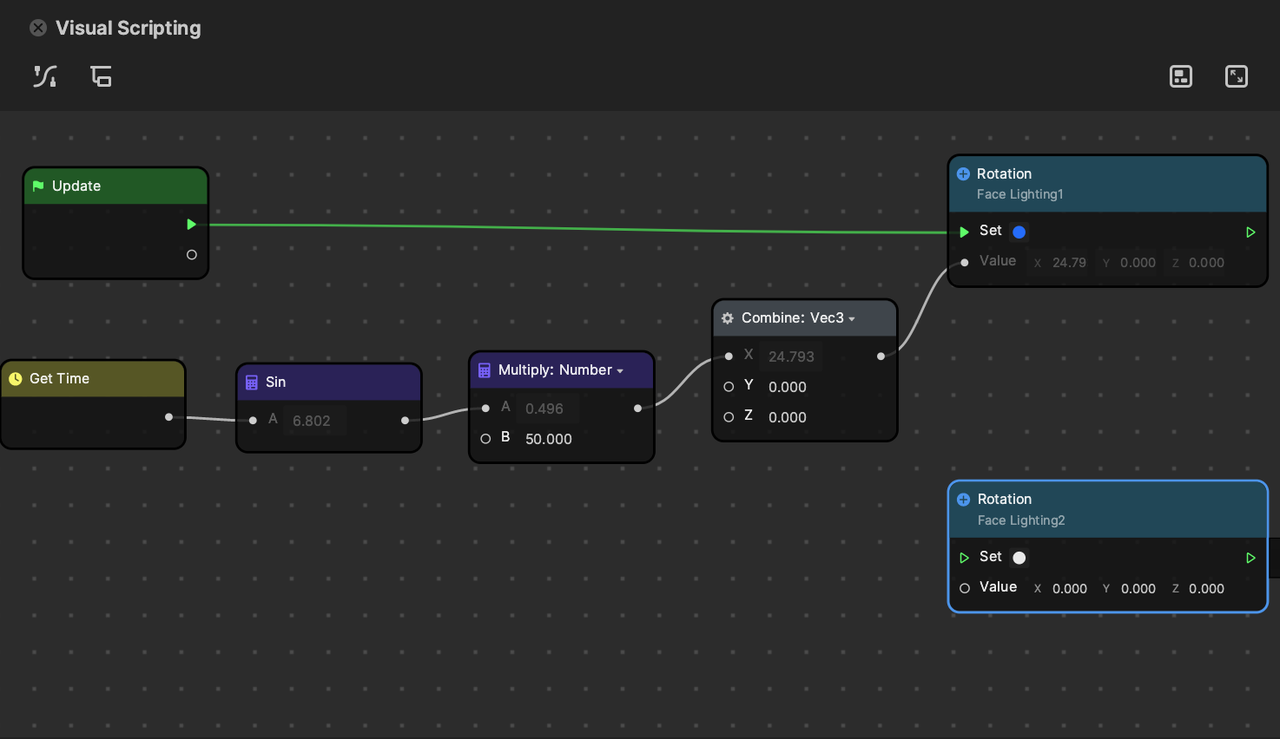
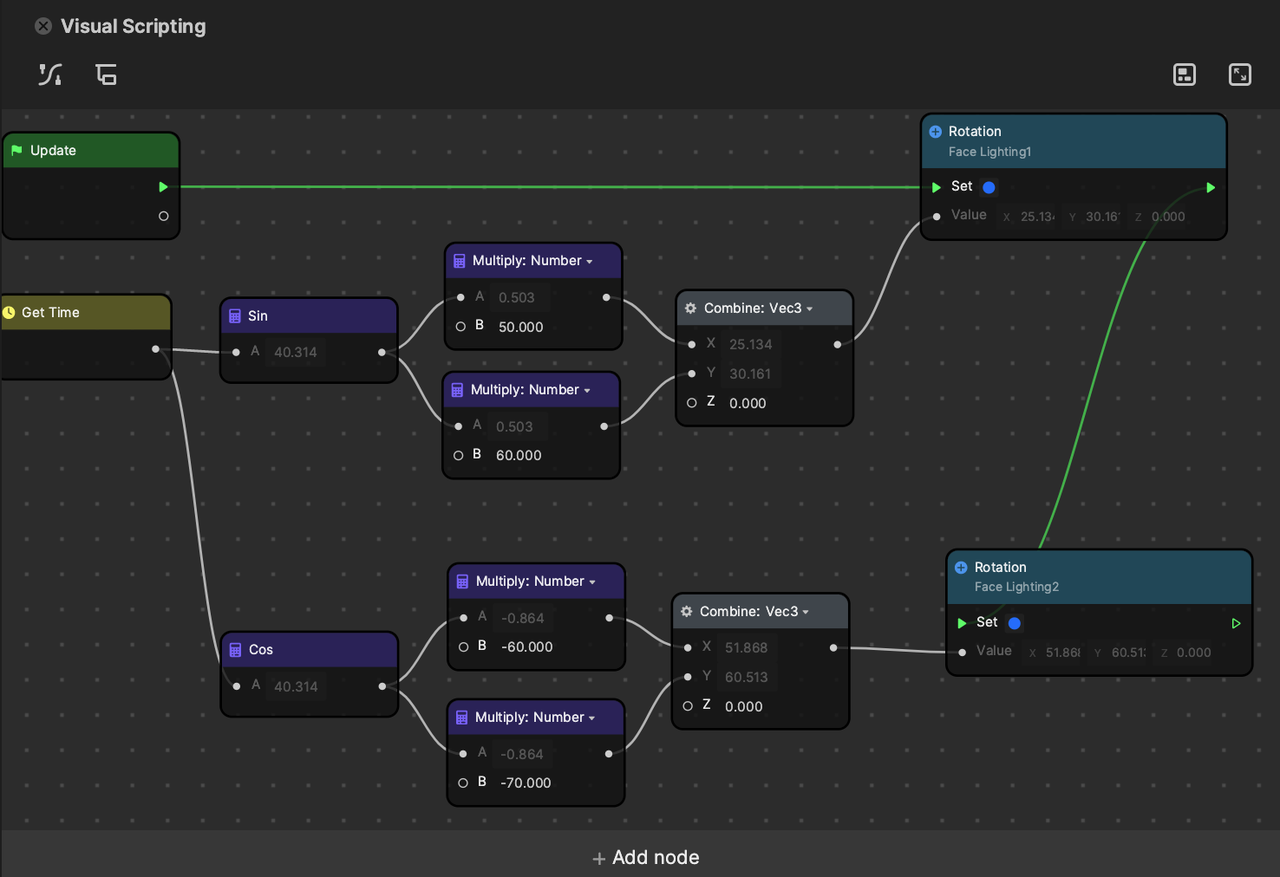
Now link the nodes together. Link trigger from the Update node to Set of Face Lighting 1 so it will be updated every frame. Link the following together: Get time to Sin, Sin to value A of Multiply, Multiply to value X of Combine, Combine to Rotation of Face Lighting 1. Then change value B of Multiply to 50, so that the X angle will change between -50 and 50.
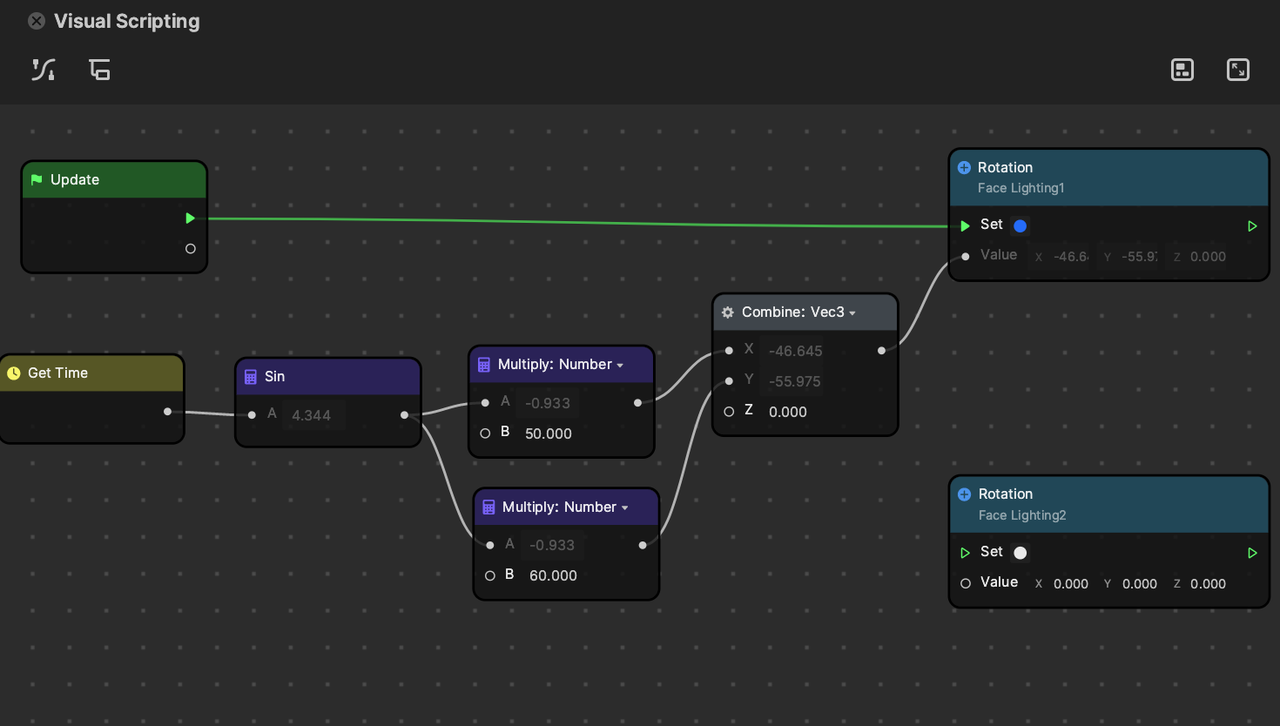
Duplicate the Multiply node to create a second one. Link the Sin output to value A of the second Multiply. Change value B of the second Multiply to 60. Then link the output to the second value of Combine to control the Y-axis in Rotation. This will allow the Y angle to change between -60 and 60.
Next, implement the similar interaction to control the rotation of Face Lighting 2. This time you will use Cos math instead of Sin to map the time variables to control the rotation variables.
Once all the nodes are linked to Face Lighting 2, link Set from Face Lighting 2 to the trigger of Face Lighting 1.
The final graph looks like the image below after you finish. Feel free to tweak value B of Multiply, which will change the rotation changing range.
Adjust the MRAO Value
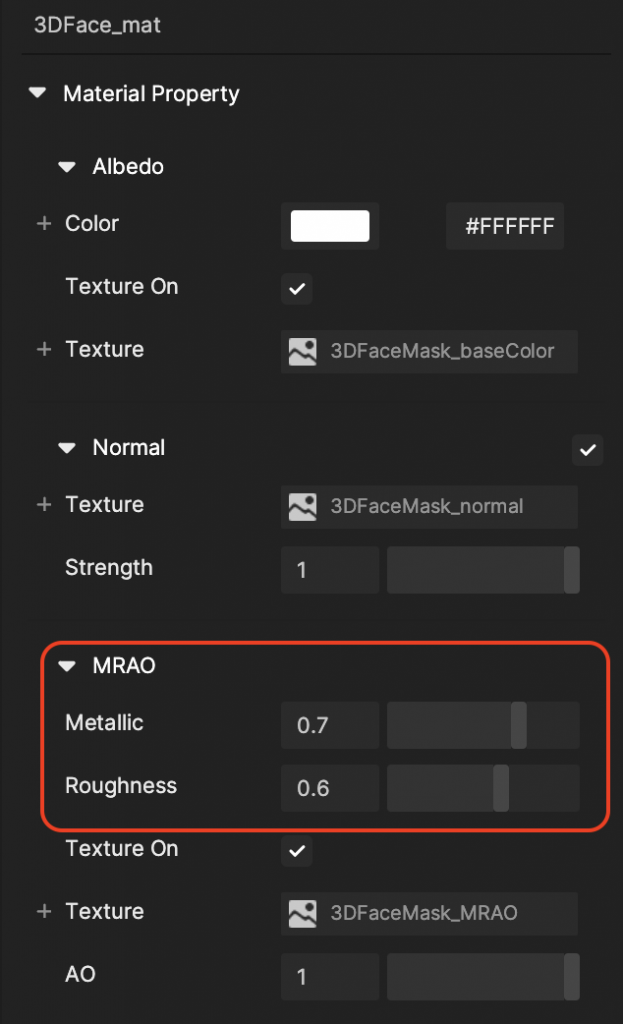
Finally, to add the shiny metal effect and reflect the color of the Face Lighting resources, go to the Inspector panel to tweak the Metallic and Roughness in MRAO (Metalness, Roughness, Ambient Occlusion) setting of 3DFace_mat.
- Metallic: 0.7
- Roughness: 0.6
Refresh the preview and view your very own effect in the Scene and Preview panels!