Visual Scripting Overview
Visual scripting in Effect House allows you to create interactive effects without having to worry about writing text-based code. Use nodes and variables to create complex logic.
Getting Started
To open the Visual Scripting panel, click the Graph icon on the top-left of the Effect House interface.

Visual Scripting Nodes
Visual scripting is a node-based creation system where each node performs a different function within your logic flow. As you connect each node, they will receive and pass information along the sequence. This system of connections allows you to use visual scripting to add triggers, events, controllers, and more to your effects.
Explore Each Node Type
- By default, two nodes are automatically added to a project: Start and Update. Start will be called when the effect begins and Update will be called once every frame.
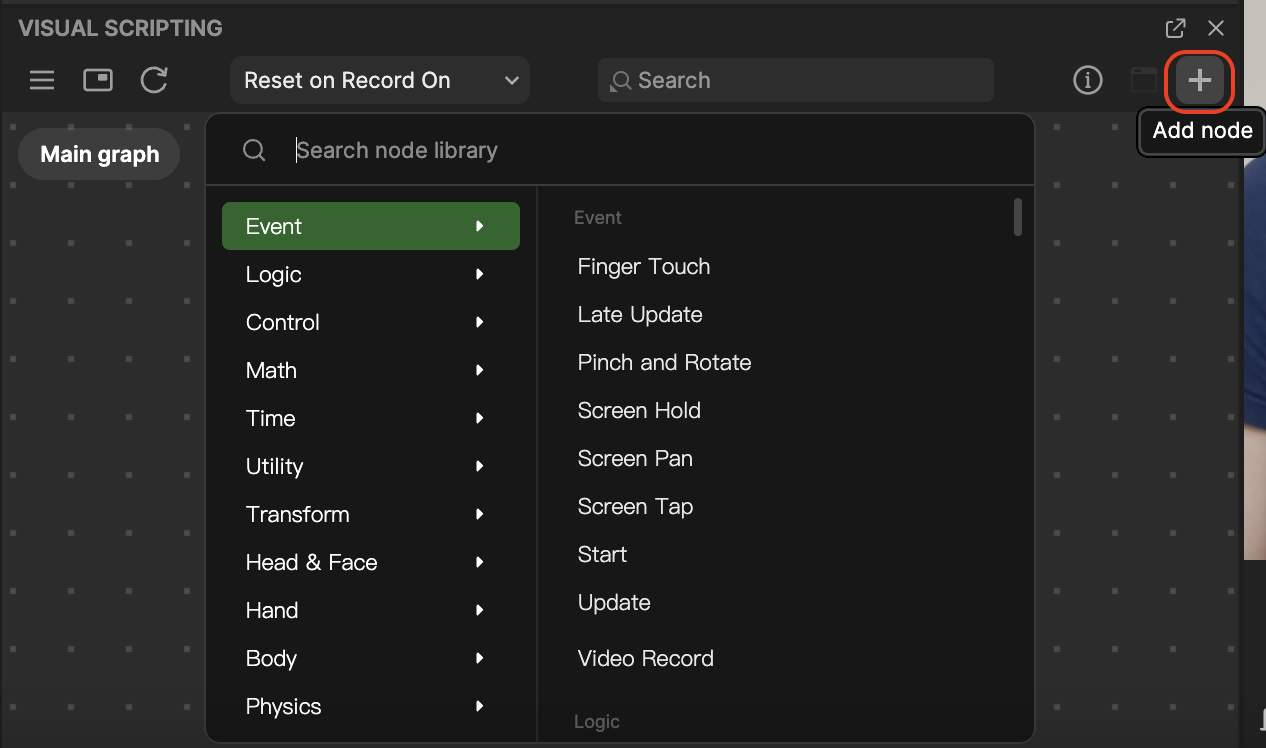
- Go to the Visual Scripting panel and click the Add button [+] > Add node at the top of the interface. A menu with every node will pop up. Select a node from the menu or type the name to search, and then click the node to add it to the panel.
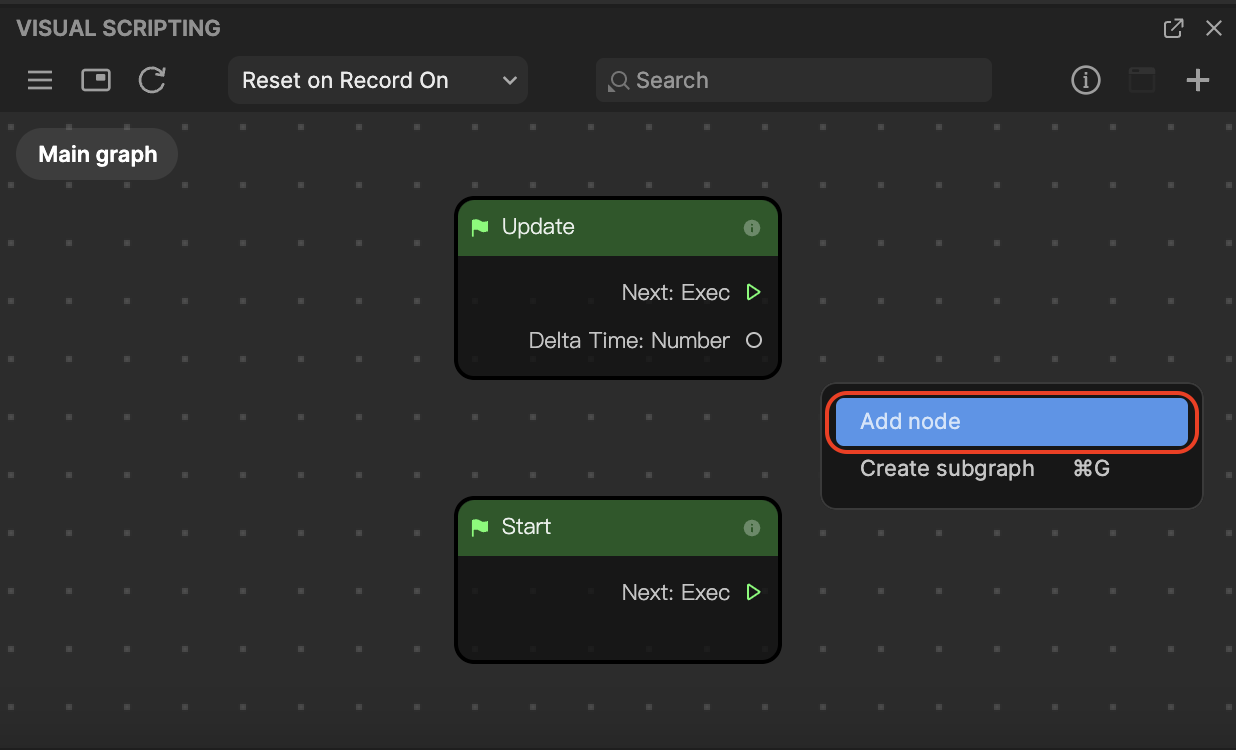
You can also right-click on a blank area of the Visual Scripting panel and select Add node to perform this action.
View Node Variables
A variable is a symbol which works as a placeholder for expressions or quantities that may vary or change. It only needs to be initiated once and can be reused multiple times throughout the effect creation process.
Add a Variable
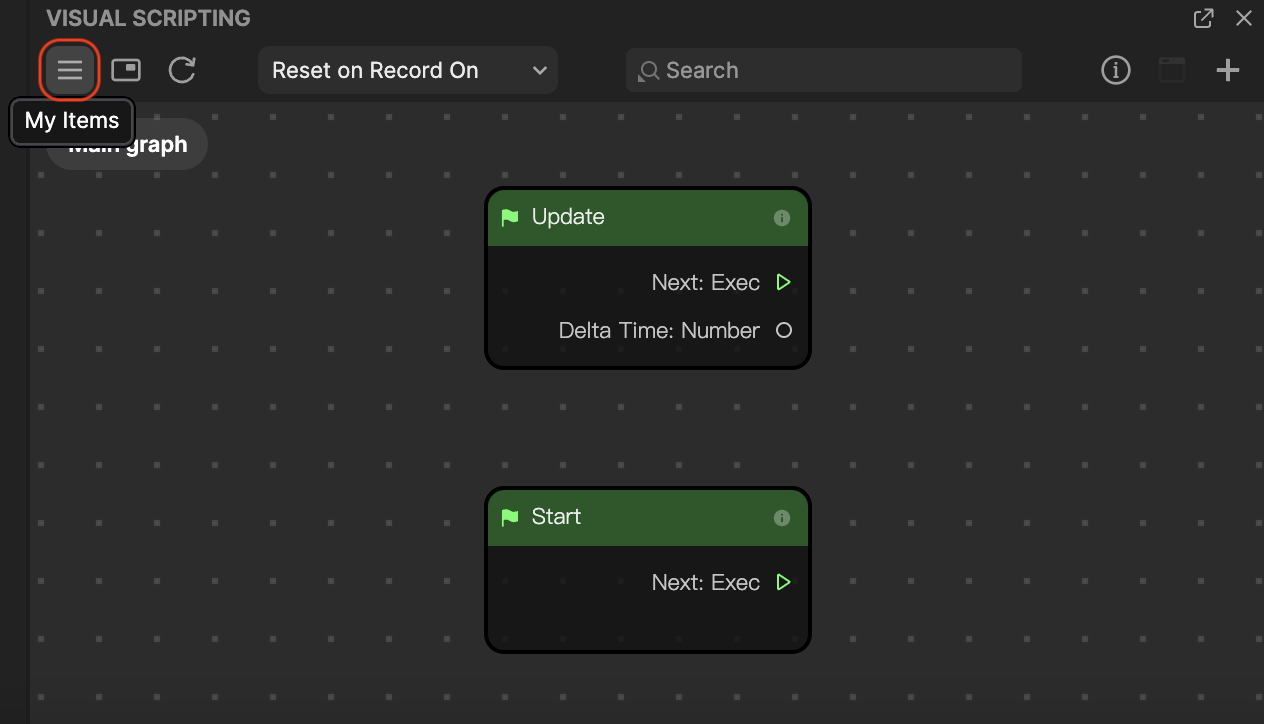
- Go to the Visual Scripting panel and click the My Items button. This will open a menu with your available items, including variables and subgraphs.
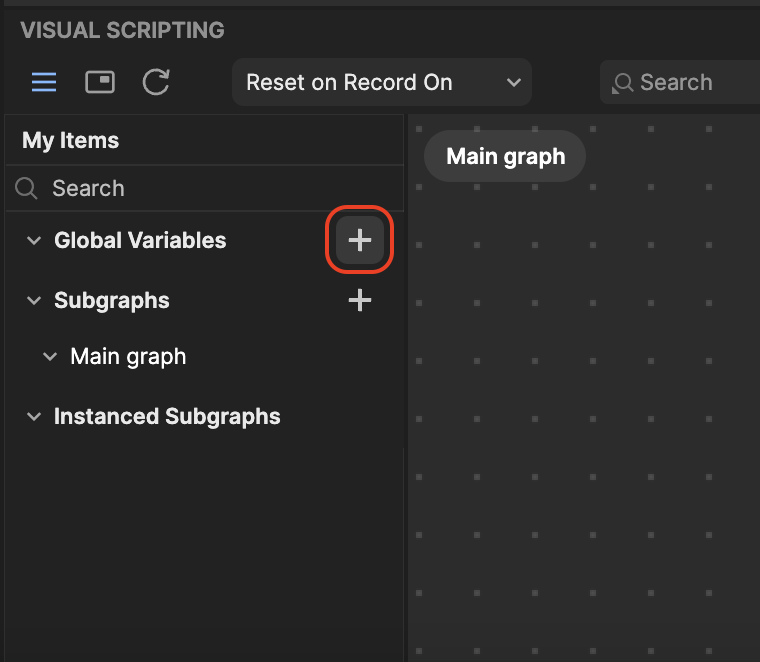
- Click the Add button [+] next to Global Variables. A new variable appears and its corresponding variable details appear in another menu.
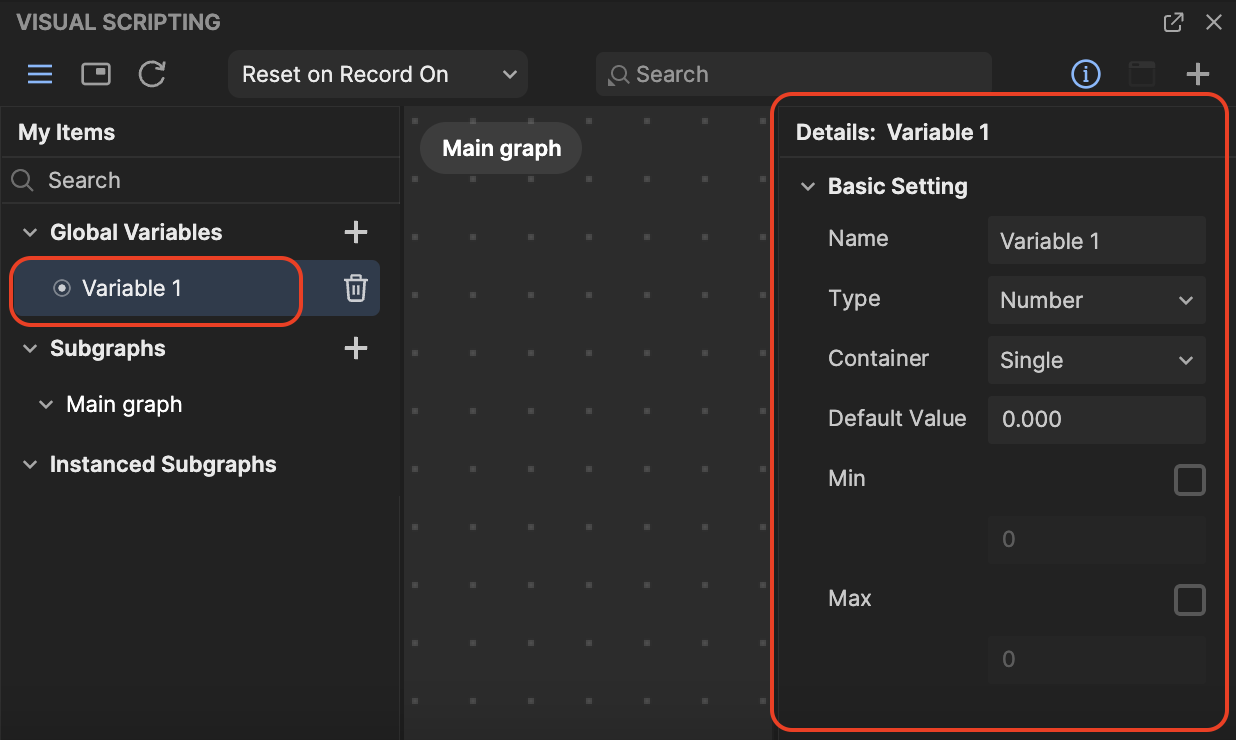
- In the Details menu, you can rename the variable, assign the variable type, and more.
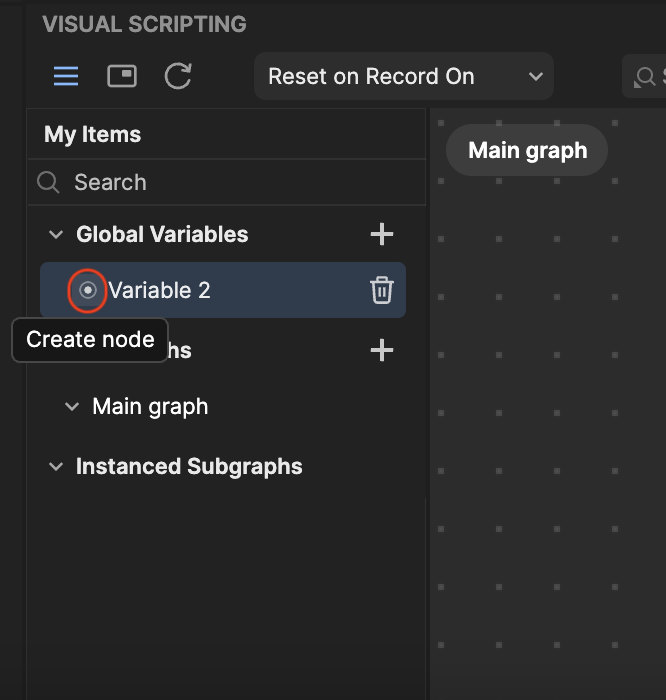
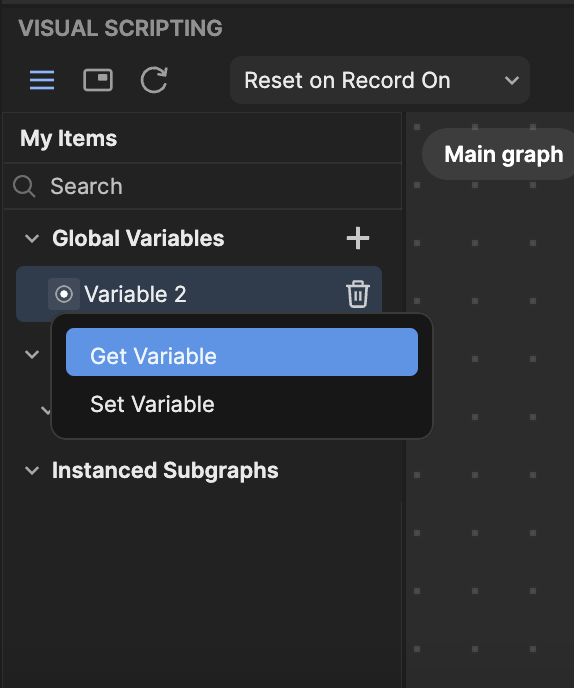
- You can retrieve or set a variable by clicking the circle button next to the variable and selecting Get Variable or Set Variable. This will automatically create a variable node and add it to the Visual scripting panel.
Node Types
There are 11 different types of nodes in Effect House that help you work with interaction, logic, and more.
| Node Types | Icon | Description | Example(s) |
|---|---|---|---|
| Event | Nodes that detect an event and output triggers accordingly | Screen Tap captures a touch event | |
| Logic | Checks the logic of the input(s), often comparing two values | Greater Than checks if one input value is greater than another | |
| Control | Use these nodes to control the flow of triggers | For Loop, If, and Sequence | |
| Math | These nodes perform math functions | Random, Floor, and Multiply | |
| Time | Nodes relating to time | Get Time tracks the time in seconds since the start of the effect | |
| Utility | The root level of entity and component status | Set Visibility sets the visibility of an object | |
| Transform | The root level of transform related triggers | Local Transform Info outputs the local transform data of a scene object | |
| Head & Face | Nodes related to the head and face | Facial Movement Detection triggers the next node when a particular movement is detected | |
| Hand | Nodes related to the hand | Hand Detection triggers the next node when a hand is detected on screen | |
| Body | The root level of body triggers | Body Detection triggers the next node when there is a body detected in camera view | |
| Audio | Nodes related to audio | Beat Detection outputs the imported audio’s beat |
Node Information
You can view a node’s basic information by following the menu. Let’s use the Body Detection node as an example:
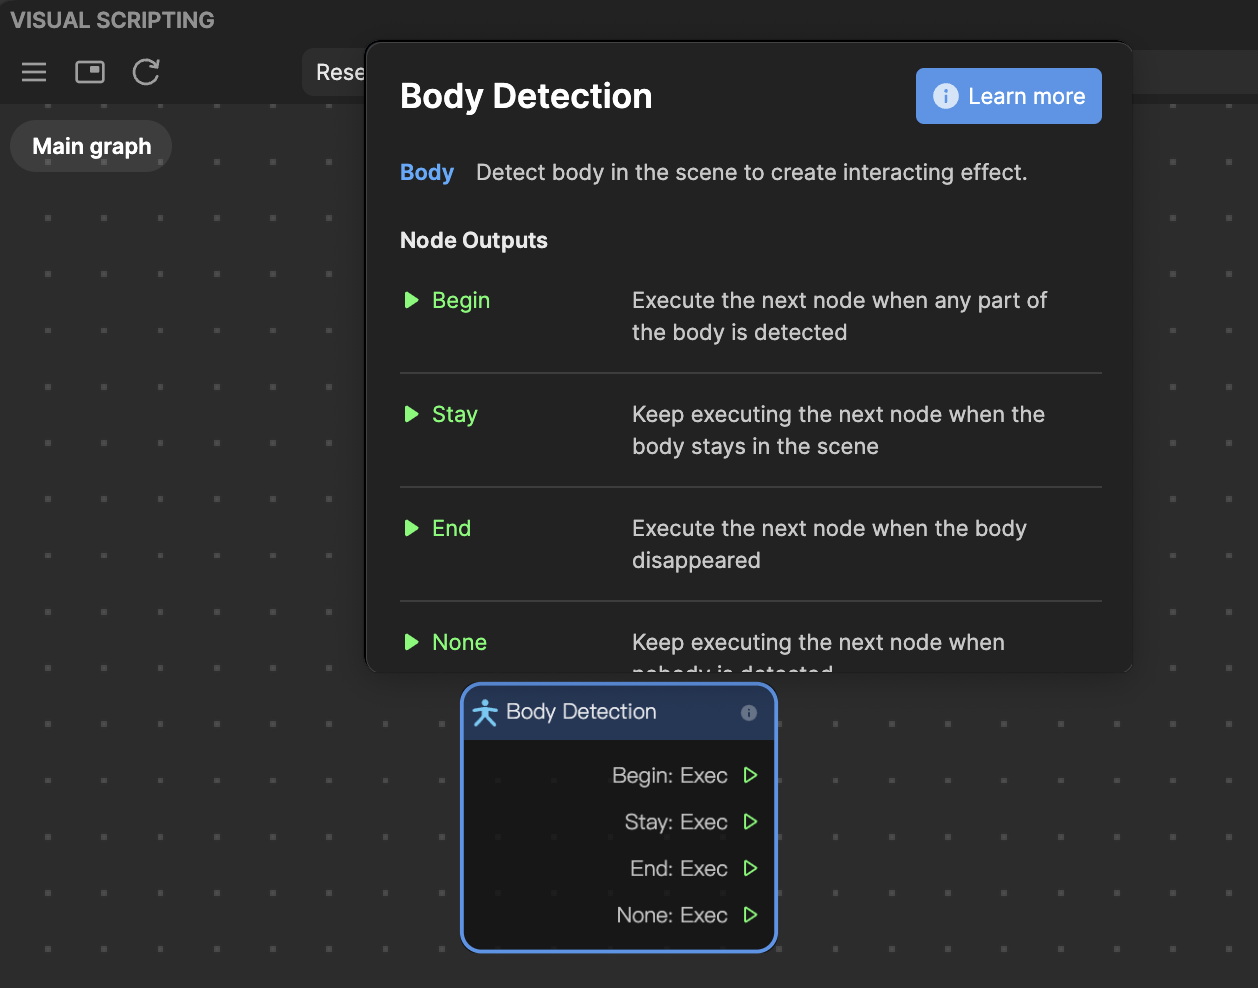
- Name: The name of the node is at the top of the node's basic information
- Description: A description of the node’s primary functionality
- Inputs and Outputs: Ports along the left side of a node are known as “node inputs.” Ports along the right side of a node are called “node outputs.” You’ll link one node to another by making a connection from an output port to an input port.
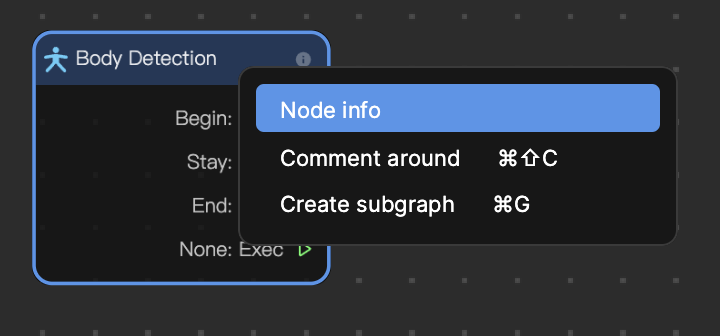
Right-click on an added node and select Node info, or directly click the ⓘ icon, to show the node information
Connect Nodes
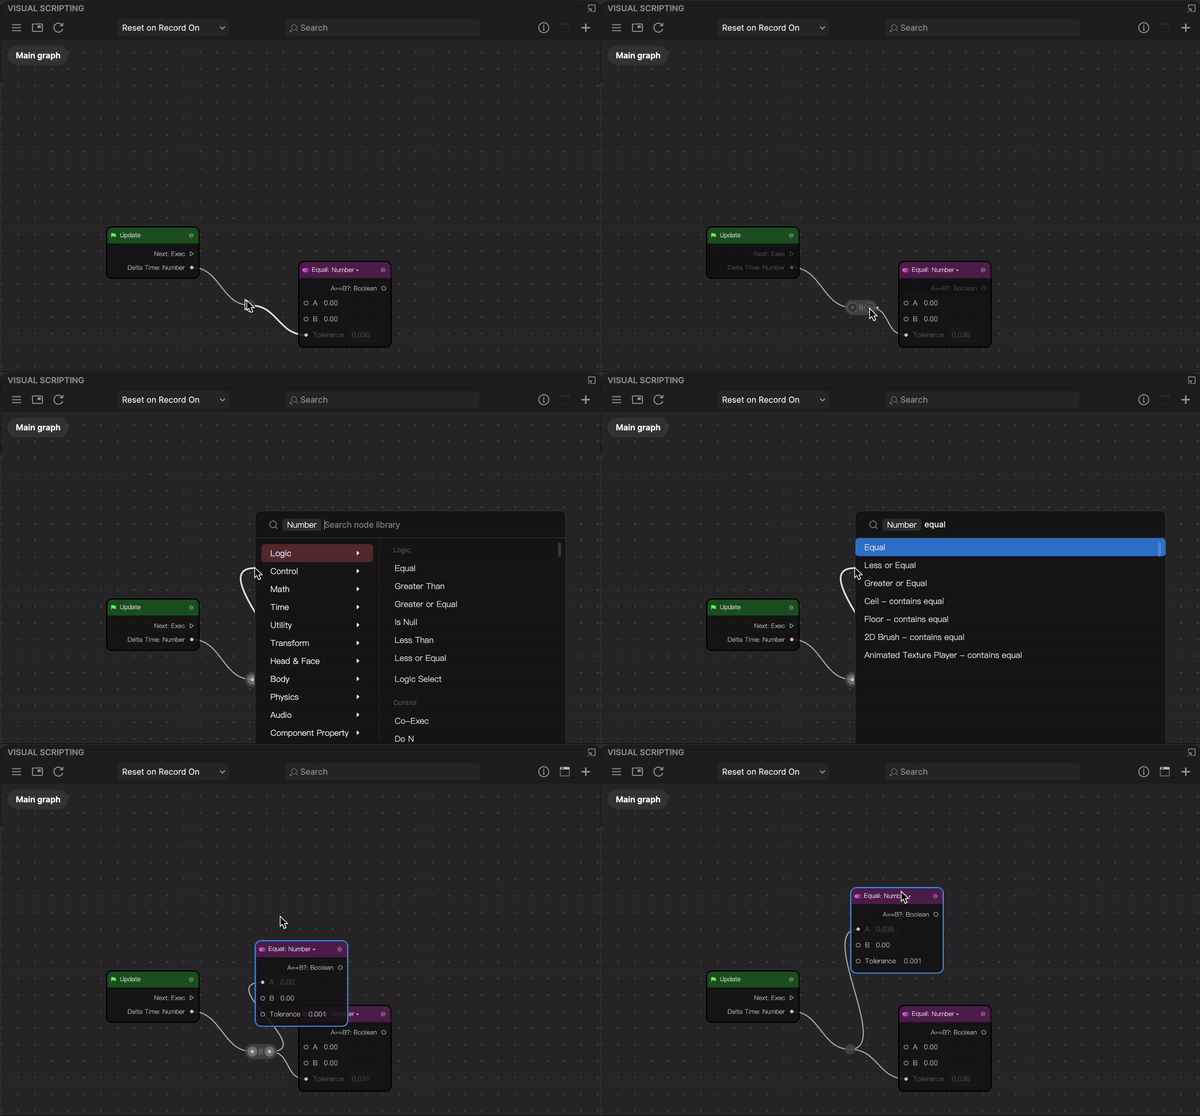
While the simplest way to connect one node to another is to drag an output port (of node A) to an inport port (of Node B), you can reroute a node for a more complex node graph. The graph reroute node feature supports the addition of a sub-node connection.
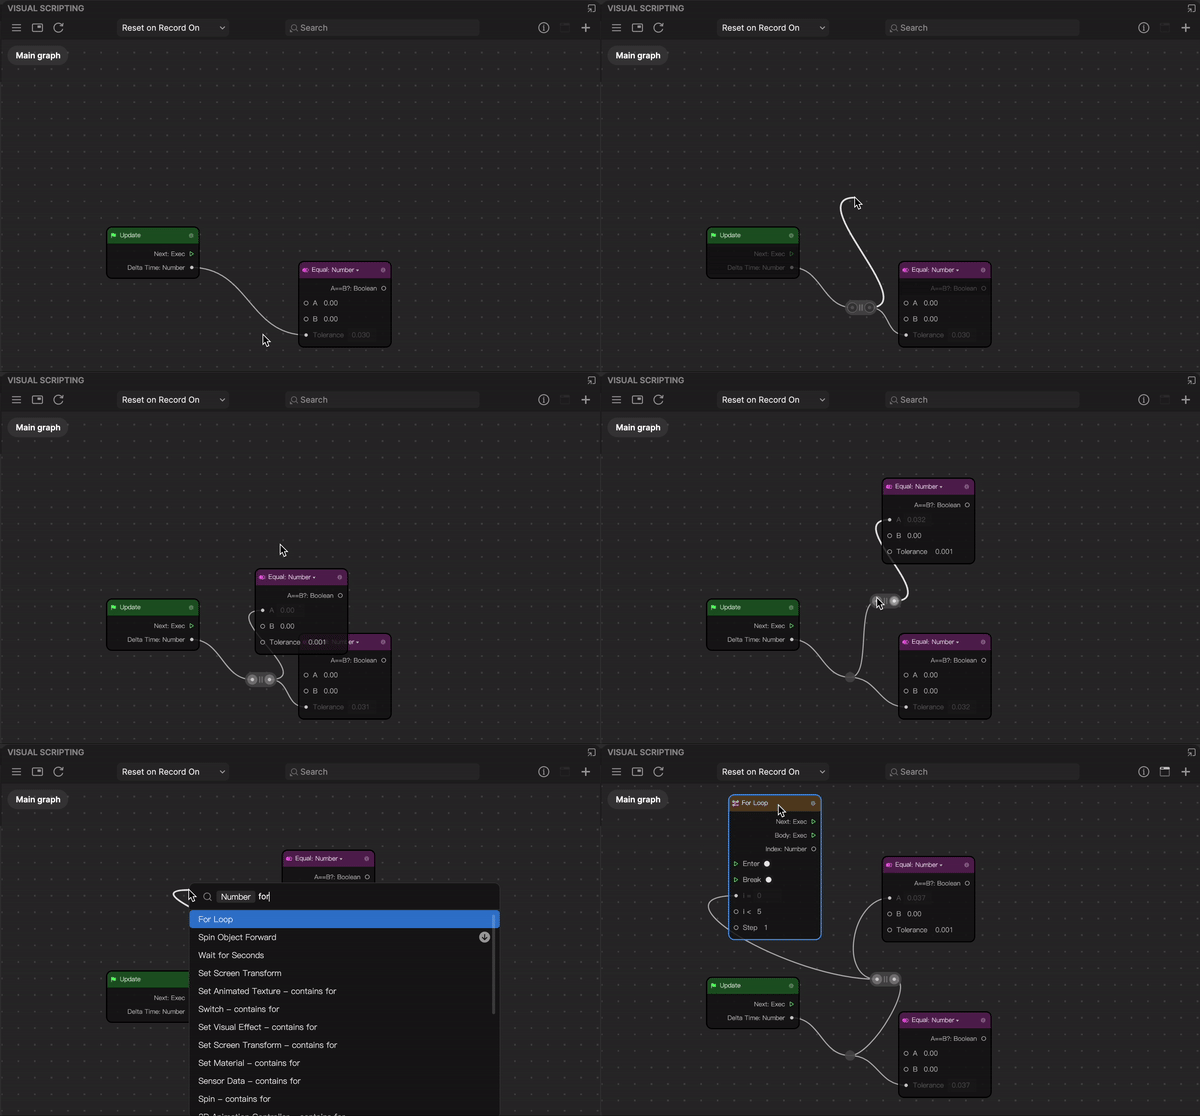
To reroute a node:
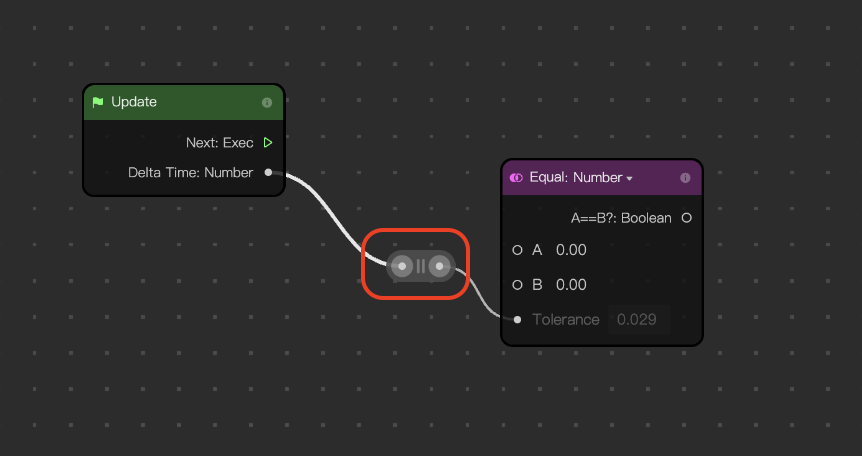
- Double-click a connector between two nodes. The add control appears with two circlular selectors on each side. The left circular selector creates a sub-node from the output port, while the right circular selector creates a sub-node from the inport port.
- Depending on the node graph logic you want, click a circular selector from either sides of the add control and drag to create a sub-node
