Look At
The Look At component automatically orients any 3D object to look at, or face, another 3D object.

In the Demo Effect section, you will learn how configure a set of microphones to follow the movements of a face, creating an interview effect. Download the following file to get started:
Add a Look At Component
A Look At component can only be applied to a 3D object, or an object with the Transform component. Make sure you have a 3D object available in the Hierarchy panel.
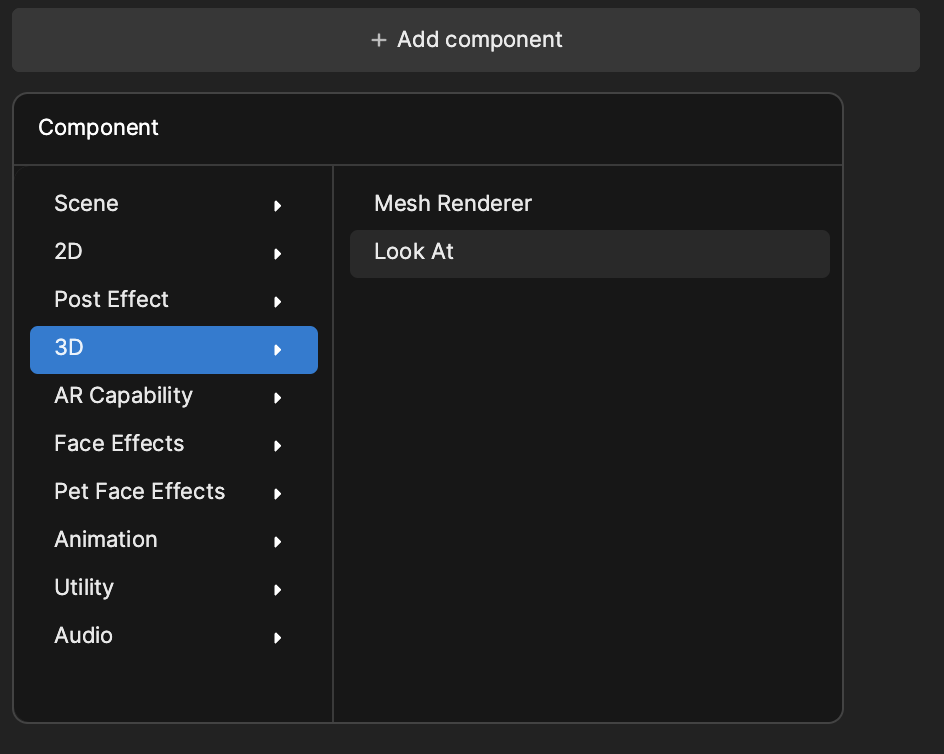
In the Hierarchy panel, select a 3D object and locate its components in the Inspector panel. Click + Add component, go to 3D, and then select Look At.
The 3D object with the Look At component can be defined as the source object.
Properties
| Property | Description |
|---|---|
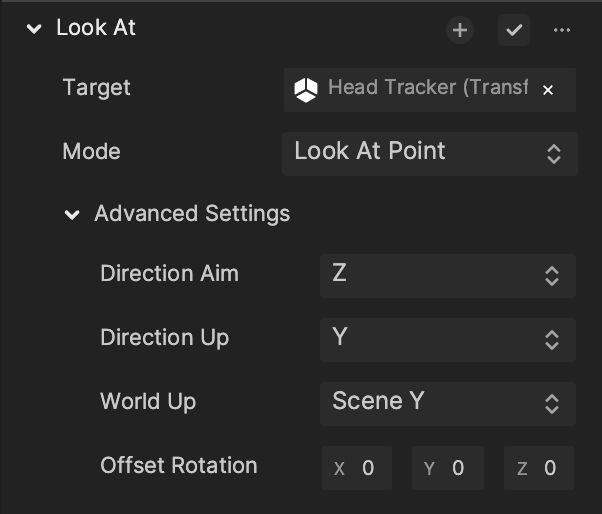
| Target | The 3D object that should be followed or looked at. The target object must also have a Transform component assigned to it. |
| Mode | How the source object rotates to track the target object.
|
| Advanced Settings |
|
Look At Demo
Download the following file to see how the advanced settings of the Look At component work. The axes have already been defined for you to easily visualize the different manipulations.

Look At Node
In Visual Scripting, you can add the Look At node to achieve a similar look-at result. The Look At node uses the Look At Point mode by default.
Demo Effect: Interview
In this demo, you will create an interview effect by configuring a set of microphones to follow the movements of a face.
If you haven’t already, download the following file:
After importing the assets required for this effect, you can see microphone in the Assets panel. This is simply a 3D object, consisting of an arm and microphone, named microphone. Drag and drop microphone from the Assets panel to the Hierarchy panel.
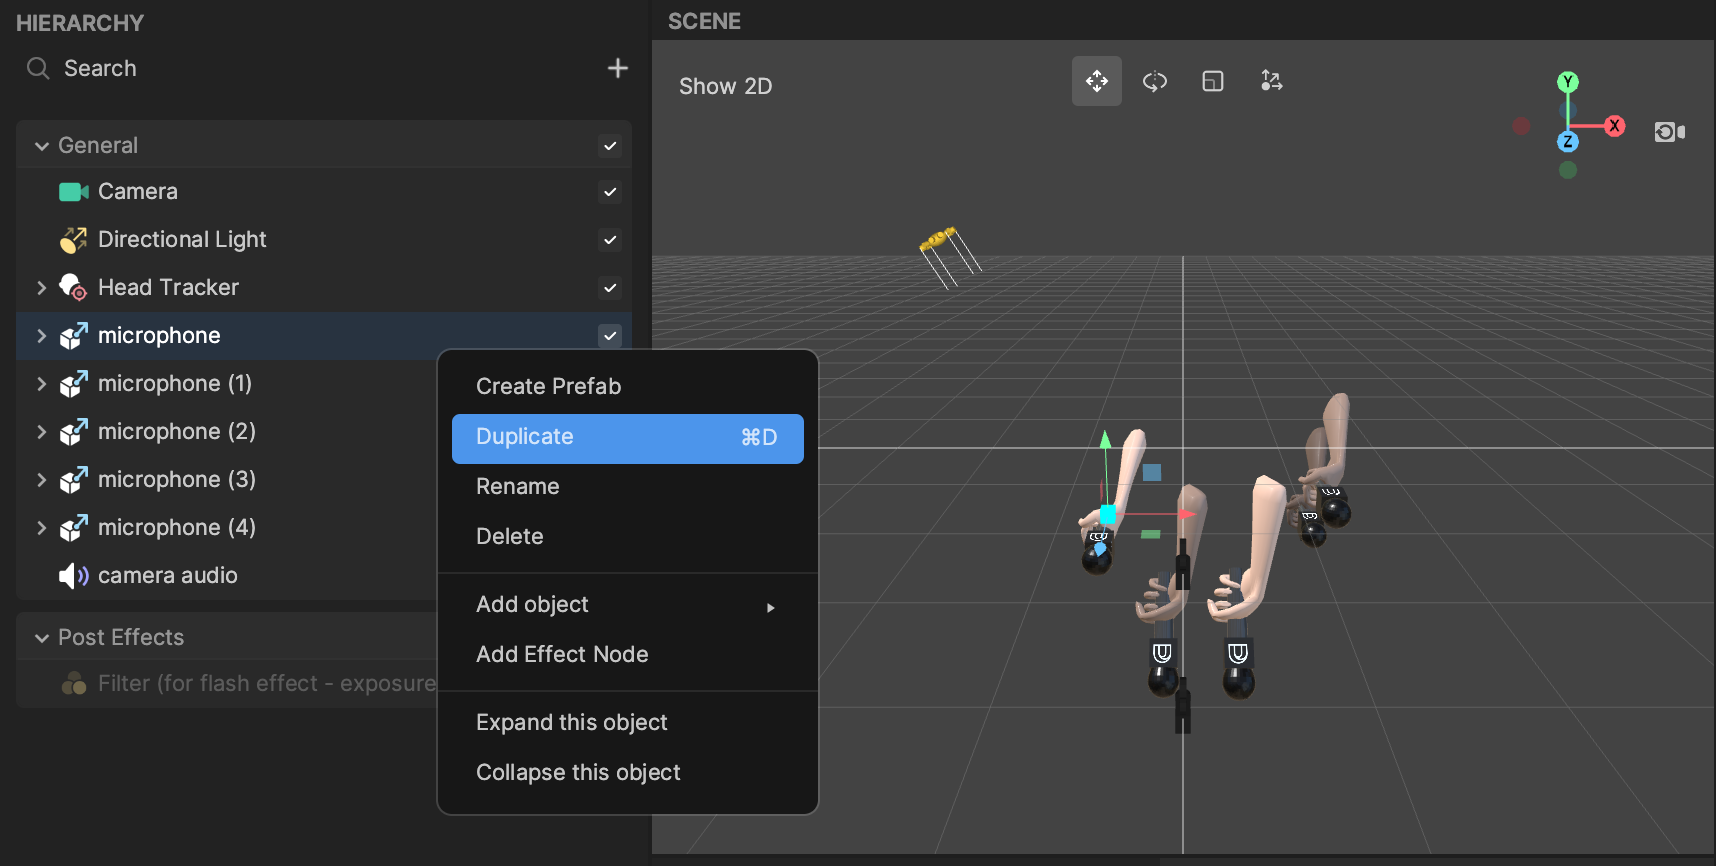
In the Hierarchy panel, you can duplicate microphone by right-clicking it and selecting Duplicate. If you want five microphones, you should duplicate microphone four times.
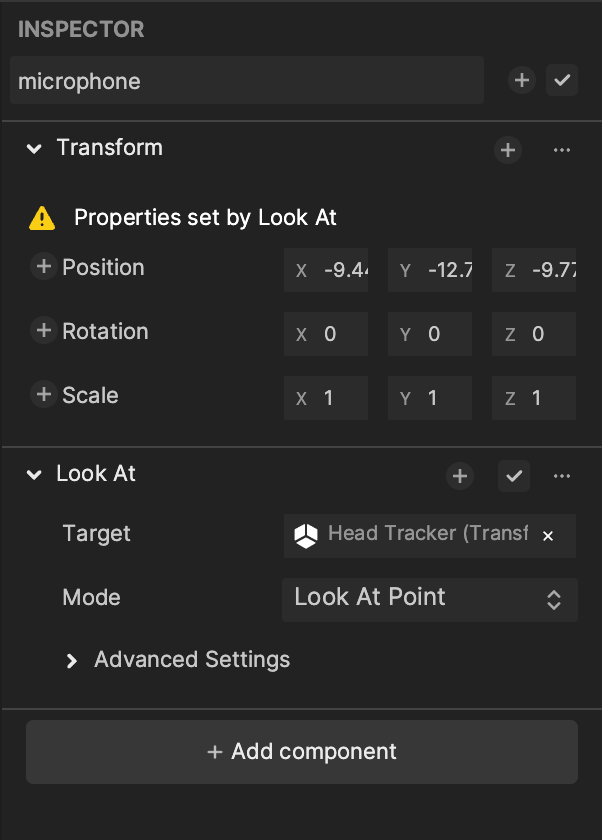
Make sure each microphone has a Look At component in the Inspector panel. The target object should be set to the Head Tracker object and the mode should be Look At Point. You can also modify the values of the Transform properties to determine how each microphone appears in the scene.
Alternatively, you can move, rotate, and scale each microphone using the gizmo tool in the Scene panel.
You can customize the skin tone of each hand mesh by modifying its Material property of the Mesh Renderer component. First go to the Hierarchy panel, expand a microphone, and locate its hand mesh. Select the hand mesh and locate the Mesh Renderer component in the Inspector panel. Click the Material field and choose an available material.