Pixelate
Pixelate is a post-process material that is applied to the camera to create a pixelated filter. You can customize the Pixelate material to achieve different effects, like a filter that changes the color of each cell. This guide demonstrates how to construct the most basic version of the Pixelate material.

Download the following file package to obtain the Pixelate material. Alternatively, follow this guide’s demonstration to learn how to build the Pixelate material from scratch.
Create a New Material
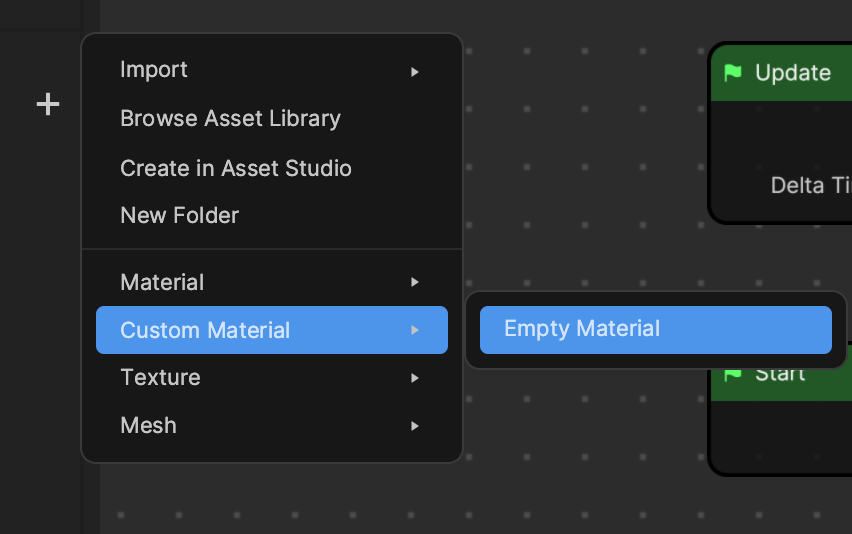
To add a new Empty Material, go to the Assets panel, click on the Add button [+], go to Custom Material, and then select Empty Material. This opens Material Editor in the workspace.
Rename your new material to Pixelate by right-clicking on it in the Assets panel and then selecting Rename.
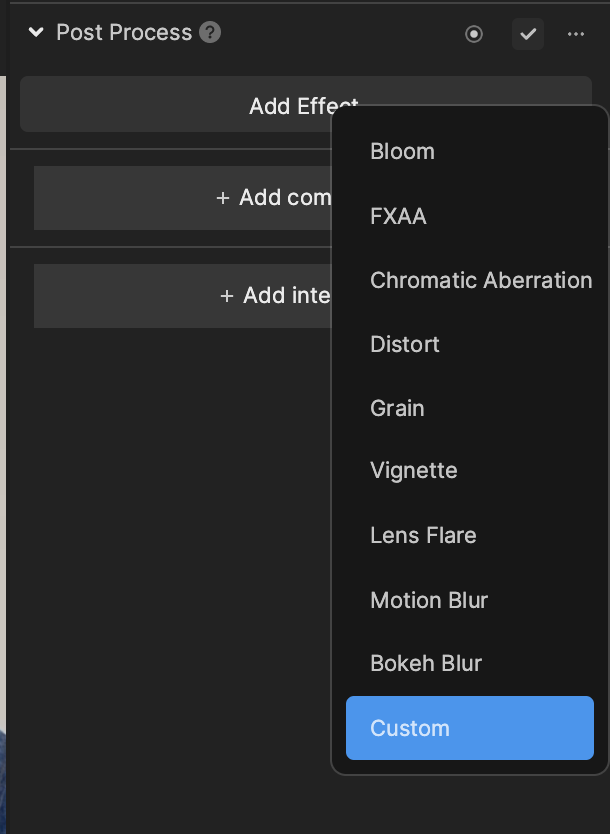
Click on the Camera object in the Hierarchy panel. Then go to the Inspector panel, click on + Add component, go to Post Effect, and then select Post Process. Click on Add Effect under the Post Process component, and then select Custom.

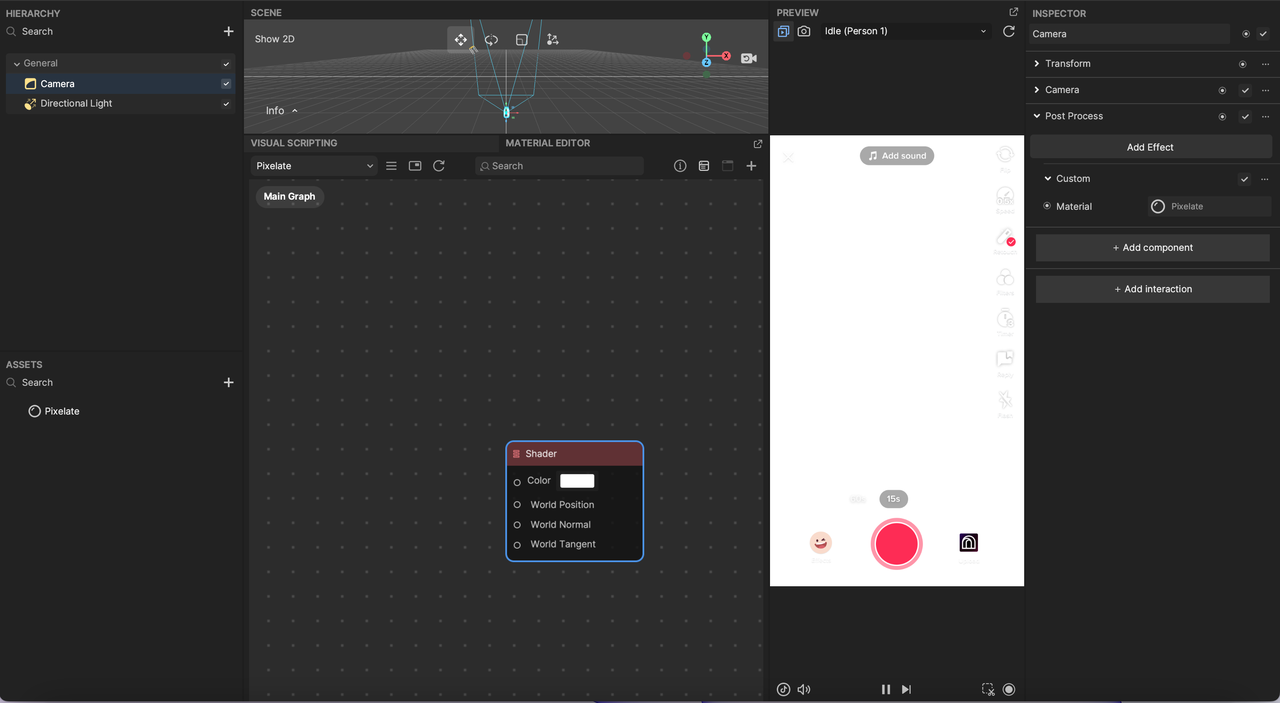
Click on the Material field under Custom, and select your new Pixelate custom material.

The Preview panel shows a blank white screen, since you have not yet changed the material’s output color.
Sample Camera Texture
In Material Editor, double-click on the dotted space to access the Node menu. Add a Sample Texture 2D node, and then connect its RGB: Vector3f output to the Shader node’s Color input. Then add a Texture Coord node, and connect its UV0: Vector2f output to the Sample Texture 2D node’s UV input. Set the Sample Texture 2D node’s Texture 2D field to the texture you want to pixelate. In this case, choose Camera Texture to pixelate the camera output.
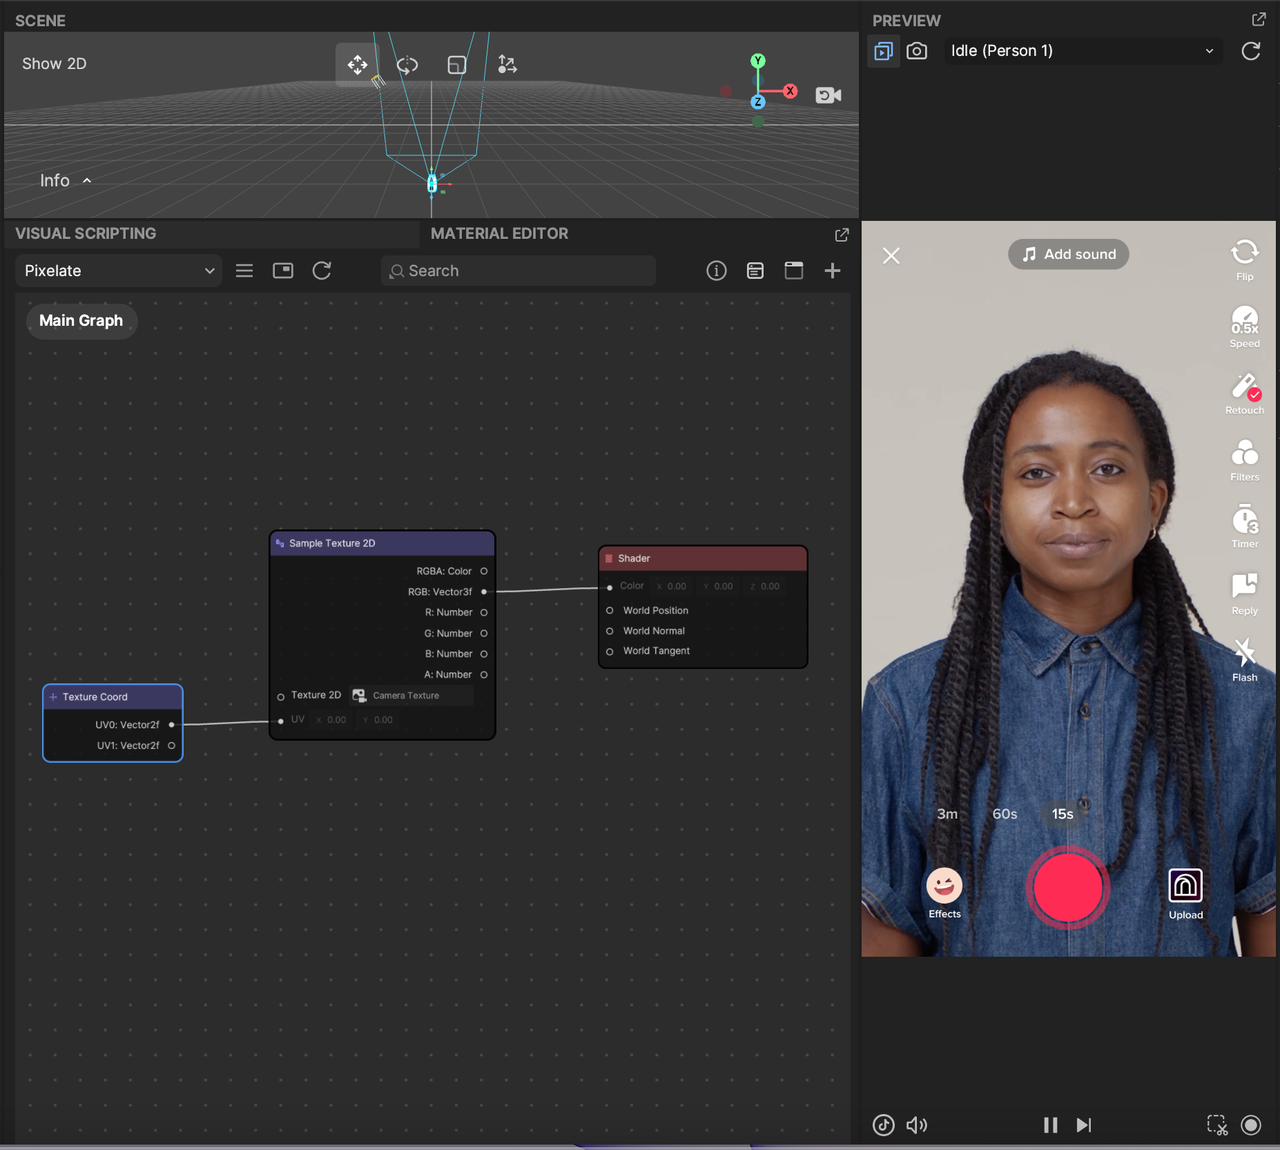
You can search for the nodes in the Node menu’s search bar.
At this moment, the Texture Coord node’s input into the Sample Texture 2D node is necessary to display the selected Texture 2D. Later on, you will undo this connection and reconnect the Texture Coord elsewhere.
Implement Pixelate Logic
The next step is to modify the UVs to create a pixelated effect. A common way to create a pixelated effect is to apply a scalar to the UVs, round the scaled UV set, and then divide by the scalar value. This is represented by the following formula:
pixelate_uv = round(uv * pixelate_amount) / pixelate_amount
To create this logic in Material Editor, first define a Float parameter to function as the pixelation amount. To add a Float parameter, click on the My Items button in the Material Editor toolbar, click on the Add button [+] next to Parameter, and then select Float. You can rename this parameter to Pixelation Amount.
You must then multiply this value by the UV coordinate, and round the result. To do so, add a Multiply node. Connect the Pixelation Amount node’s Parameter: Number output to the Multiply node’s B input. Then disconnect the Texture Coord node from Sample Texture 2D. Connect the Texture Coord node’s UV0: Vector2f output to the Multiply node’s A input. Next add a Round node. Connect the Multiply node’s Result: Vector2f output to the Round node’s input.

You must divide the rounded value by the pixelation amount. Add a Divide node, and connect the Round node’s output to the Divide node’s A input. Then connect the Pixelation Amount node’s output to the Divide node’s B output. Finally, use the resulting value as the new UV for sampling your camera texture. Connect the Divide node’s output to the Sample Texture 2D node’s UV input.
Click on your Pixelate material in the Assets panel, then go to the Inspector panel. Change the Pixelation Amount to your desired value: the lower the value, the lower the resolution will be.
For best results, set the Pixelation Amount value to at least 20.
Congratulations, you just created the Pixelate material!