Best Practices for Photoshop Link Plugin
The Photoshop Link plugin is designed for Adobe Photoshop. It enables real-time communication between Photoshop and Effect House, helping you efficiently create or modify images across both applications. By using this plugin, you can avoid common issues that might happen with eye color and make up, helping improve your overall workflow and accuracy.
This plugin requires Imagery 3.7.1 or later, and Photoshop 2022.3 or later
Plugin Download and Installation
- Download ↓ PixelEffect_PS_LiveLink.zip
- Unzip the PixelEffect_PS_LiveLink folder into the path depending on your operating system:
- Windows: The default installation path is C:\Program Files\Adobe\Adobe Photoshop 2025\Plug-ins
- Replace 2025 from the path with your Photoshop version number
- MacOS: The default installation path is /Applications/Adobe Photoshop 2025/Plug-ins
- Replace 2025 from the path with your Photoshop version number
How To Start the Plugin in Photoshop
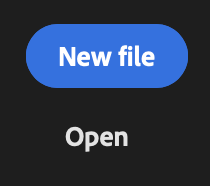
Before you get started, make sure you have a PSD file open by clicking New file or Open.
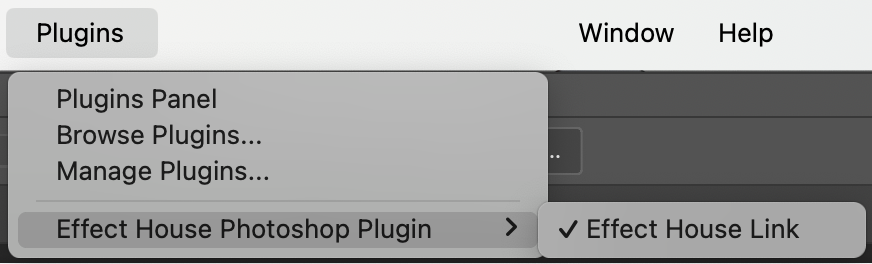
The plugin should be enabled by default. If it's not, you can enable it from the Menu Bar:
- Open Adobe Photoshop
- Go to the Menu Bar
- Click Plugins
- Go to Effect House Photoshop Plugin
- Click Effect House Link
If your plugin displays a blank panel with no content, it may be due to missing components in your current Photoshop installation, which can occur with streamlined versions of Photoshop. To resolve this, try using an updated version of Photoshop.
Effect House Link Panel
The Effect House Link panel contains the following:
- References
- Eye Color
- Make Up
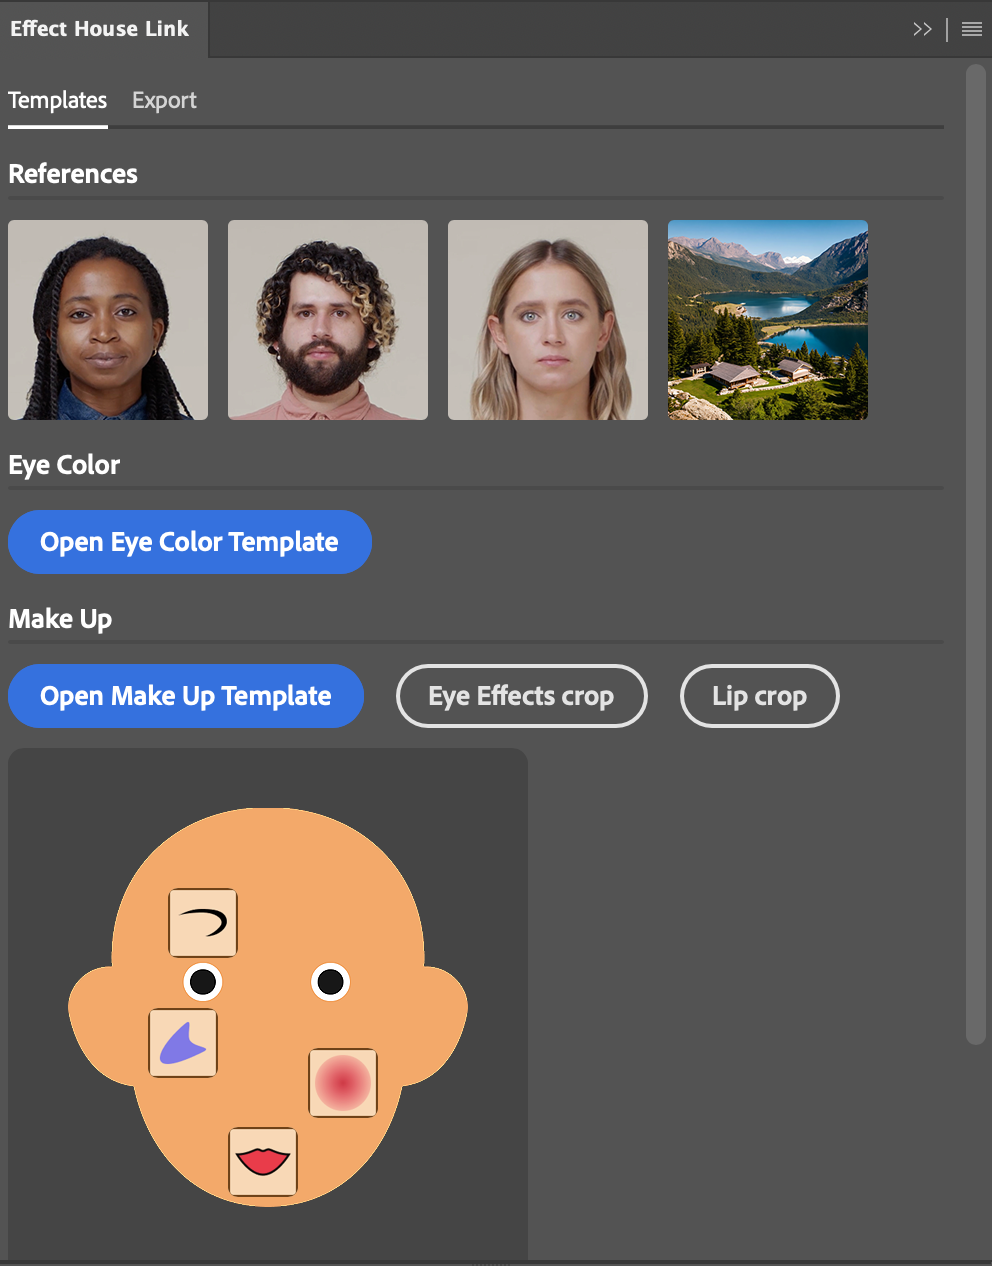
We'll breakdown what each section does and how you can use them:
References
The References section contains four reference images that can be imported to the Layers panel.
To import a reference image:
- Go to the Effect House Link panel
- Go to References
- Click on one of the four images. The image is now imported to the Layers panel.
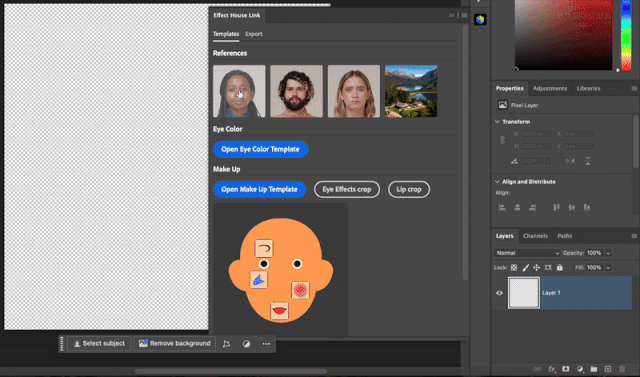
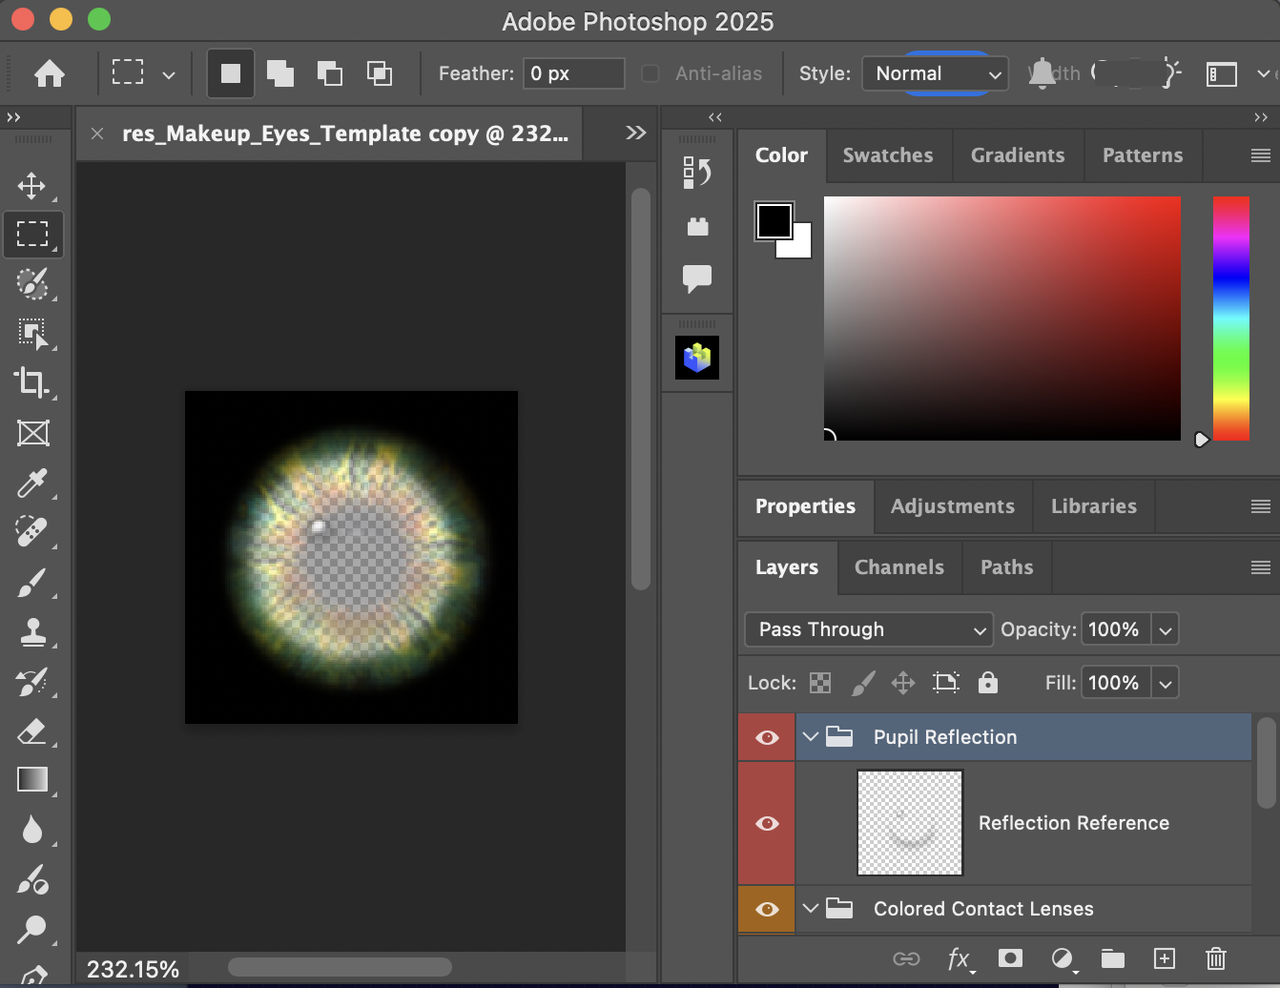
Eye Color
Next, we'll need to open the Eye Color Template file. This PSD file is used to layer contact lenses.
To open the Eye Color Template:
- Go to the Effect House Link panel
- Go to Eye Color
- Click Open Eye Color Template
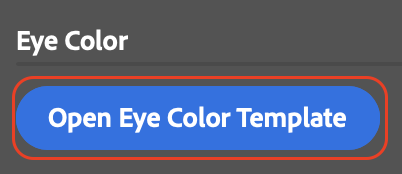
- The Eye Color Template is now imported
Make Up
The Make Up section is used for eye makeup cutting and lipstick cutting. Next, we'll open the Make Up Template file:
To open the Beauty Template:
- Go to Makeup
- Click Open Makeup Template

- The Make Up Template is now imported
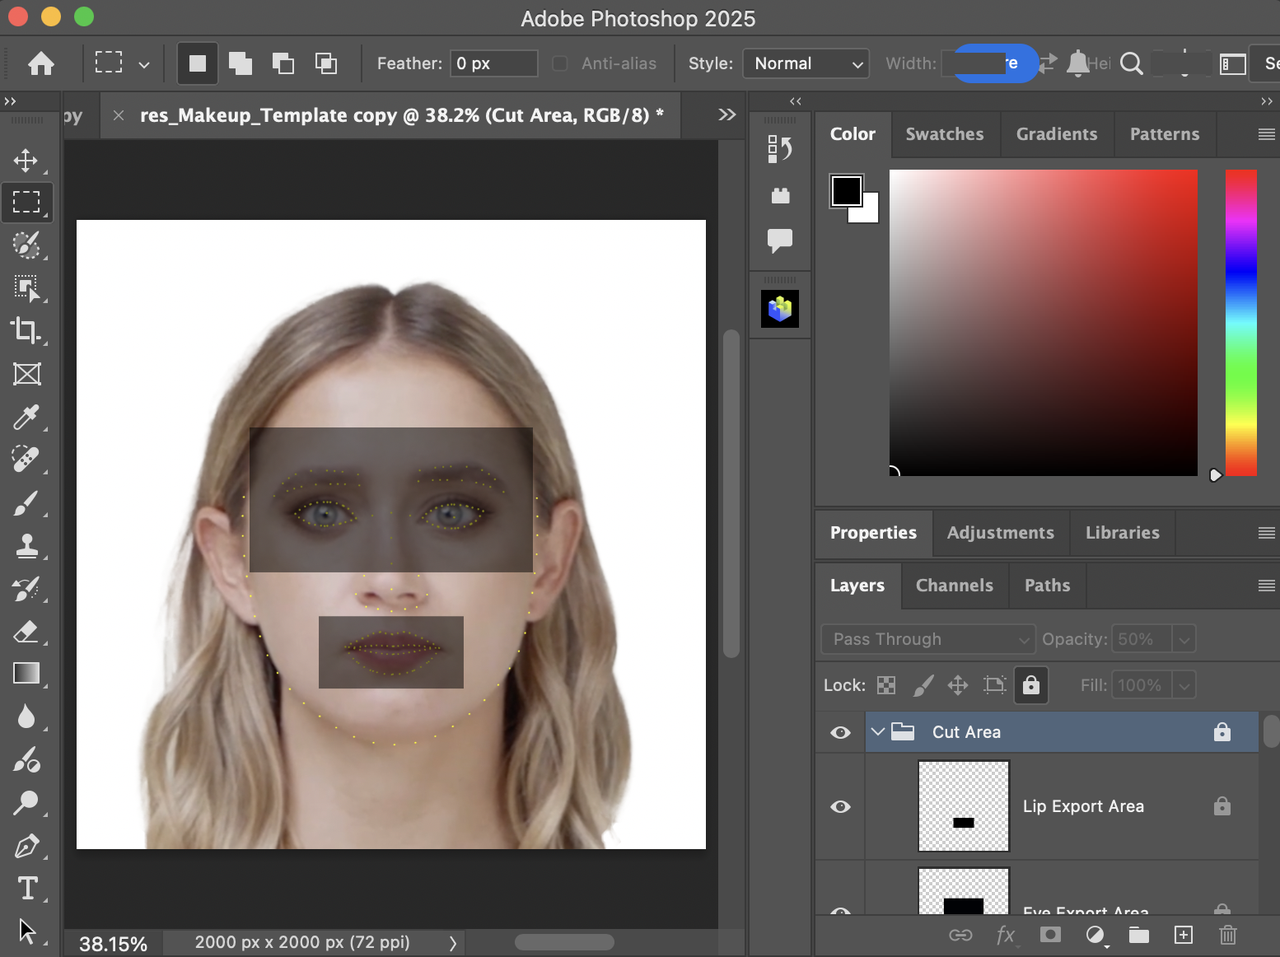
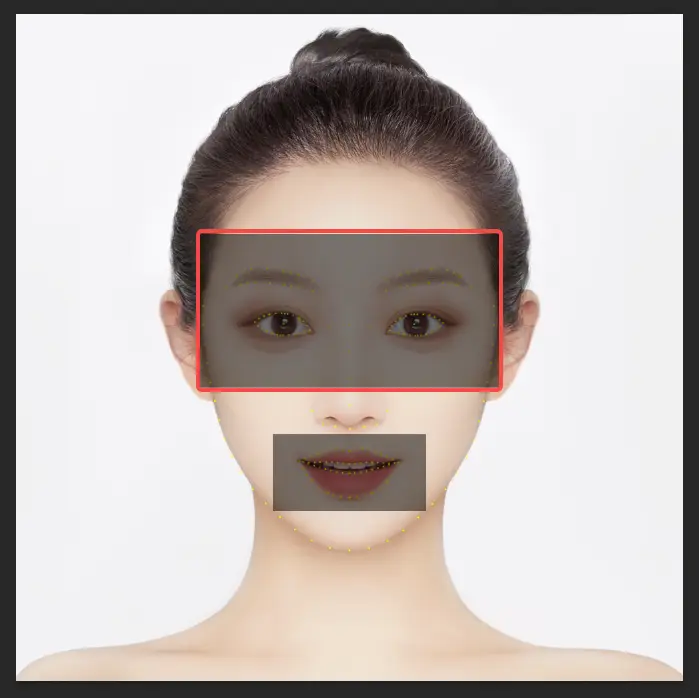
Eye Makeup Cutting and Lipstick Cutting
Your current PSD file is based on the beauty PSD template. Click the corresponding button to automatically crop the document to the eye makeup or lipstick areas. After cropping, press Control + Z (Windows) or Command + Z (MacOS) to undo the action and return to the original state.

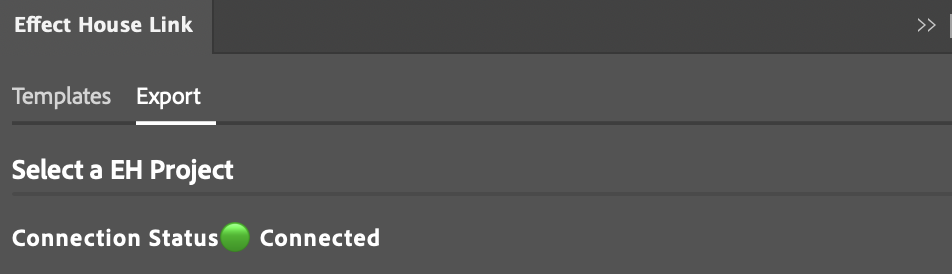
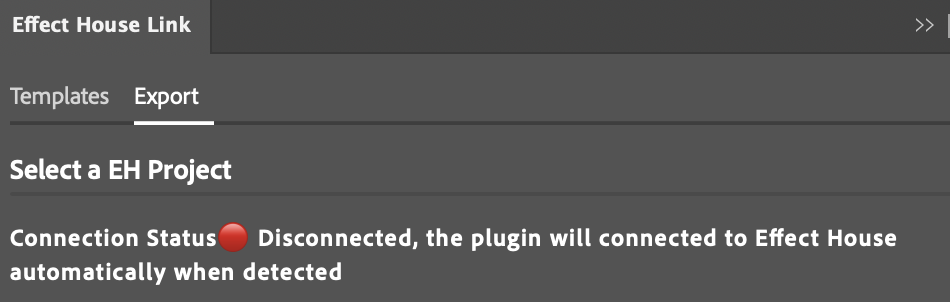
Connection Status
- When the plugin detects that the status is open on your computer, a green circle and Connected is displayed
- When the plugin does not detect that the status is open on your computer, a red circle and Disconnected is displayed
Access Sculpture Project
Clicking on the Project Path will automatically copy the file path to your clipboard. This allows you to quickly access the project directory in Explorer (Windows) or Finder (MacOS).
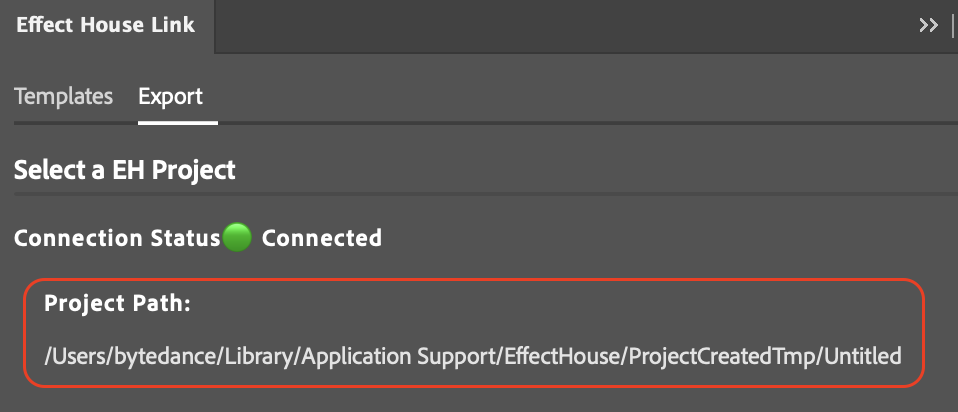
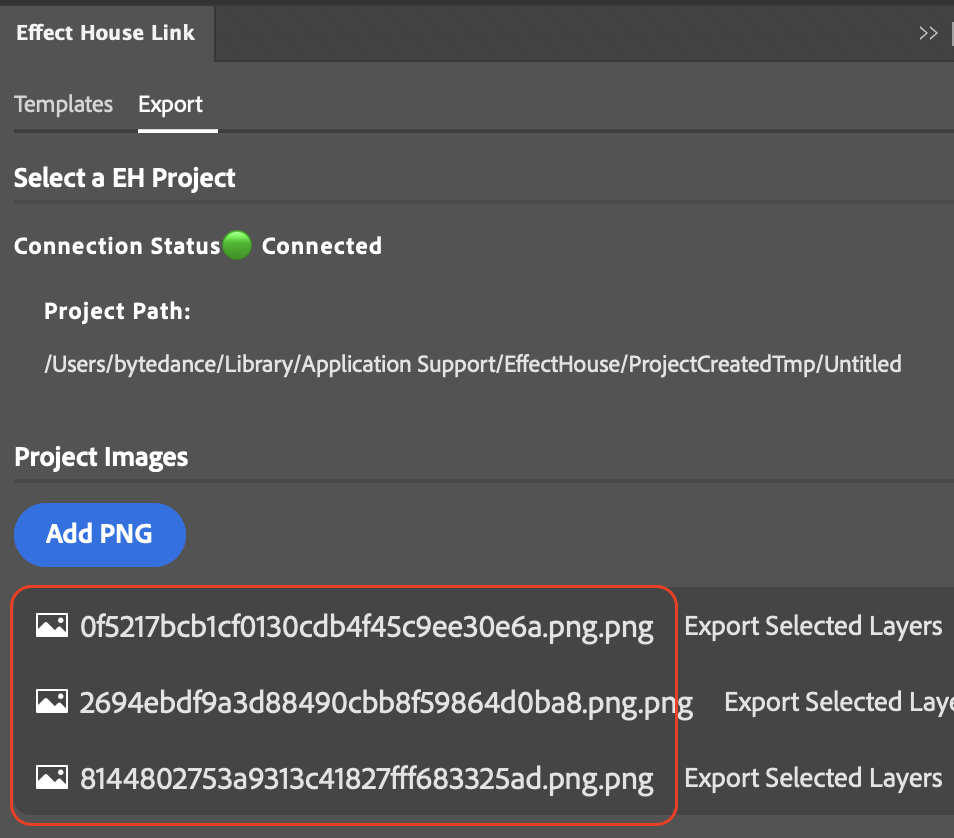
Image List
All PNG and JPG files within the currently opened sculpture project will be displayed, along with their subfolders (except for sequence frames).
Open Image
To open an image directly in Photoshop, double-click an image name from the Project Images panel.
Organize Images From Effect House to Photoshop
You can organize images from the Assets panel in Effect House and it will automatically sync to the Project Images panel in Photoshop.
To create a folder and add images for syncing with Photoshop:
- Open Effect House
- Go to the Assets panel
- Click the Add asset button [+]
- Click New Folder

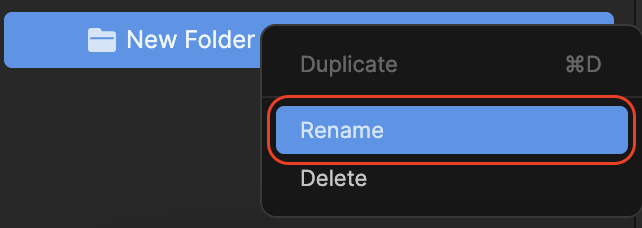
To rename the new folder, right-click on New Folder, and click Rename.
Now, you can add an image to the Assets panel and drag it into the folder you created. The folder and image should now appear in the Project Images panel in Photoshop.
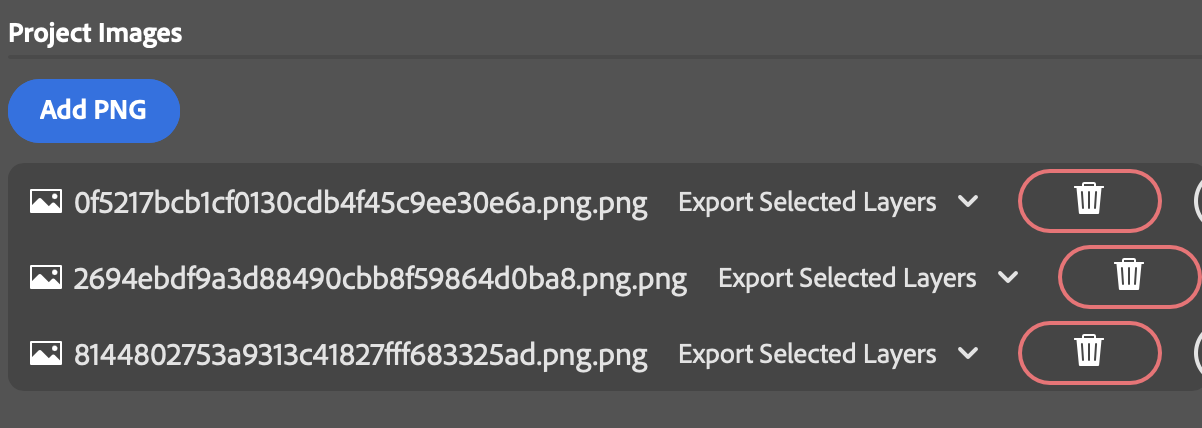
Delete an Image
Once you delete an image, it can't be undone. Be cautious when deleting your image.
To delete an image:
- Open Adobe Photoshop
- Go to the Effect House Link panel
- Click the the trash icon next to the image name you want deleted. The image is now deleted.
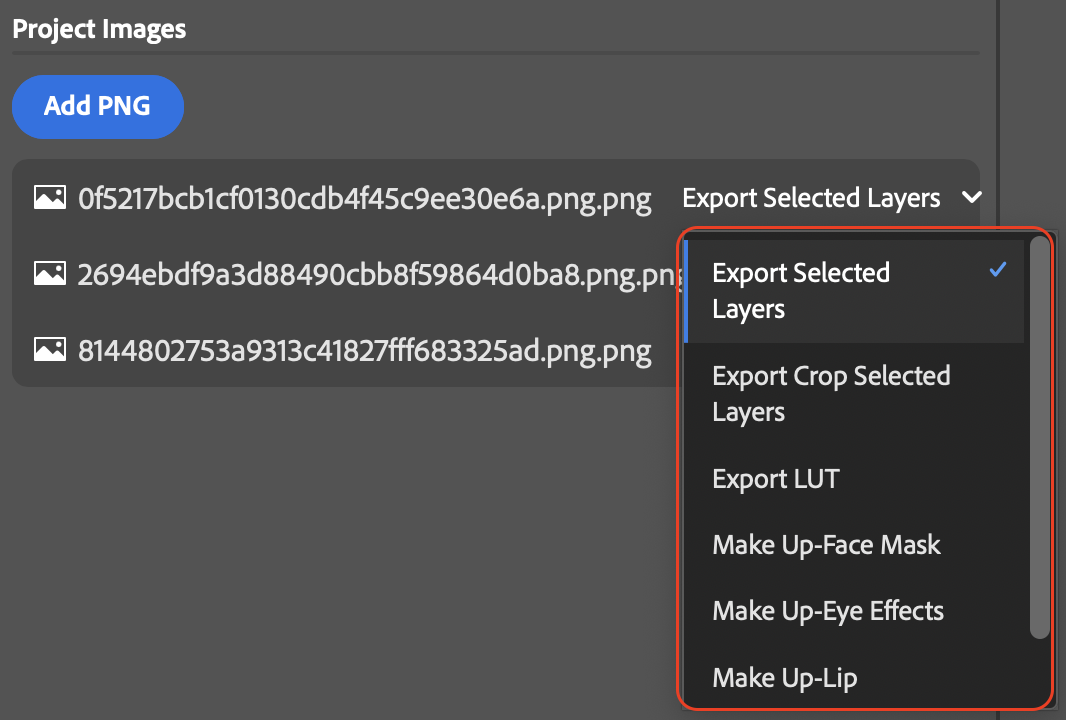
Export Mode
You can export the images by choosing from the following options:
- Export Selected Layers
- Export Crop Selected Layers
- Export LUT
- Make Up-Face Mask
- Make Up-Eye Effects
- Make Up-Lip
- Make Up-Eye Lashes
Export Selected Layers
If no layer is currently selected, the result of merging all layers will be exported. The exported image will be the same size as the PSD document.
If there are currently selected layers, the result of merging all selected layers will be exported.
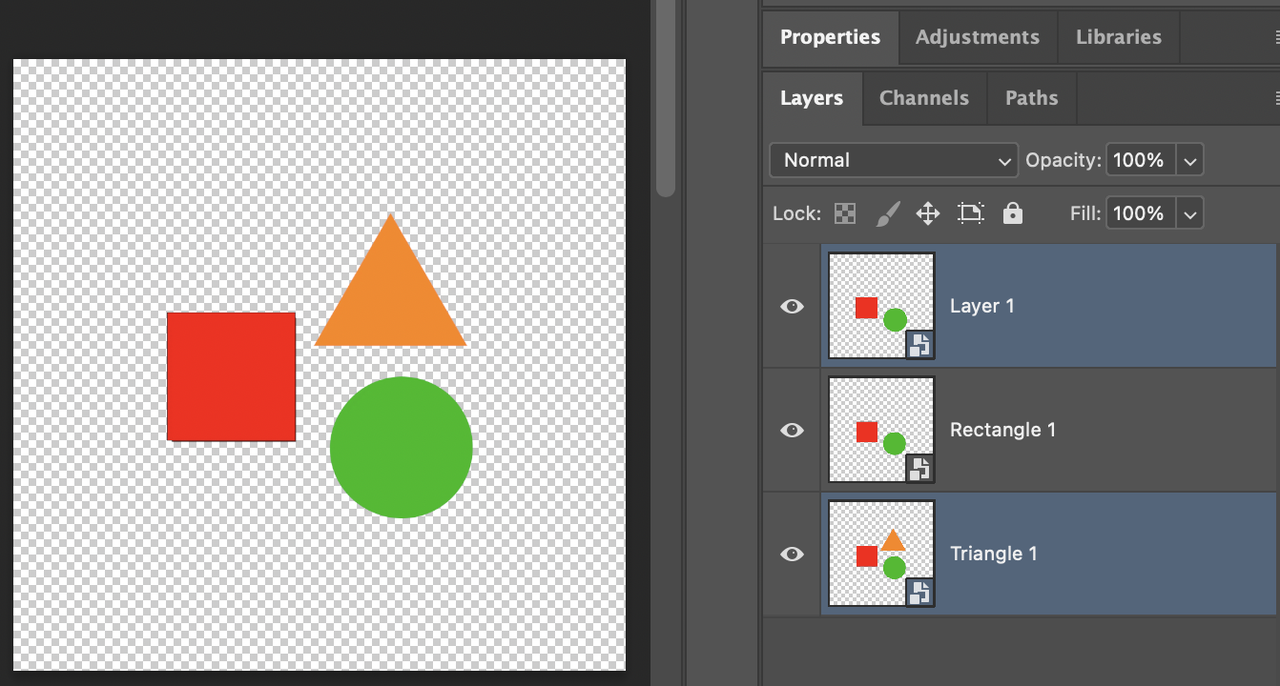
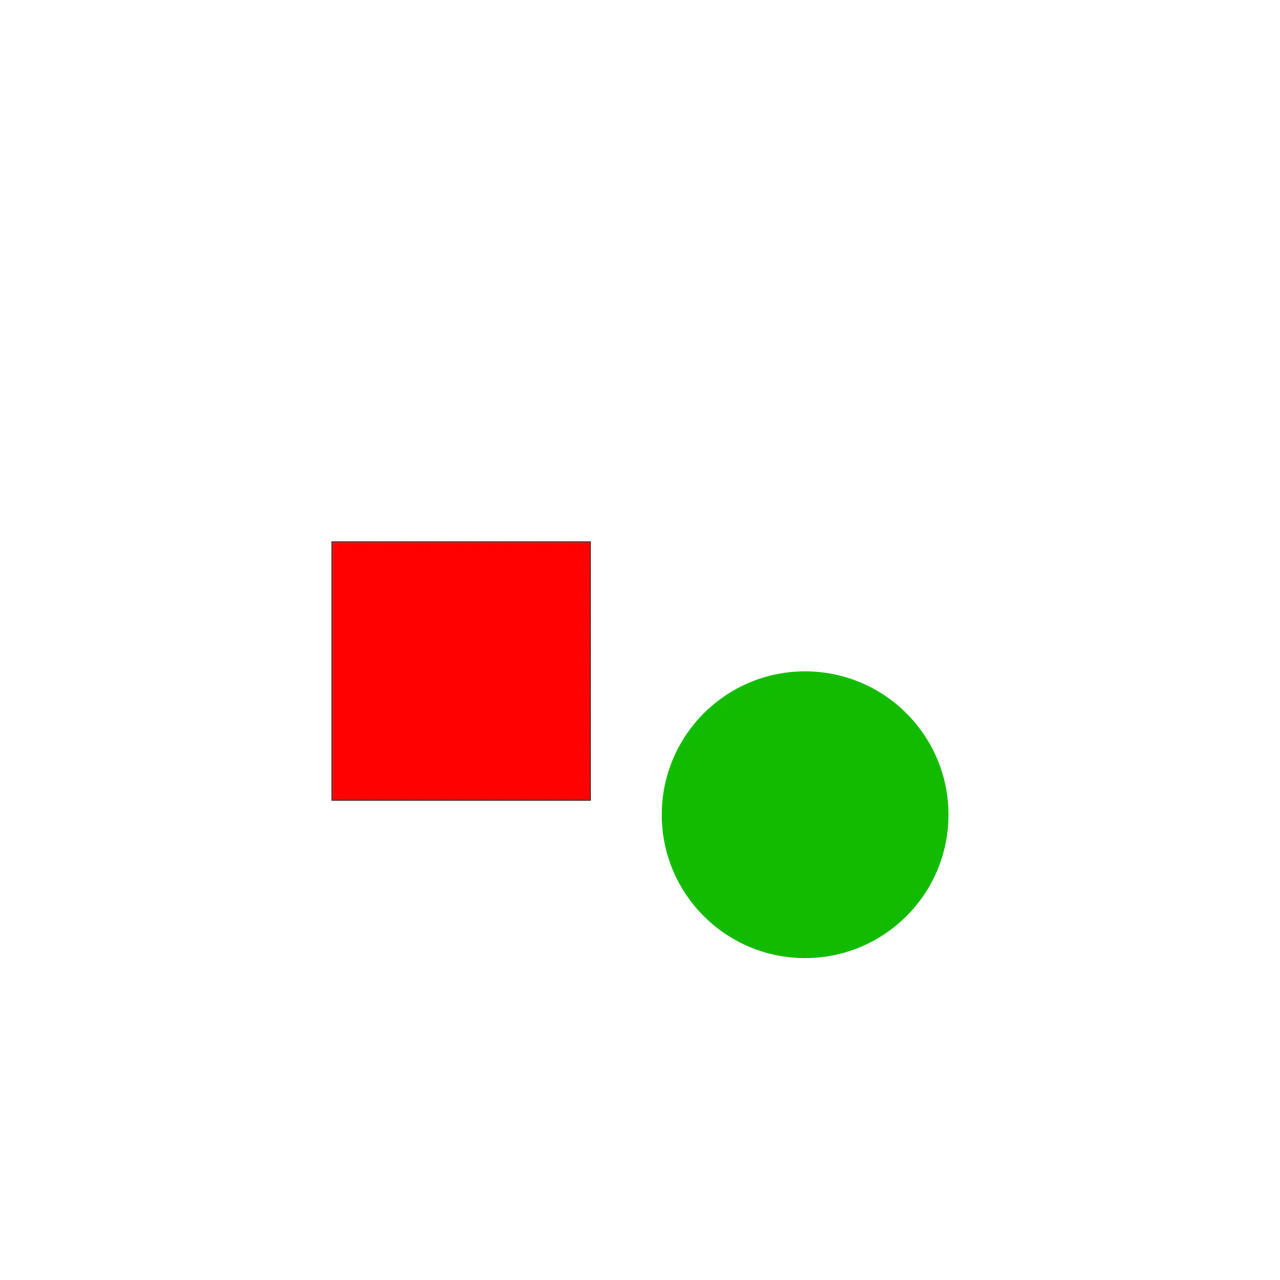
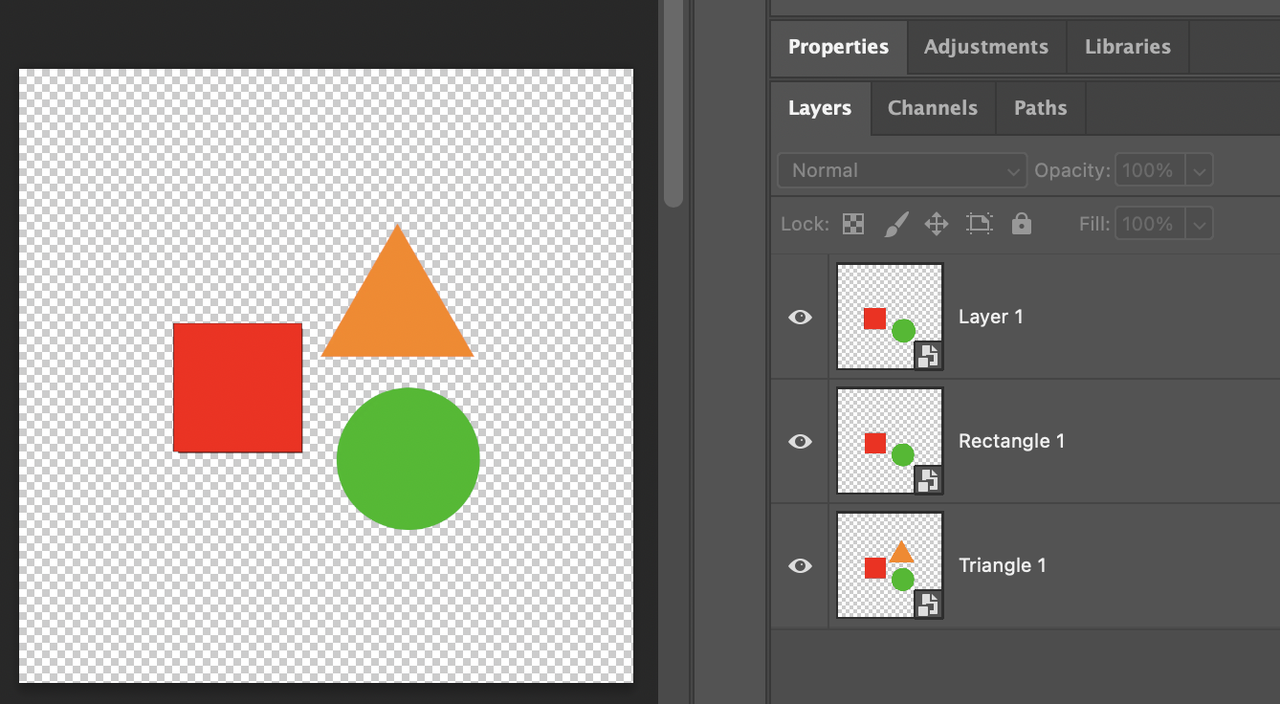
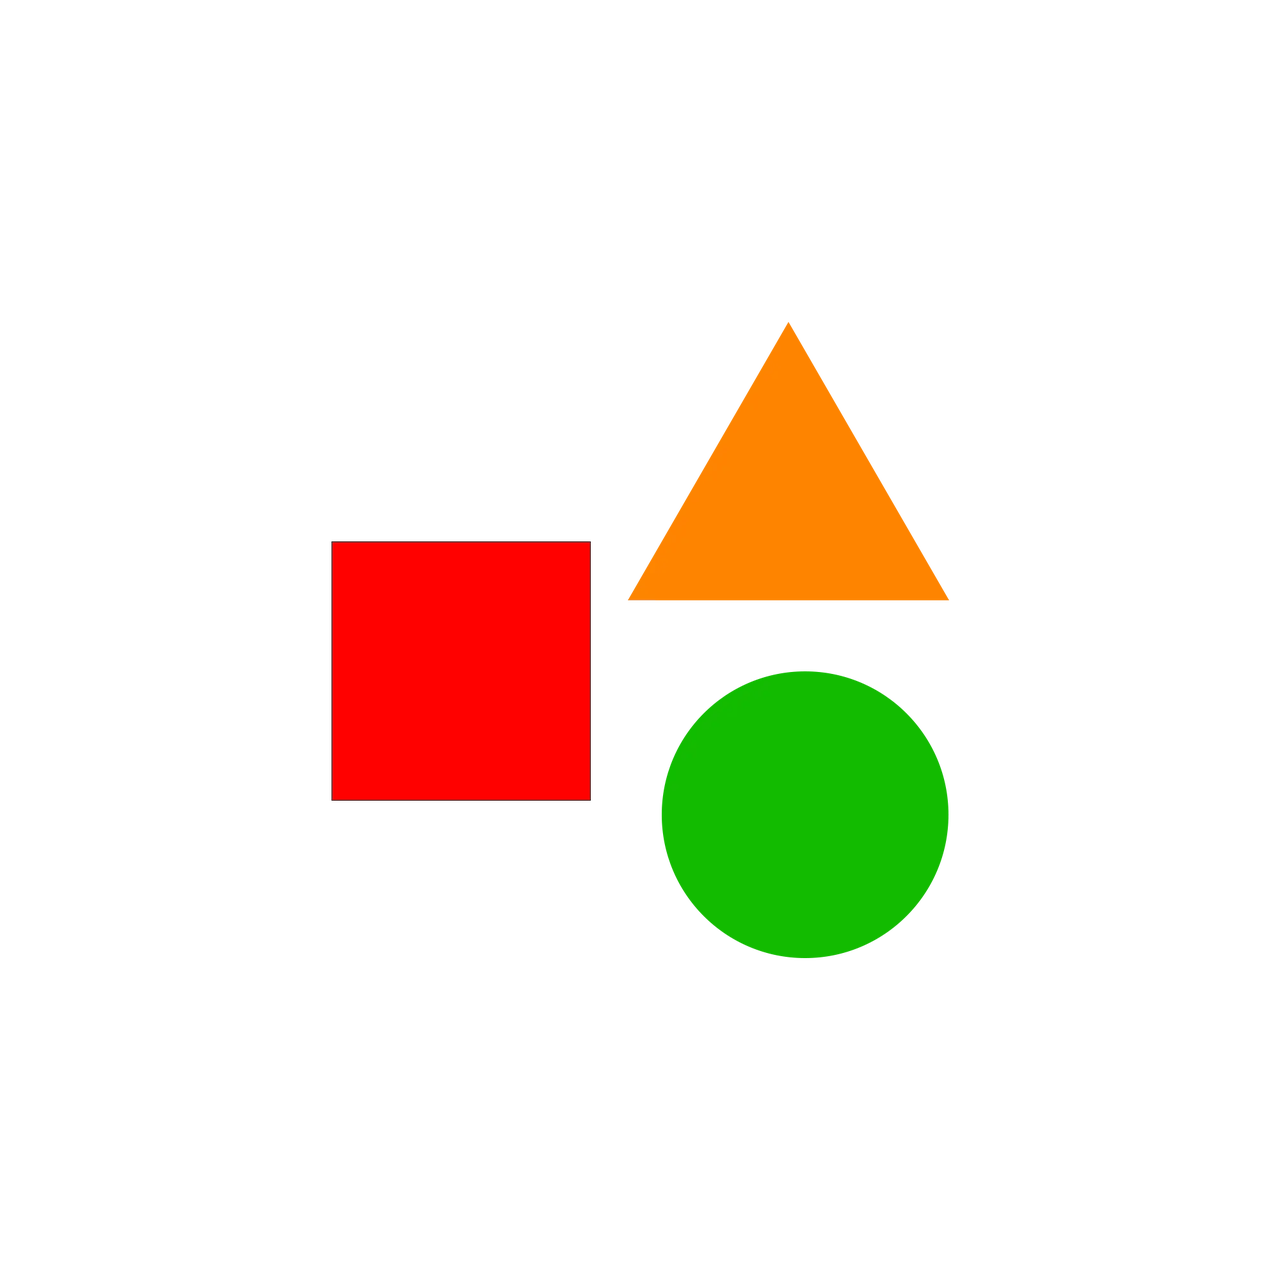
Crop Export
You must select at least one layer before exporting. The export will include the combined size of all selected layers. For example, if you have a PSD with three layers and select the rectangle and circle, the export will be based on the combined boundaries of those two layers.
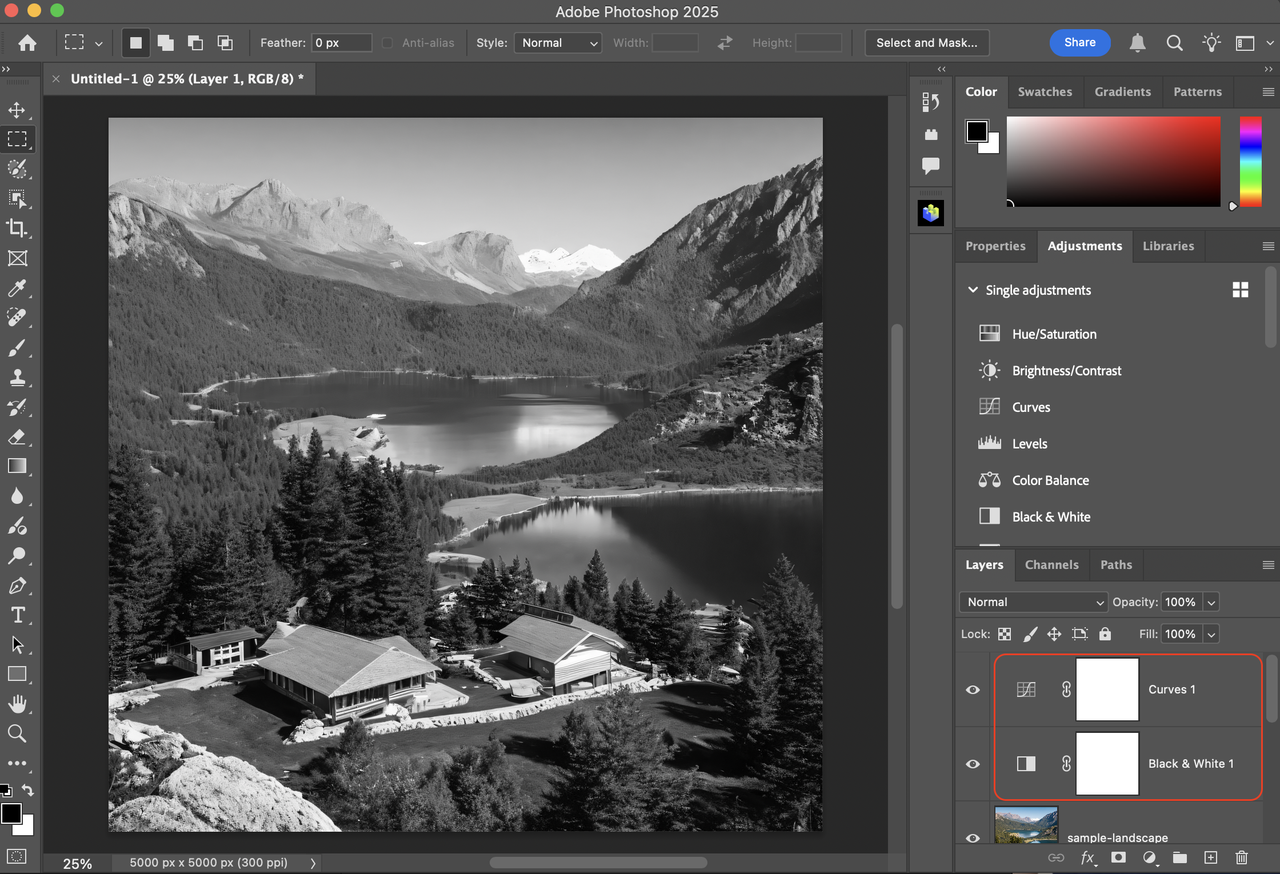
LUT Export
You can export a LUT basemap and apply all adjustment layers in the document at once.
For example, if you add black and white and curve color corrections to an image in PSD, using this export method will generate the LUT, as shown in the image on the right. This LUT can then be used directly in the image's filter component.
Lip, Face Mask, Eye Effects, and Eyelashes
These four export methods will export the image based on the layering of the beauty template, applying the appropriate cutting method for the statue's beauty components. For example, for eye effects, all layers under the "Eye Effects" folder will be exported and merged, and the corresponding clipping will be applied.