Create an Effect with Flipbook
In this tutorial, you will learn how to use the Flipbook feature to create an effect in the Visual Effects (VFX) Editor!
Set Up Your VFX Environment
After you've created a new project in Effect House, you will need to set up a VFX environment. You can utilize one of the two methods outlined below. For more information on the VFX Editor, check out the VFX Editor Overview.
Method 1
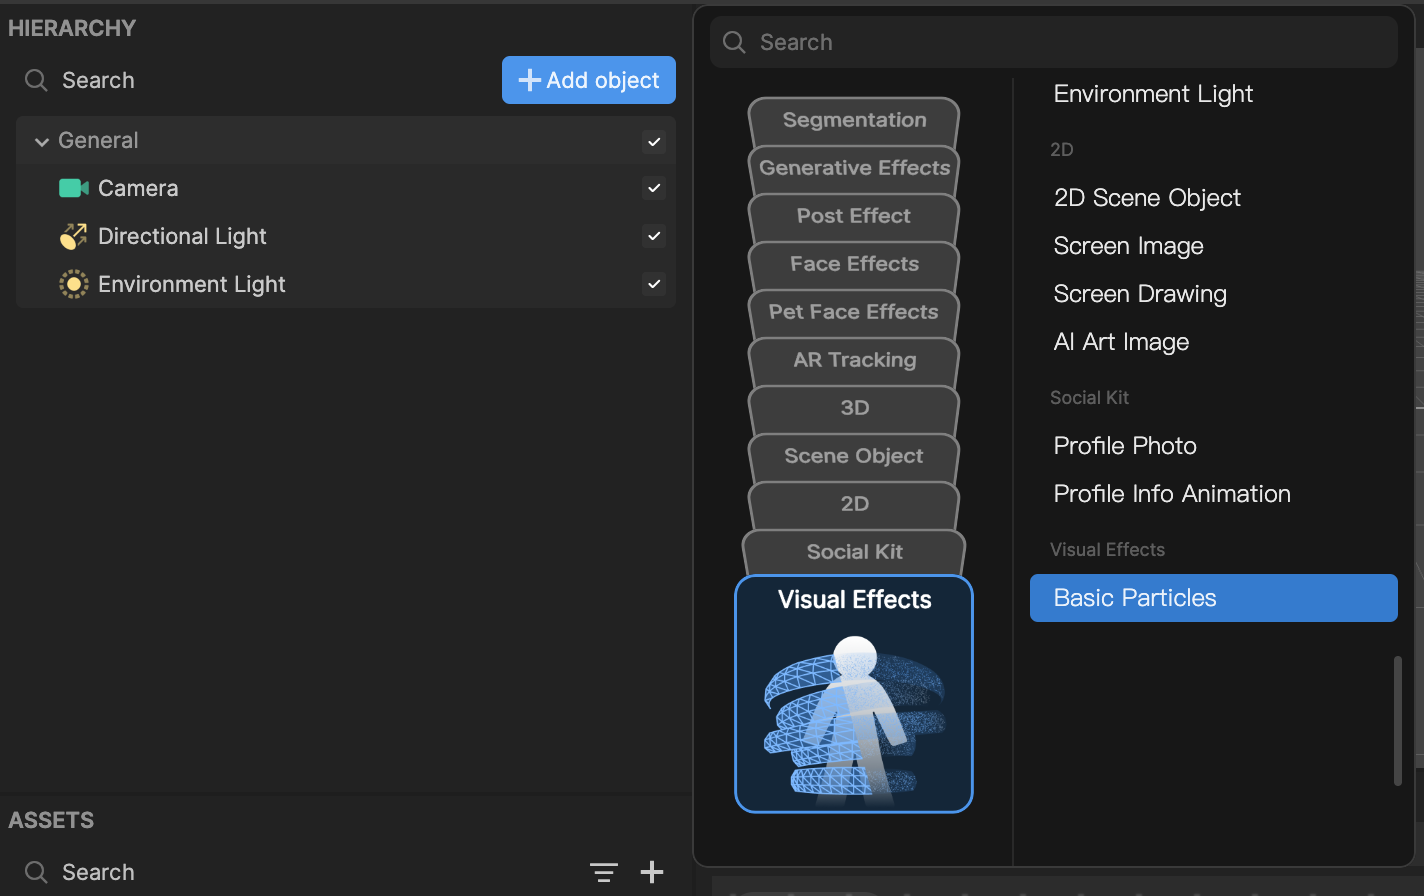
- Go to the Hierarchy panel
- Click the Add object button [+]
- Go to Visual Effects
- Select Basic Particles
Method 2
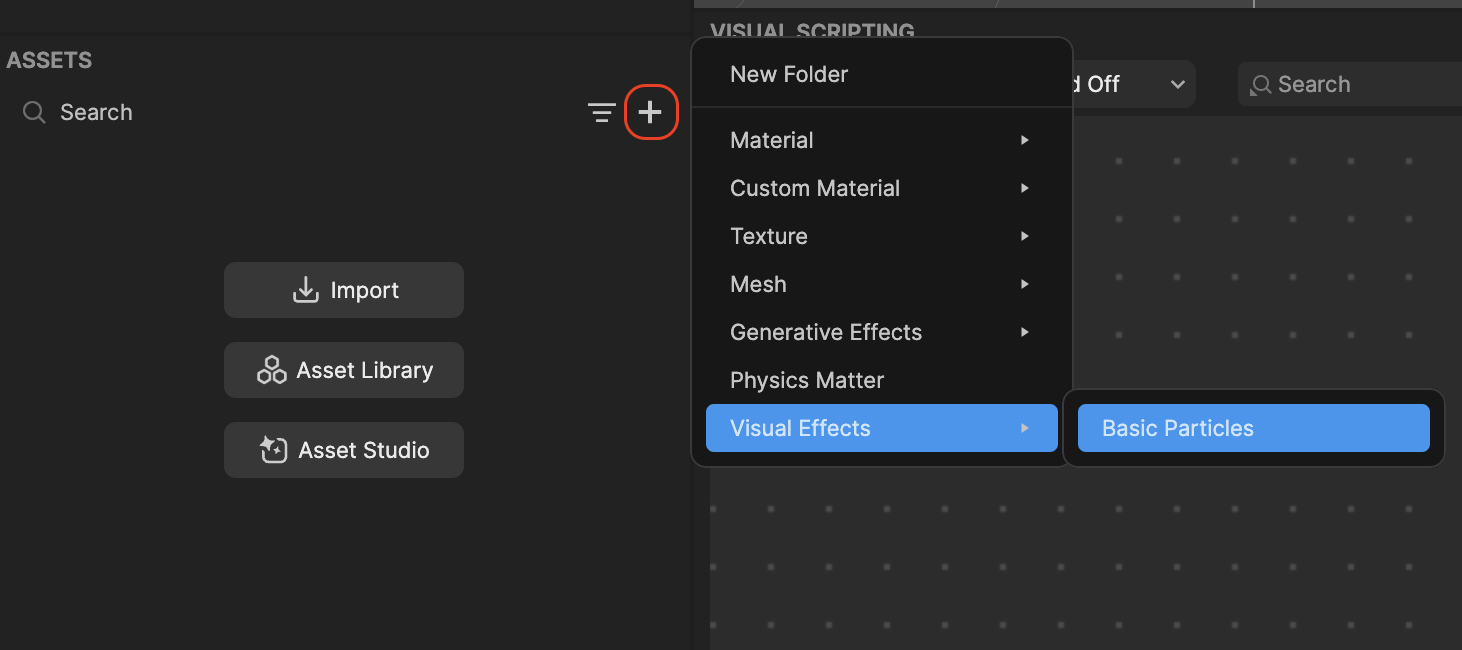
- Go to the Hierarchy panel
- Right click on the panel to view the menu popup window
- Navigate to Add object
- Go to Visual Effects
- Select Basic Particles
Once you've added the Basic Particles object, you will see the Visual Effect Graph. You should also notice white particles moving in the Preview panel.
Import a sprite sheet image
In order to use the Flipbook feature, you will need a sprite sheet image. Download the following zip file to obtain the image:
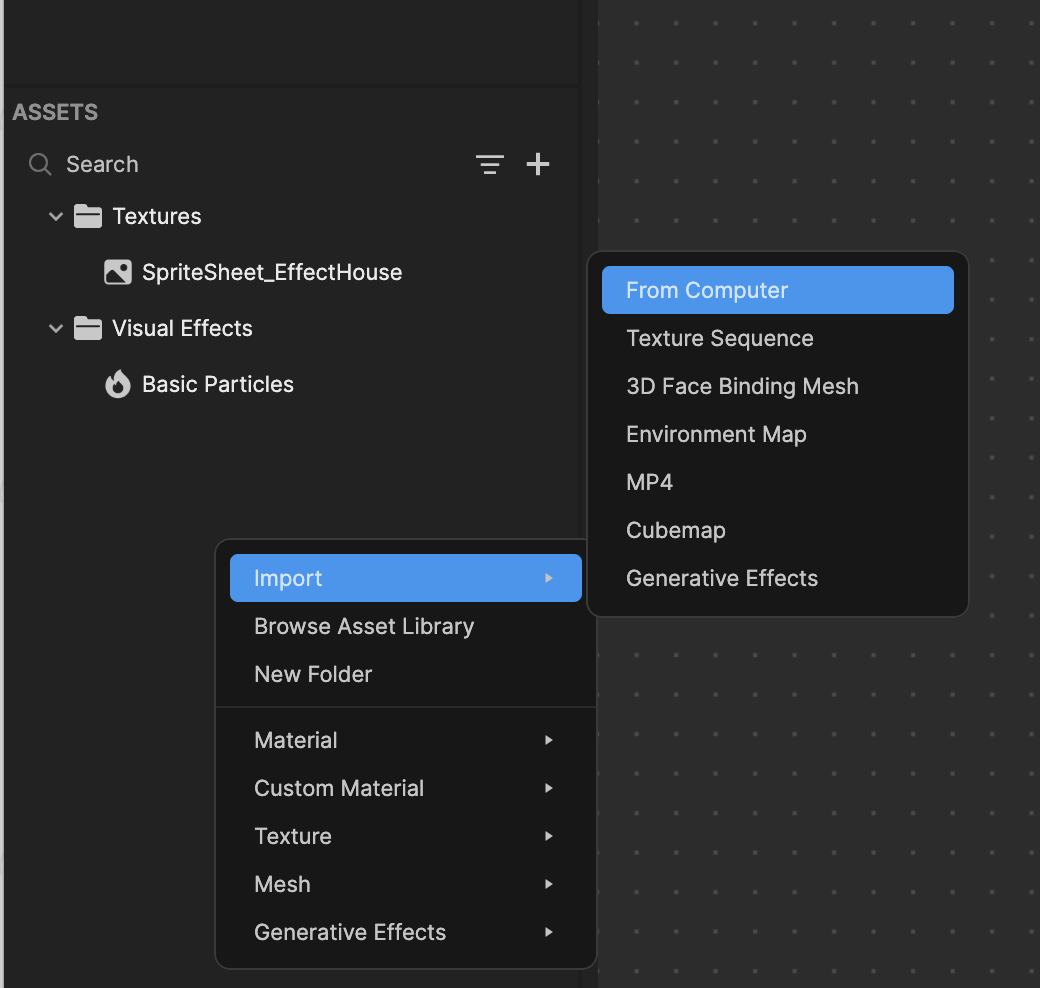
- Go to the Assets panel
- Click the Add asset button [+]
- Go to Import
- Select From Computer
- Select the sprite sheet image to import into Effect House
Set up the Flipbook function
The Flipbook function requires 3 block nodes.
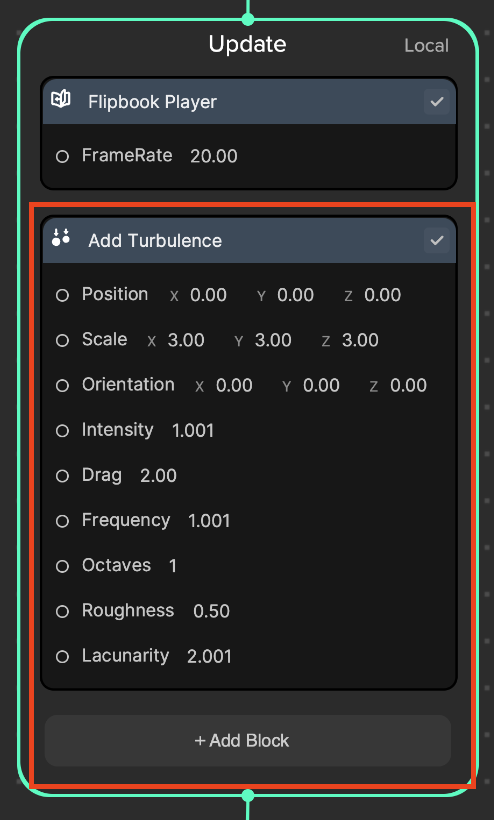
- In the Update node:
- Add the Flipbook Player node and set Frame Rate: 20. This node will increase the texture index of those particles within a specified frame rate. The frame rate determines the number of textures played in one second; in this case, it would be 20 images per second.
- In the Output node:
- Remove the Set Main Texture node
- Add the Flipbook Blend node and replace the image with the sprite sheet imported earlier. This node will blend between the two closest frames for each particle.
- Add the Set Flipbook Size node and set x: 6, y: 6. The sprite sheet contains images in a 6x6 grid. By setting these properties, you can properly display one image at a time.
After making those changes, you will now see the animated Effect House logo instead of the default white, circular particles.

Add a floating effect
By default, the particles spawn from the center of the screen, spread out, and disappear after 6 seconds. Make the following changes, to make it appear as if the particles are floating around the screen.
- In the Spawn node:
- Set Spawn Rate: 2,000, so that all 2,000 particles are spawned at the beginning of the effect.
- In the Init node:
- In the Capacity node, set Capacity: 2,000, which defines the maximum allowed particles in the simulation.
- Remove Set Random Velocity
- In the Set Lifetime node, set Lifetime: 6, so that the particles will disappear after 6 seconds.
- Add a Position: Box node and set Scale: (300, 300, 100)
- This will maintain the particle's spawn location within a box shaped area.
- Setting the scale to (300, 300, 100) creates an invisible, vertically aligned rectangular box where particles will be spawned within.

- In the Update node:
- Add an Add Turbulence node and set Scale: (3, 3, 3) and Drag: 2. This node will add a turbulent force on the particles, allowing each particle to move irregularly.
You now have an effect with the floating animated Effect House logo!

Completed Project File
BONUS - More effects using Flipbook
If you are interested in exploring more usages of Flipbook, check out the zip files below.


Hearts with Portrait Segmentation
Sparkles with color sampling